This is a RICH dessert, so so rich. The good thing is though, that makes it harder to go beyond a slice at a time. A chocolate-cream-butter filling sits inside a homemade, flaky chocolate pie crust. Somehow, the texture is part mousse, part flourless cake, part cheesecake all at once. It’s genuinely a delight to eat and though traditionally a Mississippi Mud Pie has chocolate sauce, ice cream or whipped cream (or all of them!) served on top, I think this is best as is! Let’s make some pie 🙂
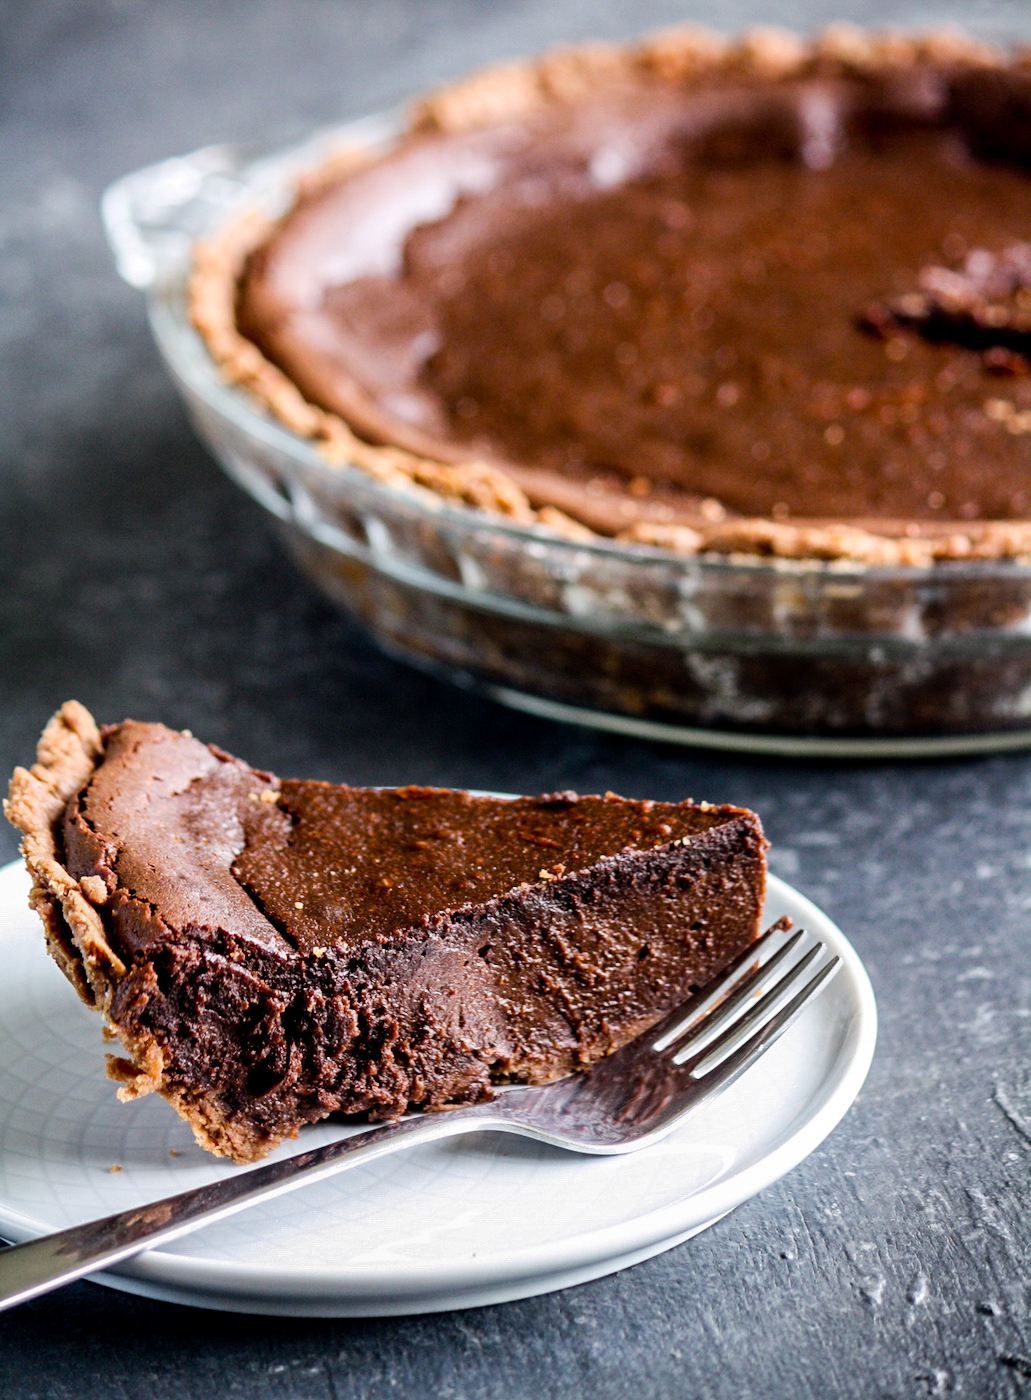
I have a little book of chocolate desserts aptly named ‘Chocolate’ and that’s where I saw this recipe years ago. At the time I called it “mousse pie” because the texture seemed that way but when I made it again to take new photos, I realised it was much more than that. The origins of this pie are in Mississippi in the US, but from there, the story varies quite a bit. From its ingredients to whether it was named so because the top resembles the cracked mud of the Mississippi river. Some recipes use cream, some do not, some add a chocolate filling in the center, some do not. Whichever version you go with, the result is a decadent pie and that’s what matters!
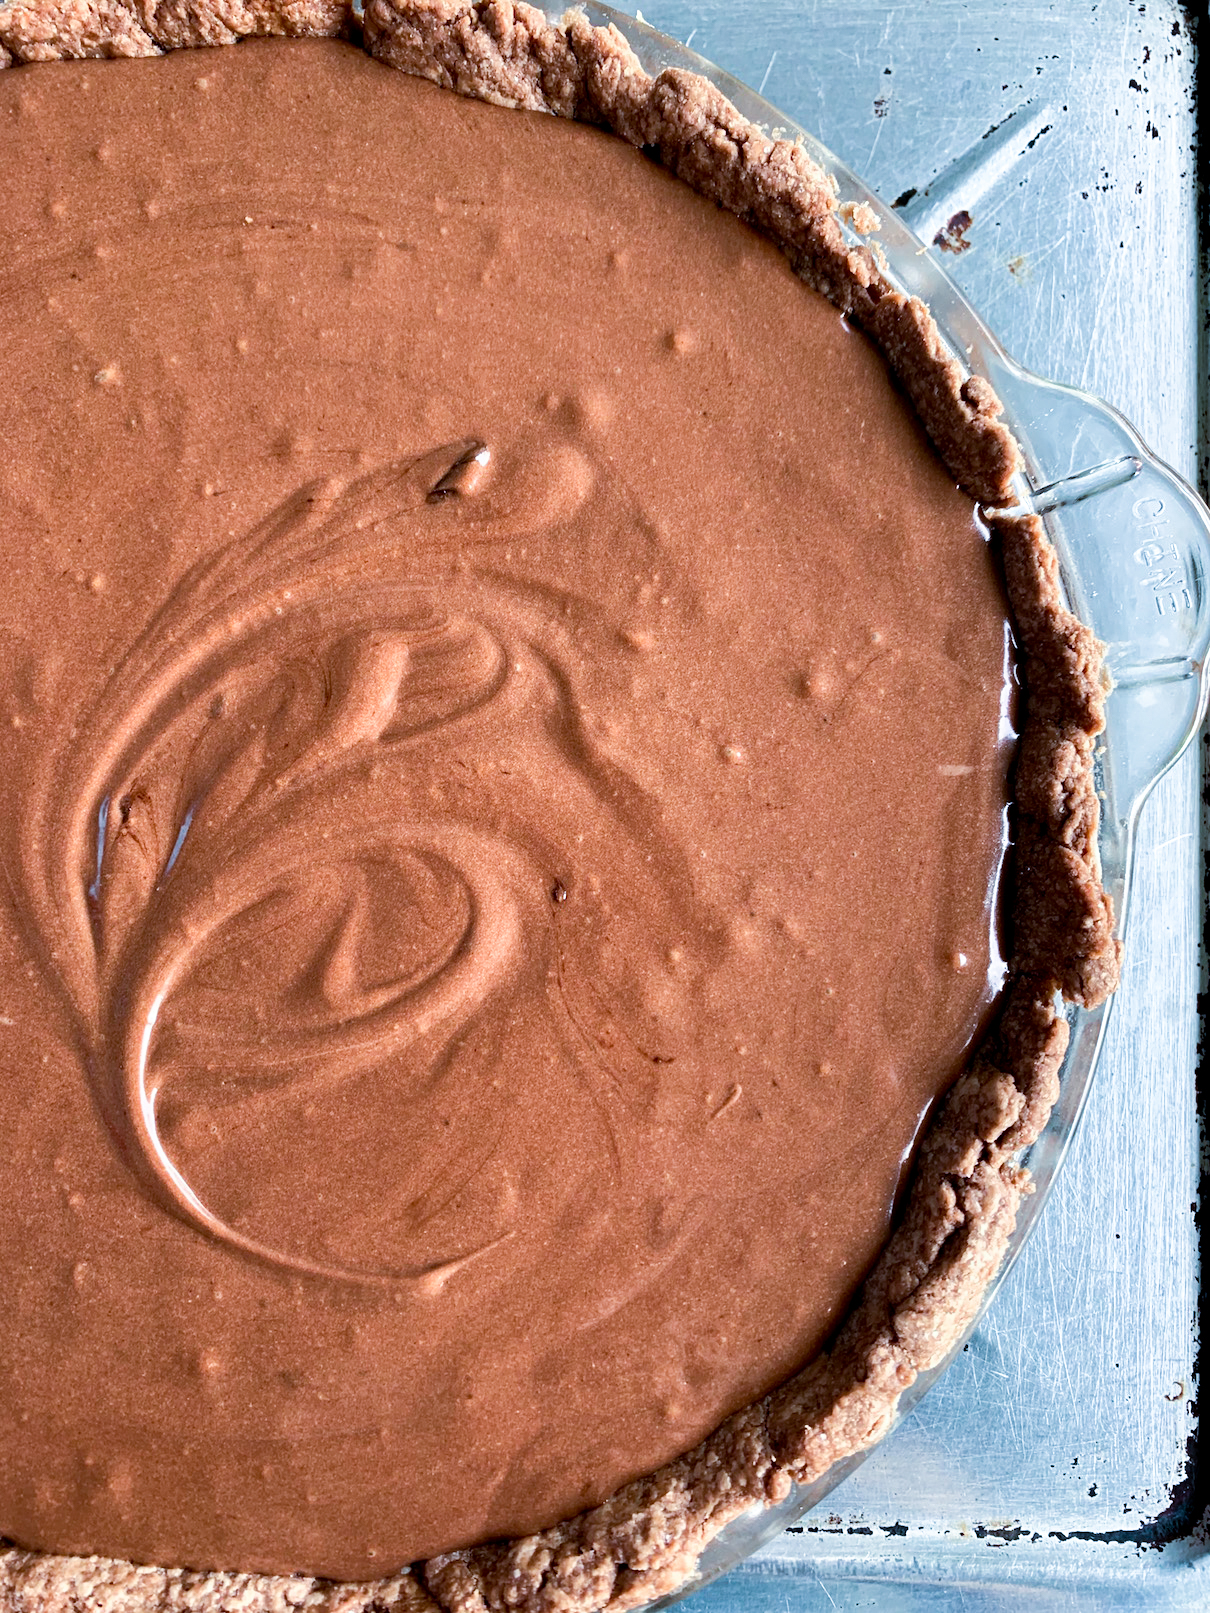
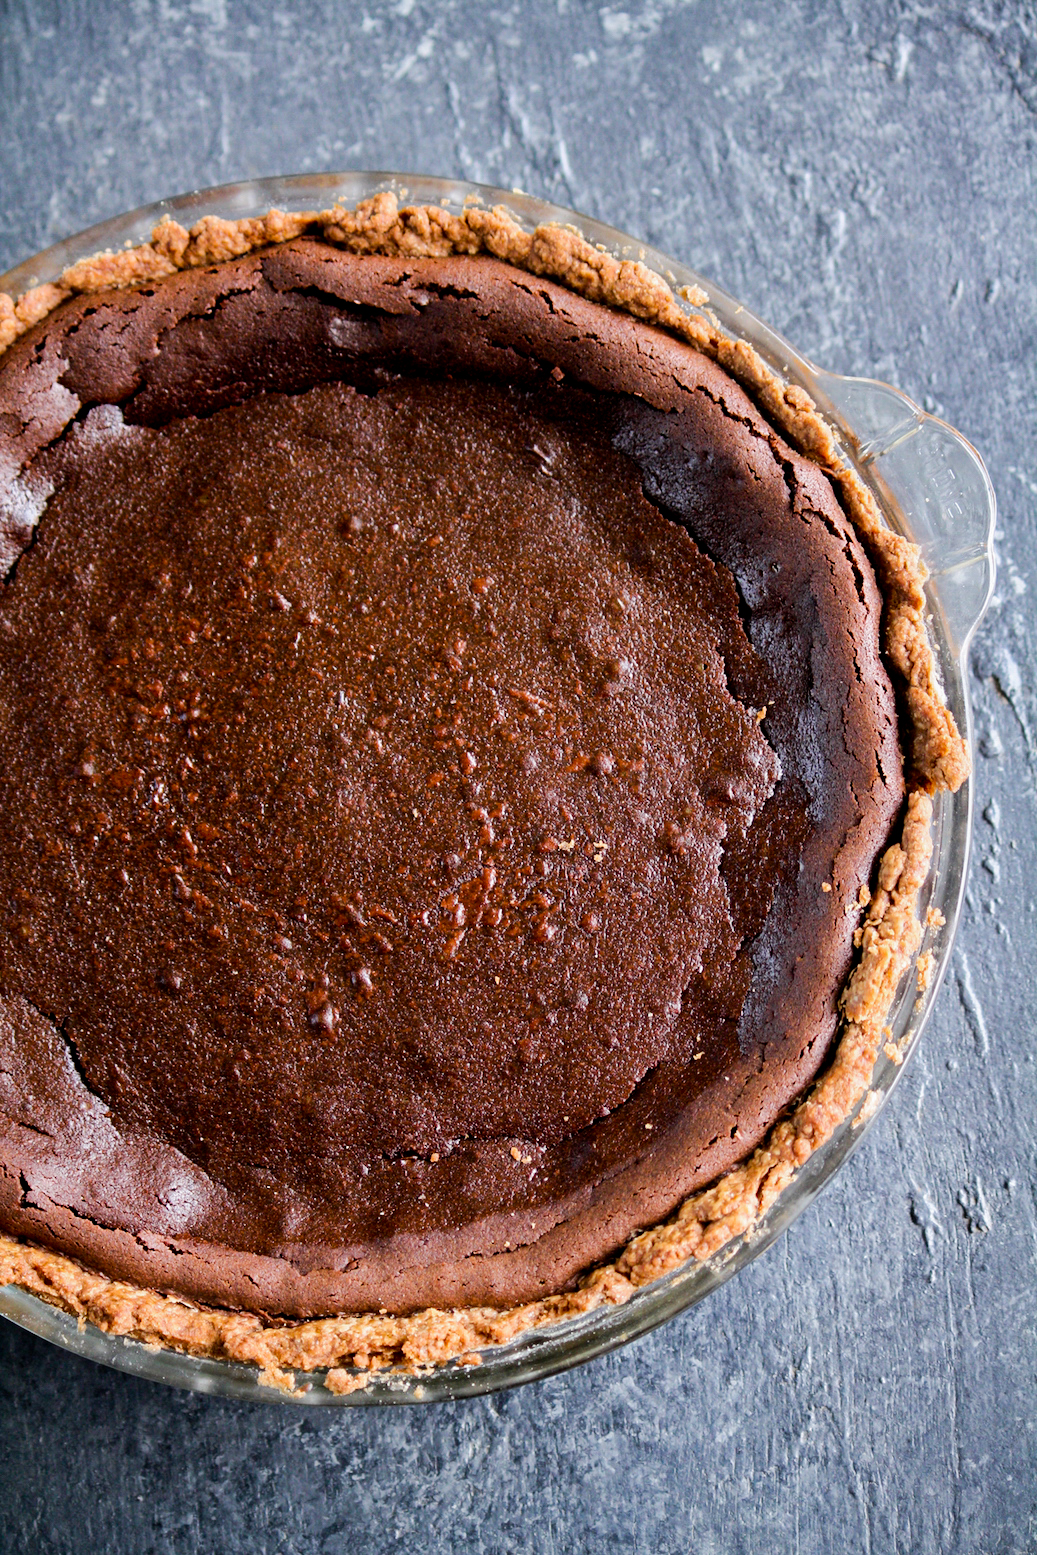
For my version, I didn’t make too many changes to the recipe I found in that book, apart from reducing the sugar by more than a cup and still having a perfectly sweet pie. I also used a mix of white and brown sugar and that seemed to actually give it more of a nice crust rather than all brown.
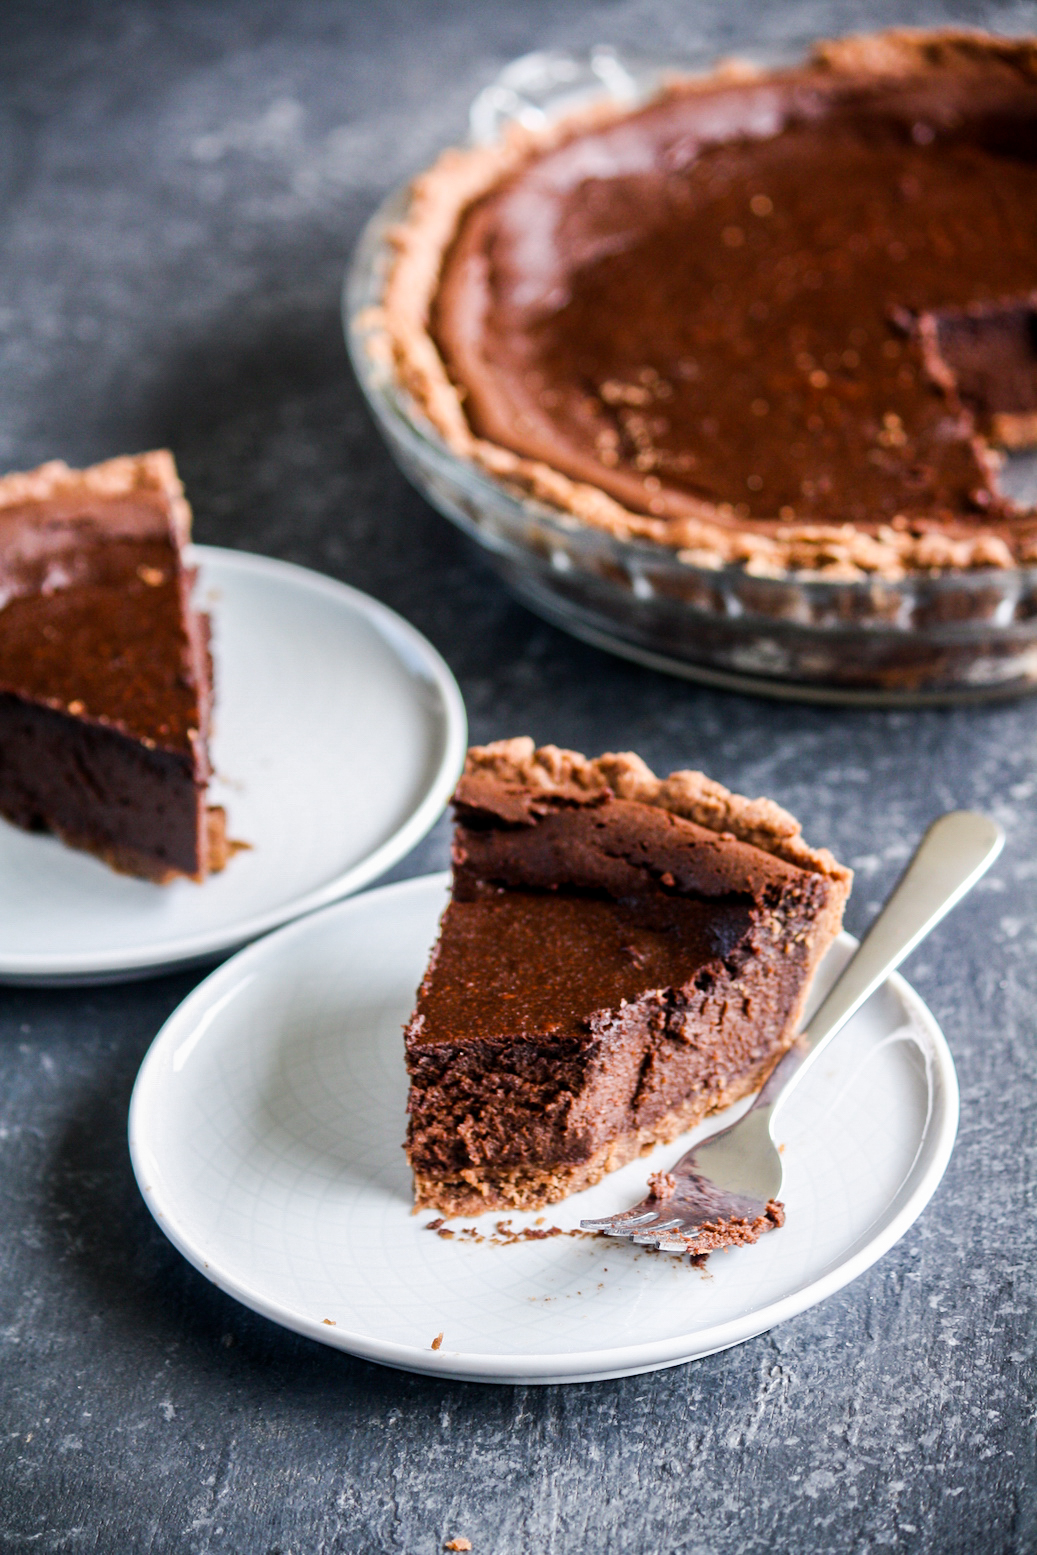
The pie tastes great at room temperature or even slightly chilled, depending on whether you prefer it gooey-er or a little firmer. The crust is not too sweet and in fact I like using salted butter here because it goes really well with the chocolatey filling. I continue to be clumsy with pie crusts, but at the end of the day, it all works out so if you’re nervous about making pie, I promise it’ll be ok!
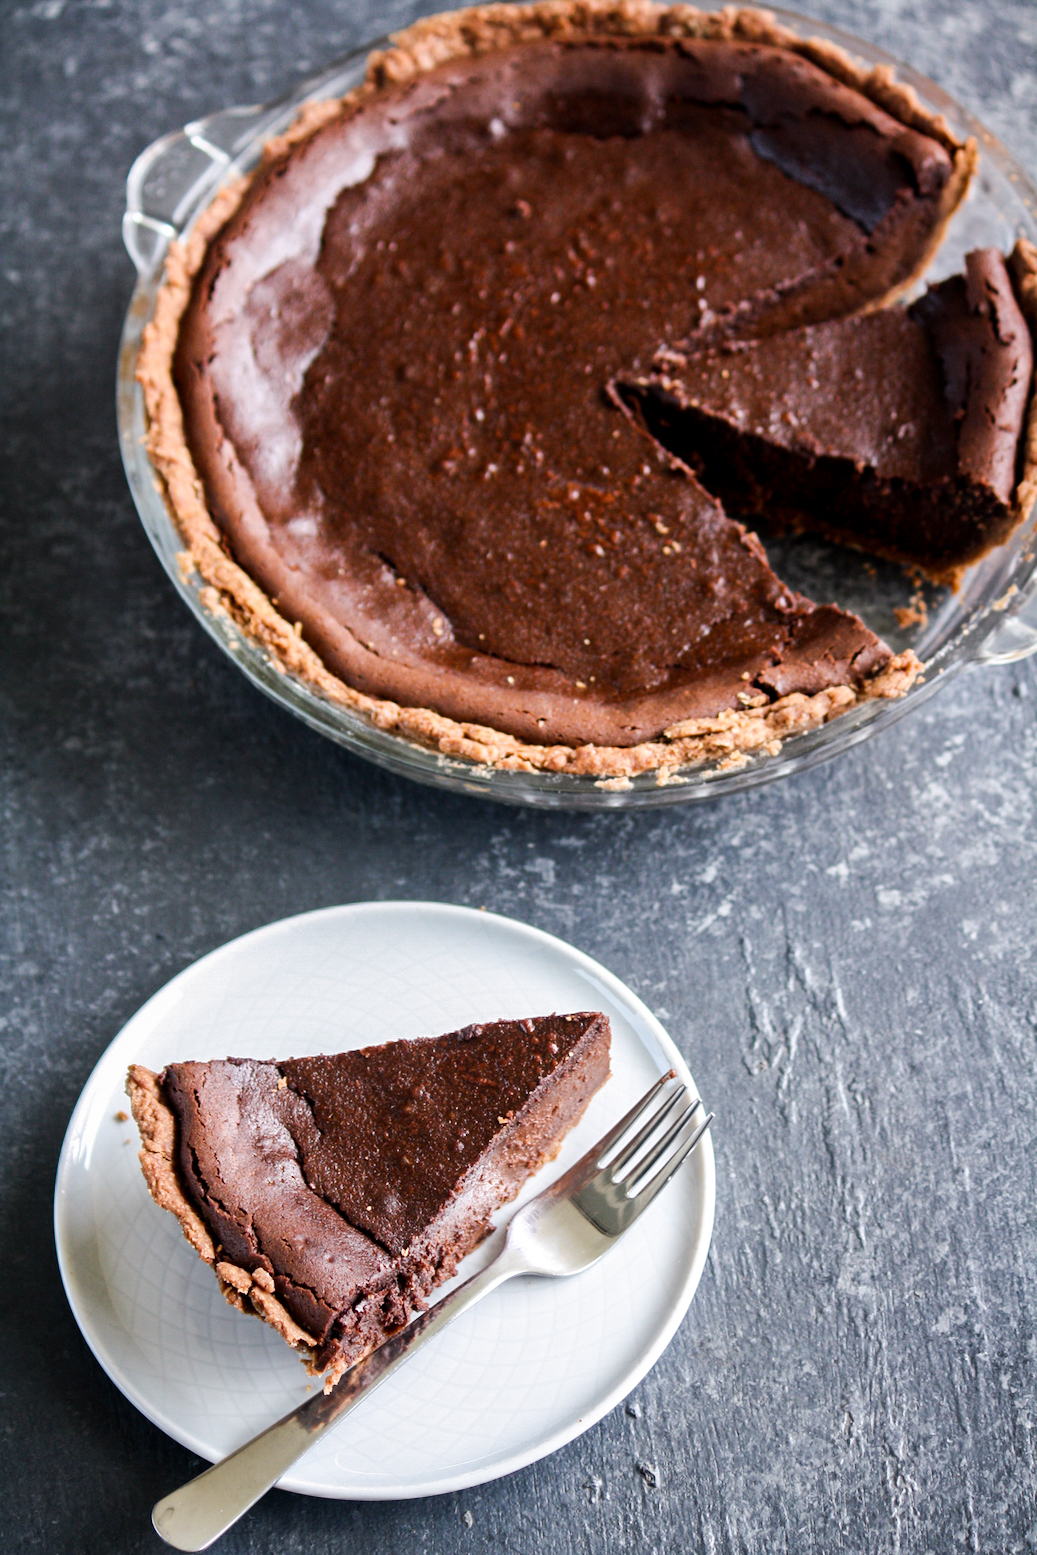
This pie takes a while to make because there’s some cooling, chilling and waiting involved. It’s not hard at all, but set aside a few hours to get it done. And also make sure you have people to share it with!
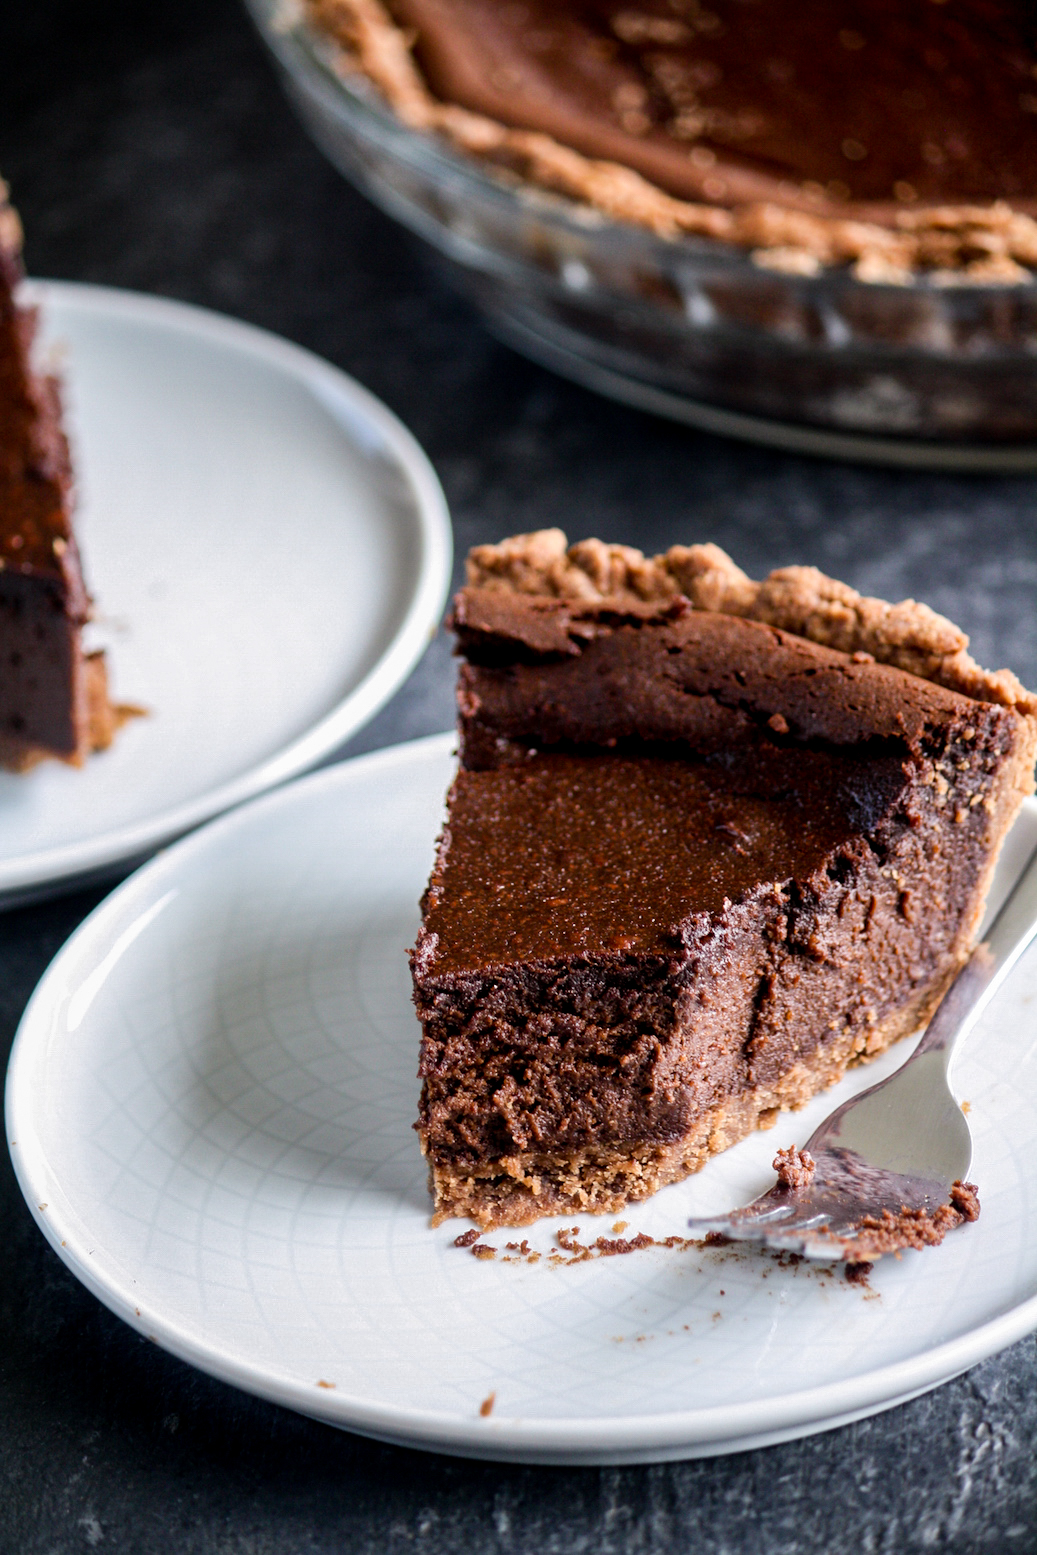
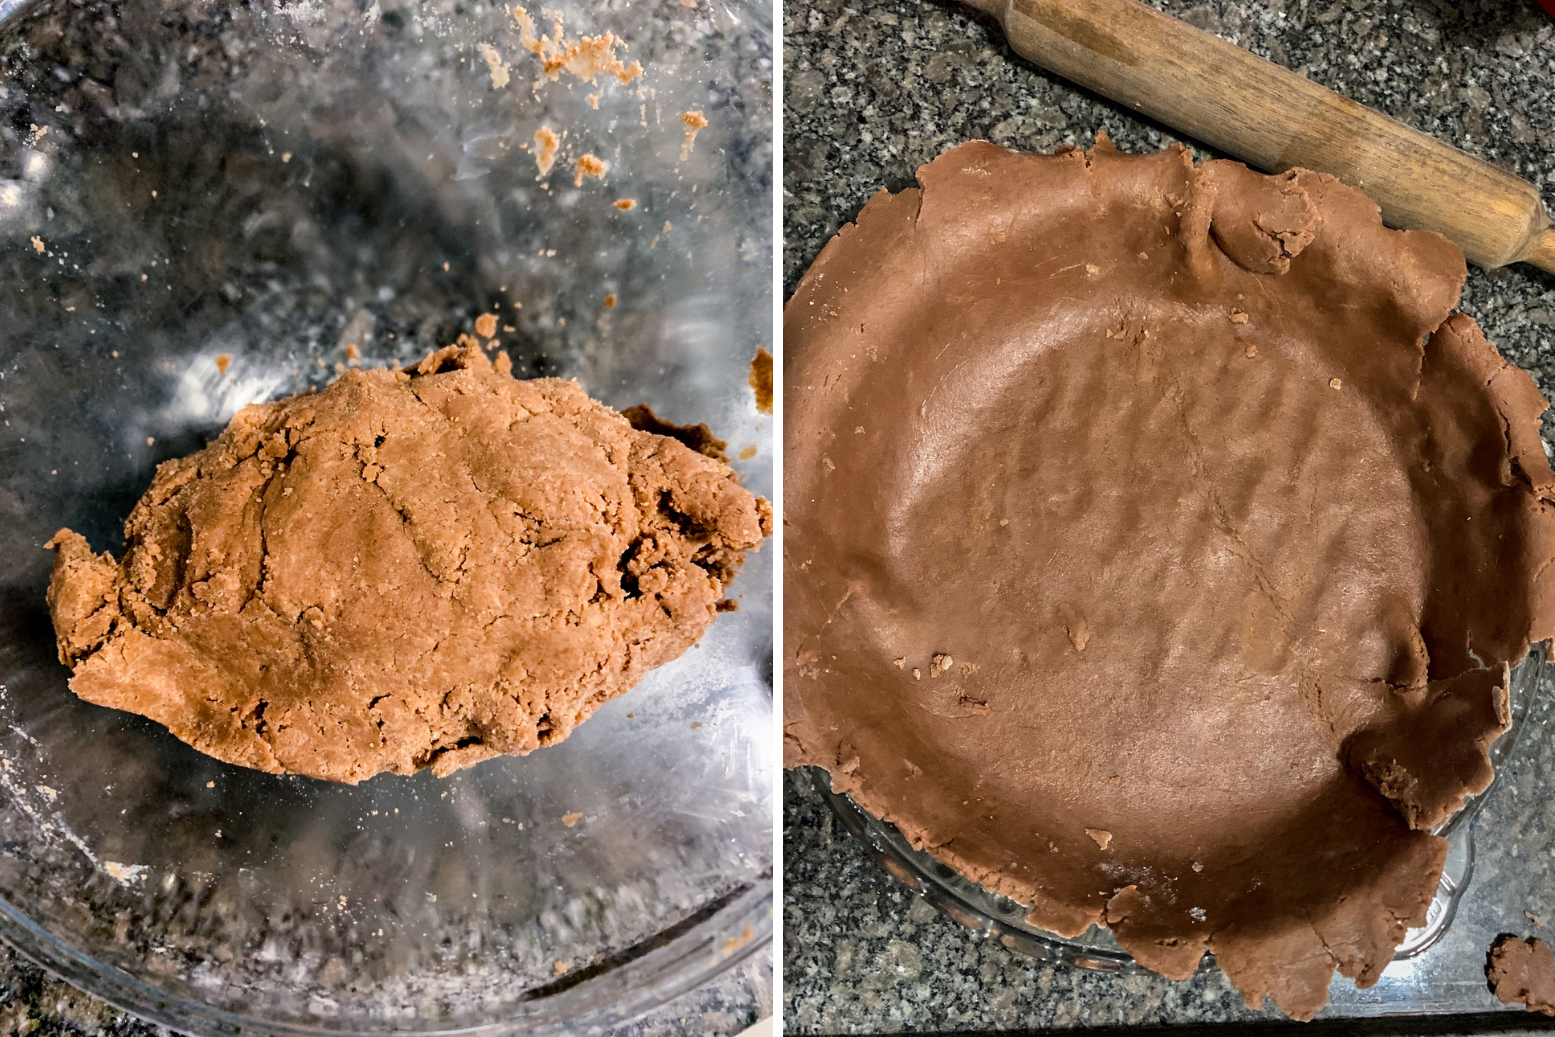
There are some photos which I hope are helpful, just after the recipe along with my best tricks for making pie crust in a warm kitchen written in the recipe itself. Have fun with this and I hope you love it!
Please read the recipe notes before beginning.
Mississippi Mud Pie
Ingredients
For the pie crust
- 1 and 3/4th cups all-purpose flour (225 gms)
- 1/2 tsp salt if using unsalted butter
- 2 tbsps cocoa powder
- 2 tbsps caster sugar (see notes)
- 150 gms frozen butter
- 1 to 2 tbsps ice cold water
For the pie filling
- 150 gms dark chocolate (70% to 75%)
- 175 gms butter, at room temperature
- 1/2 cup caster sugar (95 gms)
- 1/2 cup brown sugar (55 gms)
- 2 tsps vanilla extract
- 4 eggs, at room temperature (necessary to set the filling, I haven't tried substitutes)
- 1/4 cup cocoa powder (25 gms)
- 1 and 1/4 cups cream (300 ml; regular cream is fine)
Instructions
- First make the pie crust. Combine the flour, salt, cocoa and sugar in a large mixing bowl. Stir well. Then grate the butter right into the bowl (you can use chilled, cubed butter as well, but in warm kitchens, frozen is better and easier to work with). Rub it into the flour mixture with your fingertips until the mixture resembles coarse breadcrumbs and has larger bits of butter scattered throughout.
- Add the ice cold water 1 tablespoon at a time, bringing the dough together with your hands or a spatula. It should clump together when pressed between your fingers but not be overly wet. I used 1.5 tablespoons of water. Form the dough into a rough mass, do not knead it. Place it on a large sheet of clingfilm, press it down to firm a disc about 1 inch high and then tightly wrap it. Chill the dough for 30 minutes. (You can chill for longer or even freeze it, keeping in mind that it will need to sit at room temperature for a few minutes before you're able to roll it.)
- Place a large silicone baking mat on your kitchen counter and lightly flour it. Now place the chilled dough on top, cover with the same sheet of clingfilm, and roll it out into a circle that's about 12 inches wide, rotating the mat as needed so that the dough is even. I find this easiest and most efficient to prevent sticking but if you prefer rolling it directly on the counter, that's fine too.
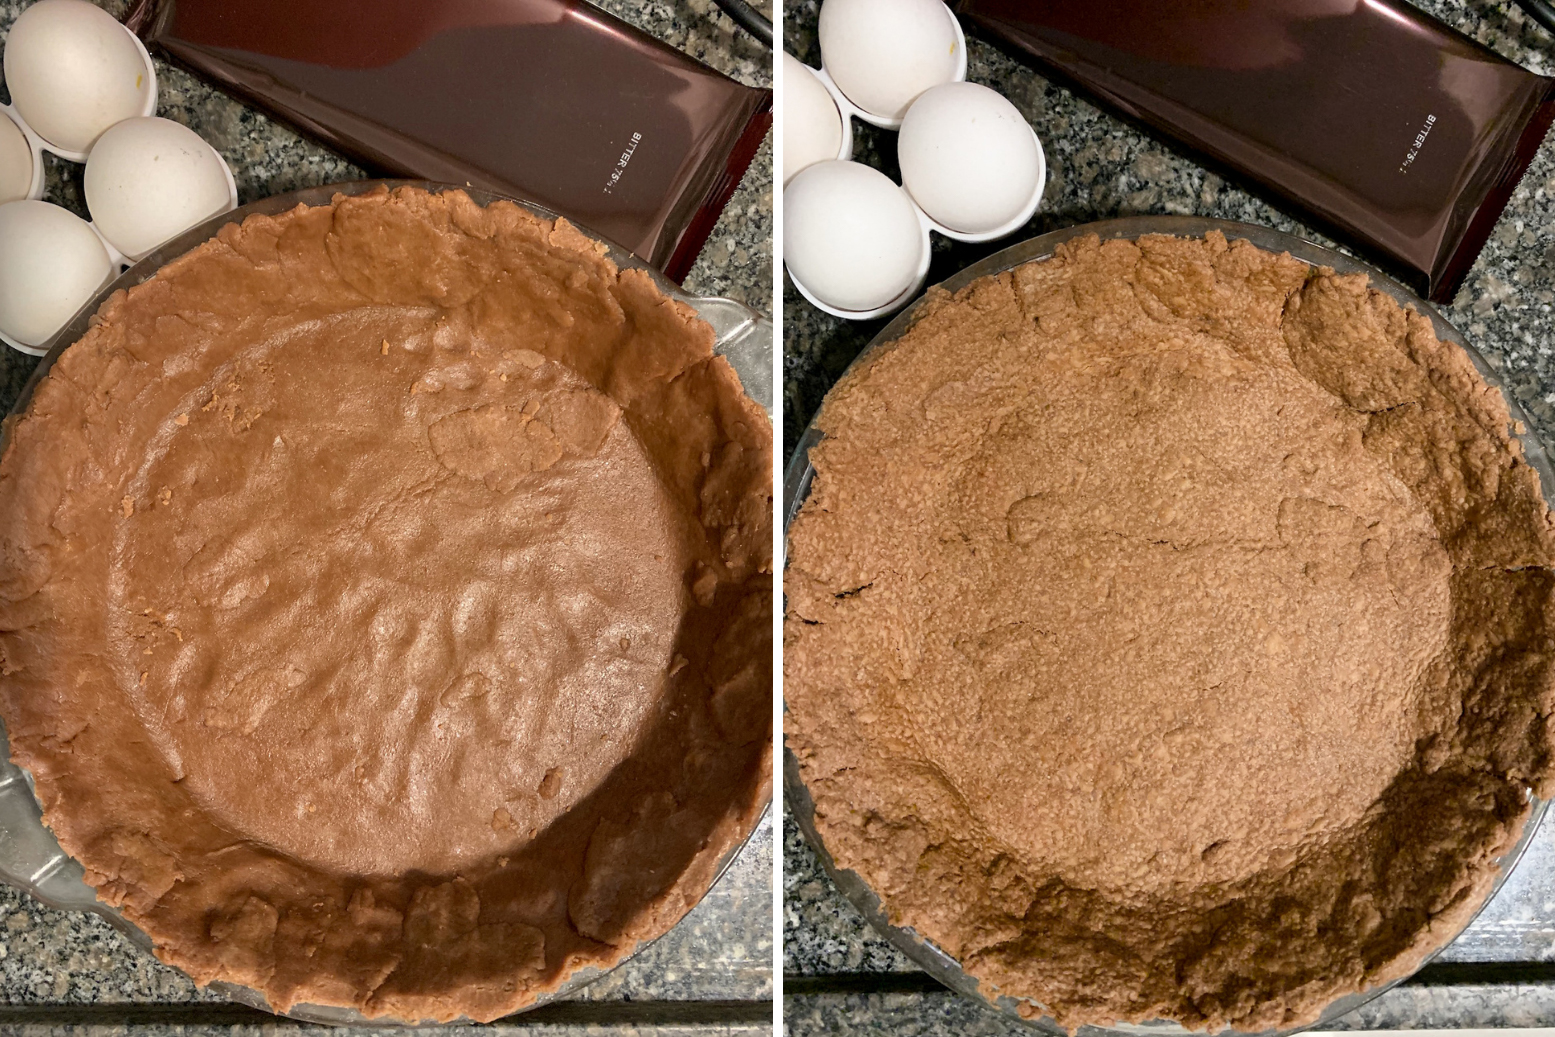
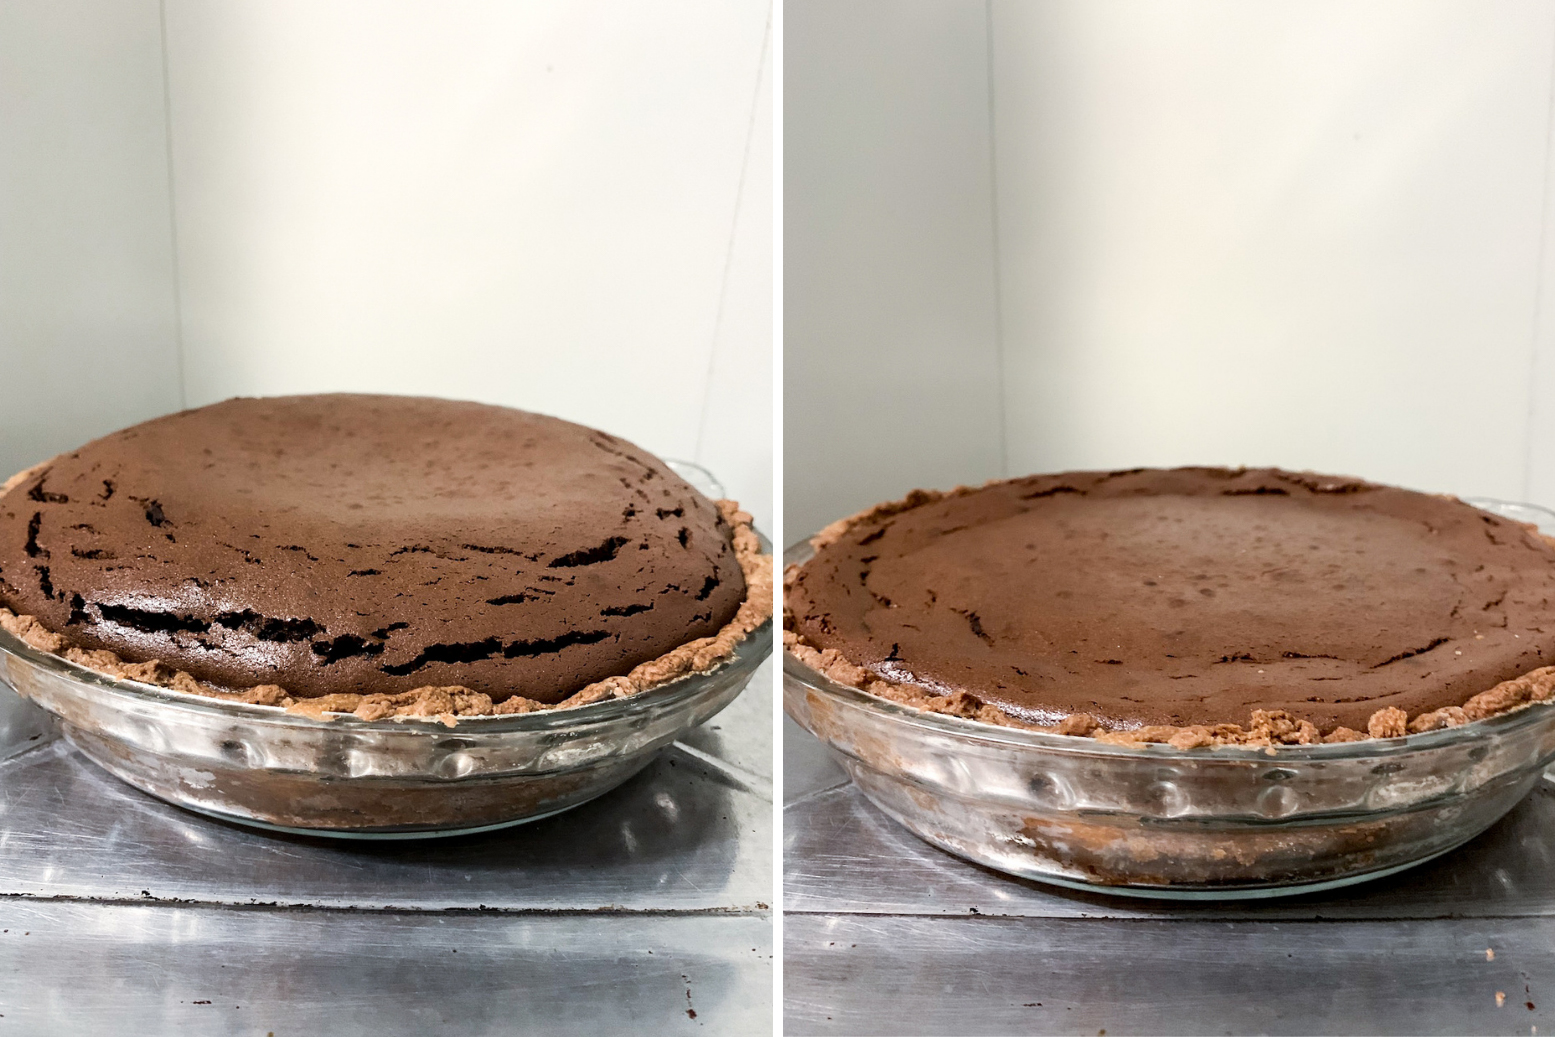
- Fold the dough gently in half and then in half again to make a quarter. Lift and place in the center of a lightly greased 9 inch pie dish. Unfold and press it into the dish. Trim the scraps and use them to patch up any bits that might have torn or are thinner than the rest of the dough. Don't worry about appearances because the filling covers it all up! Place the dish in the fridge for 30 minutes. A cold pie dough bakes up nice and flaky.
- In the meantime, preheat the oven to 180 C. Bake the chilled crust for 20 to 25 minutes until it is slightly darker and a little puffier. I didn't find it necessary to blind-bake the crust with beans placed in the center as the crust doesn't actually puff up that much.
- Let the crust cool to room temperature. Reduce the oven temperature to 160 C. Melt the chocolate in a double boiler or in a microwave and set aside to cool.
- Now start on the filling. Beat the butter and sugars together in a mixing bowl, using a hand mixer on low to medium speed, until fairly smooth and creamy. Add the vanilla and eggs, one at a time, beating briefly after each addition. If the mixture appears a little grainy at this stage, don't worry.
- Sift in the cocoa powder and beat briefly. Then pour in the melted chocolate and beat on low speed to combine. Finally, pour in the cream and beat again to make a smooth, thick filling. Do not over-beat at any stage and use a spatula if you want more control over the speed.
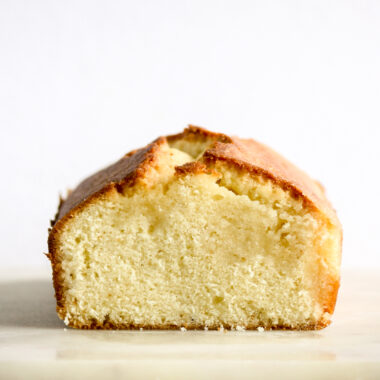
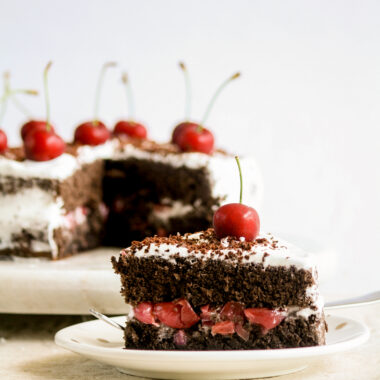
- Pour the filling into the cooled crust and put it back in the oven. Bake for 50 minutes to 1 hour until the center is no longer wobbly and the pie has risen and cracked on the edges. A slight jiggle in the center is ok but it shouldn't look wet. Let the pie cool to room temperature and it will fall as it cools. See photos below.
- You can slice it once it's cooled, or chill it for an hour for a firmer texture. I left it out overnight, loosely covered and while in humid environments the cracked top will soften a little, I liked the texture best when it was at room temperature. Serve with vanilla ice cream or whipped cream if you like!
- Store at room temperature in an airtight tin for 2 to 3 days and in the fridge for a week or in the freezer for longer. Happy baking!
Notes
This post contains affiliate links.








Pingback: Peach and Cherry Galette
Pingback: Creamy Hung Curd Dip with Zucchini Chips
Oh my gosh all I can say is AMAZING!!!
Thank you !
Pingback: Carrot Cupcakes with Cream Cheese Frosting
Pingback: Chocolate Orange & Rosemary Tart