I might make some sort of ‘this is the best thing since sliced bread’ joke at some point. You guys, I made a loaf, an actual loaf of bread. Nothing compares to being able to pull out a perfectly shaped, warm loaf from the oven, eat thick slices of it with a pat of butter, a drizzle of honey. Why I waited so long to do this, I’ll never know!
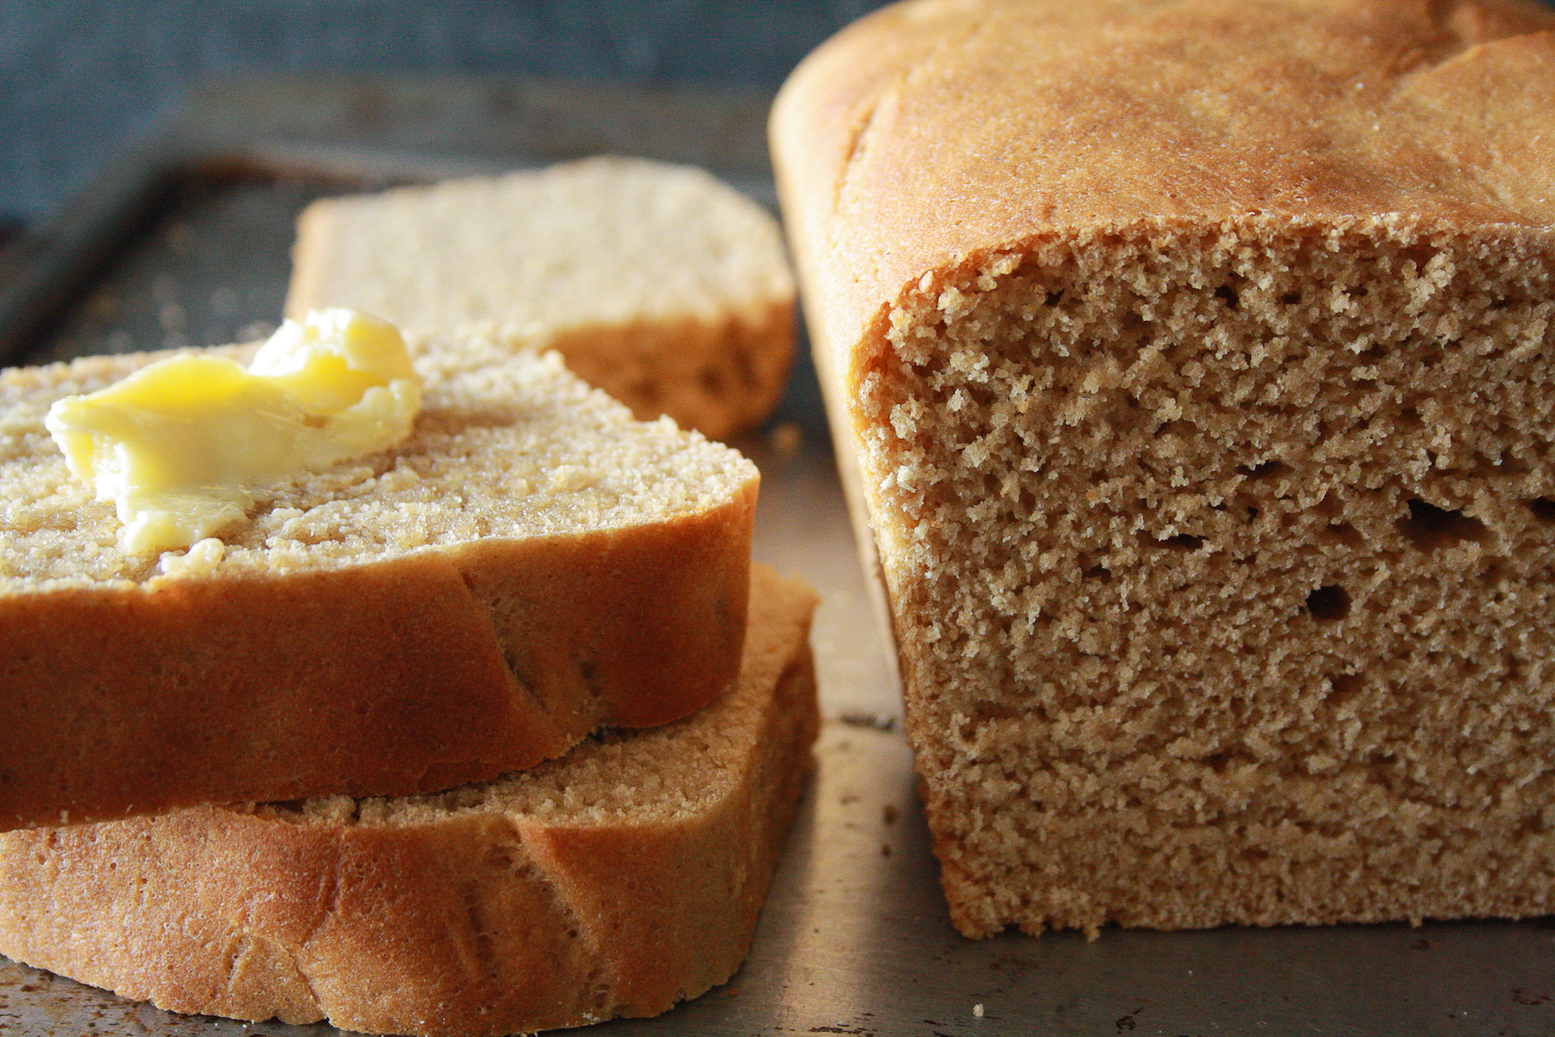
This recipe is adapted from King Arthur Flour, with a little more oil and water. I also used just milk instead of dried milk and it worked absolutely fine. The various substitution options available online confused me, so I’m glad my own head could be relied on! If you’re working in Indian temperatures, do not fret. This loaf does not turn out dense, rises really easily and is 100% wholewheat without any of the drama that wholewheat flours can create.
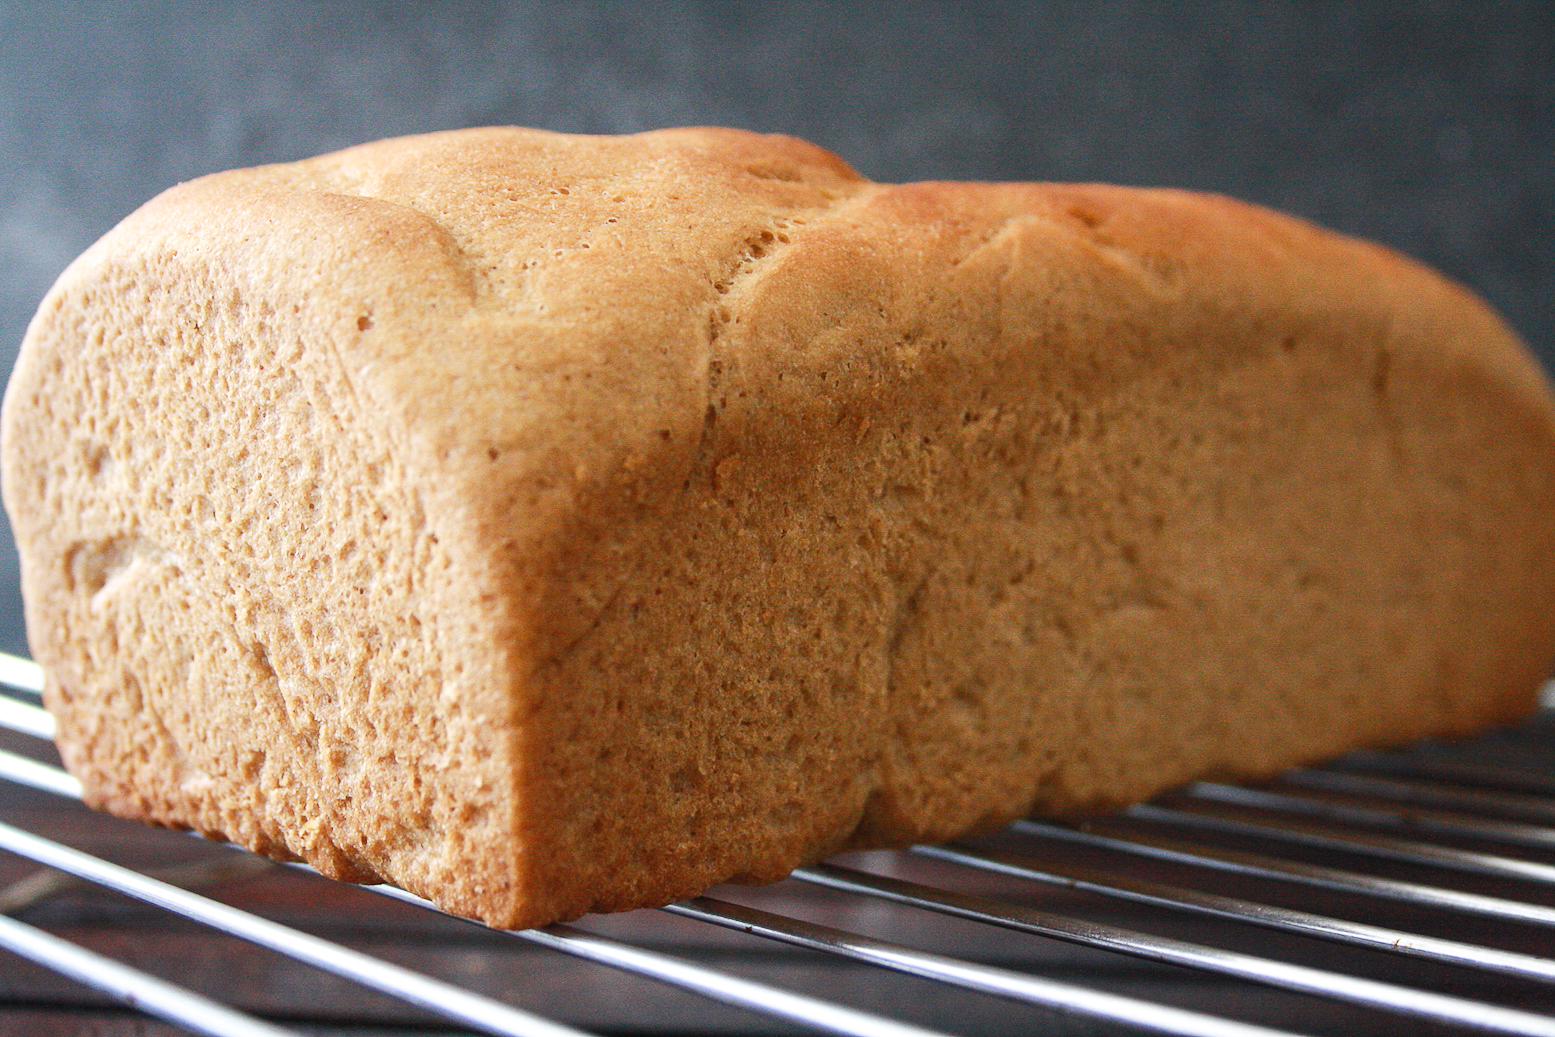
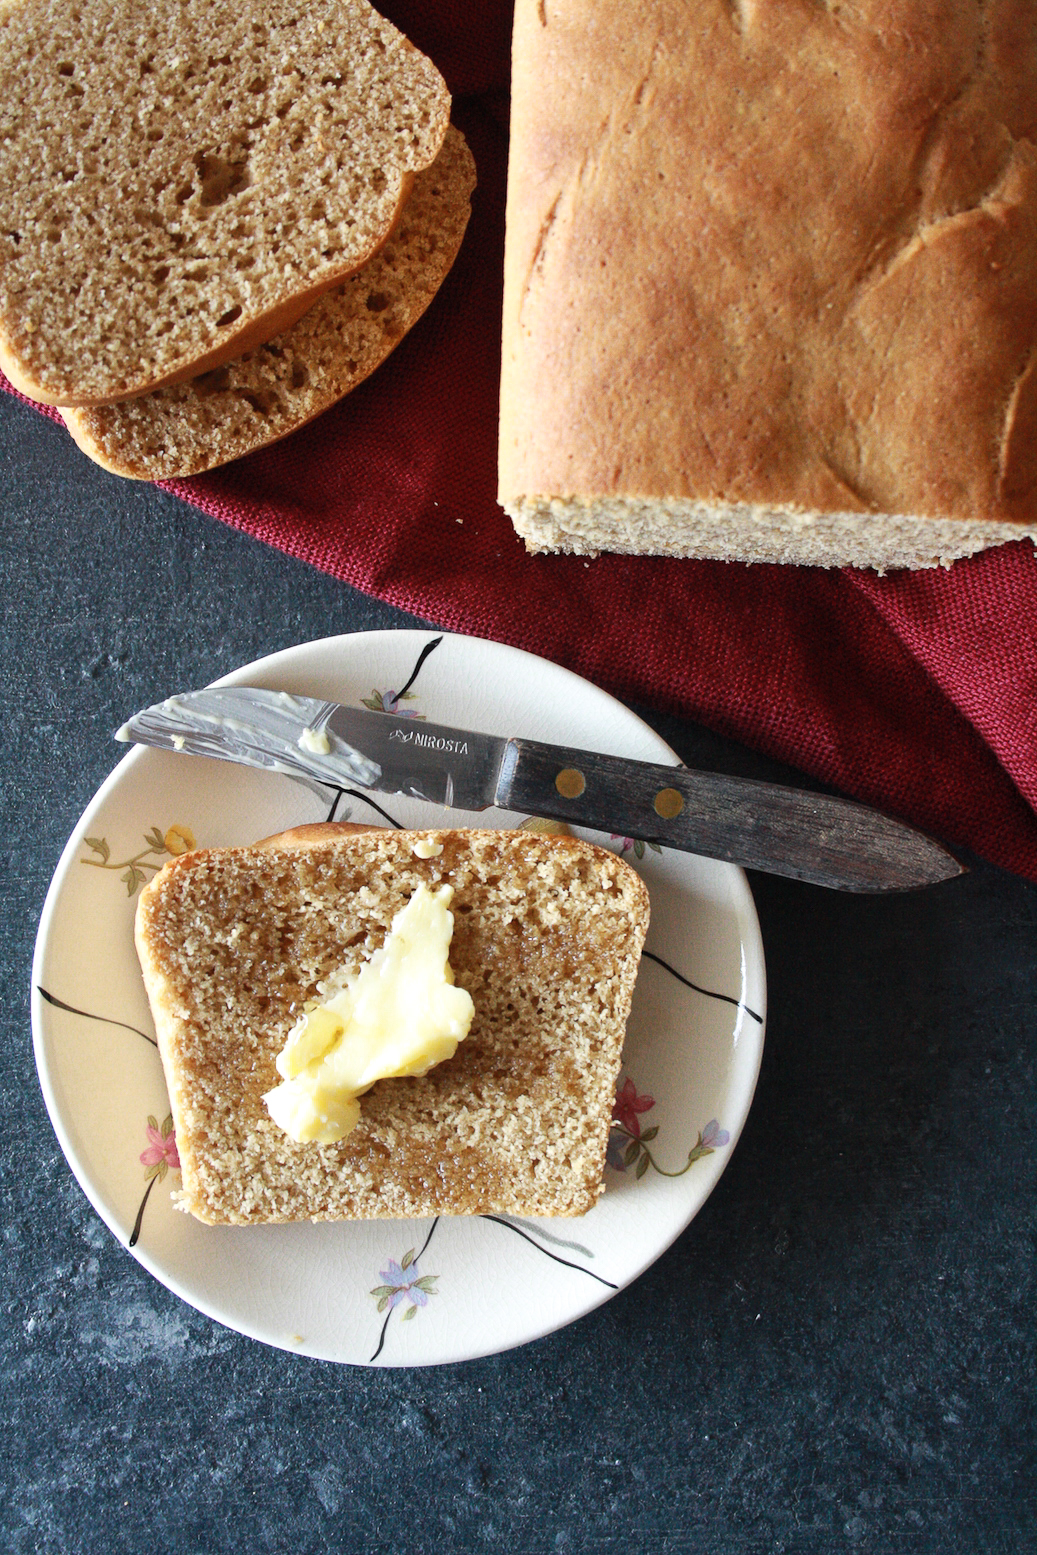
It has a mildly sweetish flavour because there’s honey in the dough, which is essential for flavour and caramelisation. Do not skip it, but you can probably reduce it and increase the salt for a more savoury loaf. Either way, we ate it with butter, and with eggs with equal enjoyment.

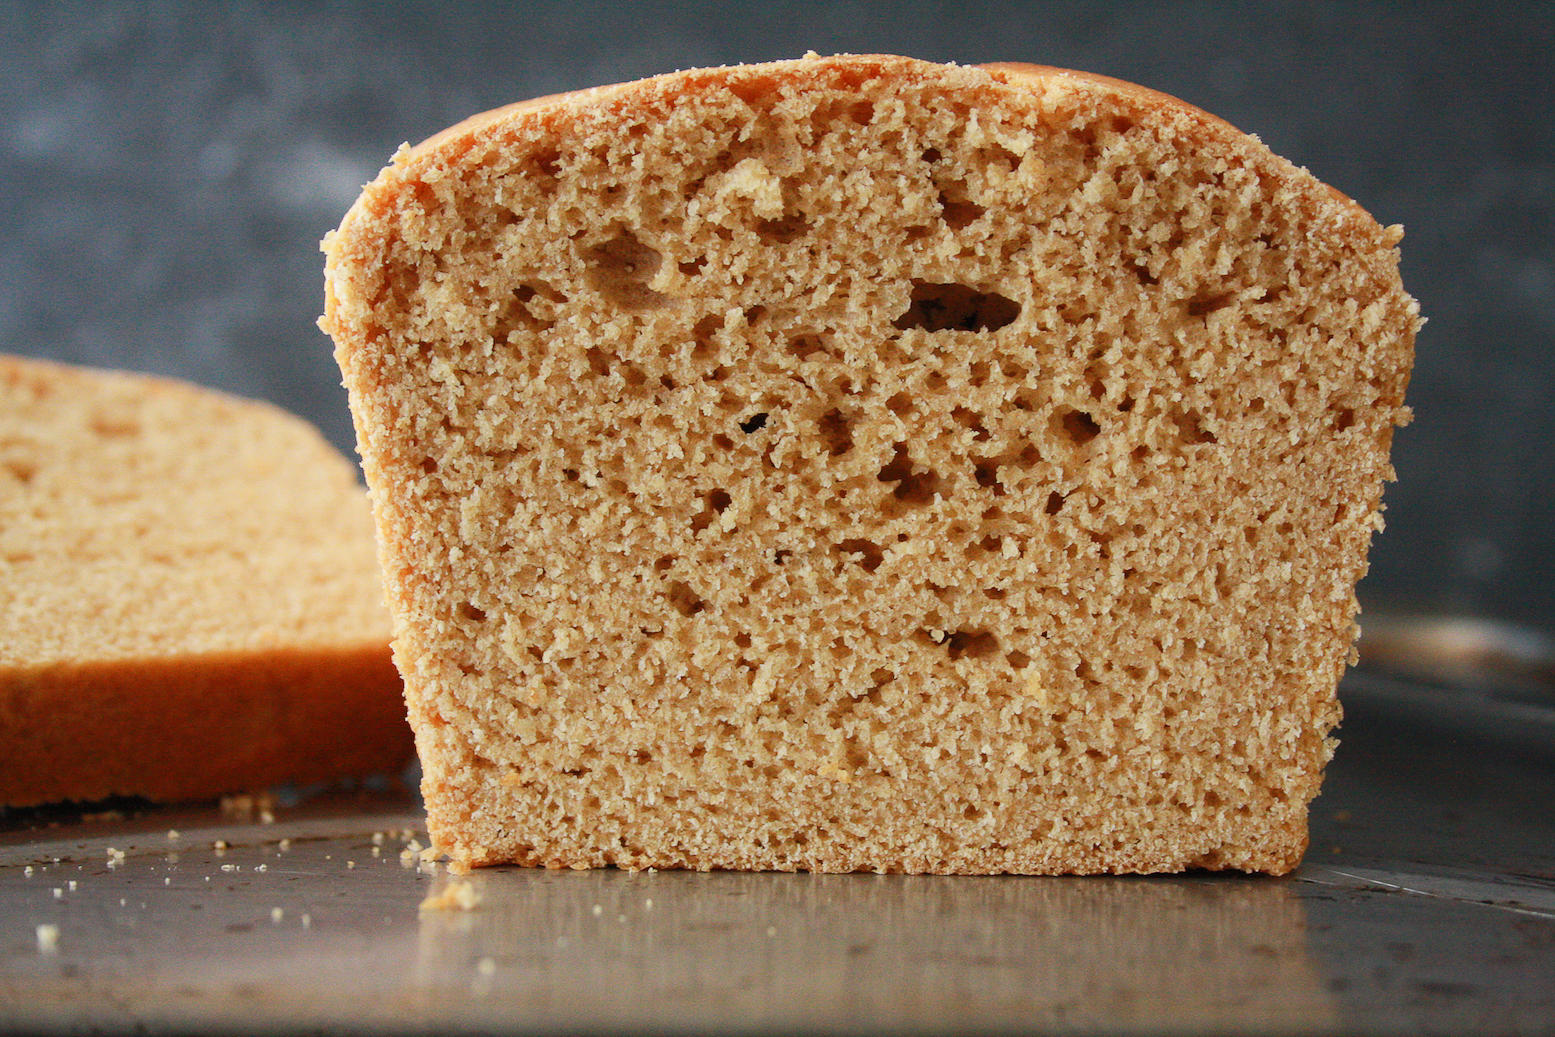
It is far lighter and fluffier than I had expected, with a slight chewiness that smaller bakeries achieve. The crust isn’t terribly crusty, so it’s easy to cut into and chew on. It’s got a wonderful flavour from the wholewheat flour and it’s just amazing what a few ingredients will produce. I found this best enjoyed on the first day, as with breads that don’t have preservatives or stabilisers, they tend to go a little drier and crumblier by the next day. We stored this in the fridge because of the humidity, but it’s perfect toasted, and takes care of any dryness that may settle in.
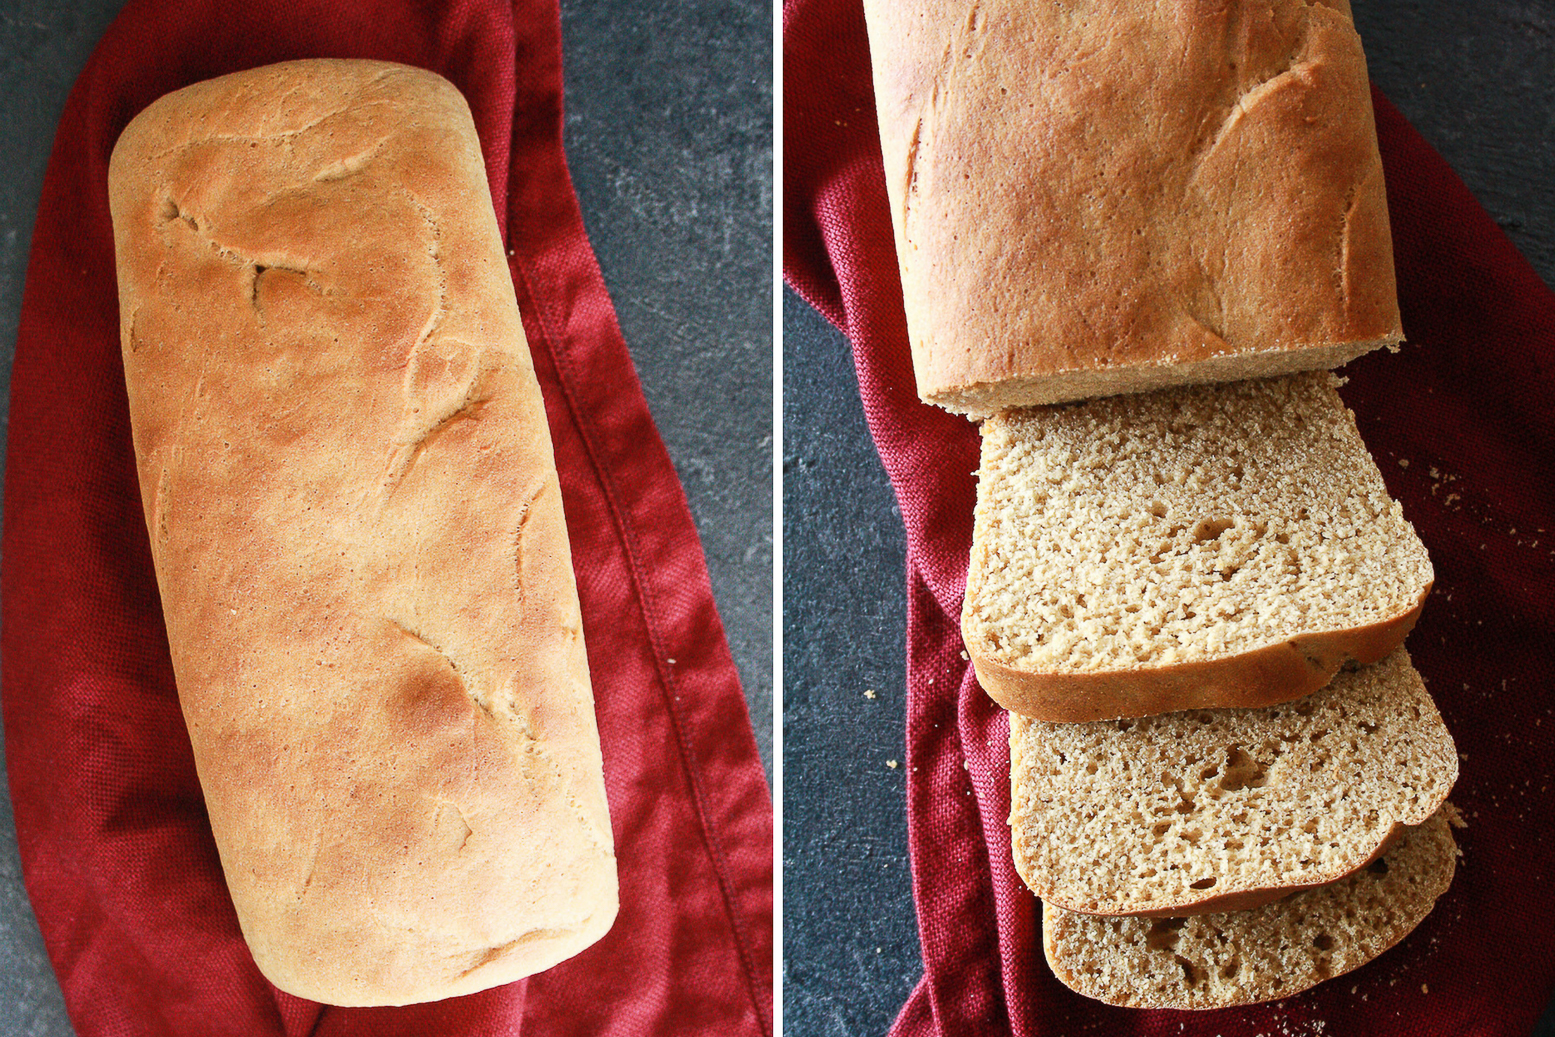
If you’ve never baked bread before, this is a safer bet than starting off with bagels, rolls, donuts or pita. Although this focaccia is ridiculously easy! The joy of baking your own bread is unparalleled. Go forth!
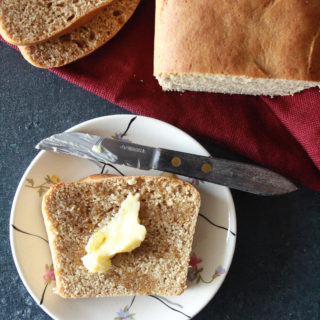
Homemade Wholewheat Bread
Ingredients
- 3/4 cup water
- 2 and 1/4 tsps active dry yeast
- 1/4 cup vegetable oil, plus 1 tsp if needed
- 1/4 cup honey
- 1/4 cup milk
- 1 and 1/4 tsps salt
- 3 and 1/2 cups wholewheat flour
Instructions
- Heat the water until it's warm, but not too hot. You should be able to dip a finger in comfortably. Stir in the yeast until dissolved, then cover and set aside for about 10 minutes or until frothy.
- In the bowl of stand mixer fitted with the dough attachment, pour the oil, honey and milk. Mix on low until combined. If you measure your oil before the honey, the honey slides out easily. See notes for kneading by hand.
- Pour in the yeast mixture and mix again.
- Add 3 and 1/4 cups of the flour, sprinkle the salt over and mix on low speed until the dough begins to come together. Switch to medium speed and mix until you have a smooth, soft but firm dough, with a little elasticity. Add the remaining 1/4 cup of flour a little at a time if the mixture looks too wet. You may or may not need all of it. I also added 1 tsp more oil and 1 tbsp more water.
- Once the dough is ready, lift it out and place on a floured surface. Oil the mixing bowl lightly, then place the dough back in. Cover tightly with clingfilm and leave to rise until doubled. It took only 45 minutes in my house, but it could take up to 2 hours.
- Lightly oil a work surface (I just used my baking tray) and scrape the dough out onto it. Shape into an 8" long loaf.
- Now lightly oil a 9x5 inch loaf tin and place the shaped loaf in it. Cover with clingfilm and set aside until it has risen almost double. The center of the loaf should be about 1 inch above the rim of the pan as it rises. Loosen the clingfilm as the loaf rises. This step took only 15 minutes for me but could take up to 1 hour.
- Preheat the oven to 175 C. Place the loaf tin in and bake for 35 to 40 minutes until browned on the top and firm, but not hard, to the touch. Cover with foil halfway through if it's browning too quickly. Let the loaf cool for 10 minutes in the pan, then turn it out onto a wire rack. Cool completely before slicing.
- Enjoy fresh with butter, honey, cream cheese, or as a meal with eggs. In Indian summers, it's best to store it in the fridge, it should last 3 or 4 days. Wholewheat flour breads will get a little drier and crumblier from day two onwards, so stick the slices in the toaster for the nicest texture 🙂 Happy baking!
Notes













What is the texture after kneading? Like chapati dough?
Chapatti dough can vary, since people make it a little softer and some make it firmer so it’s hard to compare it to that….I’ve mentioned the ideal texture of the dough in step 4, it shouldn’t too loose but not hard either.
It helps with flavour and caramelisation, I don’t think the texture will change but I don’t recommend skipping it. The recipe notes give a suggestion to reduce it.
Can honey be completely eliminated from this recipe? Will the texture change in anyway?
Thanks for the prompt answer. Does this bread give out a prominent yeast smell with 2 1/4 tsp of yeast?( I have made white bread before . 31/2 cups but with only 1tsp yeast. The rise time is slow. But no yeast smell. And I m too from muggy mumbai.
I didn’t think it smelled yeasty, it needs that amount because this is a fast rising bread but you can always reduce it if you prefer slow rises
How much instant yeast to use?
Same amount but the rise time will be lesser
Hi Gayatri,
Where did you buy kitchenart yeast? I searched online but could not find it.
I bought it on big basket but it isn’t always available there either. Blue bird is more easily available and I use it quite often as well 🙂