It’s true what they say. The smell of homemade bread can fix the world’s problems. Or maybe I said it, I dunno. But, you guys, there is nothing more satisfying than made-from-scratch bagels that are chewy and dense just like you want them to be. The only thing that might trump them is slicing, toasting and slathering them with cream cheese.
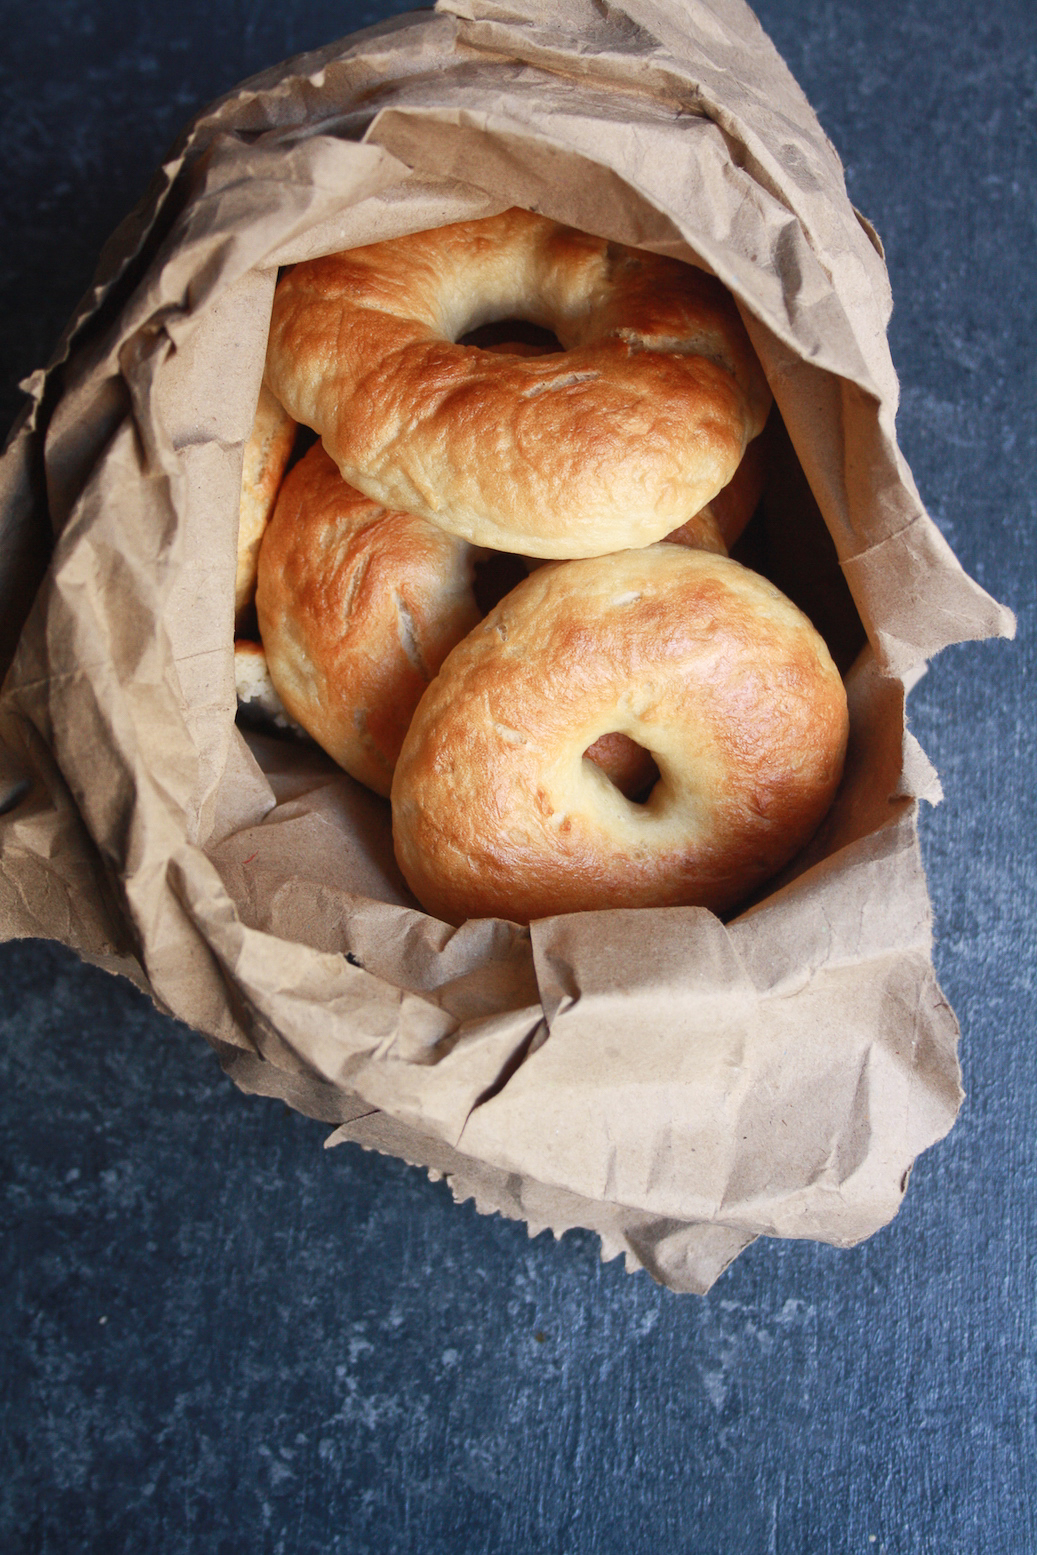 I suppose normal people get the same thrill from rollercoasters. But if you have a fear of heights, not a fear of bread, there’s no reason you can’t experience the same OHMYGODOHMYGOD moment. Fasten your seatbelts, we’re going in.
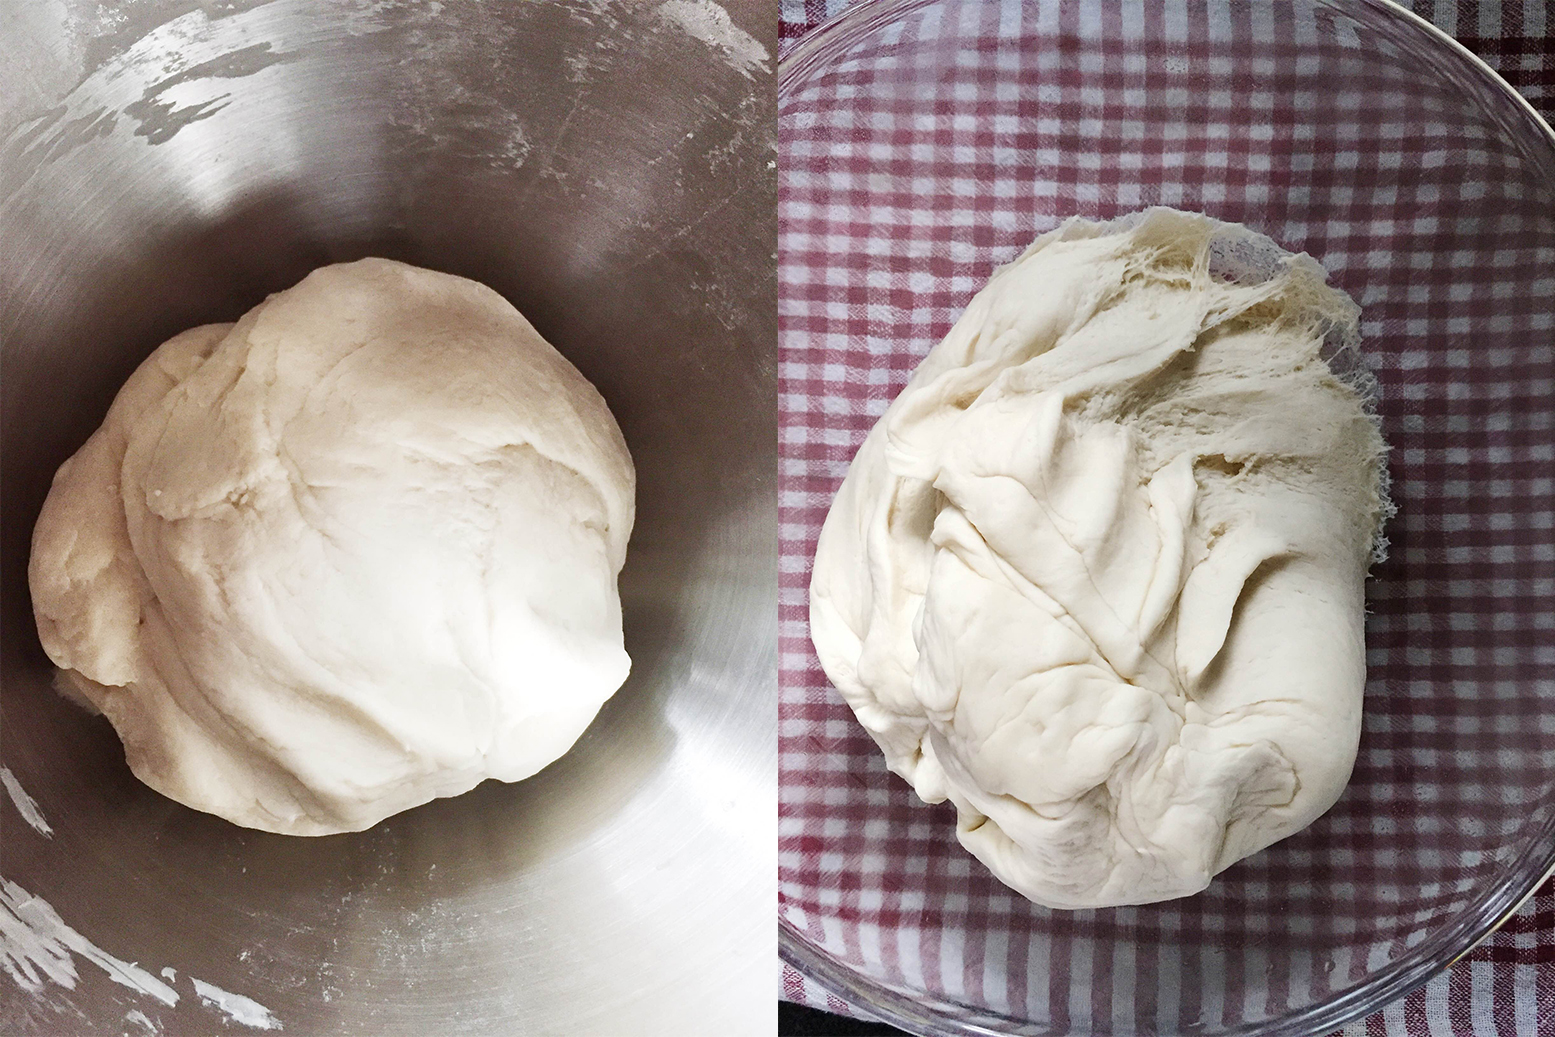
 I’ve made breads of different kinds before including babka and cinnamon rolls. Both fabulous, but neither need much kneading (hee). Bagel dough is stiffer, and requires about 15 minutes of hand-kneading which is more than my sweltering kitchen will permit me to tolerate. So, my sparkling new stand mixer’s first test was bagels. And it did really, really well. This is not an advertisement for stand mixers of any kind, nor am I saying that you absolutely MUST have one. It does however, make life easier and I swear just watching the dough come together is hypnotic. Truly magical.
Bagels also require two rises, shaping, boiling and then baking. But surprisingly, this all happens in about 3 hours and no step is too difficult. The shaping can get cranky if your kitchen is warm and the dough is a bit sticky. But it’s nothing some persistent fingers and makeshift poking devices (read, the mortar from my pestle and mortar) can’t fix.
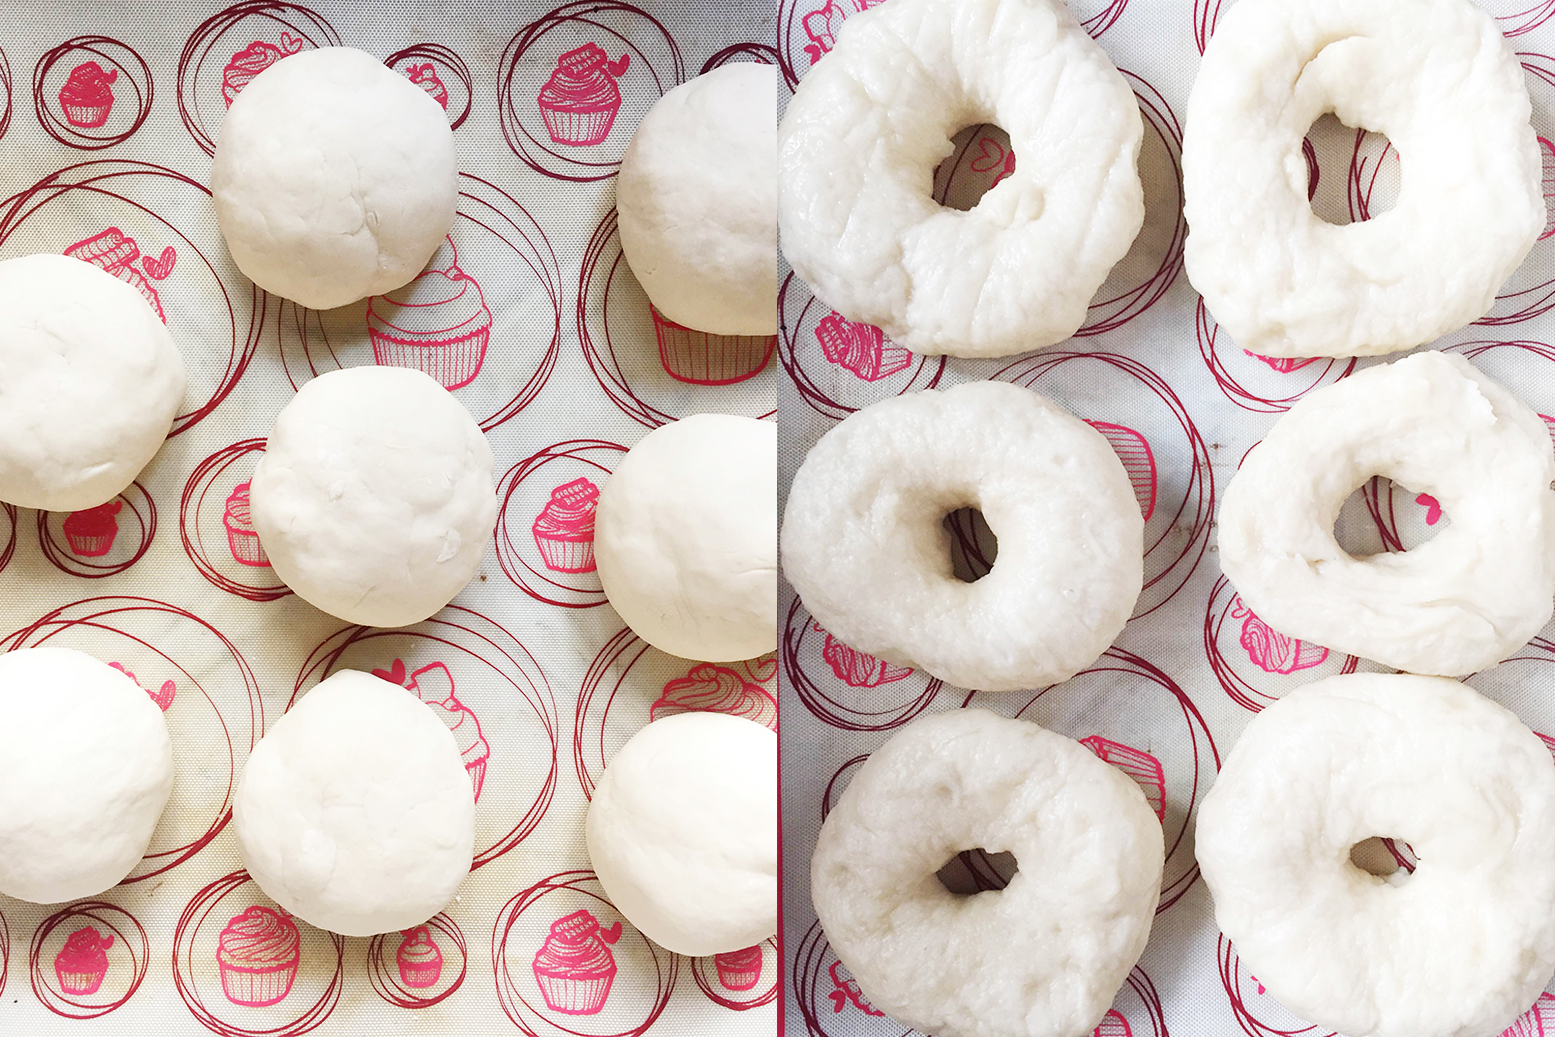
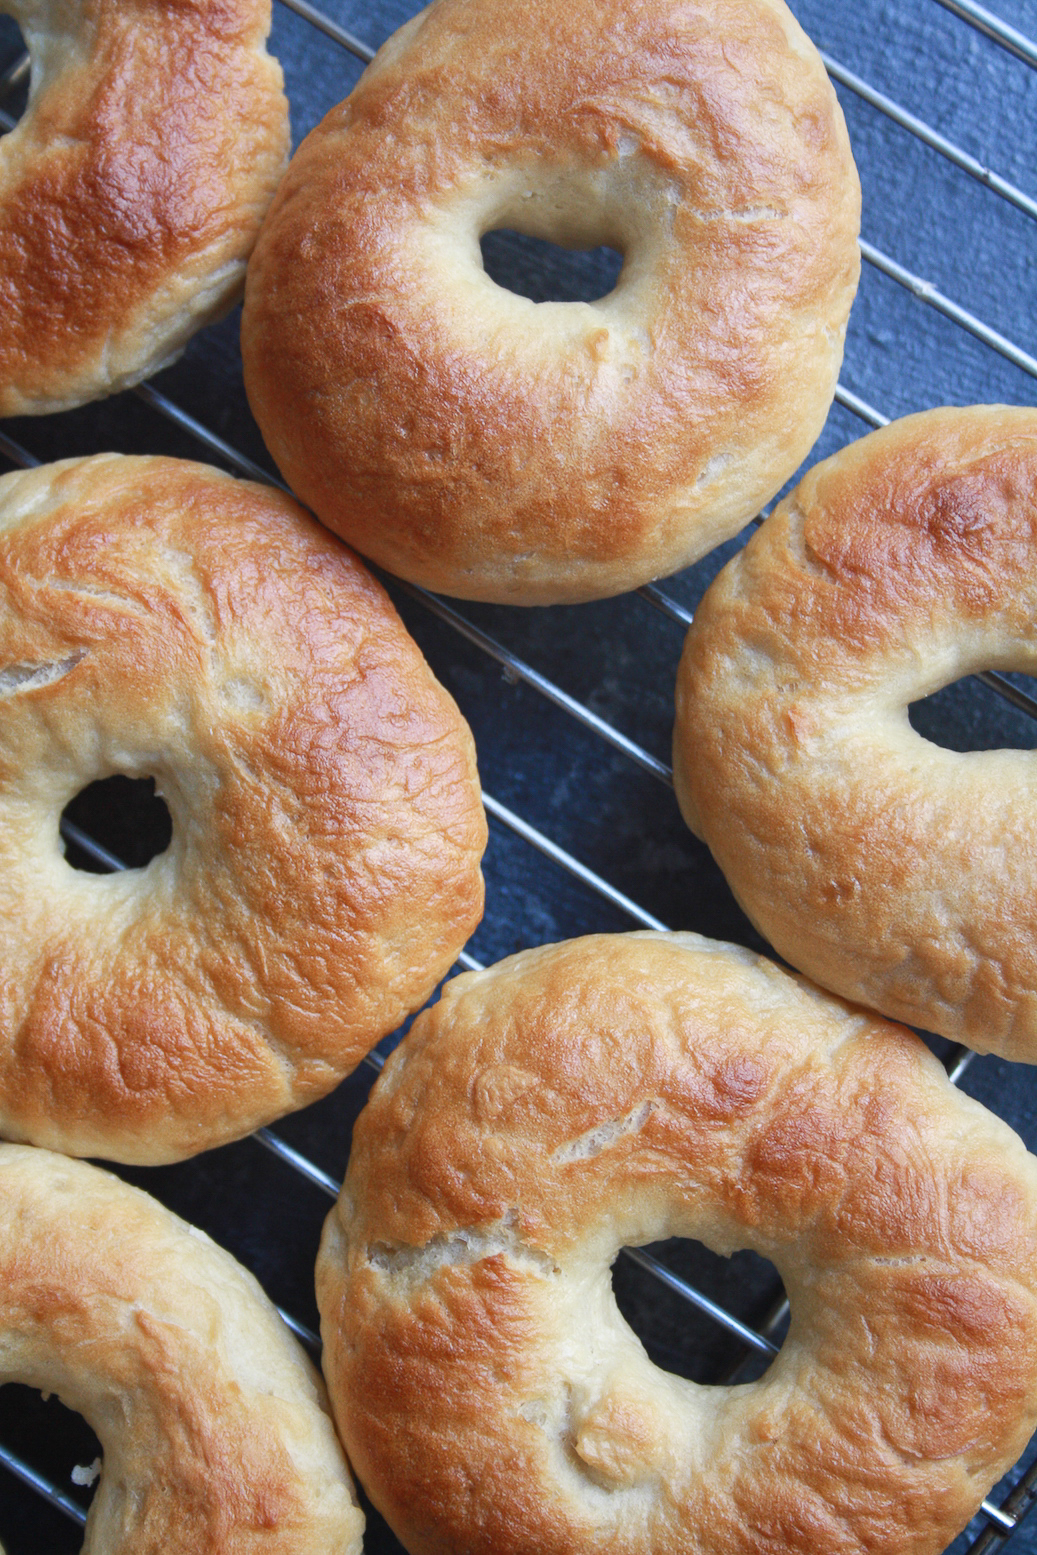
The end result is basically a batch of warm, crusty, chewy bagels that will make you feel so proud of yourself, you won’t mind if a couple of them are misshapen or bigger or smaller than the other. The point of making these at home is to celebrate being ‘rustic’, that amazing word we use to justify imperfections because frankly, it’s more fun that way.
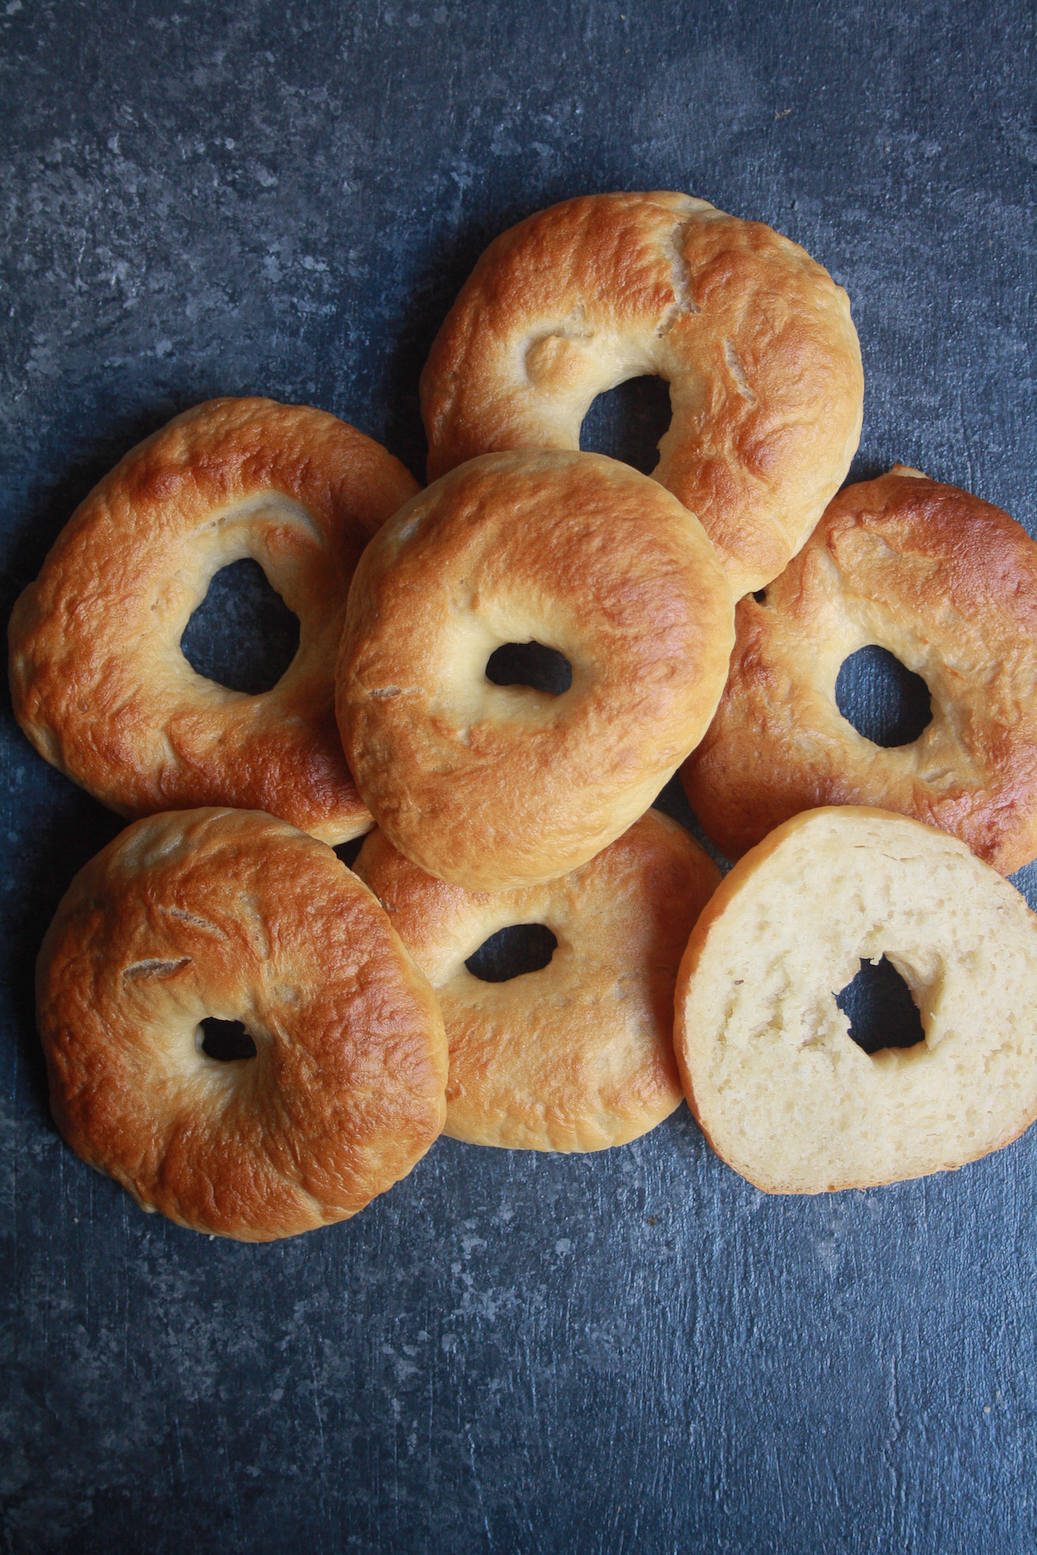
Making bagels for the first time requires a fair bit of research and the Internet is some sort of baking goldmine, such a good time to be alive! Sally’s Baking Addiction uses bread flour which I don’t have, but her instructions and descriptions were a wonderful guide. Natural Chow uses all-purpose flour which is of course, what I’d prefer on a daily basis and her recipe was spot-on. The water-bath where the bagels need to be boiled after shaping and before baking is crucial because this is where they get their crusty, caramelised exteriors that we all know and love.
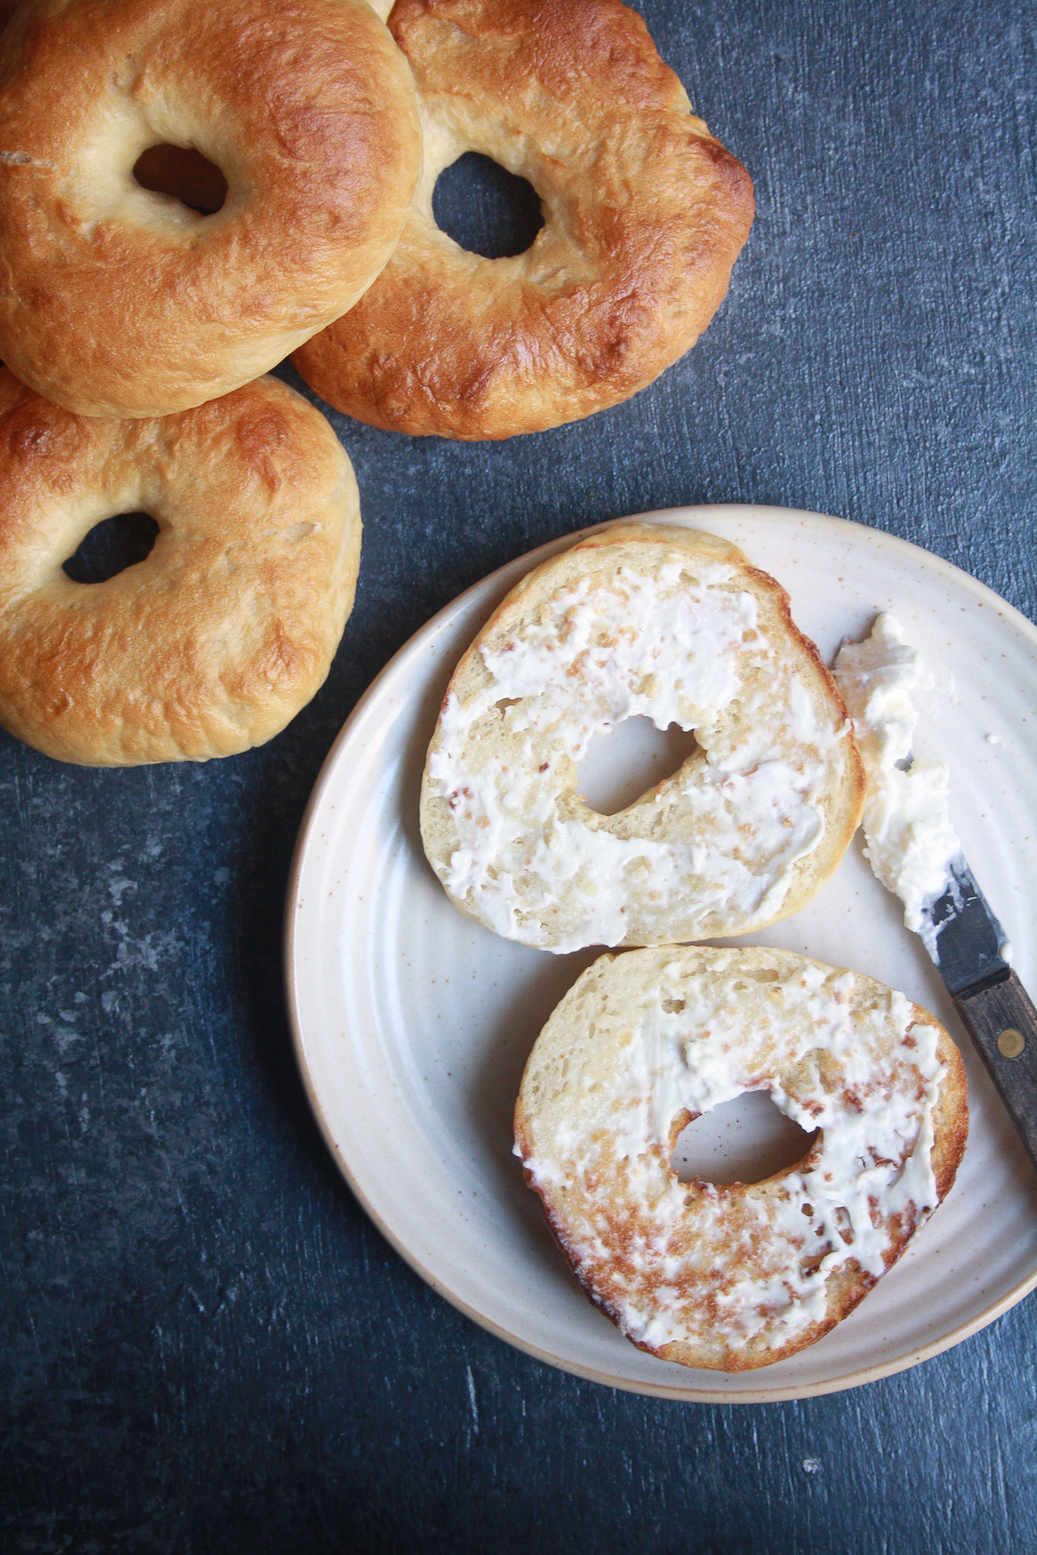
I do have two questions if you’re a regular maker of bagels at home. One, can I come live with you? Two, is there a reason that they tend to get more and more chewy as the hours go by? Is it a flour thing or a yeast thing or a boiling thing or a temperature thing? I have a hunch (see recipe notes), but I’d like to hear from seasoned bakers too. Not that this texture change does any harm, but it basically means if they’re eaten un-toasted, they’re best eaten fresh out of the oven. If eating them after the first few hours, definitely slice and toast, and slather with cream cheese which is pretty much the way they were intended to be eaten anyway 🙂
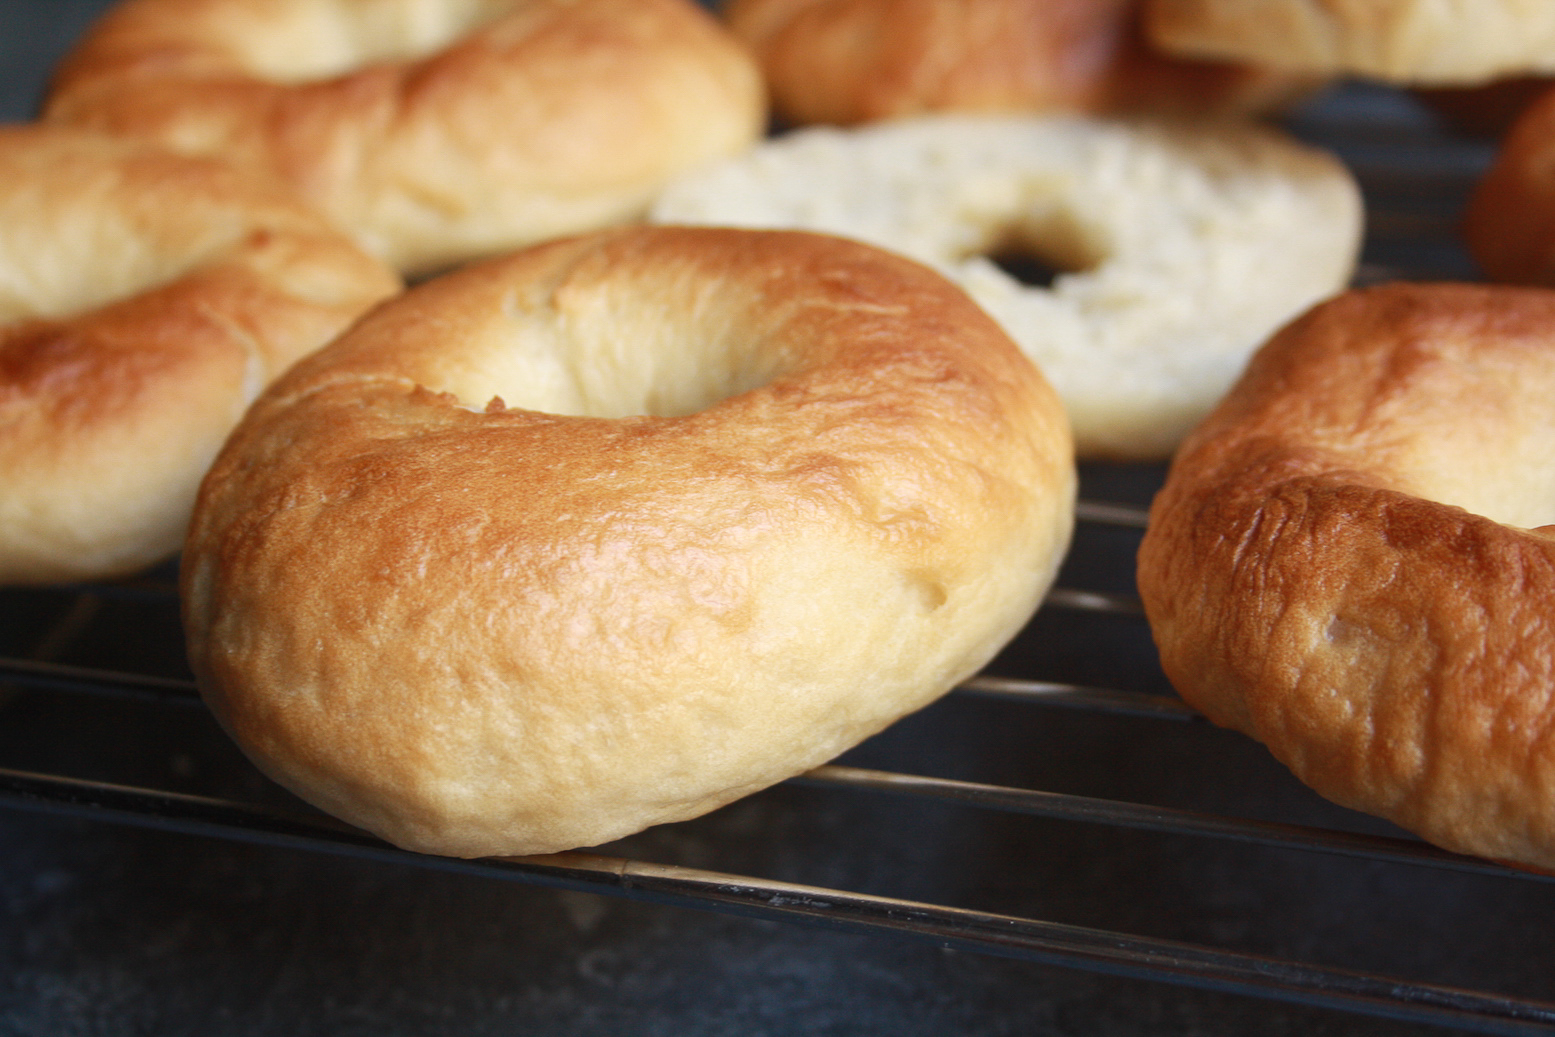
It is just seriously gratifying to be able to make these at home any time you want. The dough requires only basic ingredients and again, if you do use a stand mixer, half your work is done for you. I will note tips for each step in the recipe below, but I reeeeeaaally hope you’ll try these and love them! I’m now looking forward to trying variants like cinnamon-sugar, chocolate chip and maybe even savoury ones like onion and herbs. Aaaahhh!
Let’s bagel 🙂
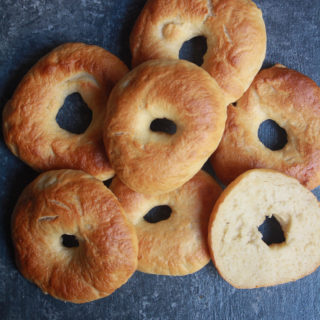
Homemade Bagels
Ingredients
- 1 and 1/2 cups warm water (you should be able to comfortably dip a finger in)
- 1 tbsp active dry yeast
- 1 tbsp brown sugar
- 4 cups all-purpose flour
- 1 and 1/2 tsps salt
- Water, enough to fill a large, deep pot
- 1/4 cup honey
Instructions
- In a small bowl, combine the water, yeast and brown sugar. Stir and set aside for a few minutes till frothy. If this doesn't happen, your yeast is probably expired or the water was too hot or too cold. Start over because everything depends on the yeast being properly activated.
- If using a stand mixer, fit it with the dough hook and combine the flour and salt in the bowl. Mix once to combine, then add the yeast mixture and on low speed, let the stand mixer run for 8 to 10 minutes until you have a smooth, elastic, stiff dough. It should be only very slightly sticky. If doing this by hand, combine the ingredients the same way, then mix with a rubber spatula to bring it together, then knead on a lightly floured surface for about 10 to 15 minutes until the dough is smooth, elastic and on the stiffer side. There is no specific sign of the dough being ready to rise, so time your kneading and you should be fine.
- Once done kneading, shape the dough into a rough ball and place in a lightly oiled bowl. Cover with a kitchen towel and set aside to rise for 1 to 1.5 hours until larger and puffier, but not exactly doubled. Since we're going for dense and chewy, we don't need a very pillowy dough.
- Transfer the risen dough to a lightly floured surface and punch down lightly to release any air. More air bubbles might form while shaping the bagels, not to worry. Divide the dough into 8 equal rounds, and shape into smooth balls. Place all 8 on a silicone mat lined baking sheet, cover loosely with a kitchen towel and set aside for 30 minutes to rise again. I used a damp kitchen towel, but if you're working in a hot environment, this could make the dough sticky, so a dry towel would be fine too.
- In the last 5 minutes of this second rise, heat a large, deep pot filled with water. Add the honey, stir it in and bring to a gentle simmer. Preheat the oven to 220 C.
- While the water simmers, shape the bagels. Hold one of the dough balls up, poke a hole in the center using your index finger, and move it around to widen the hole to about 2 inches wide, using two fingers if needed. If the dough is sticky, you can also your fingers to rotate the dough in your hands, widening the hole as you go. I used a steel pestle to assist with the poking as well because the dough had gotten sticky in the humidity. You're not aiming for perfection, don't stress about shaping! Place each of the shaped bagels back onto the baking sheet.
- Once all the bagels are shaped, transfer them, 3 or 4 at a time, to the simmering water. There should be enough room for them to float around without sticking to each other. Cook for 1 minute on each side (see notes). The bagels will start to look shrivelled and glazed. Remove from the water and drain with a slotted spoon or on a wire rack.
- Finally, place the boiled bagels back onto the baking tray, leaving at least an inch between them. You can bake them in two batches, nothing happens to the second one while the first is baking. Bake the bagels for 20 to 25 minutes, till golden-brown on the top.
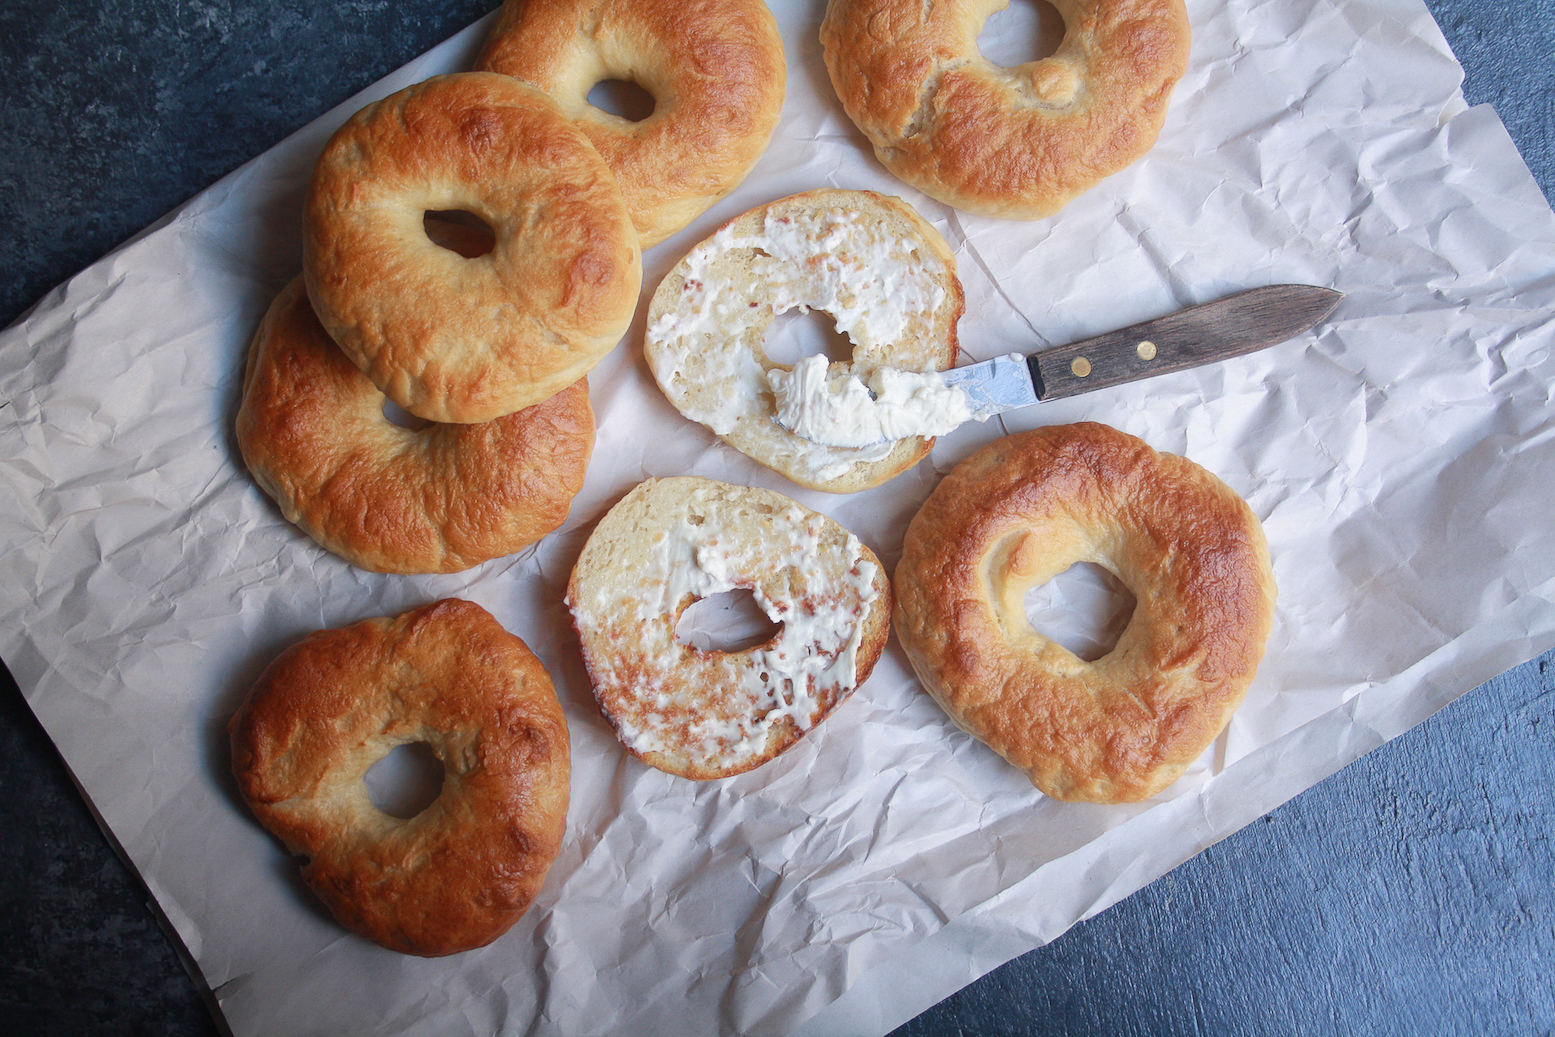
- Eat fresh as is, or slice and toast, but don't forget the cream cheese, whatever you do! These bagels can be refrigerated for a few days or frozen for a couple of months, so yay!






Pingback: Homemade Wholewheat Bread
Pingback: Apple Lattice Pie
I am allergic to honey, can I simply remove it or should I substitute with sugar?
Hmmm removing it could throw off the liquid quantity, so maybe use maple syrup instead ?
Made it. Love it. Easy to follow recipe. Thank you for sharing!
I’m so glad you like it, thanks for letting me know !
Wow these are great! I will be using this recipe all the time. Dough was wonderful to work with.
I will be making them smaller, maybe 10-12 for the recipe. 8 is just too big for us.
I’m happy to hear you liked them!