This cake is 50% whipped cream, 50% chocolate and 100% addictive. The easiest layers of white and dark chocolate mousse sit on an Oreo base that comes together in minutes. The fridge does most of the work and you have a creamy, decadent, no-bake dessert with very little effort. We’re going in.
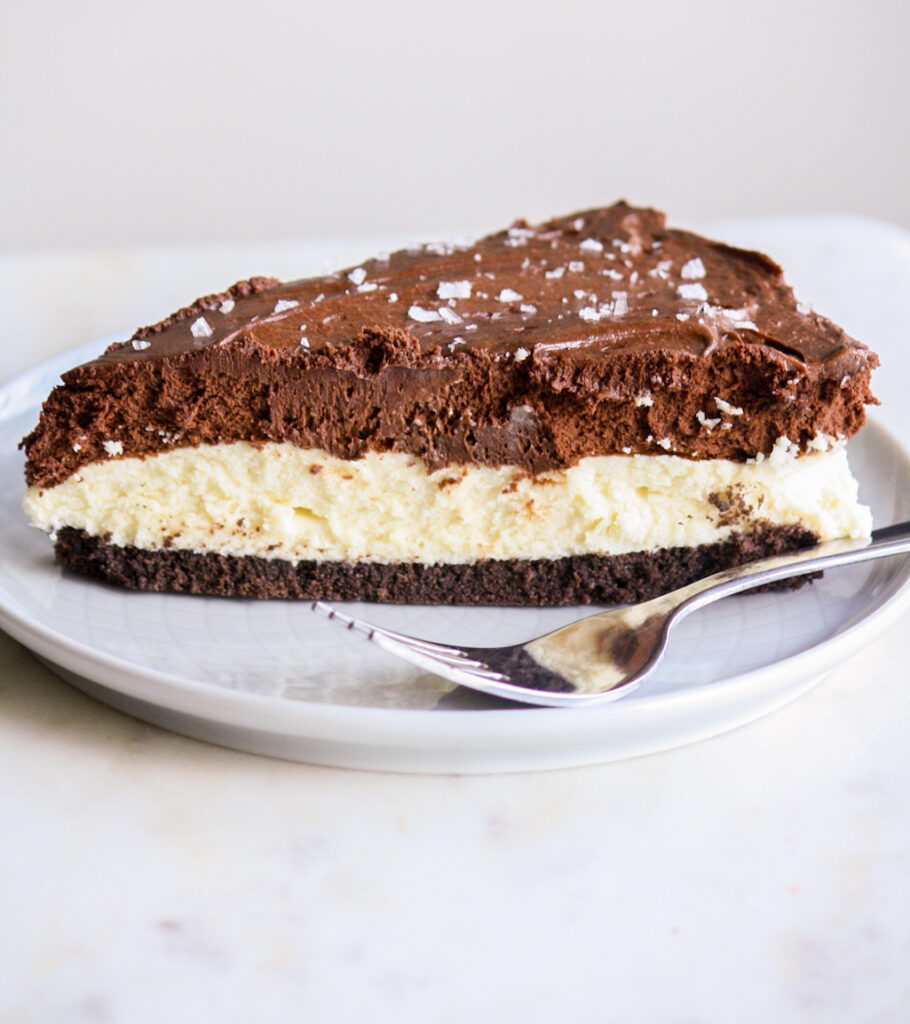
I’d made this earlier as a round cake with alternating layers of white and dark chocolate mousse but it was harder to get the layers even and it increased the chilling time as well. A loaf tin makes slicing and removing more convenient so I used that this time around but a round tin is ok too!
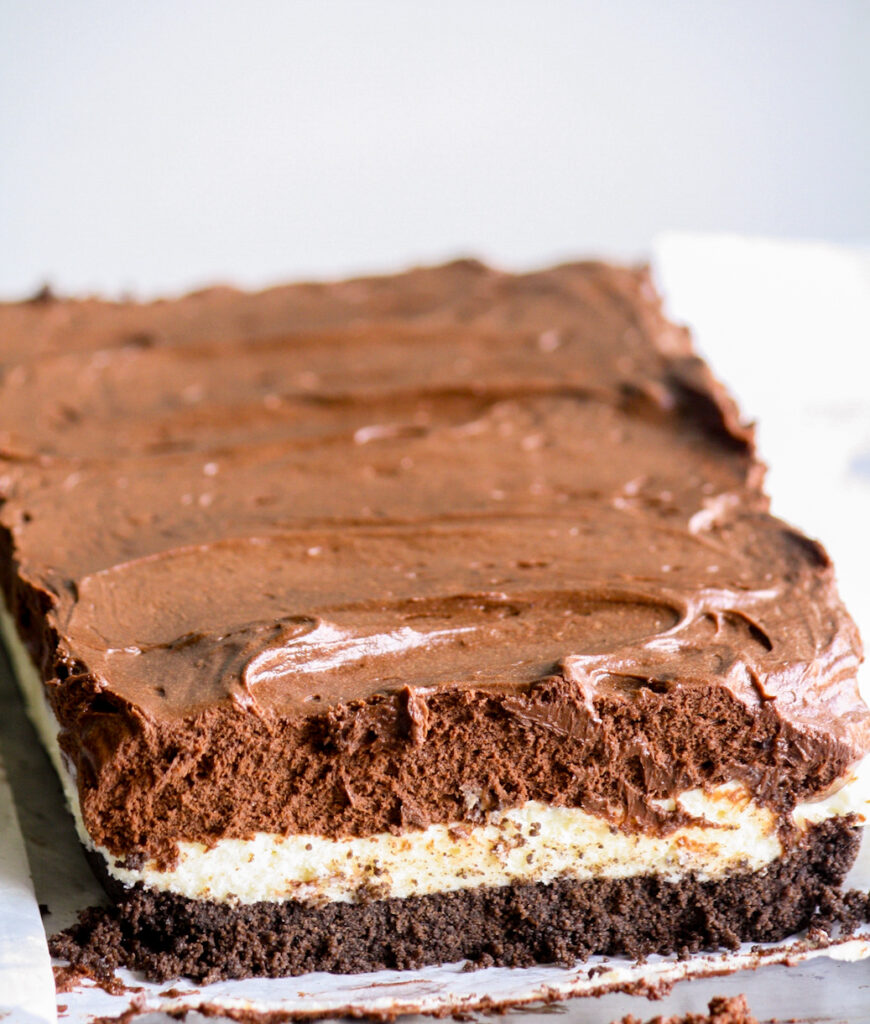
This cake is rich and so it’s great for a crowd but make it just for yourself too! The biscuit base is just crunchy enough to complement the soft mousse and the combination of white and dark chocolate means there’s no overwhelming sweetness.
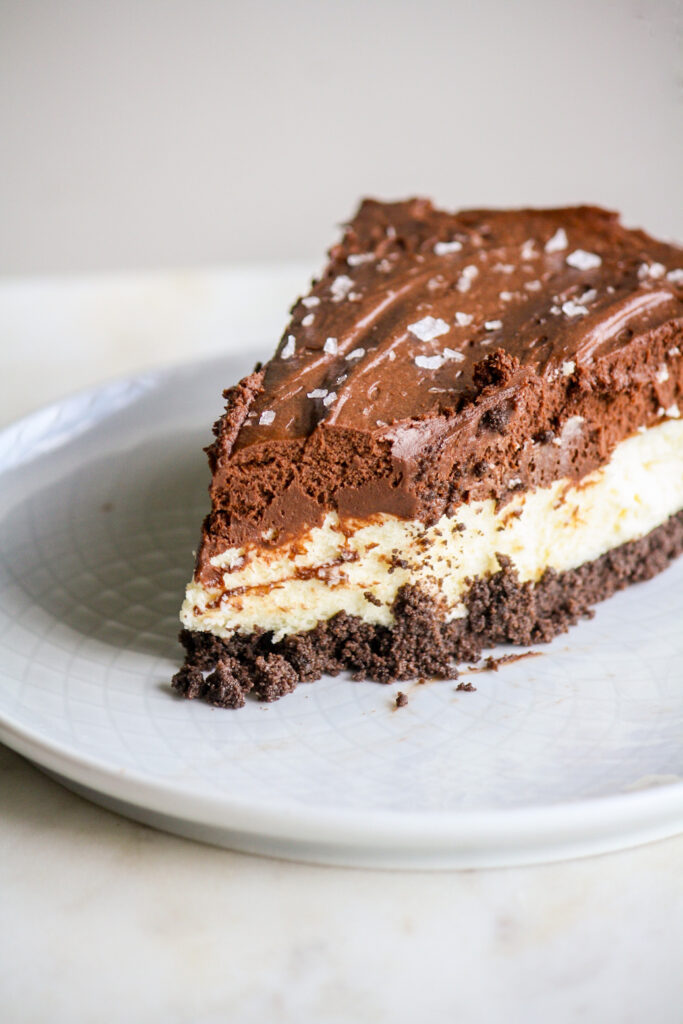
It’s essentially just about melting chocolate and whipping the cream and then it comes together in no time. I like it after softening a little since both the layers will thicken after refrigeration, especially the dark chocolate one. A little sea salt on top balances out the sweetness of the white chocolate.
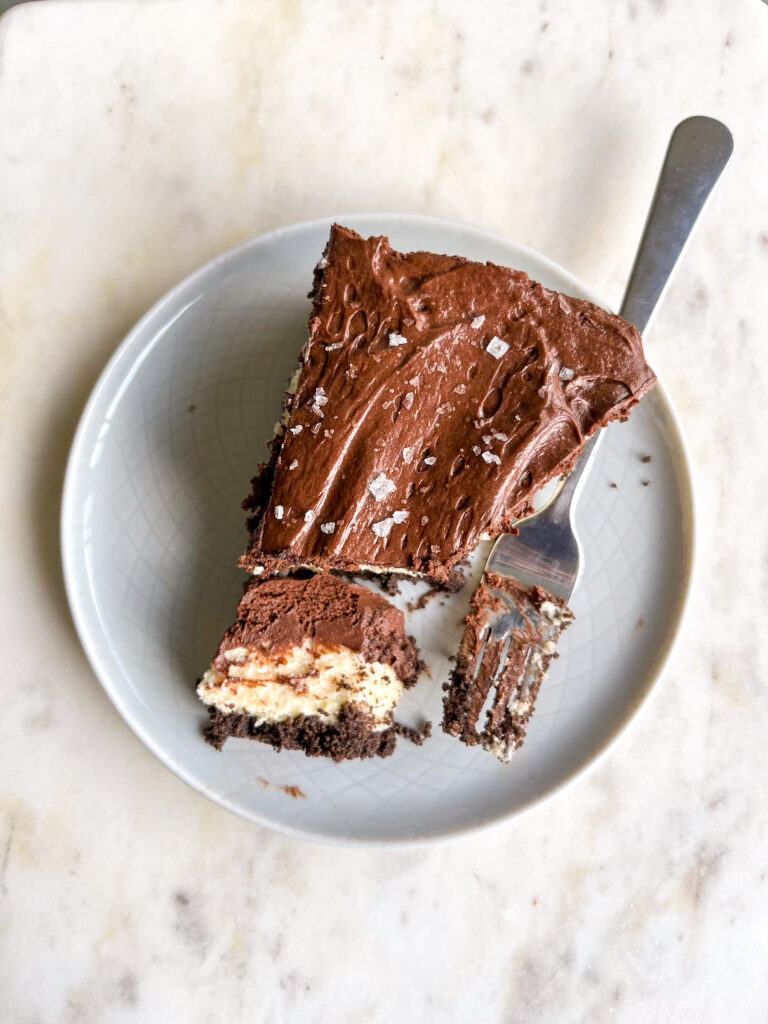
Make this today!
Double Chocolate Mousse Cake
Ingredients
For the base
- 130 gms Oreos, chocolate flavour recommended
- 4 to 5 tbsps melted unsalted butter
For the mousse layers
- 150 gms white chocolate, finely chopped (see notes)
- 150 gms dark chocolate (50% to 60% dark), finely chopped
- 1 cup chilled whipping cream
- Flaky sea salt to sprinkle on top, optional
Instructions
- Grease a 9x5 inch loaf tin and then press a sheet of non-stick baking paper into it, leaving an overhang for easy removal. You can also make this in an 8-inch round springform pan.
- First make the base. Blitz the Oreos in a food processor until they're very finely crumbed and powdery. Pour in the melted butter and blend again till the mixture resembles wet sand and sticks together when pressed between your fingers.
- Transfer to the prepared loaf pan and press down firmly and evenly with the base of a measuring cup. Refrigerate for 30 minutes until firm.
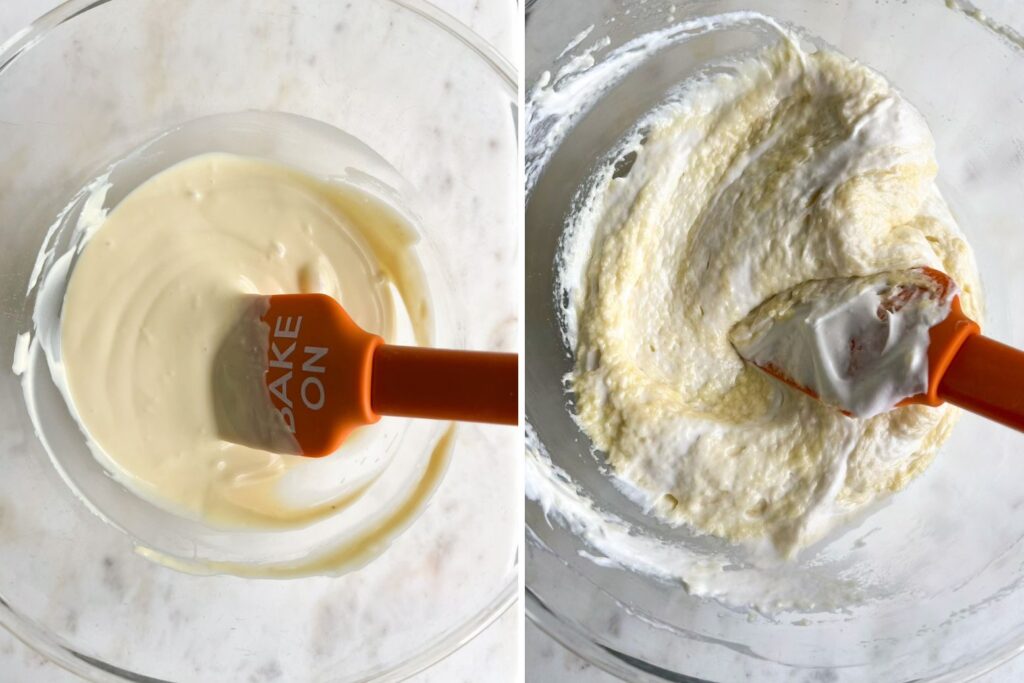
- In the meantime, melt the white chocolate in a medium sized microwave-safe bowl in two 10 second increments on high, stirring in between each. Do not overheat the chocolate and when it's almost fully melted, stir gently to smoothen out any lumps. Set both aside to cool slightly.
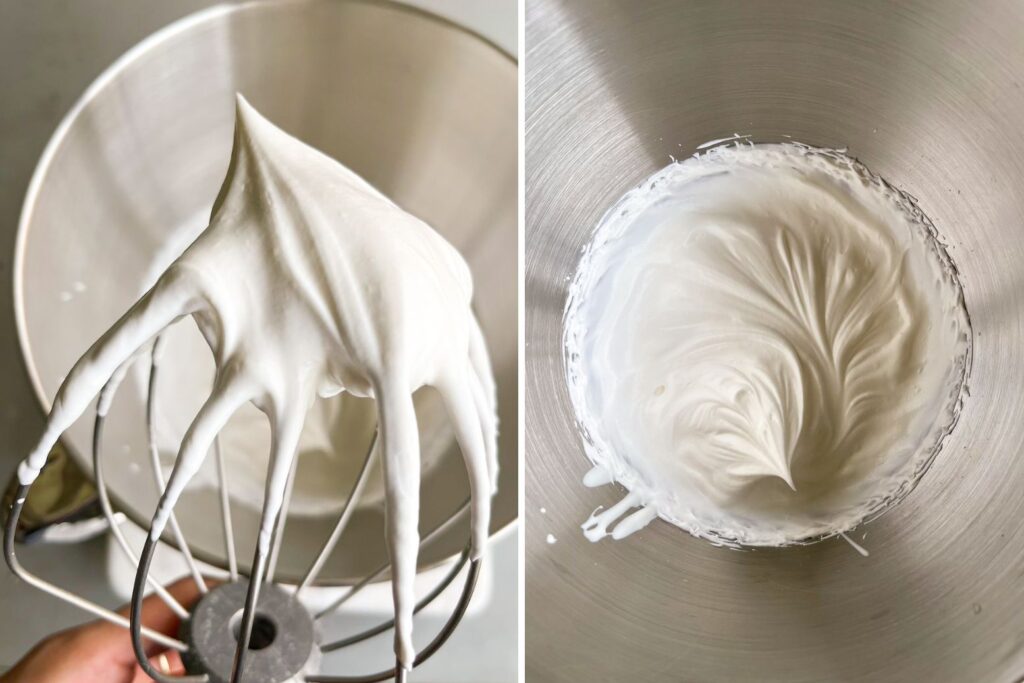
- In a stand mixer with a whisk attachment (or use a hand mixer and mixing bowl), beat 1/2 cup whipping cream on high speed for 3 to 4 minutes until it thickens to stiff peaks with very slightly rounded tops. See photos below.
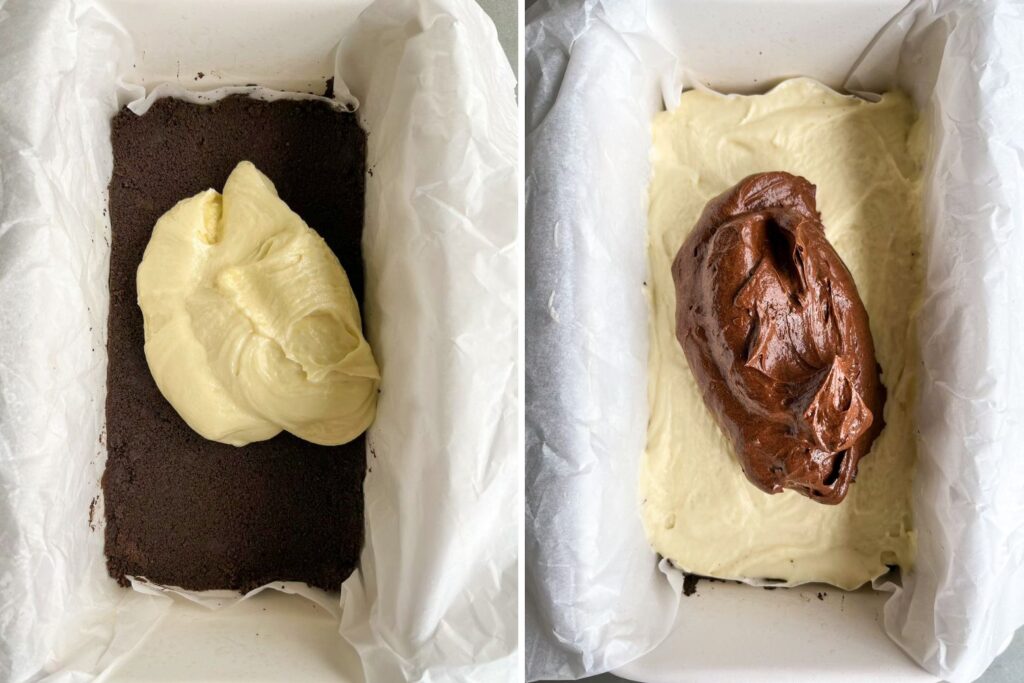
- Add a spoon of the whipped cream to the melted white chocolate and stir gently to help loosen it. Fold in the rest of the cream gradually, working gently but quickly. It will at first look a bit uneven but will smoothen out in a fluffy and airy texture. Spread this mousse over the chilled Oreo base and refrigerate again for 30 minutes or until set enough that if you touch it, it no longer feels soft or sticks to your fingers.
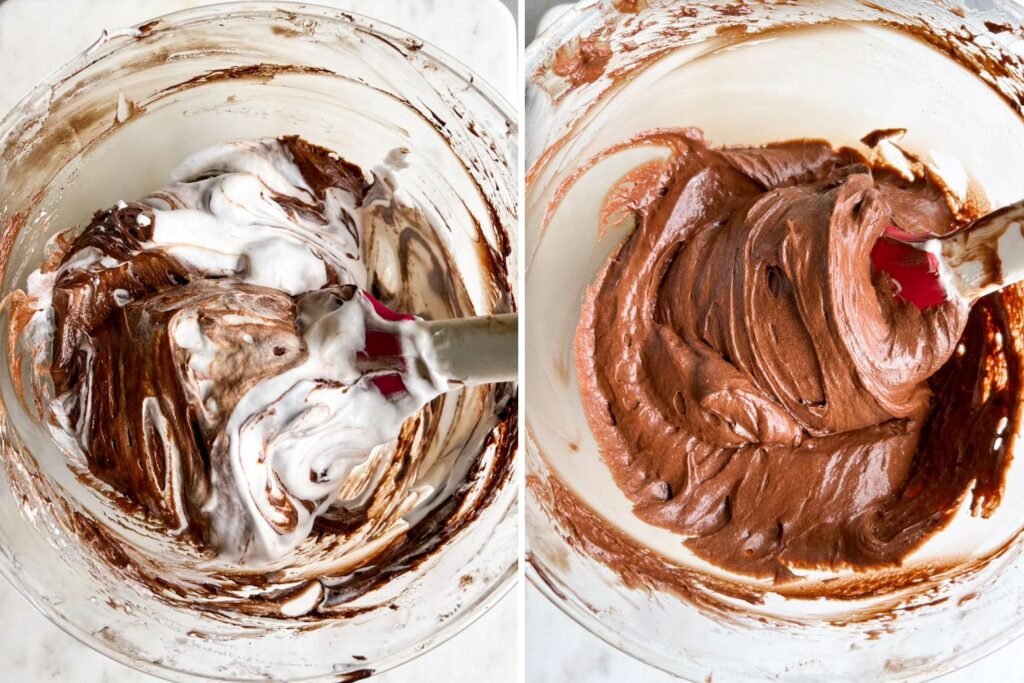
- Next, melt the dark chocolate the same way as the white (use a separate, clean bowl to make sure nothing interferes with the melting of the chocolate) and set aside to cool slightly.
- Whip the remaining 1/2 cup of cream and fold it into the dark chocolate the same way to make another layer of mousse. Spread this over the layer of chilled white chocolate mousse and refrigerate another 30 minutes to 1 hour until set.
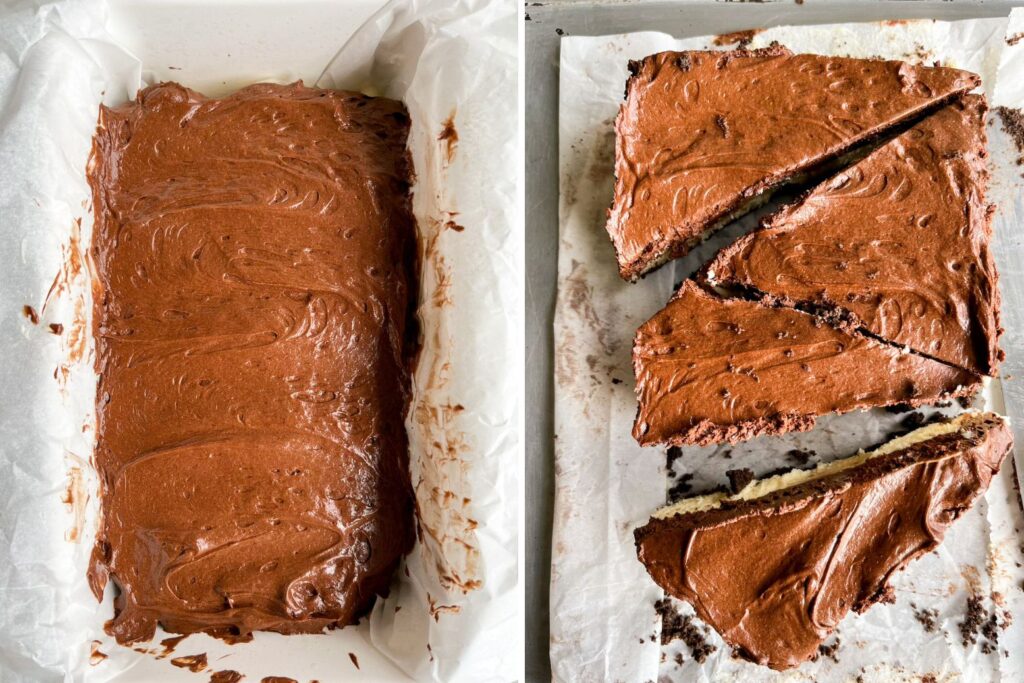
- Use the paper overhang to lift the mousse cake out and slice into 6 wedges or smaller rectangular slices if you prefer. Sprinkle with sea salt just before serving.
- Store in an airtight box for 4 to 5 days in the fridge. Let individual slices sit at room temperature for 15 to 20 minutes to soften slightly before eating. You can also freeze this for longer. Happy not-baking!
Notes
This post contains affiliate links.
