Mango season is basically the best season! And fresh mango is a game changer in classic sponges layered with whipped cream. This one also has coconut for a lovely tropical flavour combination and a little more texture in the cake itself. It’s the perfect summery dessert and doesn’t need hours of work either. Let’s make some cake!
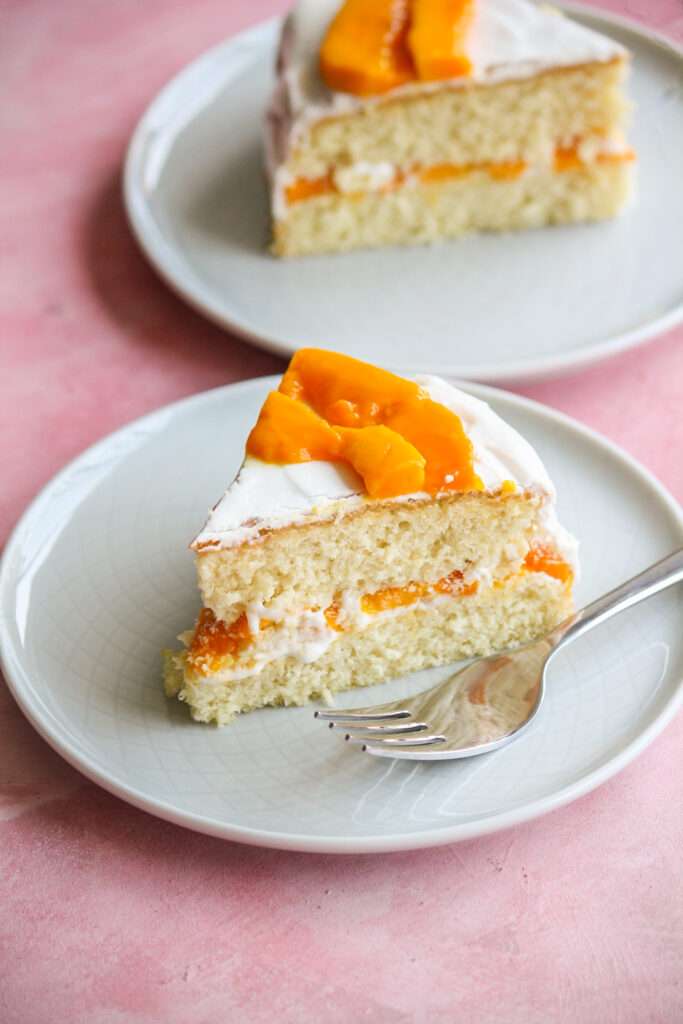
I added desiccated coconut to my go-to sponge recipe and because it can be a drying ingredient, I added a little more butter and sugar for some extra sweetness. The cake is filled and topped with freshly whipped cream and of course lots of sliced mango. I love Alphonso here, it tastes and looks the best so if you can find it, use it!
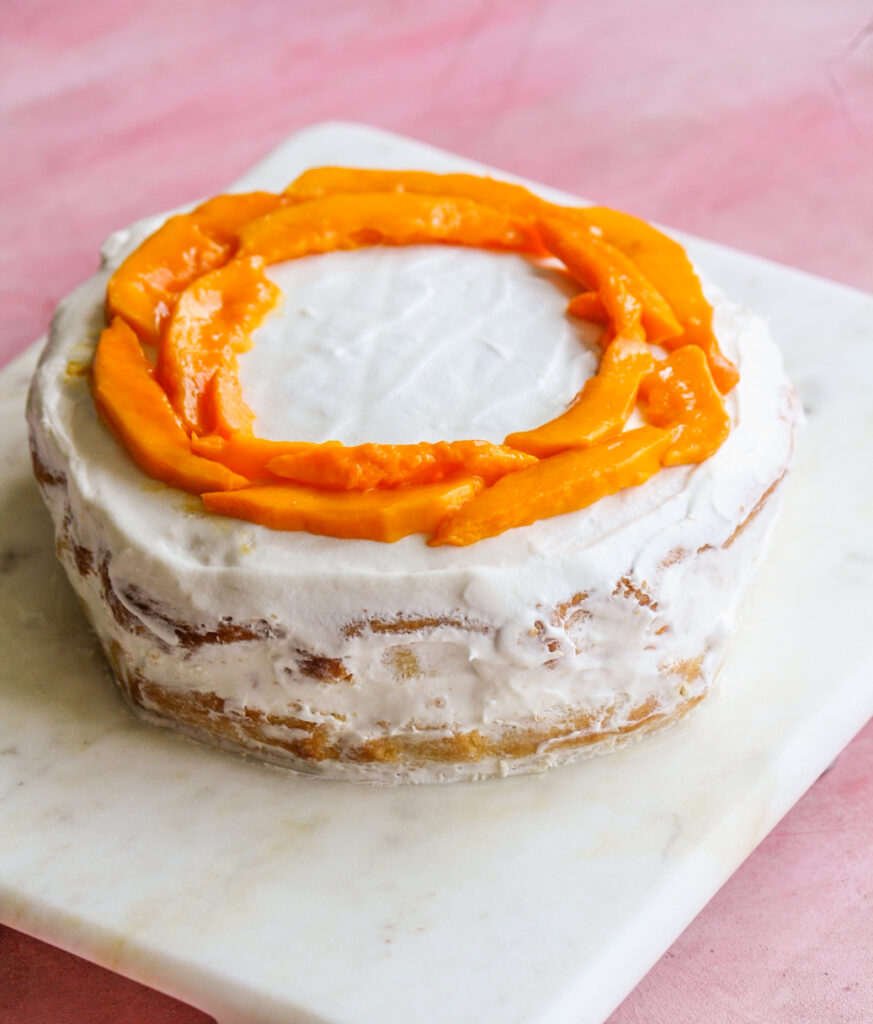
This is not a very tall cake but it makes a satisfying layer cake . It’s baked in an 8 inch tin for 6 to 8 servings and I like this as a small-batch dessert because fresh mango and cream don’t keep for very long even in the fridge. The coconut makes it slightly firmer than a plain sponge, but it’s still soft, not dense in any way.
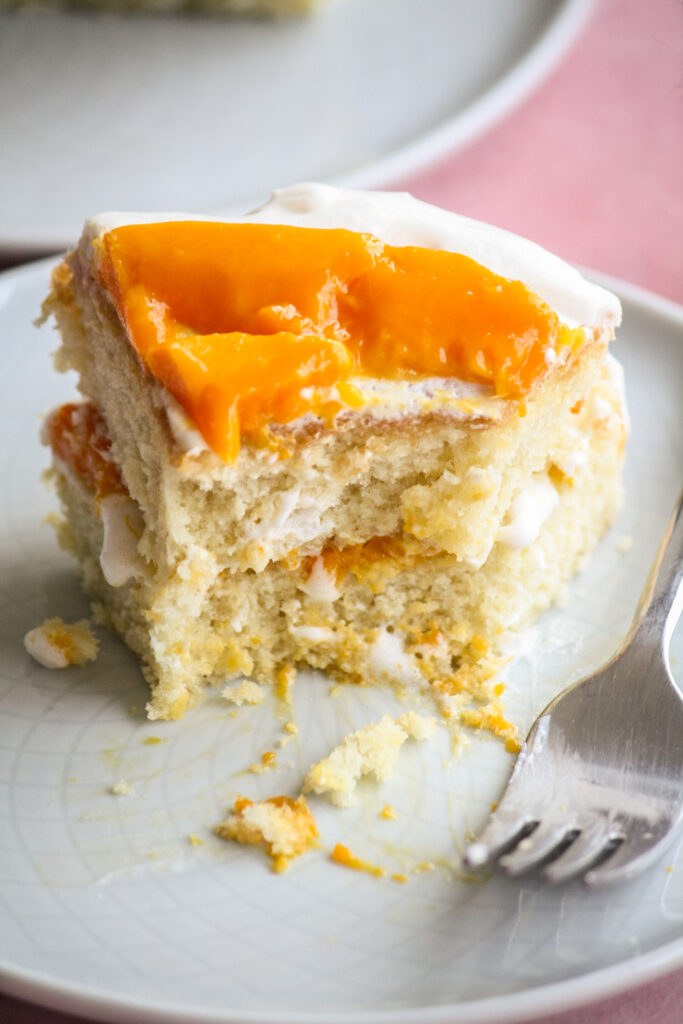
I love that the cream absorbs a little into the sponge, moistening it and this is why I recommend a long overnight chill in the fridge which lets the cake really ‘set’ and bonus, makes easier-to-cut slices. Ok, get baking and I hope you love this cake as much as I do!
Please read the recipe notes before beginning.
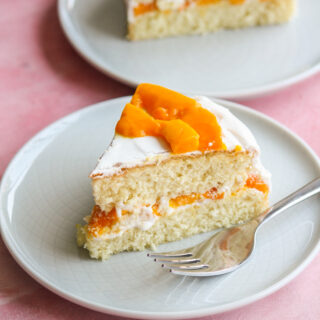
Mango Coconut Cake
Ingredients
For the cake
- 3/4 cup all-purpose flour (100 gms)
- 1/2 cup desiccated coconut (40 gms; see notes)
- 1/3 cup butter
- Pinch of salt if using unsalted butter
- 4 eggs at room temperature (integral to this recipe, I can't suggest substitutes)
- 3/4 cup caster sugar (140 gms)
- 1 and 1/2 tsps vanilla extract
For the filling and topping
- 1/3 cup chilled whipping cream (80 ml) (see notes)
- 1/4 tsp vanilla extract
- 1 tbsp caster sugar
- 4 alphonso mangoes (approx 200 gms each)
Instructions
- Line an 8 inch springform tin with non-stick baking paper. Preheat the oven to 170 C.
- Sift the flour (and salt, if using) into a bowl. Stir in the desiccated coconut and set aside. Melt the butter and set it aside to cool slightly.
- Now add a little water to a saucepan and bring it to a simmer over medium heat. While this is happening, combine the eggs, sugar and vanilla in a mixing bowl that fits neatly over the saucepan, without its base touching the water. Bring the heat down to low and place the bowl over the saucepan. Using a balloon whisk, whisk continuously for 5 to 7 minutes until the mixture is slightly warm, frothy and paler (see photos below). This double boiler step warms the eggs gently, creating more air and also helps dissolve the sugar so they beat better and become fluffy easily.
- Pour this warm mixture into the bowl of a stand mixer fitted with the whisk attachment. Beat on high speed for about 5 minutes until the mixture has tripled in volume, thickened and leaves ribbons when you lift the whisk up (see photos below). I found the stand mixer bowl too large for a double boiler which is why I transfer the mixture after the above step, but if yours fits easily, you can just use the same bowl for both. You can also do this step with a hand mixer as long as your bowl is large and deep enough to hold the mixture as it increases in volume.
- Now gently add half of the flour and coconut mixture to the bowl and fold it in using a silicone spatula. Do not mix vigorously, gently take your spatula to the bottom of the bowl, bring it up cutting through the airy batter and repeat. Add the remaining flour and do the same. While the batter will naturally deflate a little, don't worry about fully incorporating the flour as you fold.
- Slowly drizzle in the melted butter and once again fold gently but quickly to combine so that the butter doesn't settle at the bottom. Make sure your spatula goes right to the base of the bowl to get it all folded in.
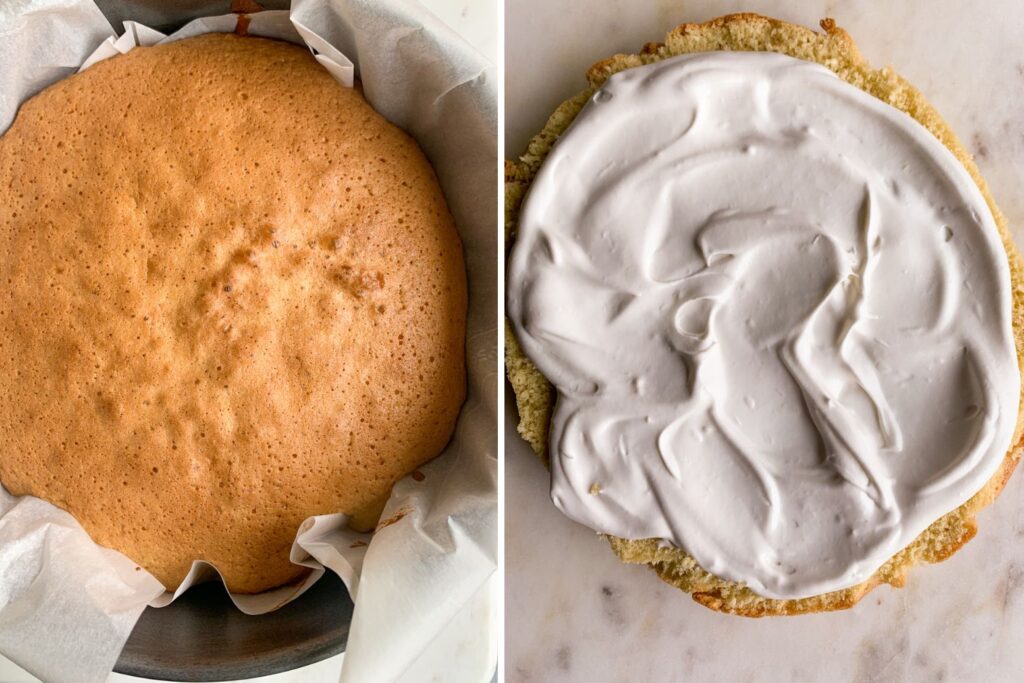
- Immediately pour the batter into the prepared pan and bake for 25 to 30 minutes until browned on top and when you press the surface lightly, it should spring back. This cake doesn't rise very tall but will still make a satisfying layer cake.
- Let the cake cool completely in the pan at room temperature. Once cooled, you can cover it and leave it out overnight as well.
- Finally, whip the cream, vanilla and sugar together with a hand mixer on high speed until fairly stiff peaks forms, 3 to 4 minutes. Place in the fridge until ready to use.
- Now peel and thinly slice three of the mangoes. The fourth one will be for topping just before you cut the cake.
- When ready to assemble the cake, use the paper to lift it out, gently flip the cake and peel off the paper. Place it on a plate or a serving platter. Slice the cake carefully into two layers with a long sharp knife. Lift off the top half gently and set it aside.
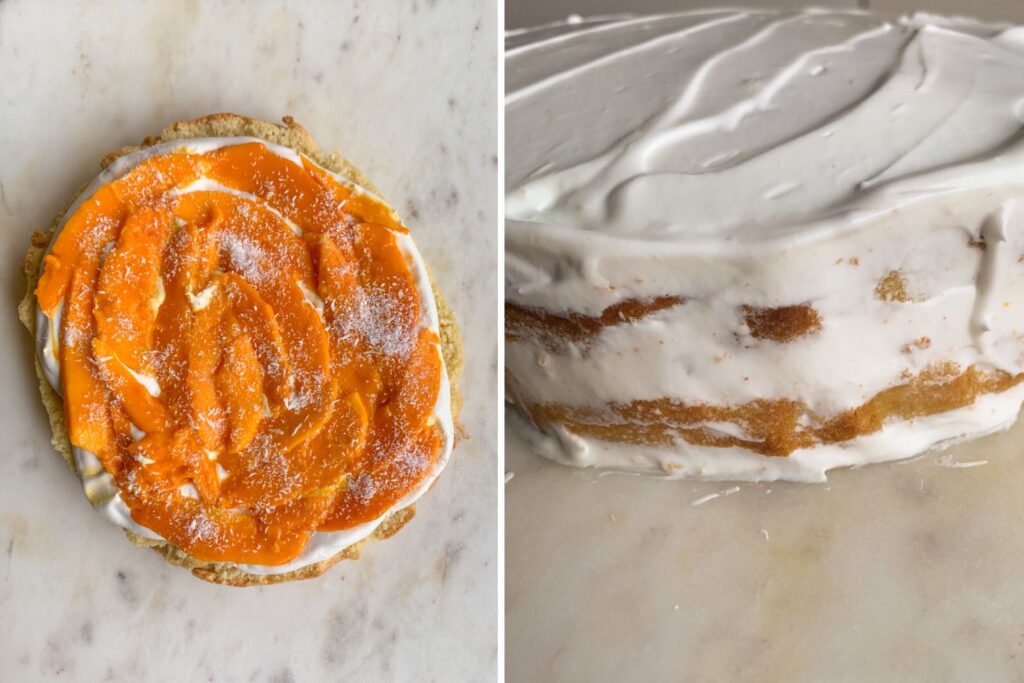
- Spread half of the whipped cream on the lower half of the cake, leaving a very thin border around the edge (see photo below) to let the cream spread out when you place the second layer on top. Arrange the sliced mangoes in concentric circles, in a single layer. Optionally, sprinkle the mangoes with a teaspoon of desiccated coconut just for some extra texture and flavour.
- Place the top half of the cake on the mangoes and press down very lightly. The cover the top and sides of the cake with the rest of the cream. Refrigerate for at least 6 hours but preferably overnight. I find this way, the cream is absorbed better and moistens the cake, plus the cake slices are neater.
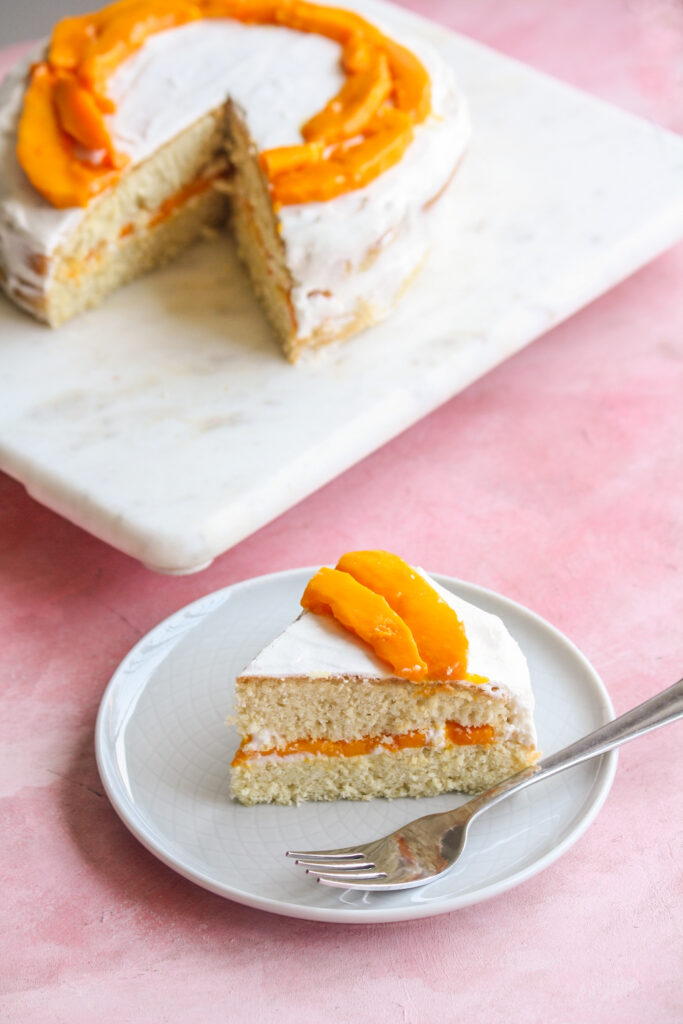
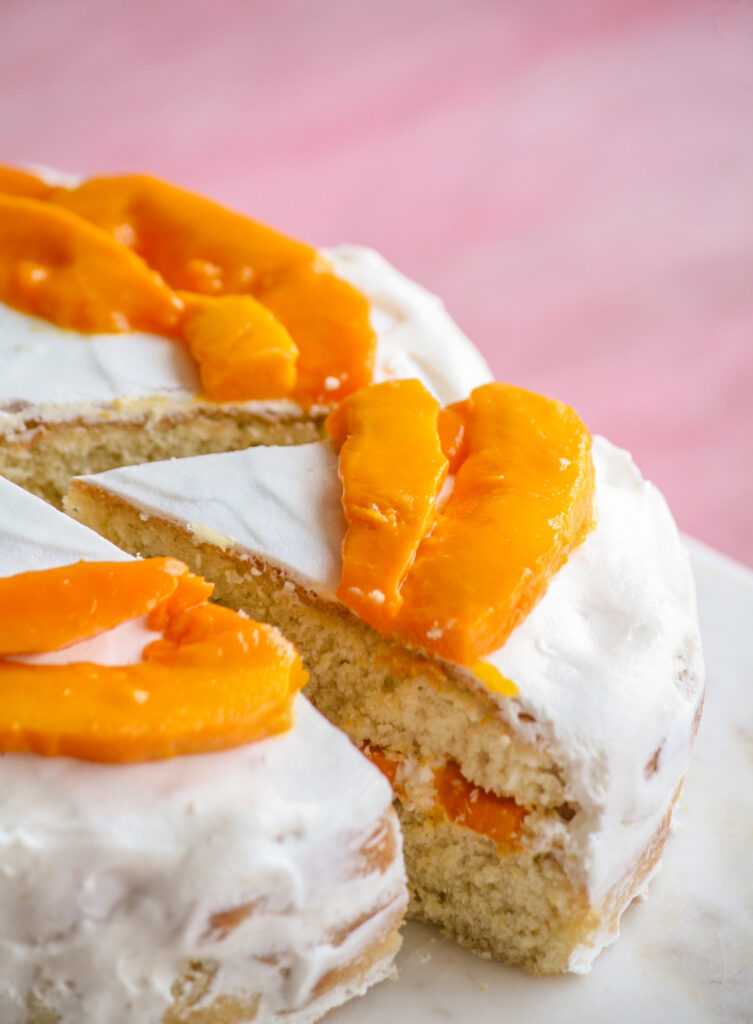
- When ready to serve, slice the fourth mango and arrange on the top of the cake. Cut into 8 small pieces of 6 larger pieces.
- Store the cake in the fridge at all times, for 3 to 4 days at the most. Happy baking!
Notes






This recipe is absolutely delicious and definitely one of my new favorite dishes! Thank you for sharing this amazing recipe, I will definitely be making it again and again. Keep up the good work!