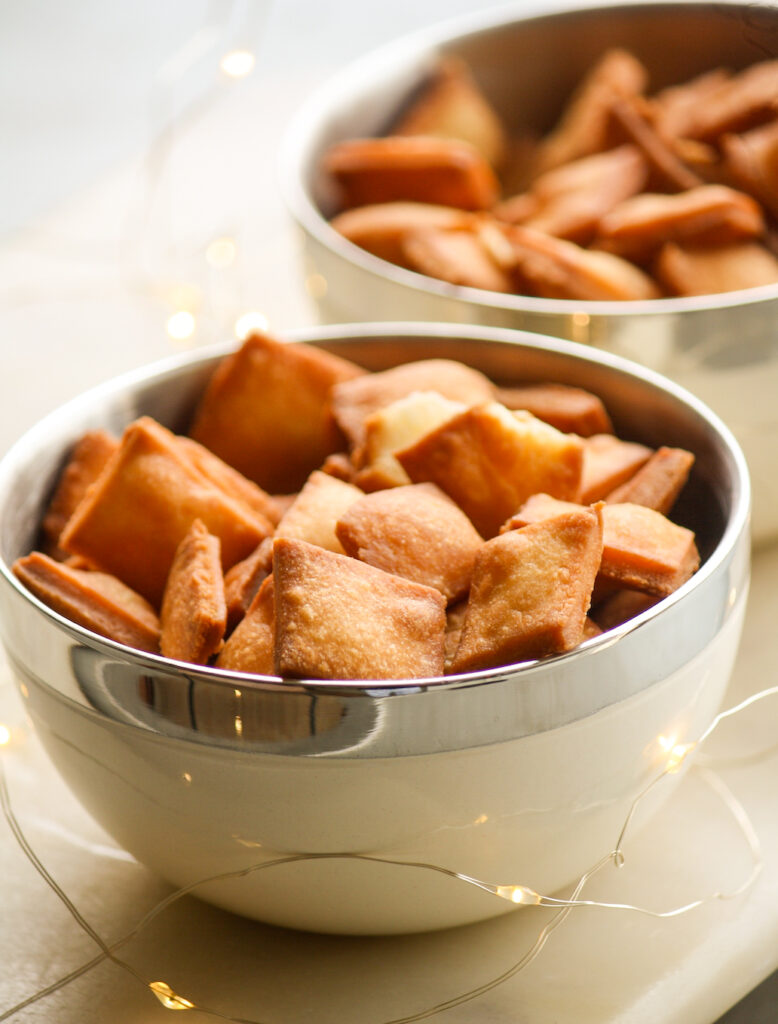
So excited to share one of my favourite Diwali sweets with you! There are versions of it all across India and I grew up with “shankarpali” as part of my Maharashtrian family’s Diwali table very often. All shankarpali is really, are deep fried pieces of sweet ghee-infused dough, and how could that ever be a bad thing, right? Crispy, crunchy, flaky and really easy to make, these look deceptively basic but are highly addictive!
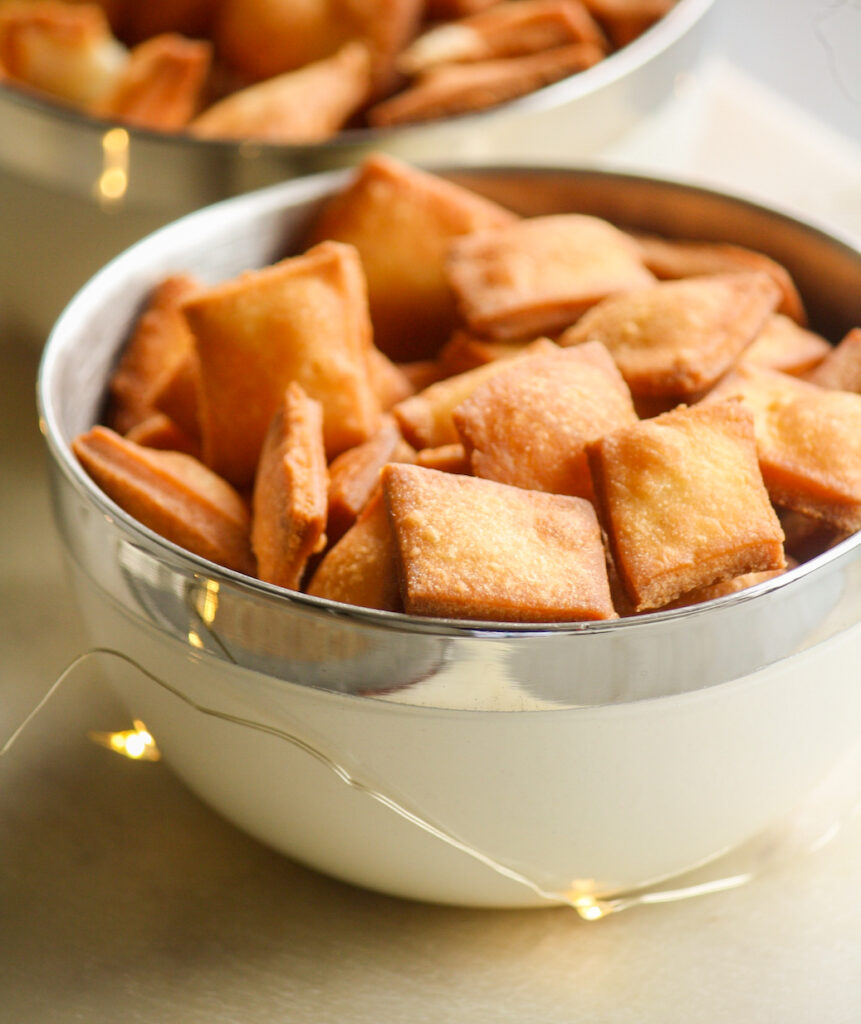
This recipe is one my mother and grandmother both make, just like these laddoos. That also means there aren’t precise measurements and I pleaded with both of them to help me convert it into an actual written recipe with a little help from Ministry of Curry to understand more about the method. The great thing about these is, once you know the proportions, you can scale the recipe up and down as you like. It’s hard to specify a serving size because I think one person could eat a whole batch no matter how many thousand shankarpali it makes!
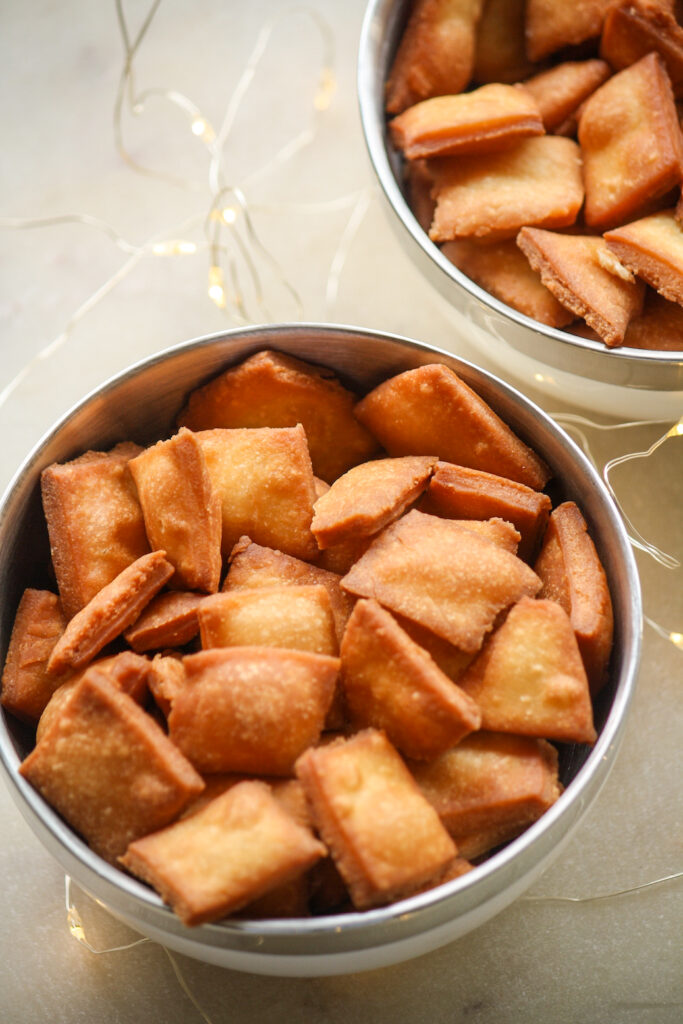
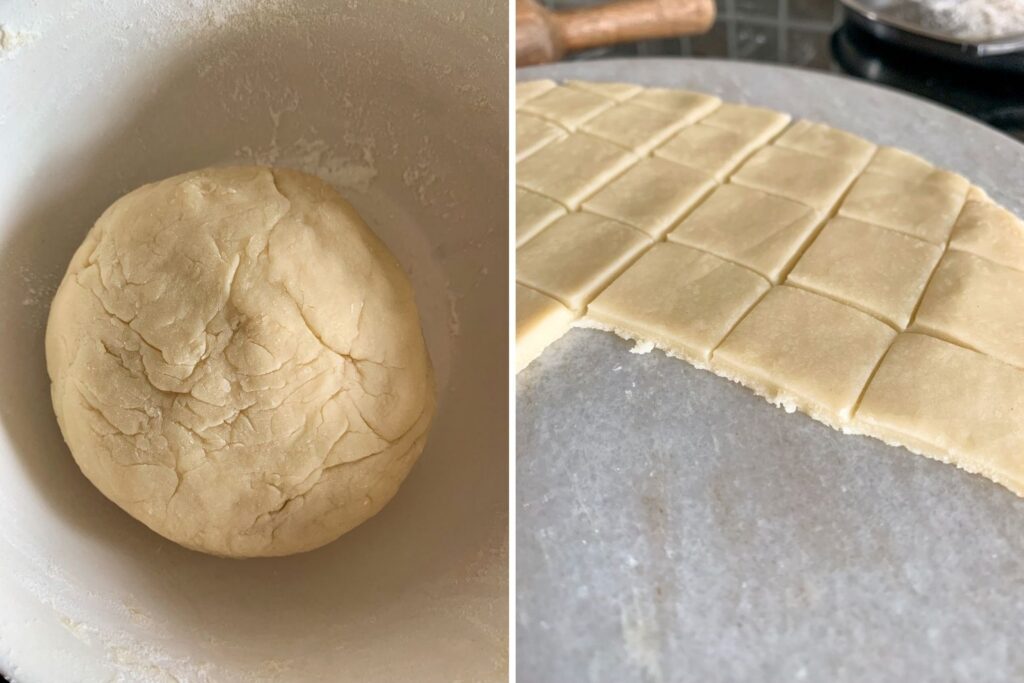
Because I do more baking than mithai making, I find it easiest to apply the same principles while doing something that’s more intuitive. So it helped to know the dough for shankarpali should be firm like pie dough, not hard but not soft like cookie dough. And that you stop adding flour to the warm milk and ghee mixture, when it reaches that consistency. The dough is very pliable and not at all sticky, so rolling it out is an absolute breeze, phew. Once fried, they have miraculous flaky layers and are basically meant to be eaten by the handful, you are warned.
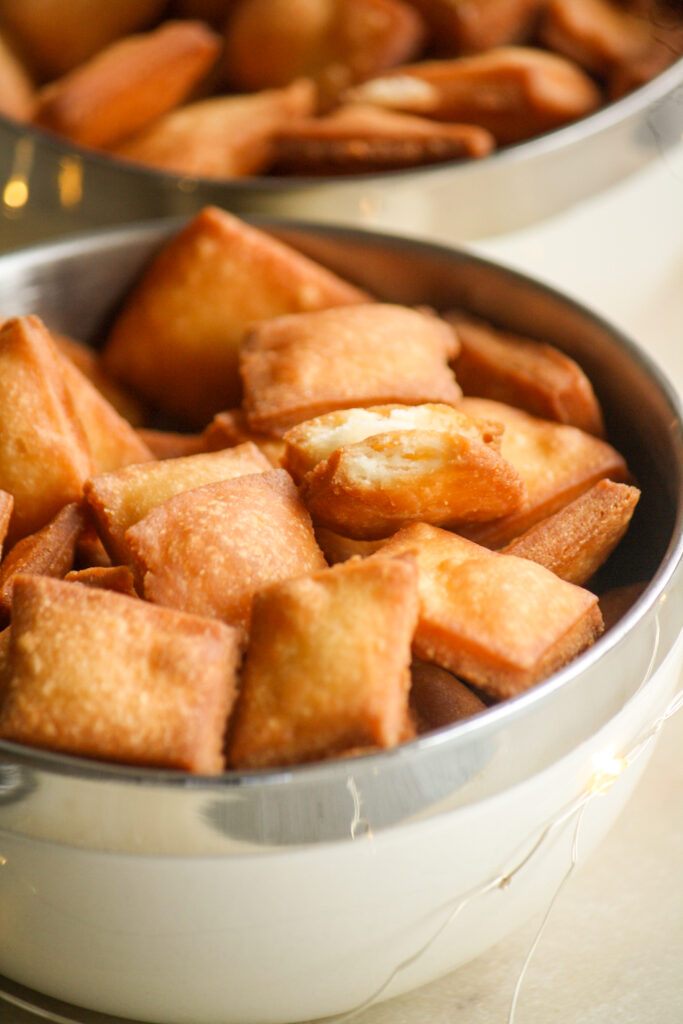
These shankarpali are not super duper sweet, and I’ll make a note below if you do want them sweeter. I remember snacking on them, not really treating them like a dessert since we had besan laddoos for that! Once you get the rhythm of rolling, slicing and frying down, things move pretty quickly and as long as they’re stored in an airtight tin, shankarpali remain crisp and fresh for weeks. I hope you love them!
Please read the recipe notes before beginning.
Homemade Shankarpali
Ingredients
- 1/2 cup whole milk (125 ml)
- 2 tbsps ghee (25 gms)
- 1/2 cup caster sugar (see notes)
- 2 cups all-purpose flour (240 gms)
- Neutral-flavoured oil for deep frying
Instructions
- In a small saucepan, combine the milk and ghee and heat on low. Don't let the mixture simmer or start boiling, it just needs to be warm enough for the ghee to melt, stirring often. The ghee will not dissolve fully.
- Take it off the heat and stir in the sugar until dissolved. Pour into a mixing bowl and let cool for about 10 minutes.
- Now add 1 cup flour and whisk it in (a balloon whisk helps break up lumps). Then add the remaining 1 cup flour, a little at a time. Use a silicone spatula to bring the dough together, then gently knead with your hands, adding the flour as needed. It may not be super smooth, that's ok. The dough should not be sticky or very soft. It needs to be firm but pliable, not hard. I used two cups of flour, but you may not need all of it.
- Cover the bowl and let the dough rest for 15 minutes. It will firm up a bit more.
- Now heat the oil on medium heat, in a sturdy wok or round-bottomed kadhai. You need enough oil to let the dough pieces be completely submerged for frying, this will vary depending on the size of the kadhai you're using.
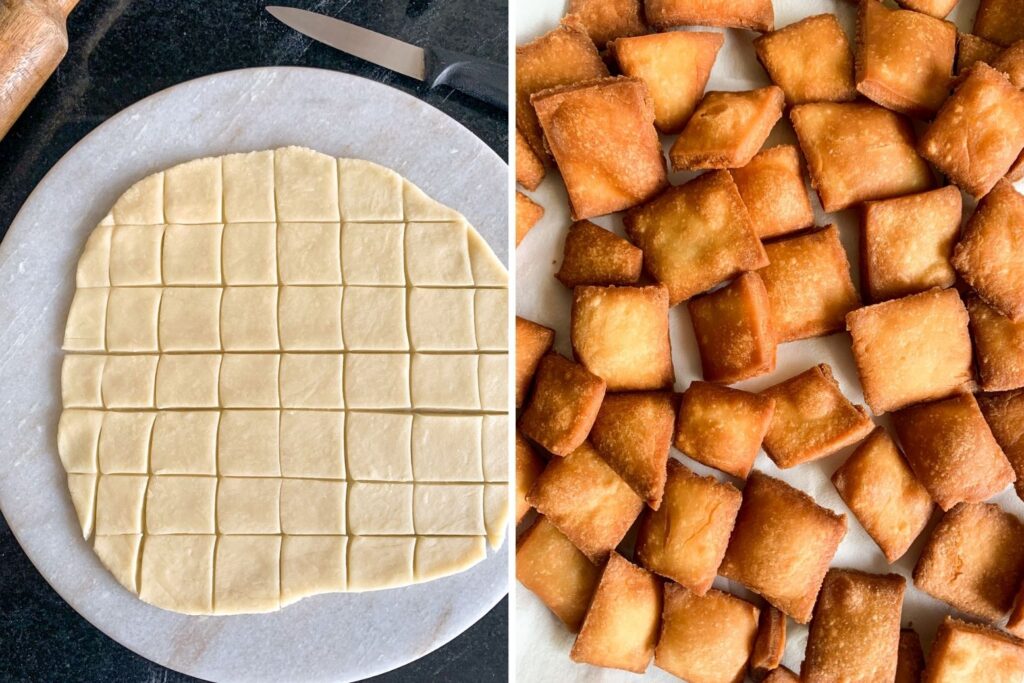
- While the oil is heating up, divide the dough into 4 pieces. Roll out one piece into a roughly 9-inch circle, on a clean kitchen counter or other surface (I used my marble chapati board/chakla, which worked great!) Since the dough has ghee in it, it's very easy to roll out and won't be sticky, which means you shouldn't need to sprinkle on any extra flour while rolling.
- Slice the dough into 1-inch wide strips, vertically, then horizontally, to create square pieces. They shouldn't be paper thin, nor so thick that they'll remain doughy (see photos). You can either separate the pieces now, or as you add them to the oil, which is what I did.
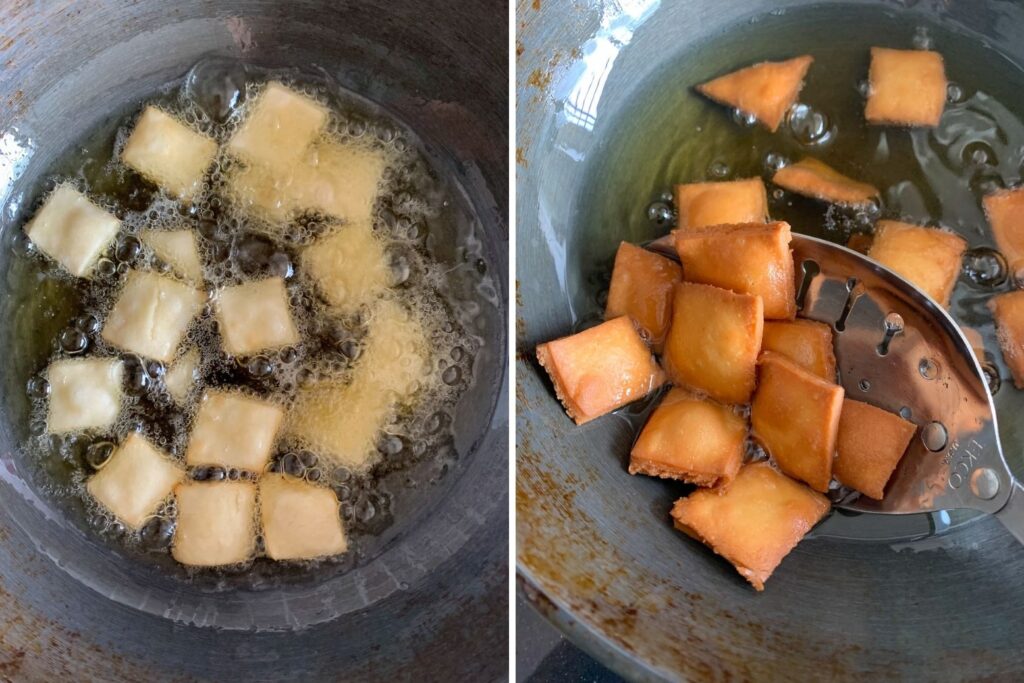
- Drop one piece into the oil. If it rises to the top in about 5 seconds, the oil is ready.
- Now add 7 to 8 pieces of the dough to the oil (depending on the size of your kadhai) and fry on each side for 2 to 3 minutes until golden-brown all over but not very dark. Keep the heat between low to medium at all times, adjusting it as needed to make sure the outsides don't brown too fast.
- Use a slotted spoon to remove the shankarpali from the oil and place on a paper-towel lined plate to drain. Let them cool completely and they'll crisp up as that happens.
- Repeat the process with the remaining 3 pieces of dough. I preferred to roll and fry one batch at a time instead of multi-tasking and risking burning the shankarpali.
- Once completely cool, store in an airtight tin for 2 to 3 weeks at room temperature, if they last that long!
Notes







My mother made a huge batch for me to help go through exam prep season. Spot on recipe
Yay, such great study snacking!!