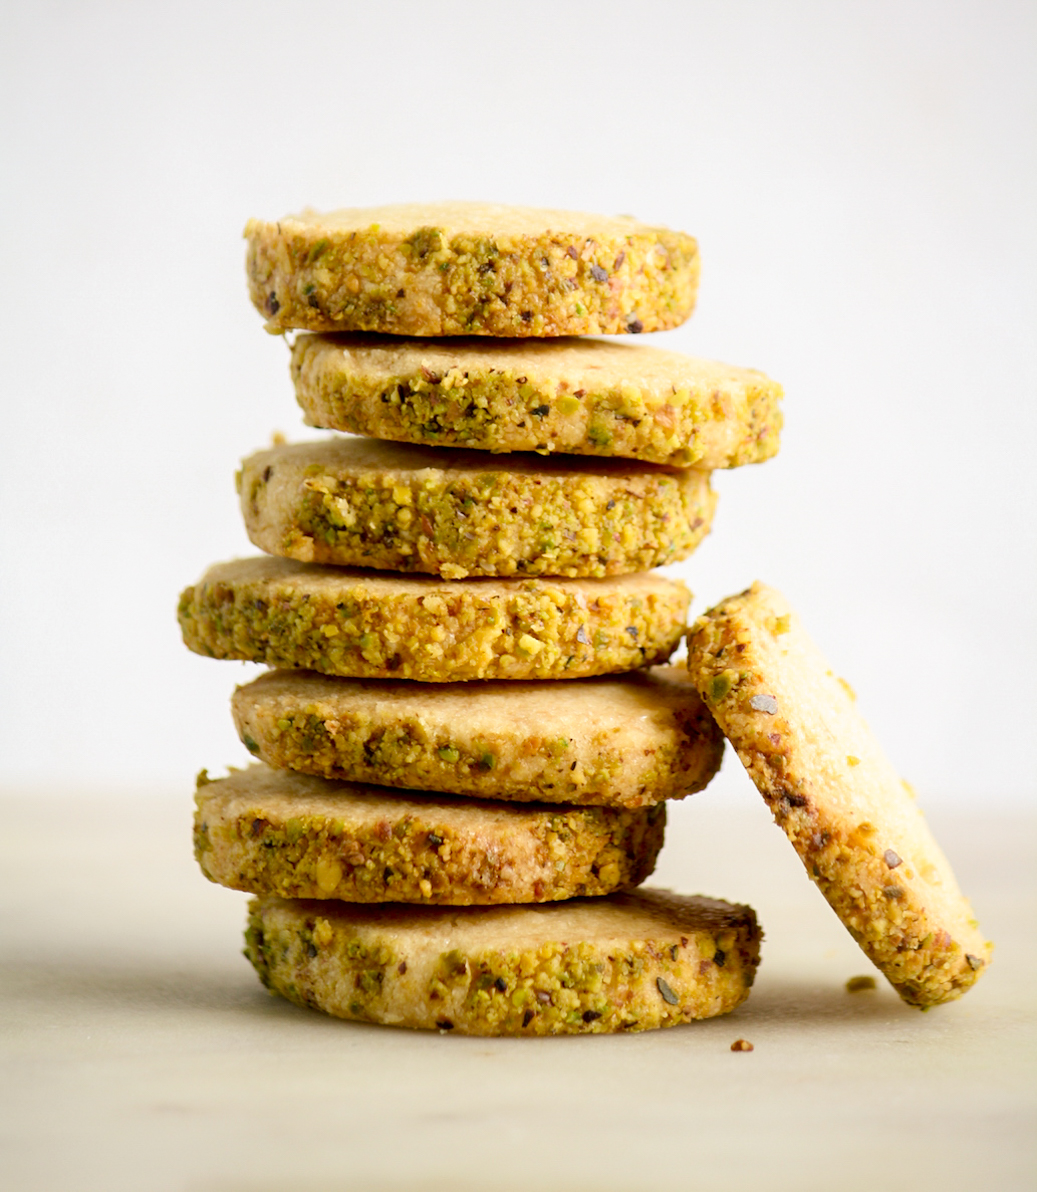
These are the easiest cookies you’ll ever make! Classic shortbread biscuits (or cookies) are buttery, crispy, a little crumbly and absolutely amazing dunked into your favourite hot beverage. This version is a slice-and-bake kind, and it’s so quick! I coated them in pistachios for extra flavour and colour, use whatever nut you like or skip it, they’ll be delicious either way!
I had a box of pistachios in the fridge and I don’t know how this happened, but my mind jumped to pistachio shortbread out of nowhere. Most recipes online seemed to use chopped pistachios but Leite’s Culinaria had one that used ground pistachios in the dough. I liked the sound of that but while they were delicious, the flavour was mostly butter and vanilla, not much pistachio. At the last minute I’d rolled the dough in coarsely ground pistachios and that’s where all the nuttiness was.

From there, I thought why not just make classic shortbread? I liked the slice and bake method so much that all I did was swap out the ground pistachios for more flour and ta da! The easiest, most delicious little biscuits that taste like Shrewsberry biscuits without trying. The pistachios on the outside are optional but they add colour, a lot of delicious flavours and can be easily swapped with whatever nut you like.
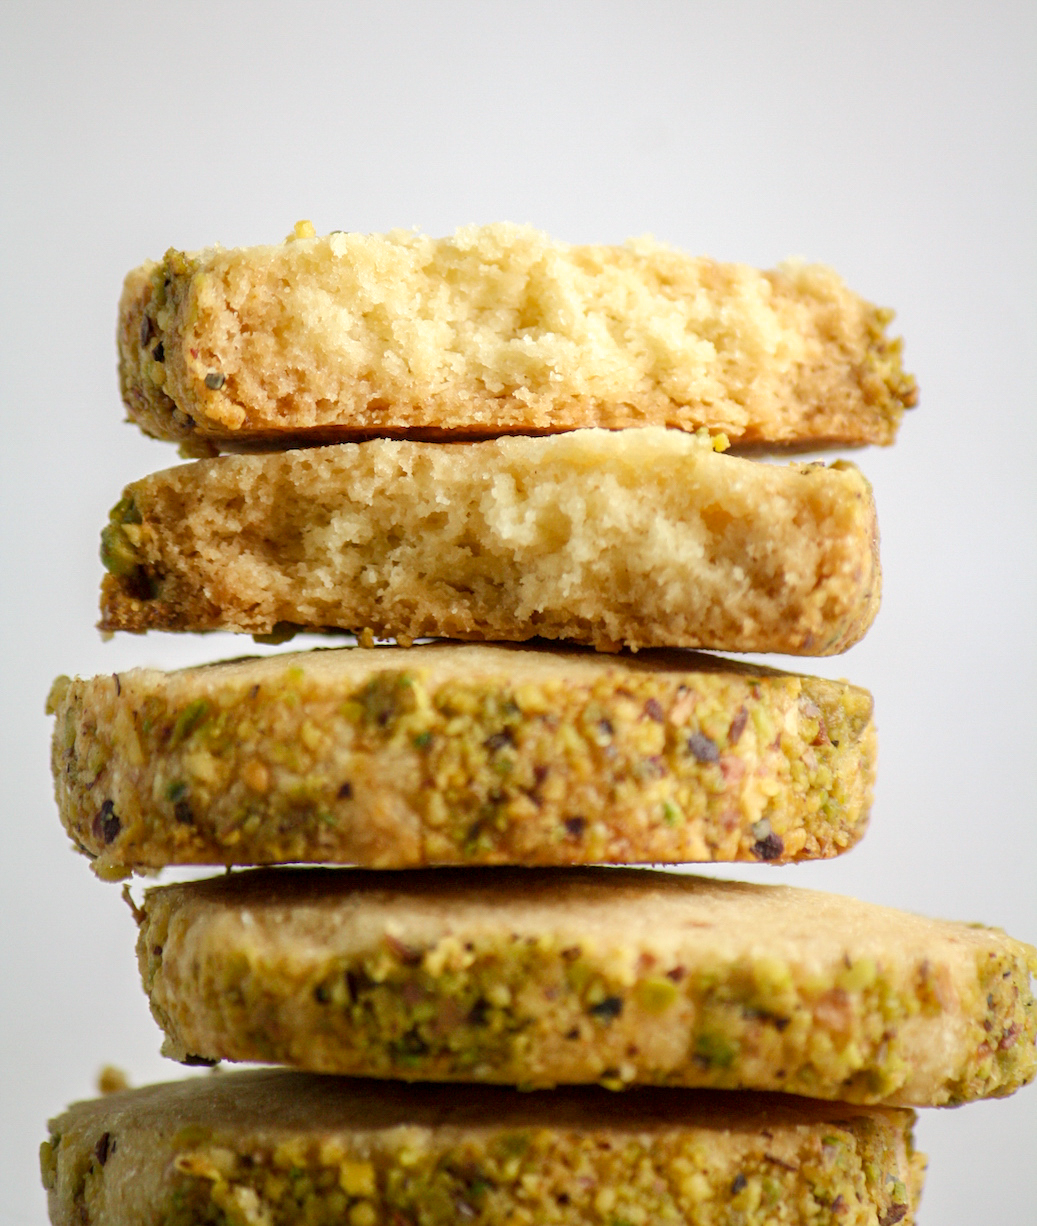
Baked until just browned, these biscuits are crunchy, but not hard. They firm up as they cool so it’s important not to bake them too long. They remain a little softer in the center, not like a regular chocolate chip cookie of course, but tender. I found they softened a little more as they were stored because the weather is rainy and humid right now but they don’t change dramatically in texture.
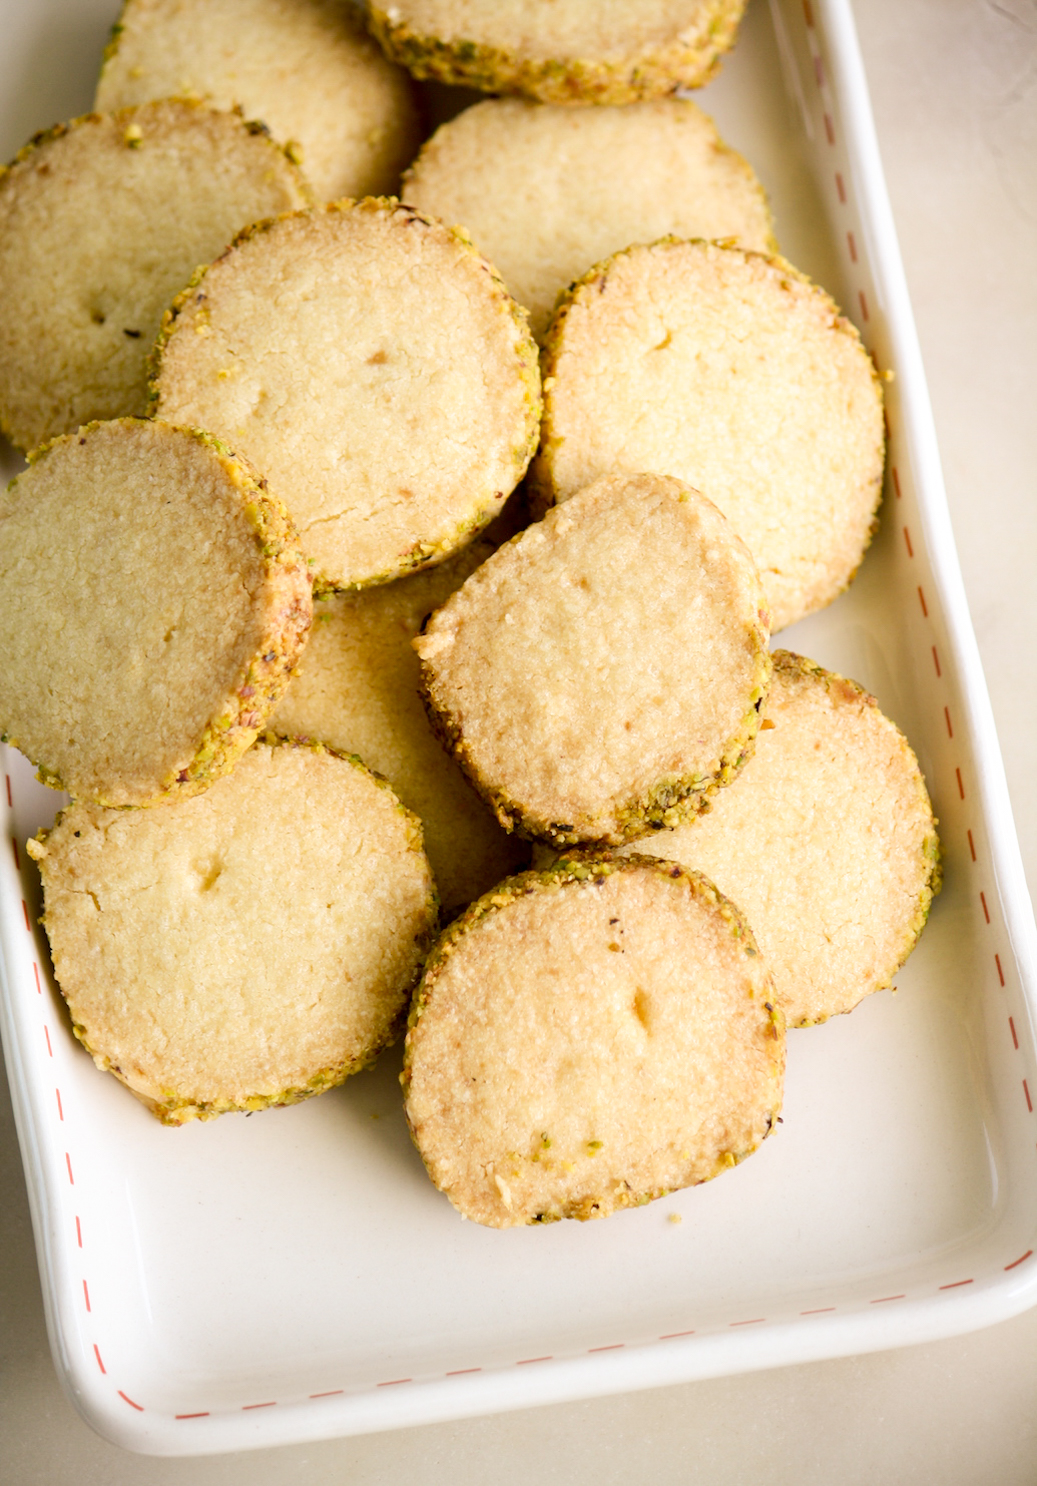
They look simple and basic, but sometimes that’s what you need! They have the perfect level of sweetness, balanced with a little saltiness and I really cannot stop eating them!
Slice and Bake Shortbread Biscuits
Ingredients
- 3/4th cup all-purpose flour (90 gms)
- 3 tbsps caster sugar
- Pinch of salt if using unsalted butter
- 1/2 tsp vanilla extract
- 70 gms cold butter, cut into small pieces
- 3 tbsps finely chopped or coarsely ground pistachios or other nut, optional
Instructions
- In a mixing bowl, combine the flour, sugar and salt. Stir well, then drizzle the vanilla extract in. Add the chopped butter and work it into the flour with your fingertips until the mixture resembles coarse breadcrumbs. Continue gently mixing it in till the butter is incorporated and you have a soft, slightly stick dough that holds together. Unlike pie dough, you don't want the butter to remain in larger bits, you want it fully blended into the flour. You can use a food processor to make this dough, but I prefer using my hands for more control to make sure I don't over-work the dough.
- Form the dough into a log about 6 inches long and 1.5 inches wide (no need to be super precise!) using your palms and fingers. Flatten the ends if they look a bit tapered.
- Now sprinkle the ground pistachios evenly on a plate. Place the dough log over them and roll to coat all sides.
- Place the log on a piece of clingfilm and wrap it tightly. Chill for at least 4 hours or overnight until completely firm. Dough can be chilled upto 5 days, or frozen for 3 weeks.
- When ready to bake, preheat the oven to 160 C. Line a baking tray with a silicone mat or non-stick baking paper.
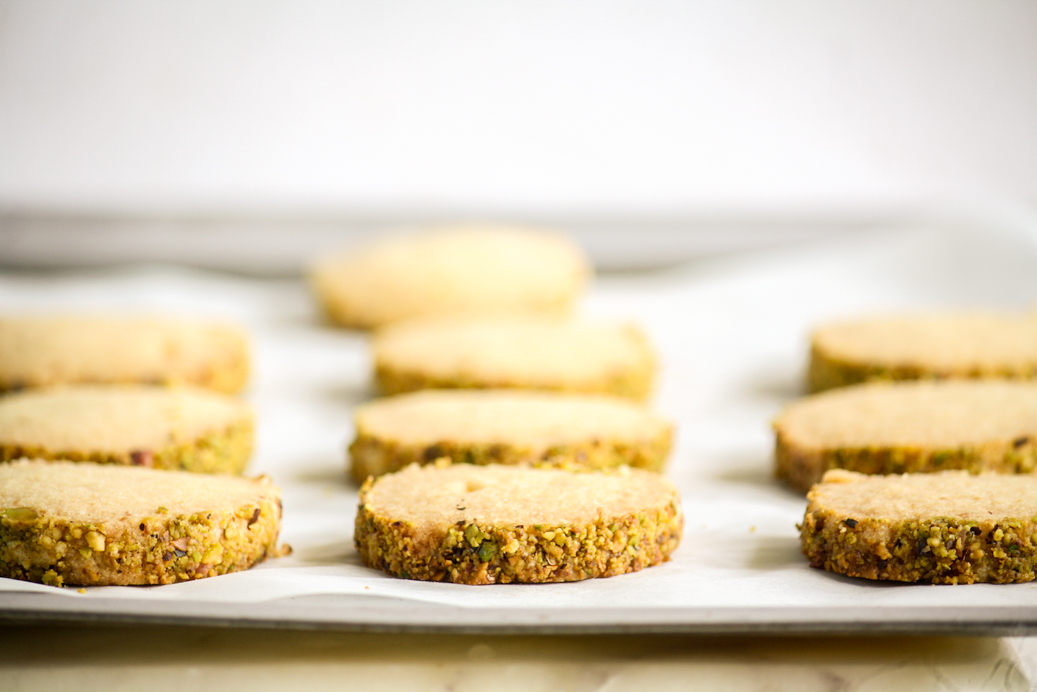
- Unwrap the chilled dough and slice into 12 to 14 even pieces (one side will be slightly flatter), about 1/4 inches wide.
- Place each piece on the prepared tray, at least an inch away from each other. If they feel warm or greasy, place the tray back in the fridge for 20 minutes. The dough should be cold going into the oven.
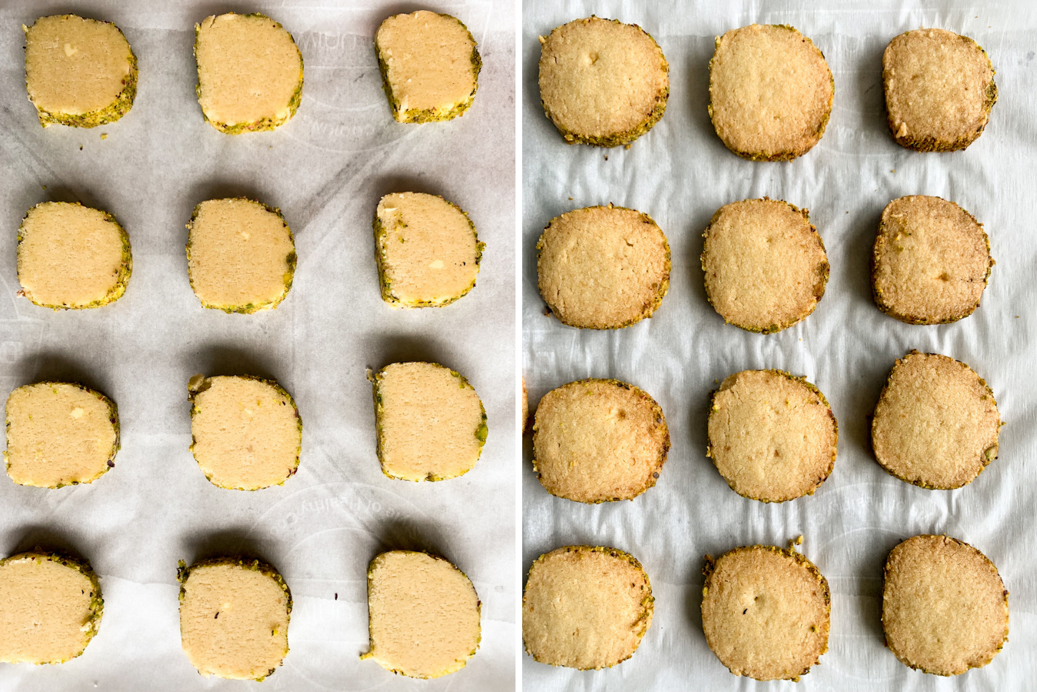
- Bake for 20 to 25 minutes until lightly browned on the edges and just barely browned on the surface. You will see small cracks on the tops too, and the centers will still feel soft. Let the biscuits cool at room temperature to firm up completely. Then dunk into a hot mug of tea or coffee!
- Store the cookies in an airtight tin for about ten days at room temperature (in extreme humidity they will soften a little by day two or three but won't be very different in texture). Happy baking!
Shop this recipe!
This post contains affiliate links.

