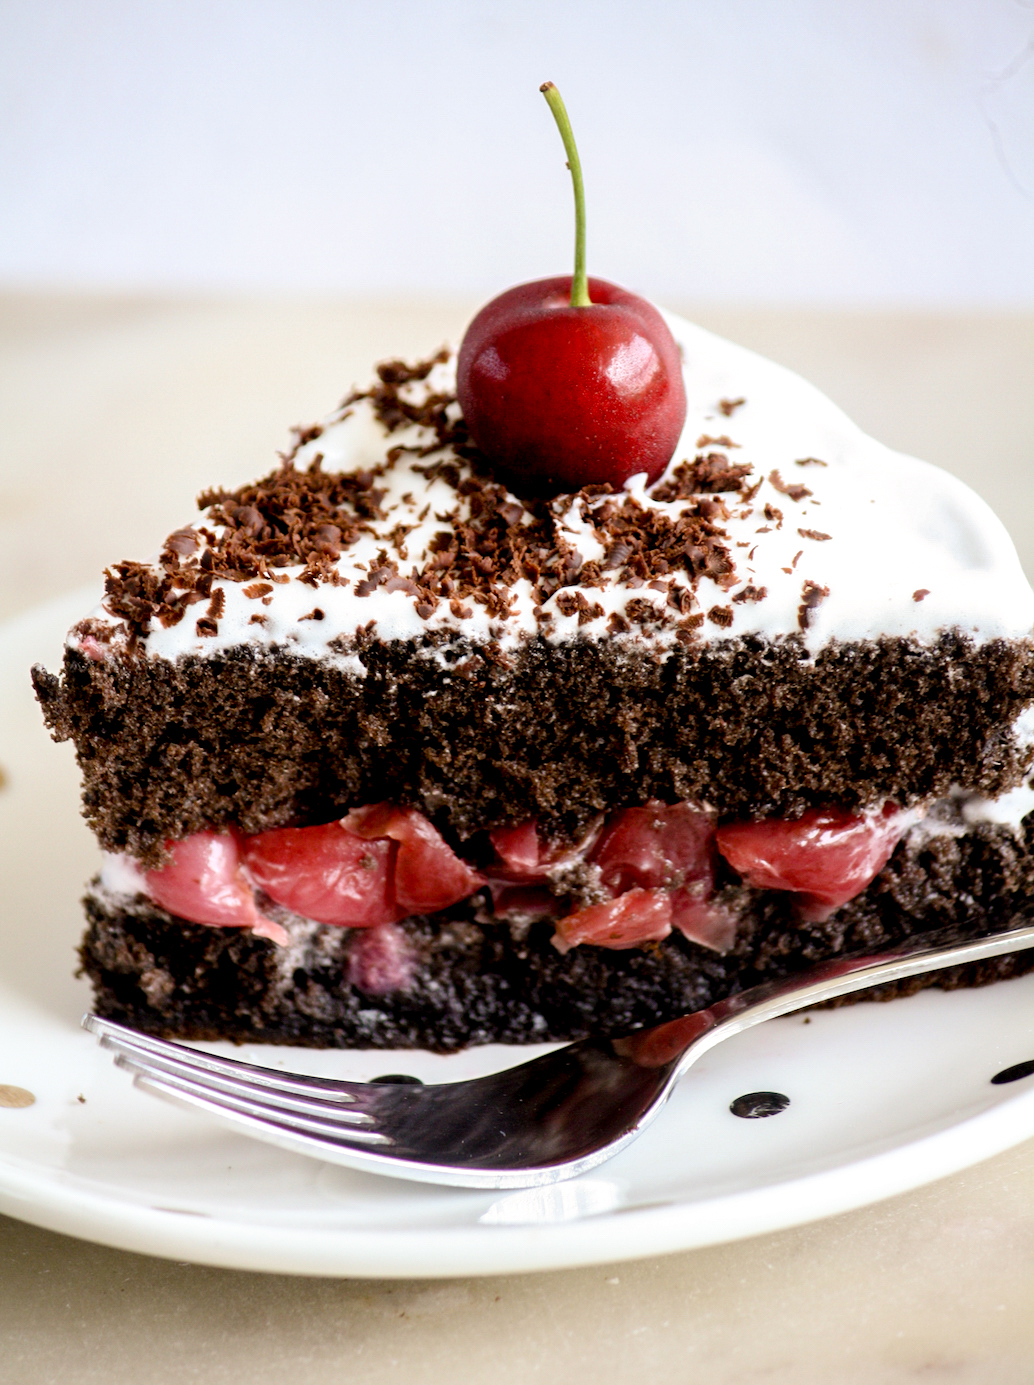
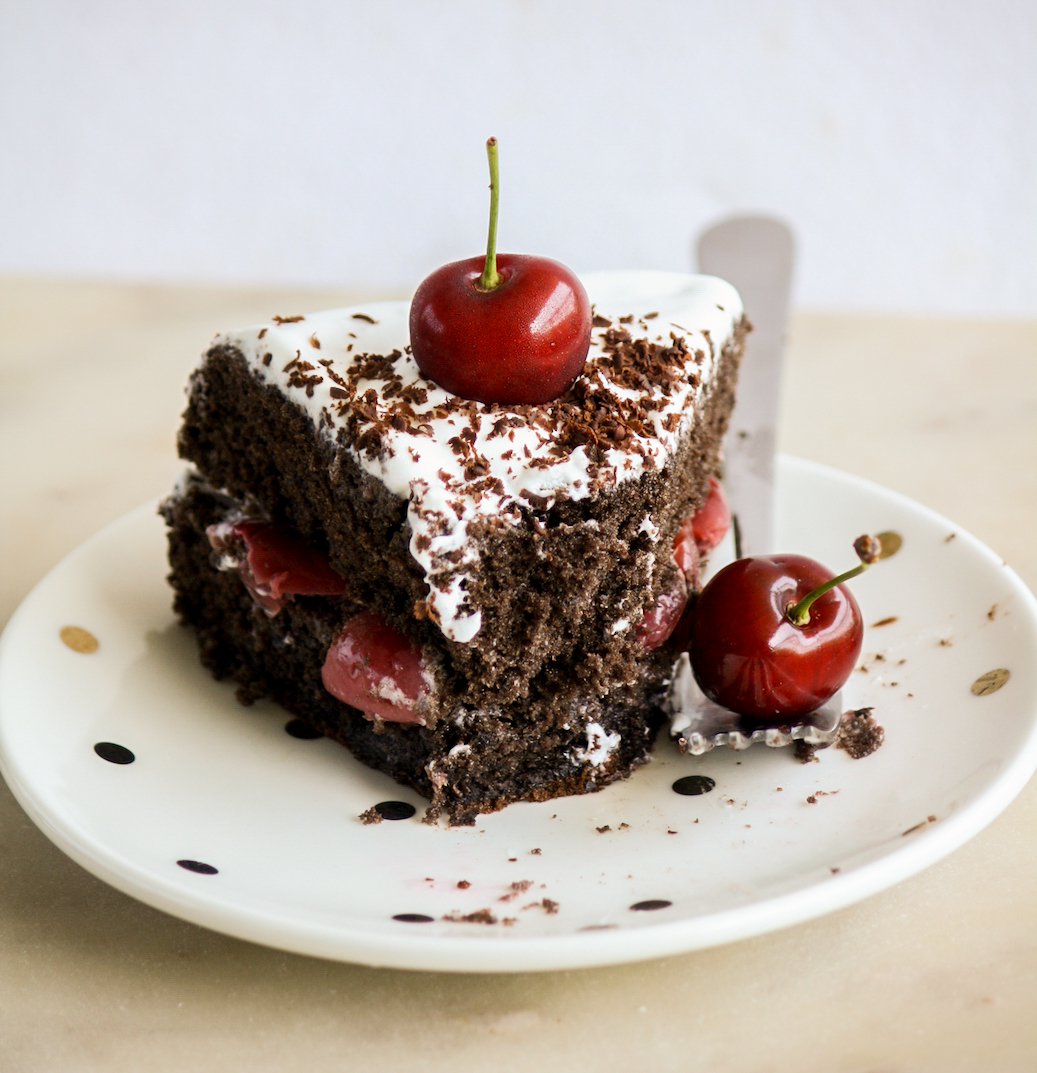
Cherry season means Black Forest Cake with all the nostalgia of childhood birthday parties. A light chocolate Genoise sponge is layered with boozy cherries and whipped cream, then covered with more cream, grated chocolate and of course, a cherry on the top. Each bite is packed with flavour and it feels super festive but is quite straightforward to make. Win win!
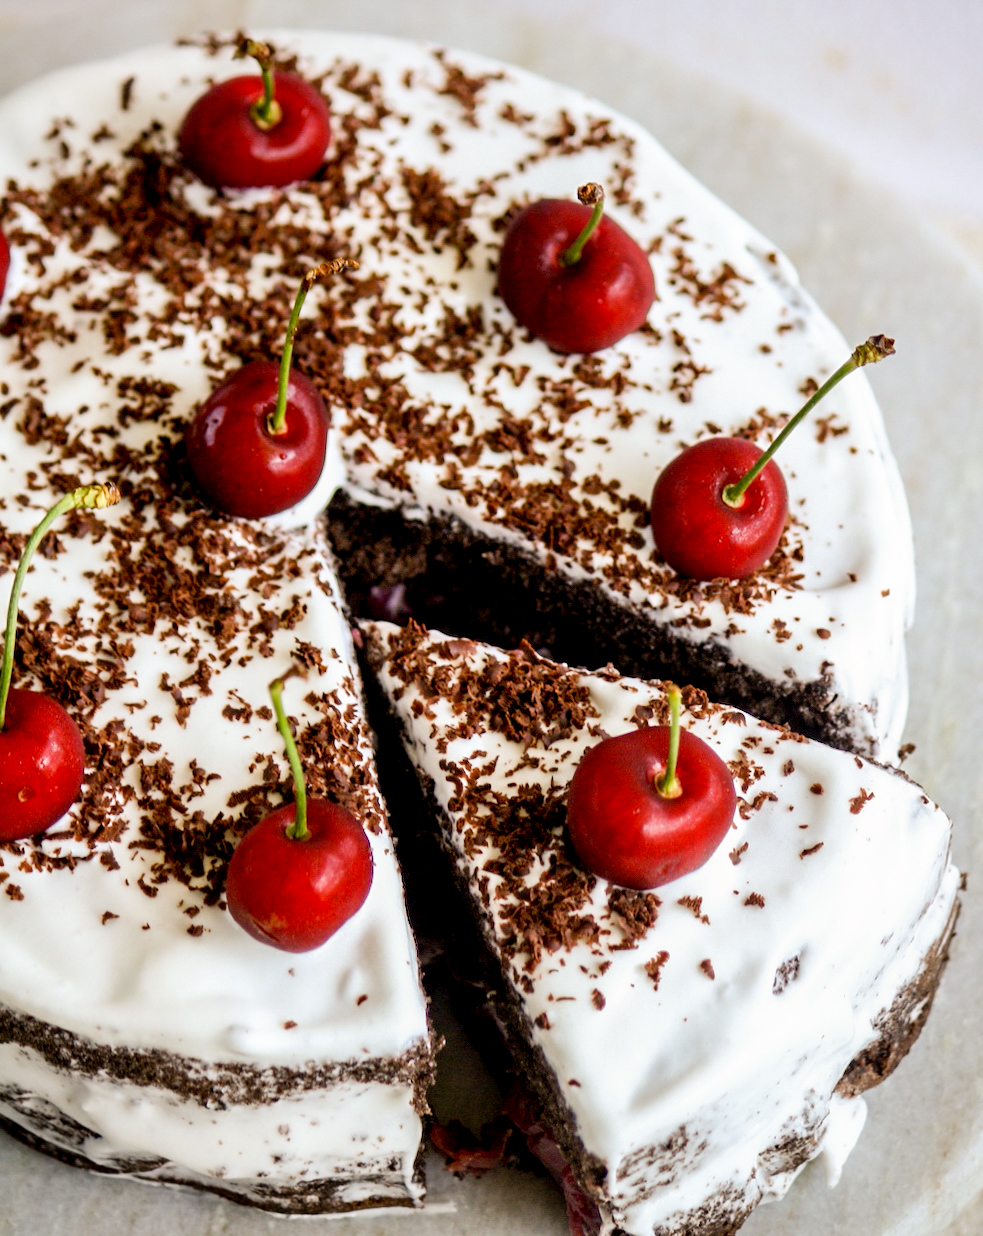
A couple of years ago I’d made a Black Forest Cake based on a recipe from Butter and Brioche and since I’ve gone on a spree of giving life to some older posts here, that was on my list. I decided though to just go with a different version of the cake, a more traditional Genoise sponge that uses thickly whipped eggs as a raising agent, no baking powder or soda. And because I’ve now made that kind of sponge a couple of times, swapping out some of the flour for cocoa and making a chocolate variation was very easy. A Black Forest Cake often uses tinned Morello cherries which are darker in colour but since we don’t get those in India, I really preferred to use fresh cherries. Cooking them in whiskey or rum makes them nice and boozy and though Kirsch liqueur is traditional, it’s yet another thing we don’t get here easily. Any kind of alcohol tastes great here actually and gives the cake some extra personality. The syrup that the cherries and sugar then make is perfect for soaking into the light sponge, something I didn’t do much of last time and it made all the difference!
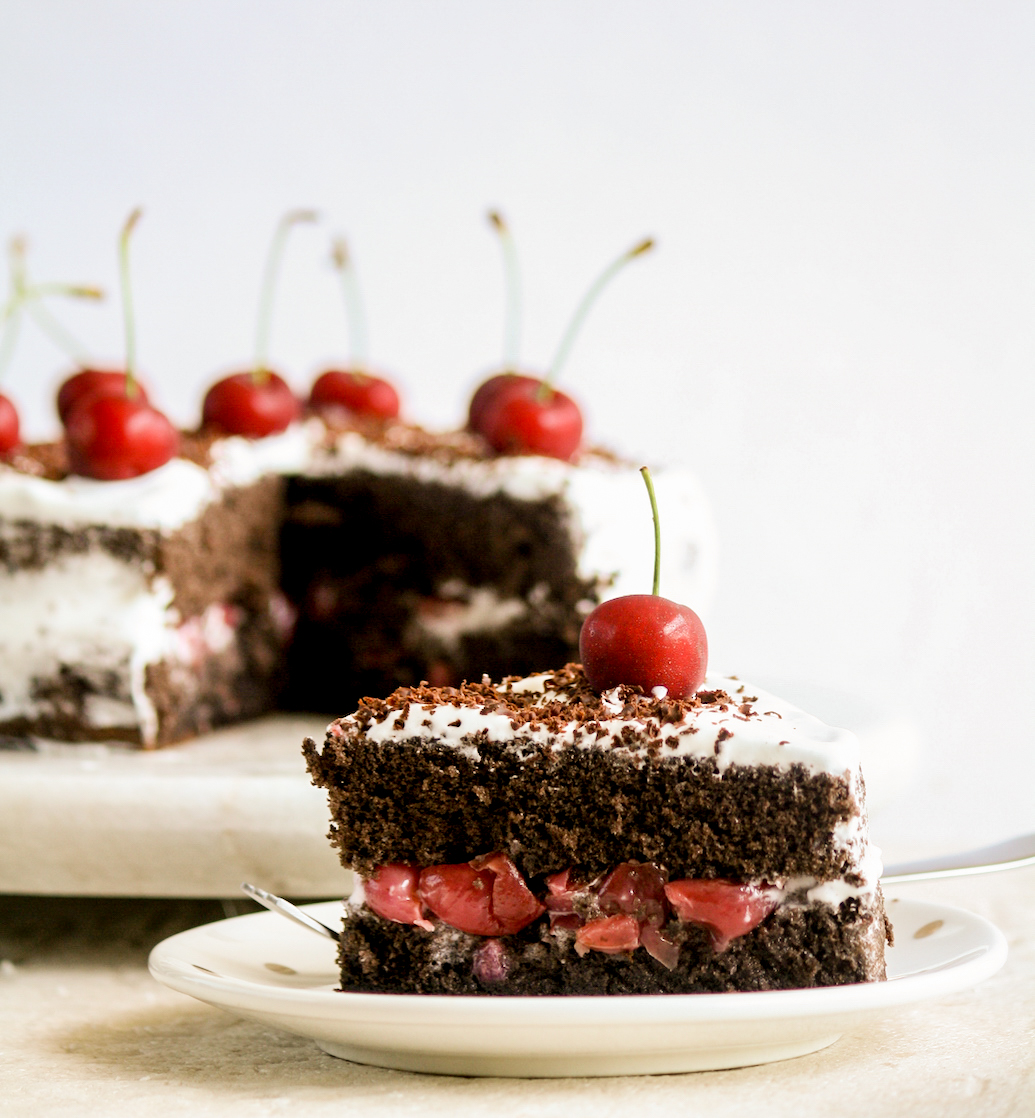
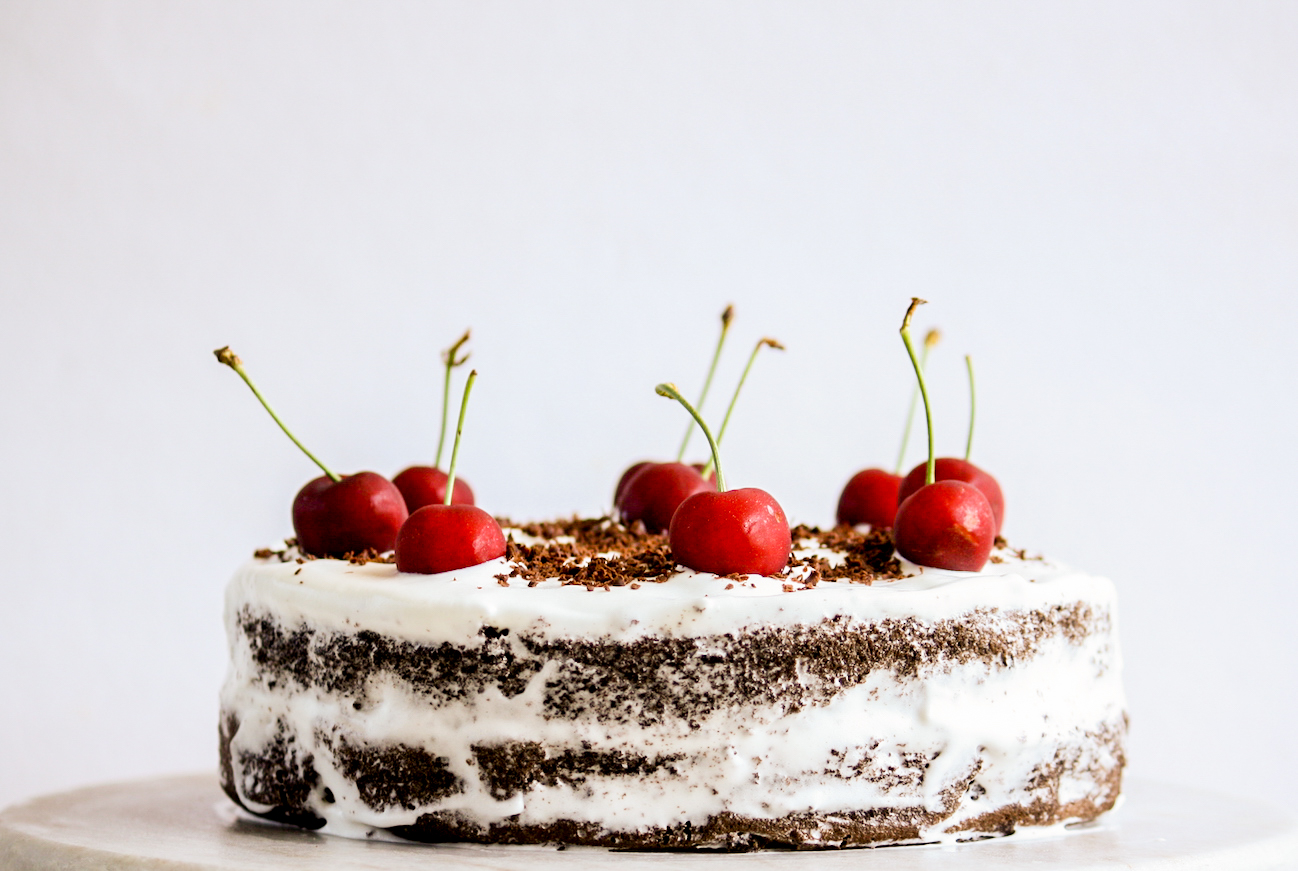
The cherries are layered with freshly whipped cream in the center, then I added more cream on top, giving the sides a slightly naked cake type appearance. Grated chocolate is a must and tastes so so good just sprinkled over! There is some amount of cooling and waiting involved with this recipe so set aside a few hours. And it actually tastes better after it’s had some time to rest in the fridge.
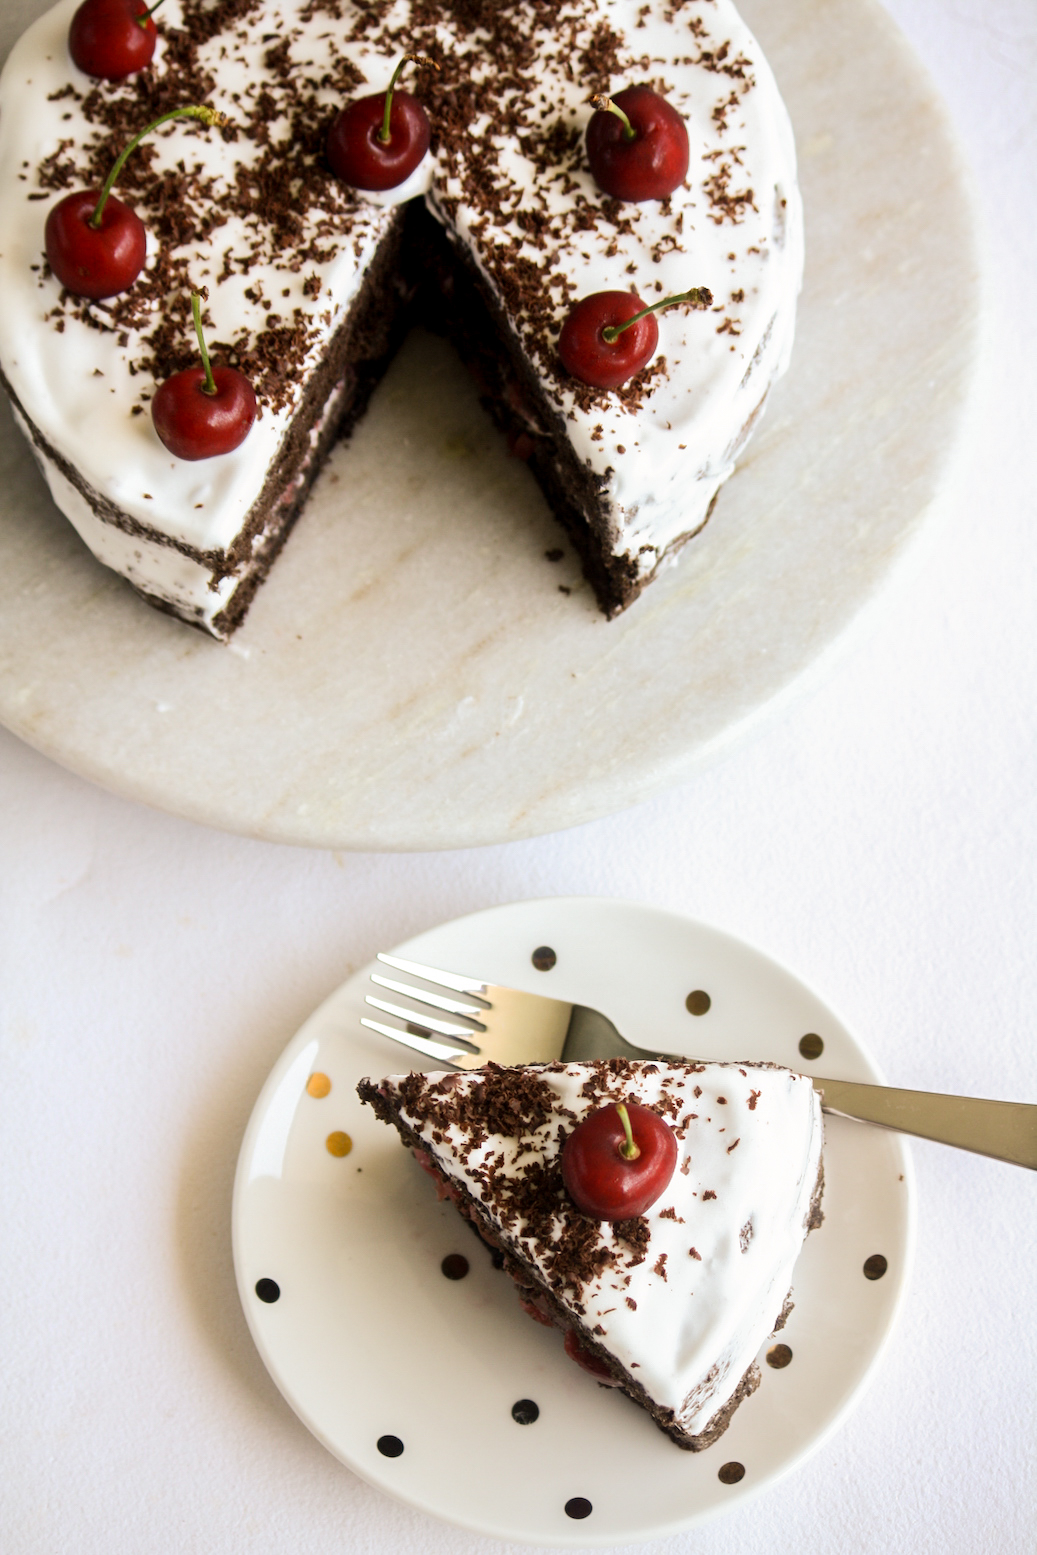
The great thing about this sponge cake is you can eat it right from the fridge, it remains as soft. The only reason I suggest bringing the cake to room temperature is so that the cream softens a bit and has a nice light texture. If you haven’t made a Genoise sponge before, don’t worry. It sounds tricky but really isn’t and just needs some extra attention. And a stand mixer helps but isn’t necessary so don’t let that stop you! Just after the recipe, you’ll also find a few in-process photos of the cake coming together. I hope you love this!
Please read the recipe notes before beginning.
Black Forest Cake
Ingredients
For the sponge
- 1/2 cup all-purpose flour (60 gms)
- 1/4 cup cocoa powder (20 gms; see notes)
- Pinch of salt if using unsalted butter
- 1/4 cup butter (55 gms)
- 4 eggs, at room temperature (integral to this recipe, I can't suggest substitutes)
- 1/2 cup plus 1 tbsp caster sugar (115 gms)
- 1 and 1/2 tsps vanilla extract
For the cherry filling
- 250 gms fresh cherries
- 2 tbsps caster sugar
- 2 tbsps whiskey or dark rum (see notes)
For the cream
- 1/3 cup chilled whipping cream (80 ml; see notes)
- 1 tbsp caster sugar
- 1/4 tsp vanilla extract
- To decorate: grated chocolate and fresh cherries
Instructions
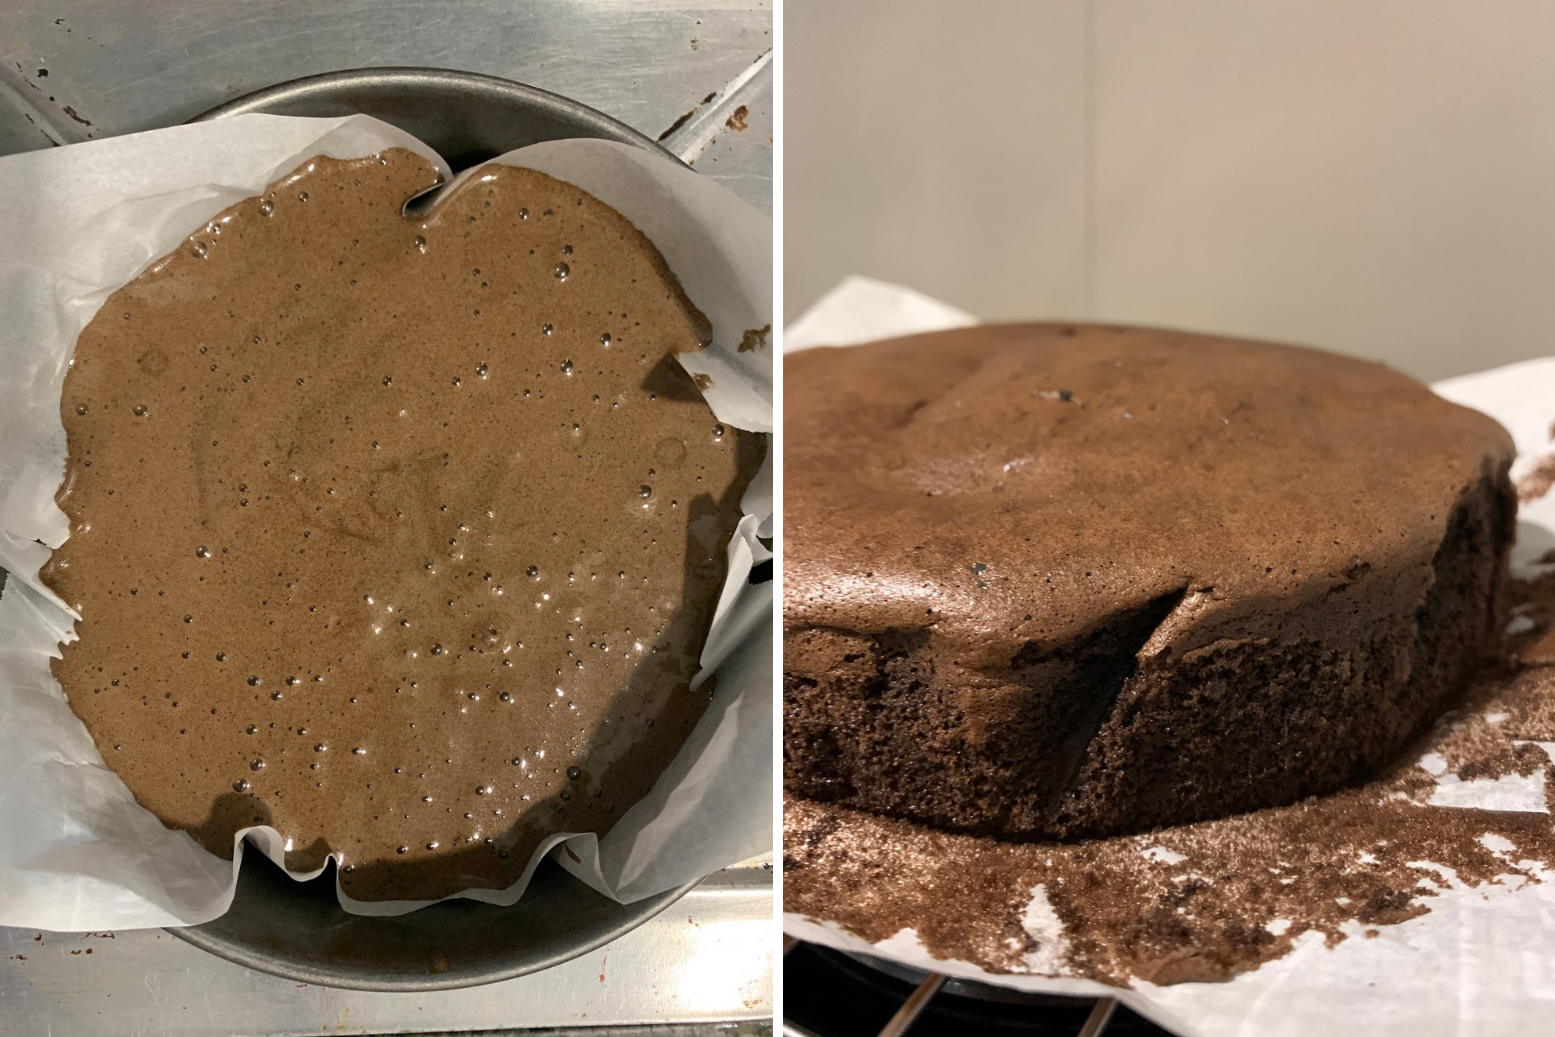
- Line the base of an 8 inch springform tin with non-stick baking paper. Do not grease the pan as that prevents the sponge from rising properly. It will be easy to un-mould once it's baked, don't worry. My springform tin is a little old and scratched now so I tend to line the sides as well which is why the edges are a little uneven where the paper is folded, in case you're wondering! I don't recommend a regular round cake tin for this recipe, it'll be much harder to remove the cake.
- Preheat the oven to 170 C. Make sure all your ingredients for the sponge are measured and kept ready.
- Sift together the flour and cocoa (and salt, if using) and set aside. Melt the butter and set it aside to cool.
- Now add a little water to a saucepan and bring it to a simmer over medium heat. While this is happening, combine the eggs, sugar, vanilla in a mixing bowl that fits neatly over the saucepan, without its base touching the water. Bring the heat down to low and place the bowl over the saucepan. Using a balloon whisk, whisk continuously for 5 to 7 minutes until the mixture is slightly warm, frothy and paler (see photos below). This double boiler step warms the eggs gently, creating more air and also helps dissolve the sugar so they beat better and become fluffy easily.
- Pour this warm mixture into the bowl of a stand mixer fitted with the whisk attachment. Beat on high speed for about 5 minutes until the mixture has tripled in volume, thickened and leaves ribbons when you lift the whisk up (see photos below). You can also do this step with a hand mixer as long as your bowl is large and deep enough to hold the mixture as it increases in volume.
- Now gently add half of the sifted flour and cocoa mixture to the bowl and fold it in using a silicone spatula. Do not mix vigorously, gently take your spatula to the bottom of the bowl, bring it up cutting through the airy batter and repeat. Add the remaining flour and cocoa mixture and do the same. While the batter will naturally deflate a little, don't worry about fully incorporating the dry ingredients as you fold. If a few streaks of flour are visible, that's ok.
- Slowly drizzle in the melted butter and once again fold gently but quickly to combine so that the butter doesn't settle at the bottom. Make sure your spatula goes right to the base of the bowl to get it all folded in.
- Immediately pour the batter into the prepared pan and bake for 25 to 30 minutes until browned on top and when you press the surface lightly, it should spring back. A little over-mixing could cause the top to dome slightly and then fall as the cake cools. If this happens, don't worry, the texture of the cake isn't affected.
- Let the cake cool completely in the pan at room temperature. Once cooled, you can cover it and leave it out overnight as well.
- While the cake is cooling, make the cherry filling. Remove the stems and slice each cherry almost in half so you can remove the stone (or use a cherry pitter if you have one). I didn't chop the cherries further but you can if you want to.
- Place the pitted cherries with the sugar and whiskey/rum in a small saucepan. Stir and set on low heat till the juices are released, the sugar melts and the liquid begins to simmer and form a syrup (see photos below). Stir frequently and let the mixture come to a boil as the syrup thickens. In total this should take about 5 minutes. The cherries shouldn't be mushy, but should soften a bit. Set aside to cool completely and the liquid will thicken further. Now strain the cherries and set aside the syrup.
- Finally, whip the cream, vanilla and sugar together with a hand mixer on high speed until fairly stiff peaks forms, 3 to 4 minutes. Place in the fridge until ready to use.
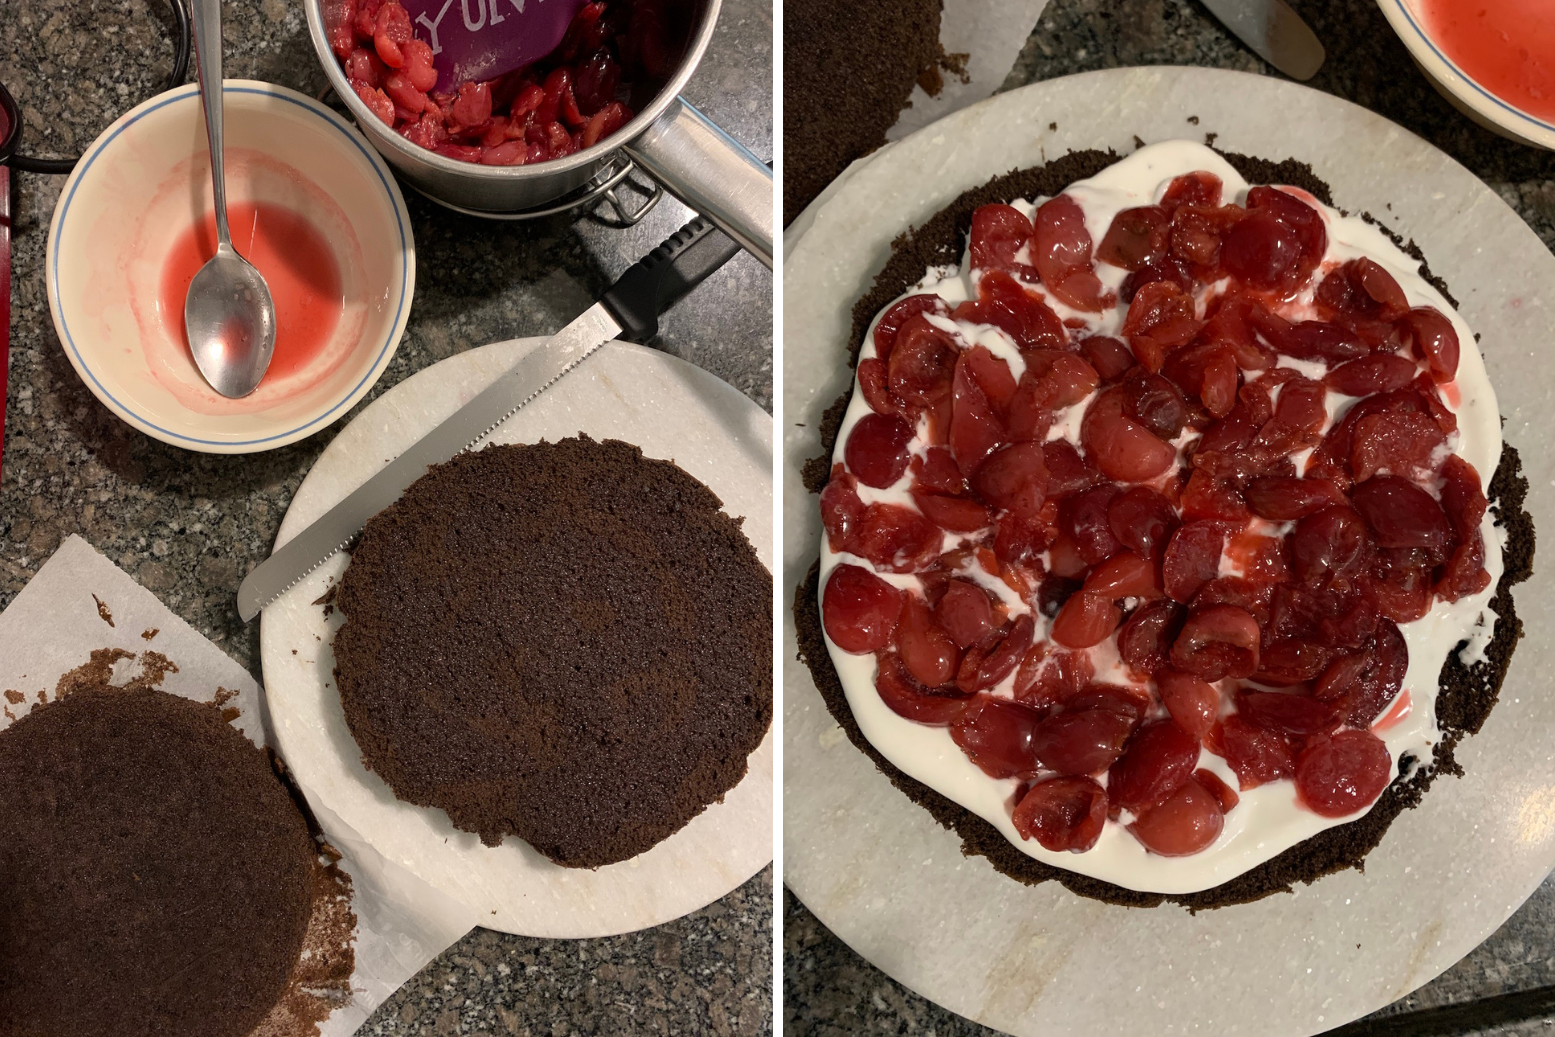
- When ready to assemble the cake, run a sharp knife around the edges and remove the sides of the cake pan. Use the paper to lift the cake, flip it gently and peel off the paper. Slice the cake carefully into two layers with a long, sharp knife. Flip the top half over and place it on a plate. Then place the bottom half on your serving platter or cake stand. Drizzle the syrup evenly over both cake layers.
- Now on the bottom half, spread about half of the whipped cream. Top with all the cherry filling (if more syrup has been released, strain the cherries again), spreading it out in an even layer. Place the top half of the cake (flipping it again so it's syrup-side down) over this and press down very gently. Top with the remaining cream, spreading it evenly on the top and lightly over the sides to create the 'naked cake' look.
- Decorate the top with fresh cherries and grated chocolate. Place in the fridge for at least an hour before slicing with a sharp knife. I think the cake tastes even better the next day when the cherry and whiskey flavours have been nicely absorbed! Store in the fridge at all times, where it will keep for 4 to 5 days. For the best texture, let individual slices sit at room temperature for about 20 minutes before eating. Happy baking!
Notes





Pingback: Cherry Chocolate Oat Bars (Eggless)
Any suggestions to substitute for rum/alcohol ?
I’m not sure of a substitute that works the same way, you can leave it out though, it’s not a problem
Hi Gayatri is there no need for baking powder in this recipe? Thanks
Hi Anjali, no there is no need because this batter relies on beating the eggs and incorporating a lot of air in order to help it rise.
Oh OK thanks. I did use an electric hand beater, but I still found the cake came out a bit denser than usual! Loved the overall flavour though
It’s important to beat the eggs till the stage written in the recipe so that they can give enough of a rise for a soft and airy cake, but if you’re in doubt, 1/4 tsp of baking powder should help !
Pingback: Black Forest Bread Pudding