I always thought brownies made with melted chocolate are the only way to go, convinced that brownies made only with cocoa could never be as gooey, or fudgy or rich. Omg, so wrong. I’m eating my words as I eat these brownies. These are so much more gooey than I expected, unbelievably chocolatey and they come together so quickly. I first made these three years ago and with a few updates to the recipe, they’re better than ever. Let’s do this!
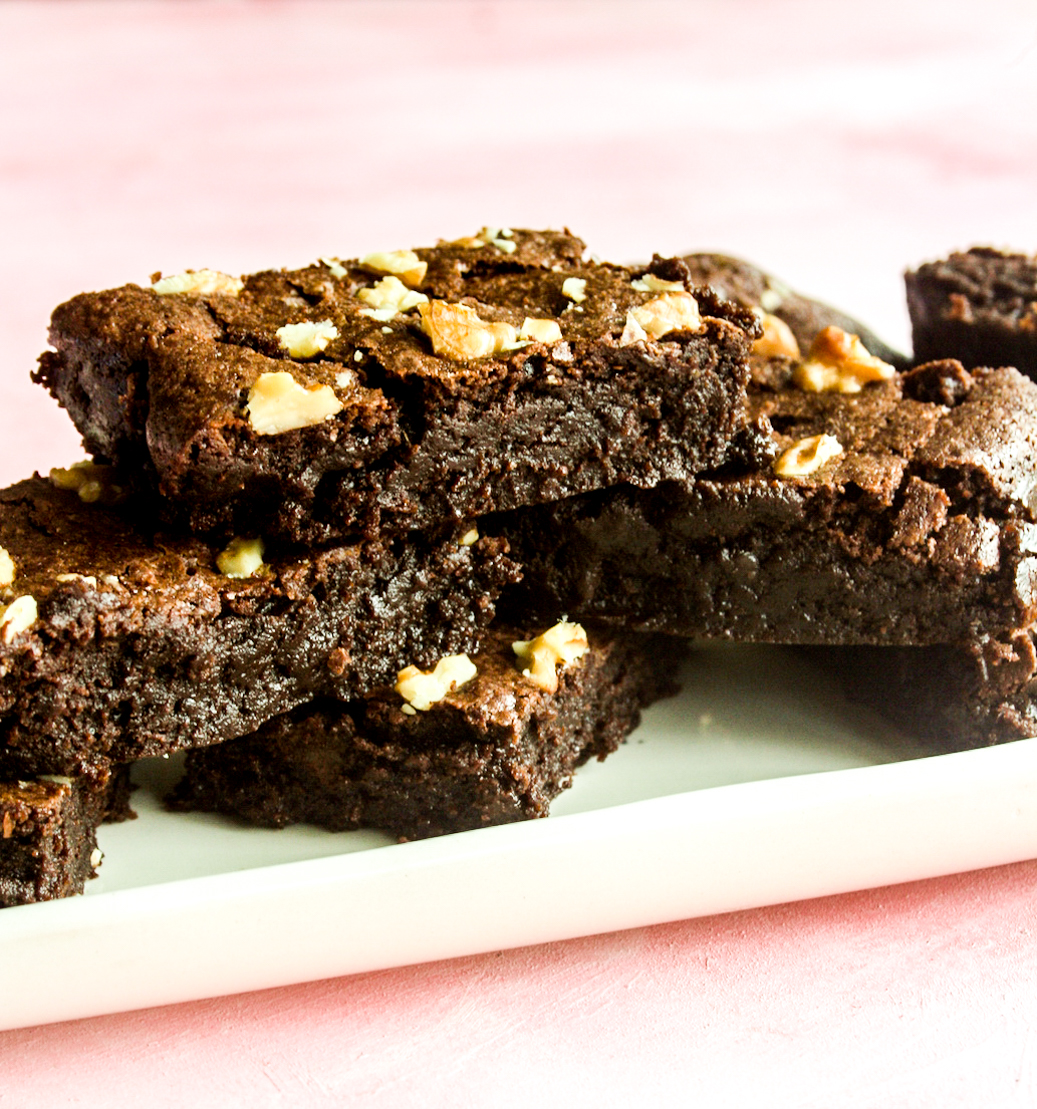
This recipe is from Bon Appetit with lesser sugar and a few tweaks to the method to make this an easy one-bowl recipe and my favourite trick of beating the eggs and sugar together to ensure a nice crust. You can use a whisk or hand mixer to make the batter. The crust isn’t wafer thin as you see here but it’s more like the crust on this Swedish Chocolate Cake, firm but crackly and more pronounced on day two.
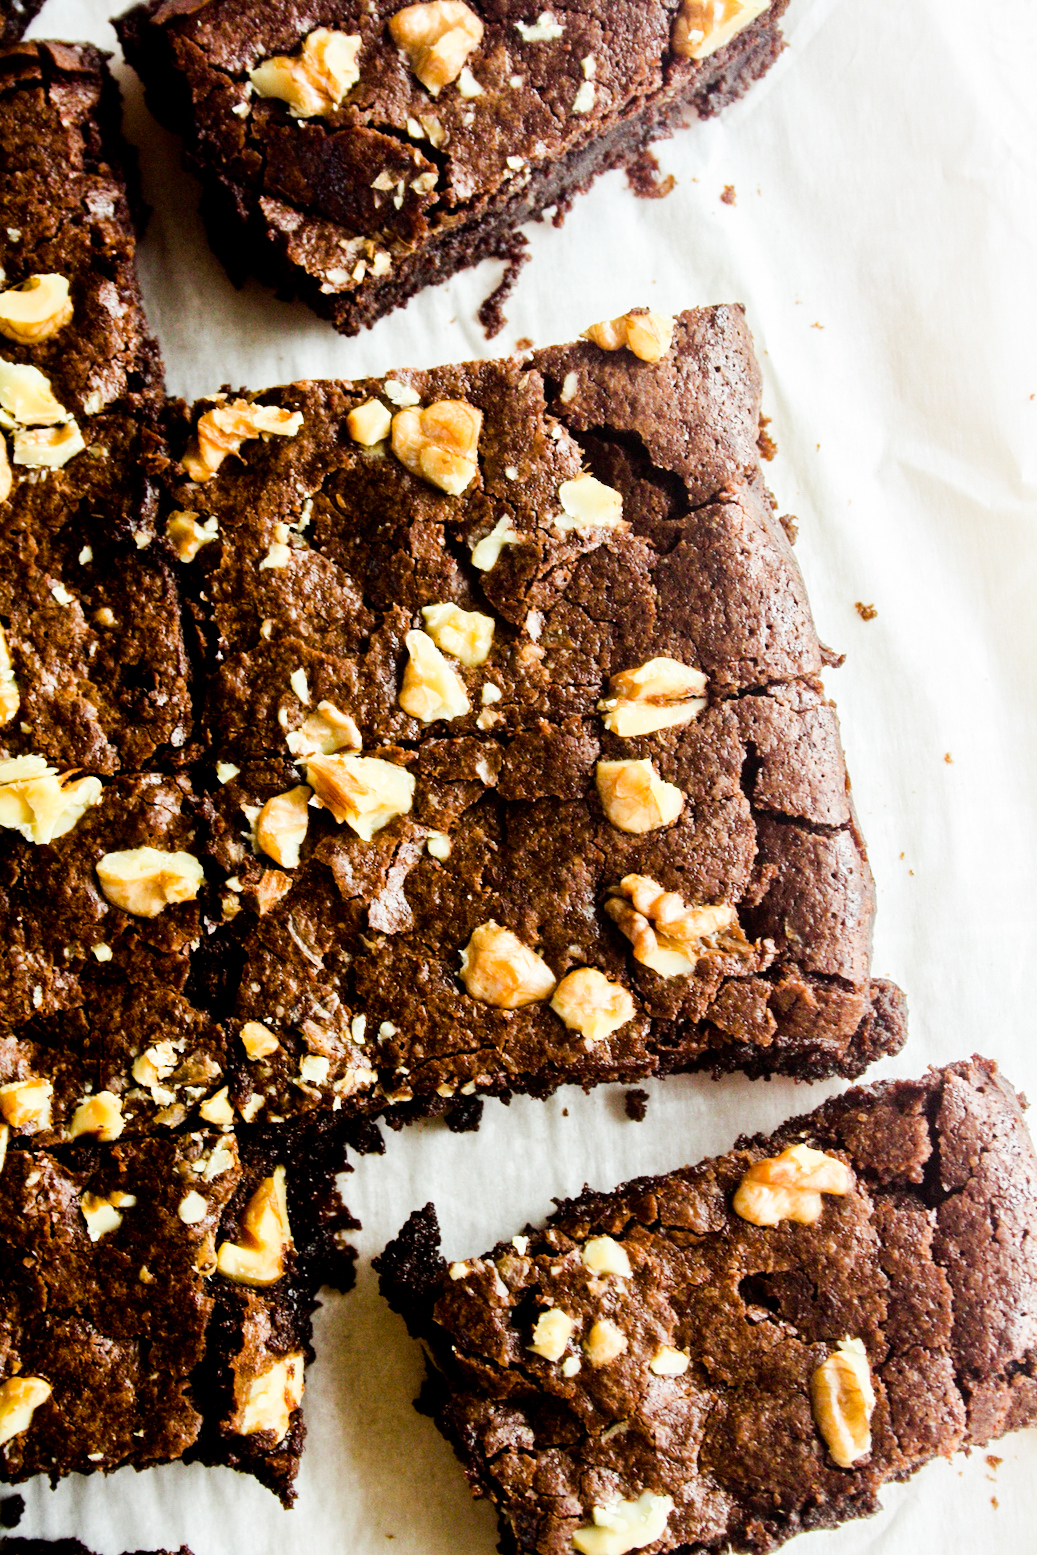
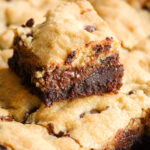
I also found that by day two, the brownies had gone from gooey to being gooey AND extra chewy which really, is the hallmark of a great brownie. Those edge and corner pieces are the BEST, seriously. The brownies are not too sweet, they have the perfect intense hit of chocolate and while the walnuts on top were an afterthought, I really recommend them. They get toasty and crunchy in the oven and go so well with the gooey inside.
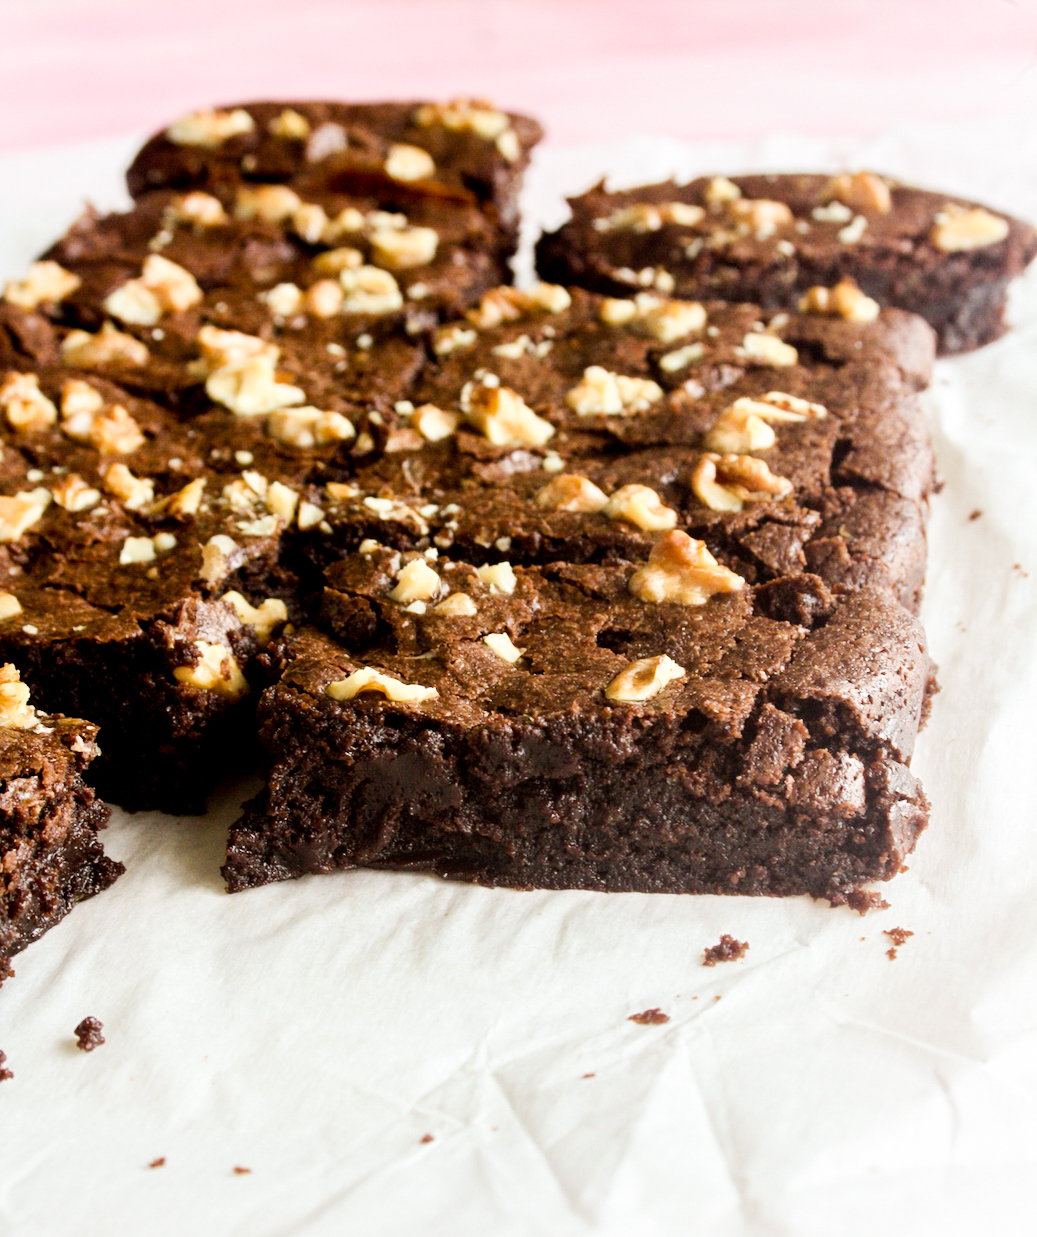
I honestly couldn’t even tell the difference between these and brownies made with melted chocolate. They are maybe a little less dense, but they’re equally delicious and I can’t believe it’s taken me this long to try them! I hope you’ll make them today 🙂
Please read the recipe notes before beginning.
Gooey Cocoa Brownies
Ingredients
- 1/2 cup butter (115 gms)
- 1 cup caster sugar (190 gms)
- 2 eggs, at room temp (see notes)
- 1 tsp vanilla extract
- 1/3 cup all-purpose flour (40 gms)
- 3/4 cup cocoa (60 gms)
- 1/4 tsp salt, if using unsalted butter
- 3 tbsps chopped walnuts, optional (see notes)
Instructions
- Preheat the oven to 160 C. Line an 8.5x6.5 inch baking dish (see notes) with non-stick baking paper, leaving a little overhang for easy removal. Set aside.
- In a microwave-safe mixing bowl, melt the butter, making sure it doesn't start boiling. Stir to melt any remaining lumps, instead of over-heating it. Alternately, melt the butter in a saucepan on the stove, then transfer to a mixing bowl.
- Now stir in the sugar, whisking very well to combine. Then add the eggs and vanilla, whisking vigorously for about 2 minutes by hand or with a hand mixer, until the mixture thickens a little and looks paler in colour. While this isn't strictly necessary, I use this method in all brownie recipes to create a nice crackly crust so I recommend it!
- Now sift in the flour, cocoa and salt, if using. Fold gently to combine, taking care not to over mix the batter. It will be fairly thick.
- Spoon the batter into the prepared baking dish, spreading it out evenly. Sprinkle chopped walnuts over the top.
- Bake for 25 to 30 minutes, until a toothpick poked in the center comes out with a few moist crumbs. The top will still seem quite soft and the sides will appear more cracked than the center in my experience. Avoid over-baking the brownies because they will continue to cook as they cool and if baked too long, they will be dry instead of deliciously gooey.
- Let cool in the dish for 15 minutes, then lift the brownies out using the paper and leave them on a wire rack to cool completely. They will firm up as they cool and the top will get a nice crackly look as you cut the brownies. Slice into 10 equal pieces and dig in!
- On day one these brownies are gooey and buttery and they taste even better on day two when they become more chewy. Store in an airtight tin for 3 to 4 days at at room temperature, about 10 days in the fridge (bring to room temperature before eating) and longer in the freezer, if you have any leftovers! Happy baking 🙂
Notes
Shop this recipe!
This post contains affiliate links.



can this brownie be made without using baking sheet. can i use a greased floured baking glass baking pan or aluminium baking pan . eagerly waiting to hear from you.
Yes you can skip the sheet and just grease the pan. In general I prefer not to use aluminium directly for baking, glass is ok.
Pingback: Wallflower Weekly Finds, 283 - Cooking with a Wallflower