Meet the only buddy your soup needs. Crusty on top, soft and chewy on the inside, this bread is flavoured with garlic powder and cheddar cheese and is so good, it doesn’t even need butter on top. Although of course, butter makes everything better, so do it anyway. It is the easiest bread you’ll ever make and it really can’t go wrong. Let’s bake!
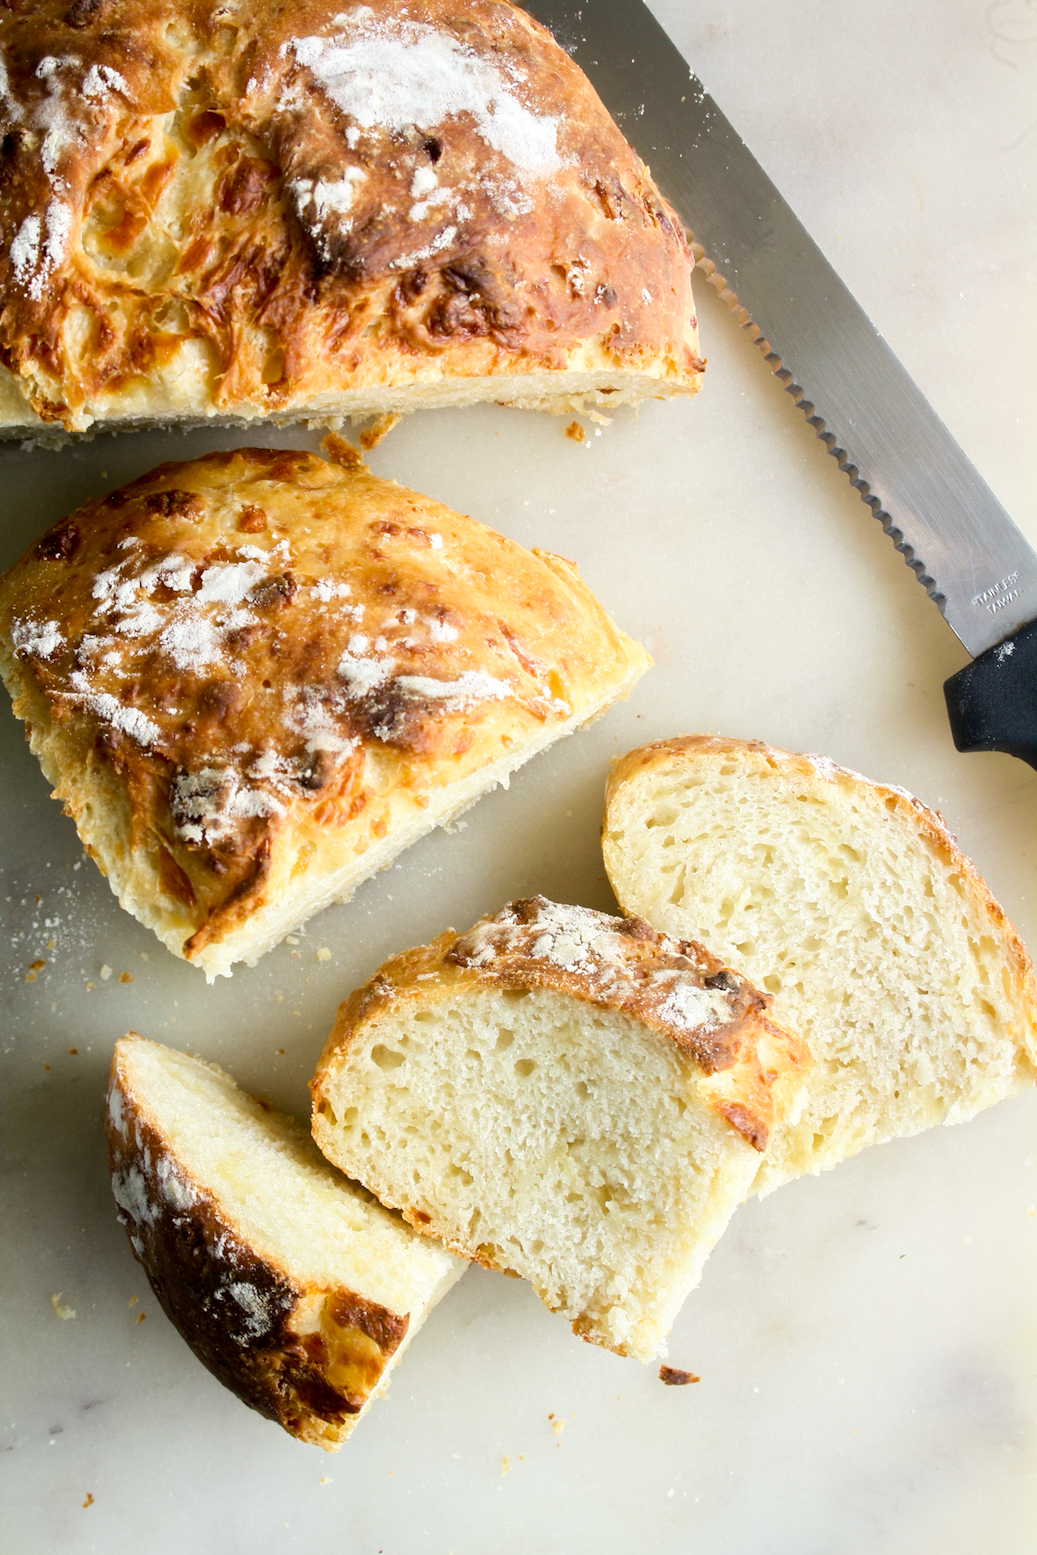
A ‘no-knead’ bread is exactly that. A bread dough that is just mixed up in a bowl and left alone, with no need to knead (hee). It usually rises overnight in the fridge, giving it a deeper flavour and with more water in the dough than a regular bread, the dough is much stickier and results in a crusty, chewy bread. I love those little patches of flour on top (they help prevent the clingfilm from sticking to the dough) and they bake up to look like those cute artisanal loves that bakeries make!
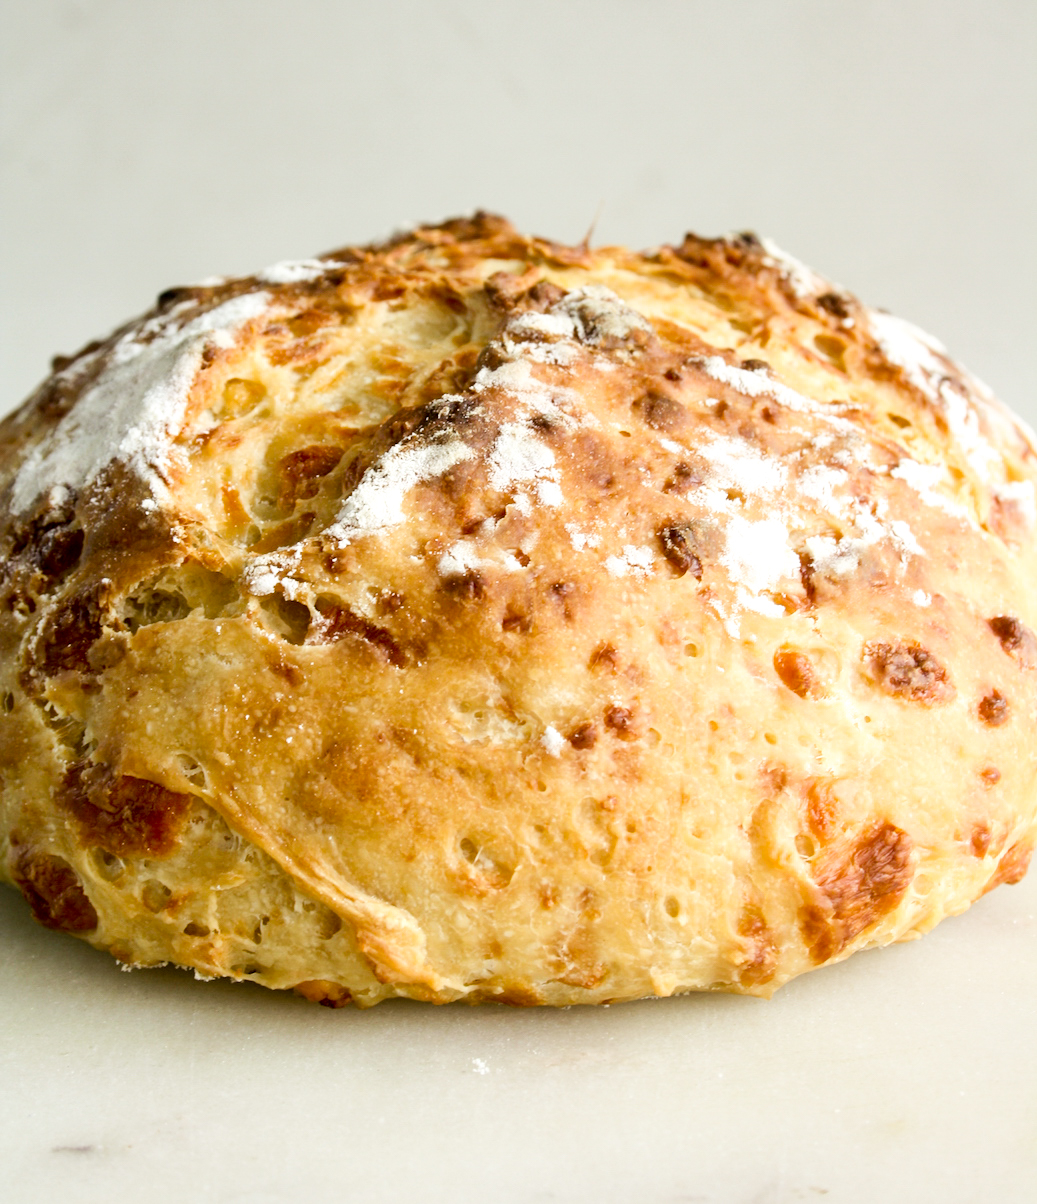
This no-knead method was popularised by Jim Lahey and versions of it exist all over the Internet. I never tried it because the dough seemed to always be baked in a Dutch oven (a tightly closed, oven-safe pot) which I don’t have and I doubt any average Indian kitchen has and since I loved this other dough that has a similar recipe, I never really thought too much about Jim Lahey’s original version. Until I tried Sally’s Baking Addiction’s version last month and realised I could just bake it free-form on a baking tray and it would still be great. I showed a little step-by-step of it on Instagram!
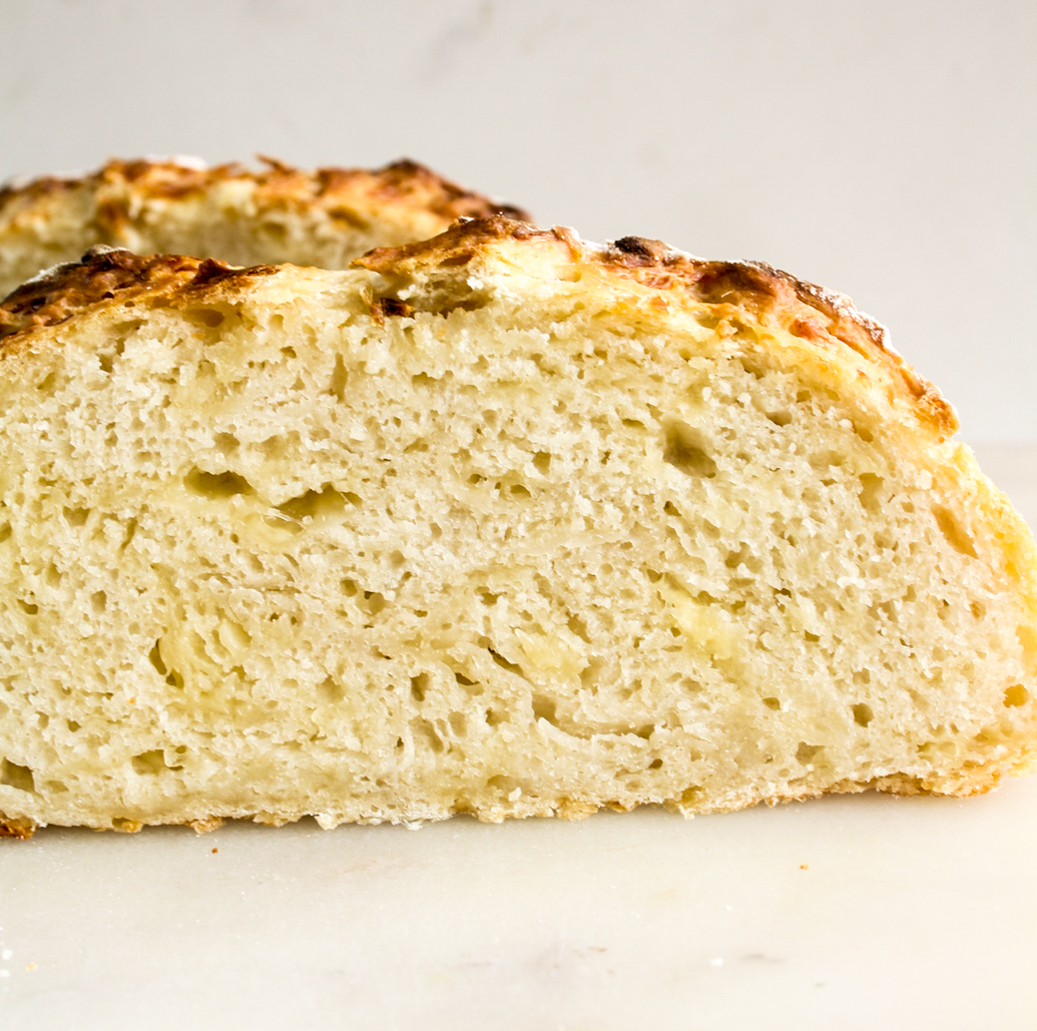
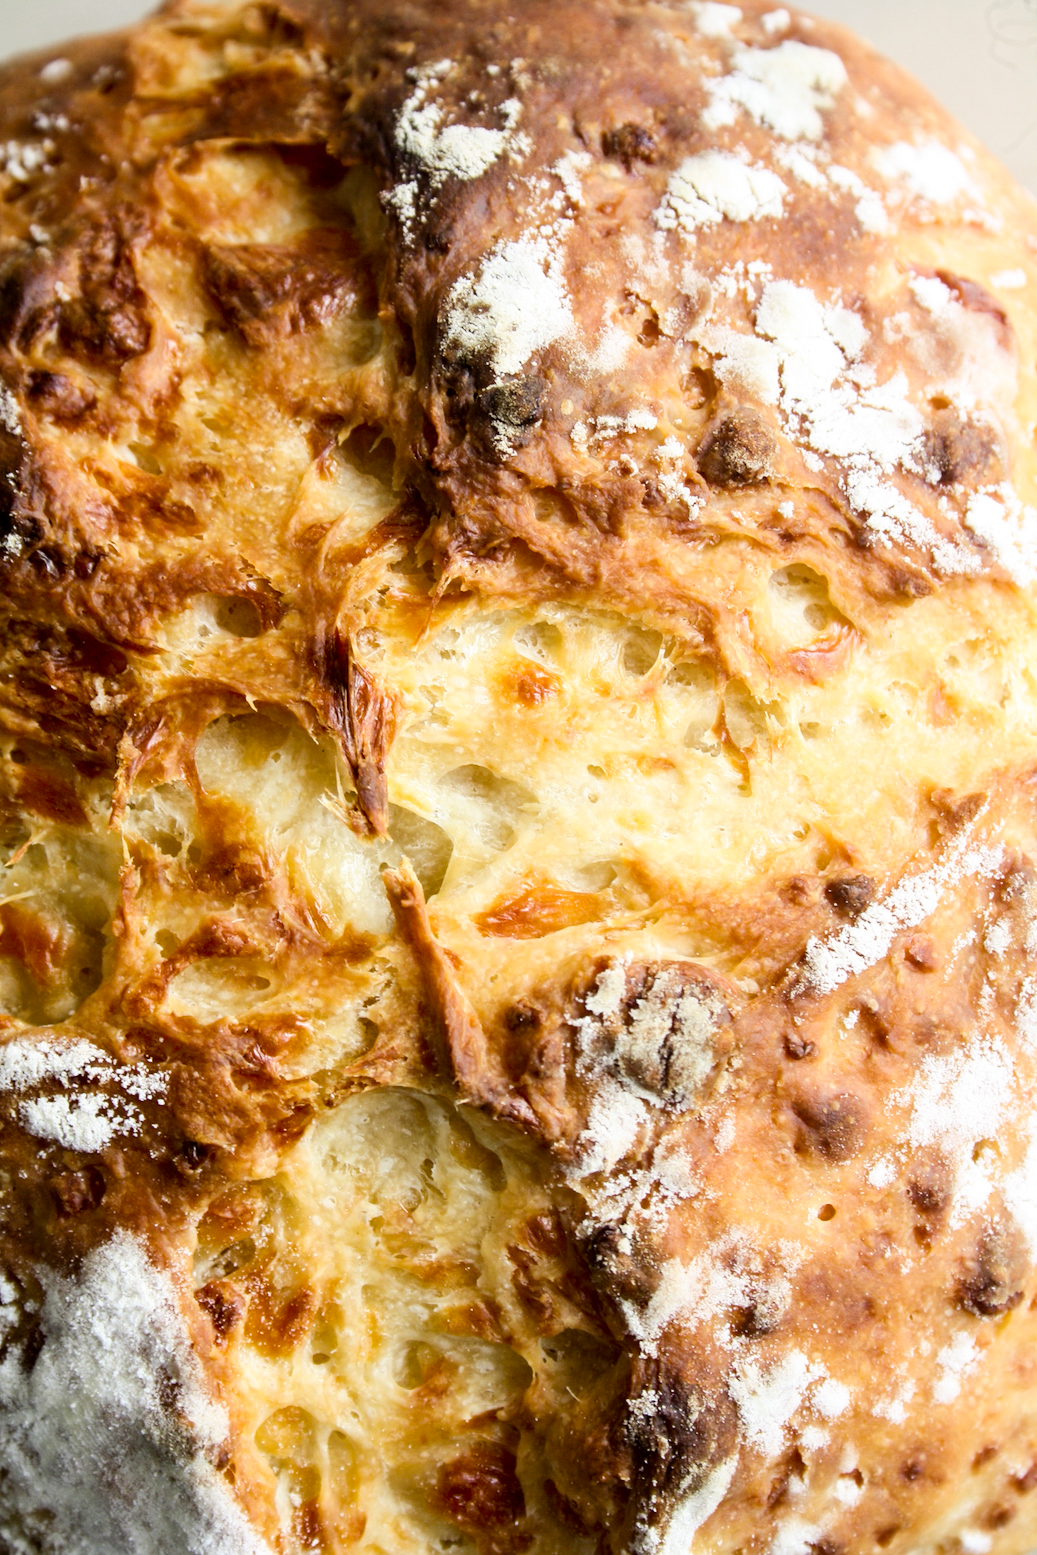
I knew I wanted to play with more flavours now that I knew how to bake this dough. Cheese and garlic seemed kinda obvious after these pretzels. Freshly grated cheddar and garlic powder are all you need for the most explosively good bread. It’s so cheesy!!! The cheese makes this bread softer than a plain version, but in the best way possible.
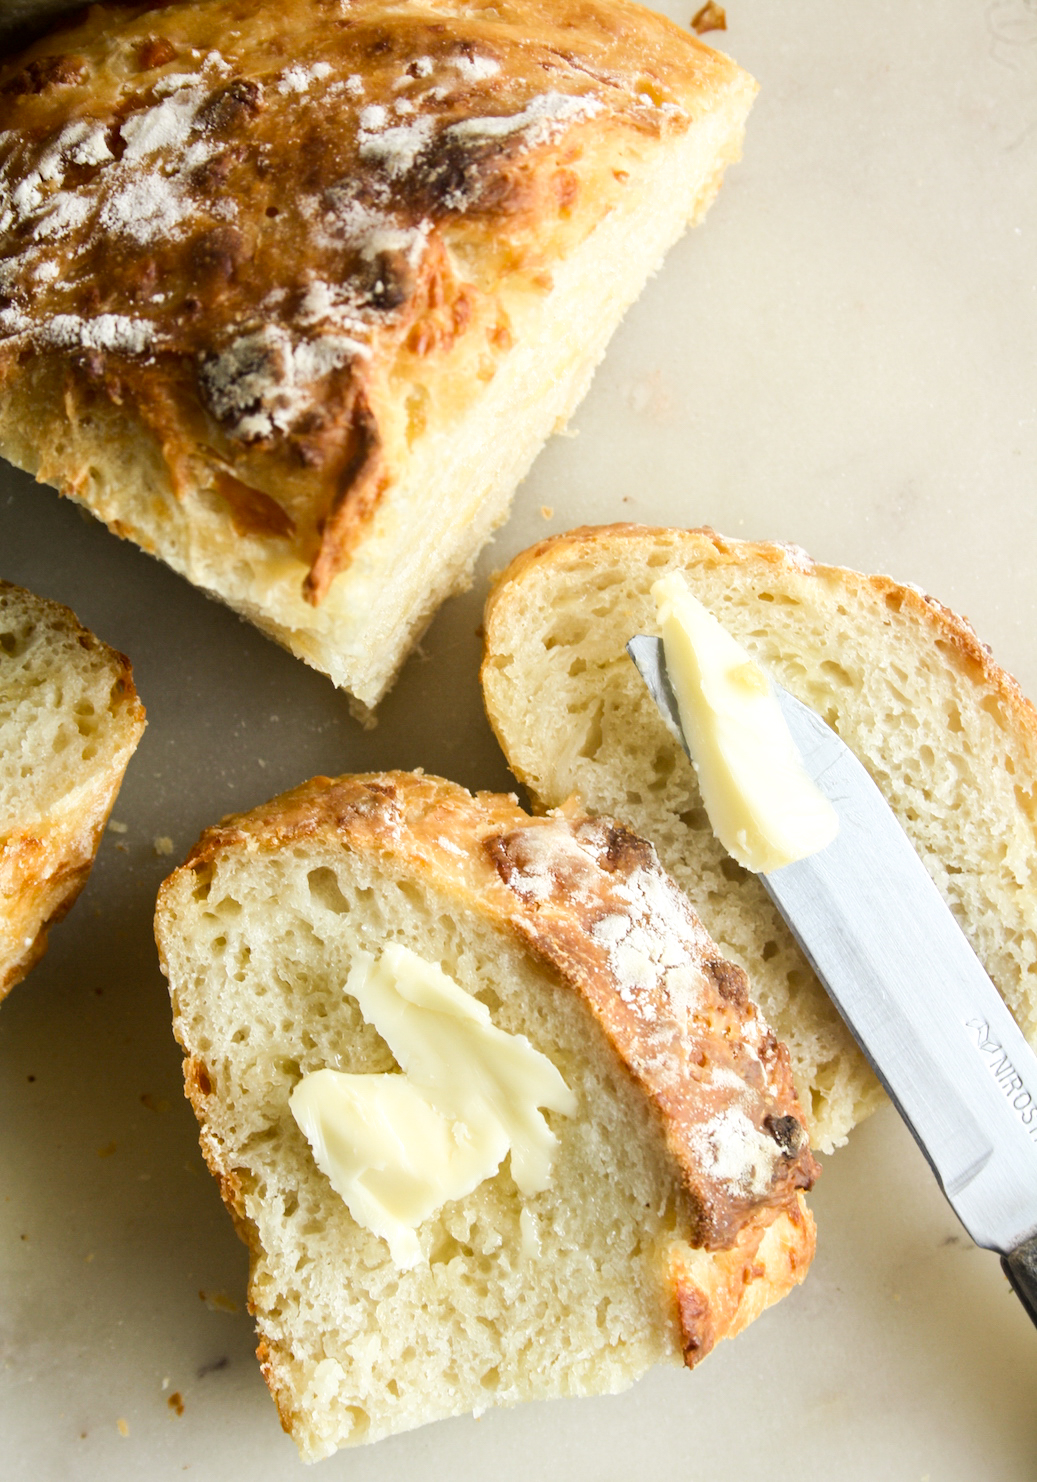
This version makes one medium sized loaf which is perfect for two people with leftovers for a quick breakfast! This is also the first time I’ve used instant yeast and absolutely love it. Unlike active dry yeast which needs to be mixed with warm water for it to work, instant is…..instant. Just dump it in with everything else and let the magic happen.
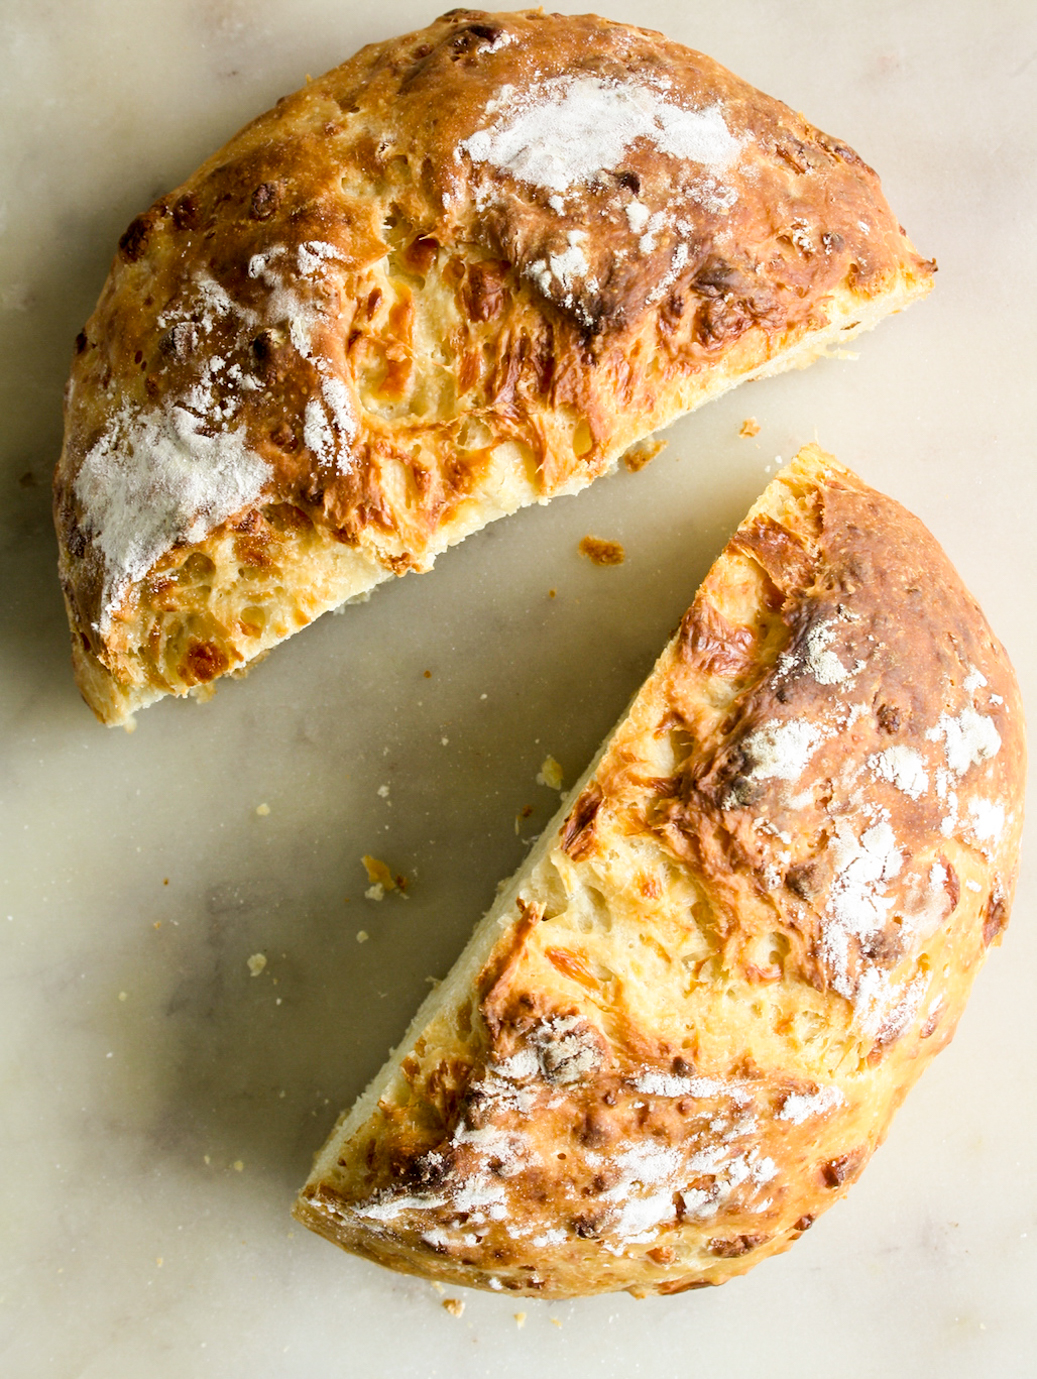
You’ll love the crackly sound of the crust as you slice into the bread and the contrast with the soft cheesiness on the inside. And like with all other breads, it’s so satisfying to make this at home! Let me know how it goes 🙂
No-Knead Cheese Garlic Bread
Ingredients
- 1 and 3/4 cups all purpose flour (210 gms)
- 1 tsp instant yeast (I used BlueBird instant yeast; active dry yeast is not recommended)
- 1/2 tsp salt
- 1 and 1/2 tsps garlic powder (or less if you prefer)
- 1 cup grated cheddar cheese (113 gms)
- 3/4 cup room temperature water (188 ml)
- Extra flour for sprinkling as needed
Instructions
- In a mixing bowl, stir together the flour, yeast, salt and garlic powder. Then stir in the grated cheese.
- Add the water and use a wooden spoon or silicone spatula (recommended) to bring the dough together. It will seem a little dry and shaggy looking at first, but it will turn into a soft and sticky mass in just a couple of minutes.
- Shape the dough into a ball (doesn't have to be perfect) and let it remain in the bowl. Cover with clingfilm and let it rest at room temperature for 2 hours, or until doubled.
- Place the bowl, still covered, in the fridge overnight and up to 3 days. I usually let it chill for about 14 to 16 hours.
- The next day, scrape the dough out of the bowl and place on a very lightly floured silicone baking mat. Shape the dough into a smooth ball with lightly floured fingers because the dough will still be sticky. I prefer a silicone mat here because it won't slide around as you shape the dough.
- Loosely cover the dough with the same sheet of clingfilm and let it rise again for 45 minutes to 1 hour. It will puff up and spread a bit.
- In the meantime, preheat the oven to 250 C.
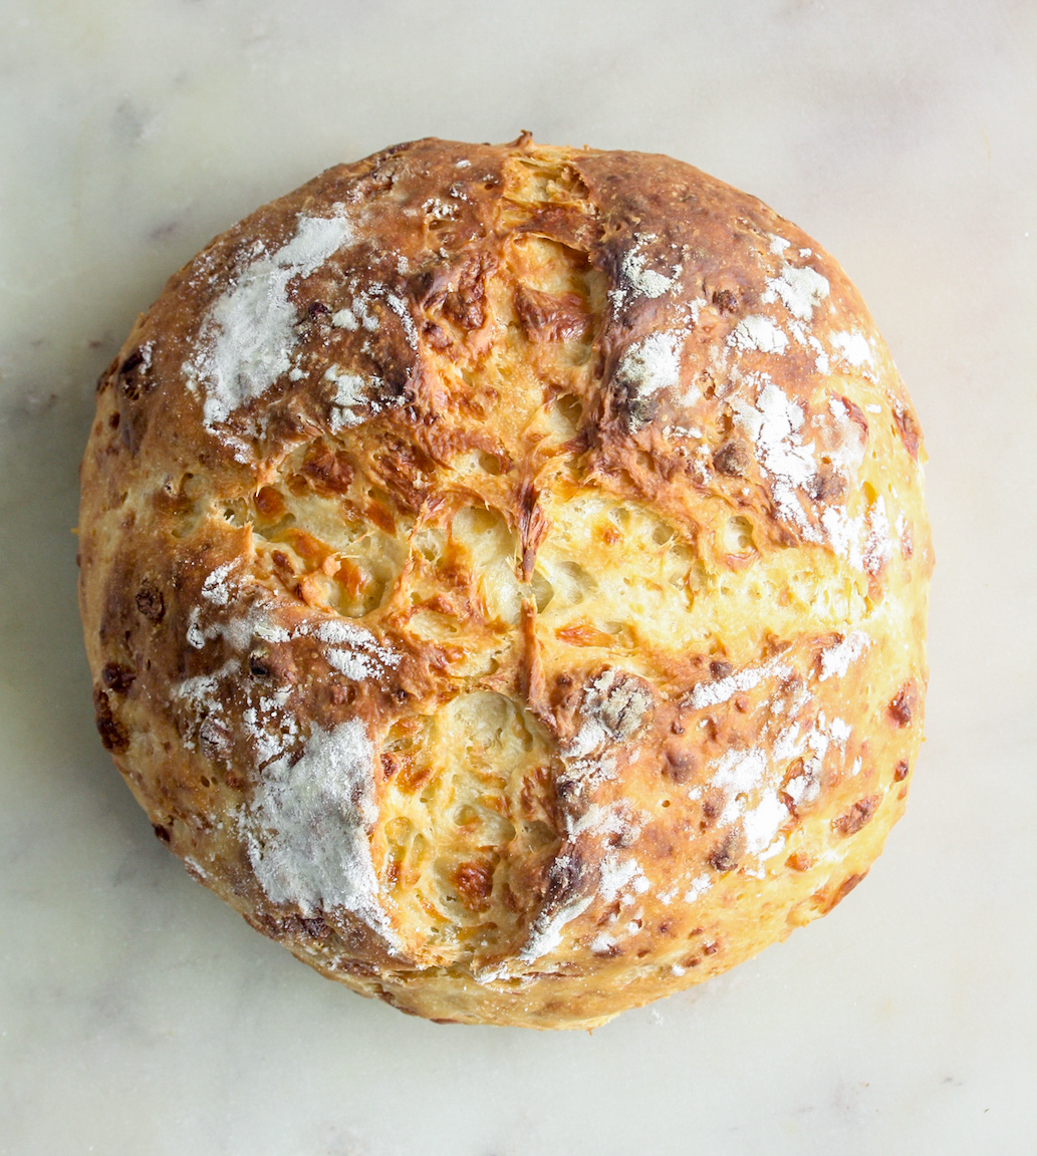
- Uncover the dough and if it looks a little misshapen, use floured fingertips to nudge it back into shape. Use a sharp knife to make two long cuts along the top, forming a + sign. This step, called 'scoring', allows the dough to expand more evenly as the bread bakes.
- Slide the mat onto a baking tray and bake for 25 to 30 minutes until browned on top and the smell is just irresistible!
- Let the bread cool completely at room temperature, on a wire rack. As amazing as warm bread tastes, being patient actually helps create a better texture as it continues to bake as it cools. Slice and dig in! Will keep at room temperature for a day or two in an airtight tin but in humid weather, I prefer storing it in the fridge for a week and toasting as needed. Happy baking!
Notes
Shop this recipe!
This post contains affiliate links.
Check out a full list of my baking essentials here!








Hi, my oven has a max temp setting of 200 C. Is it possible to make this recipe at this temp? What changes should I make?
Hi, bread recipes typically need a much higher temperature so my guess is you will need to bake it for a lot longer to make sure it’s cooked from the inside at 200 C. I’d say about 20 mins more but I haven’t tried it that way myself, let me know if it works out!
Hi. Can we use dry active yeast instead of instant yeast?
The rise time will be much longer and the texture will be a little different as well so instant is best here but I have many other bread recipes on the blog that use active dry yeast !
Hi. I’ve started making this bread and then I saw that it says to cook it at 250c. Is this a miss print it looks very low for baking
Hi. I’ve started making this bread and then I saw that it says to cook it at 250c. That sounds very low is that a miss print
Hi, 250 C is correct, not a misprint 🙂 It’s 480 F if that helps.