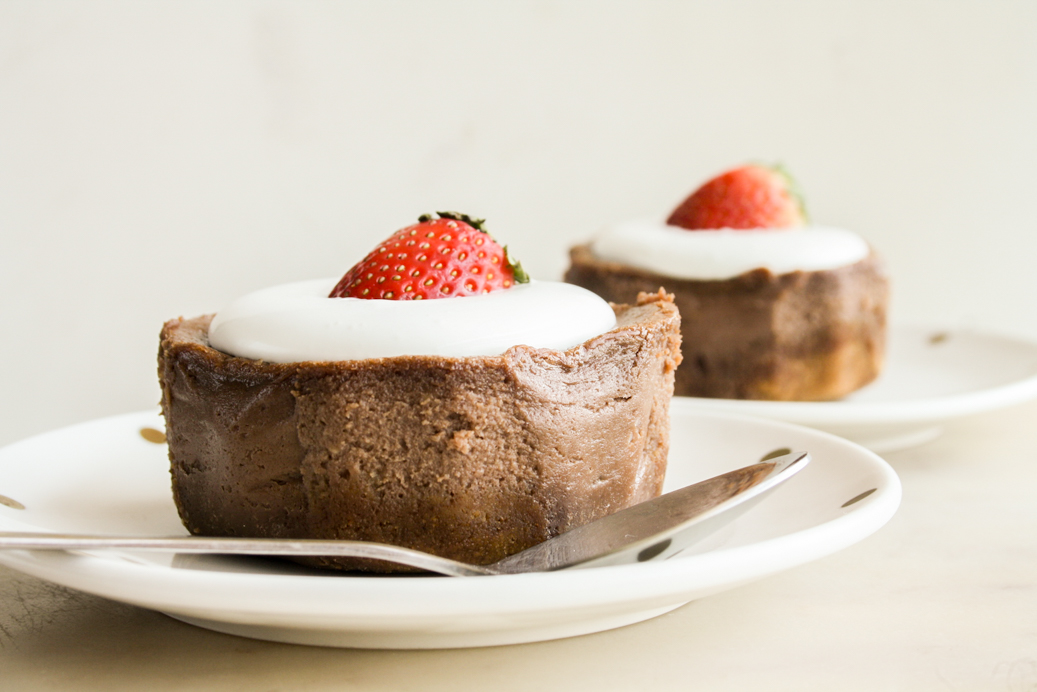
Just to be clear, ‘cheesecake for two’ doesn’t mean you HAVE to share. You can absolutely eat both and make them anytime, Valentine’s Day or not. However, since they’re cute and even cuter with strawberries, they do seem like a good dessert to make around the cheesiest day of the year, no matter how much I act like I’m so not into it.
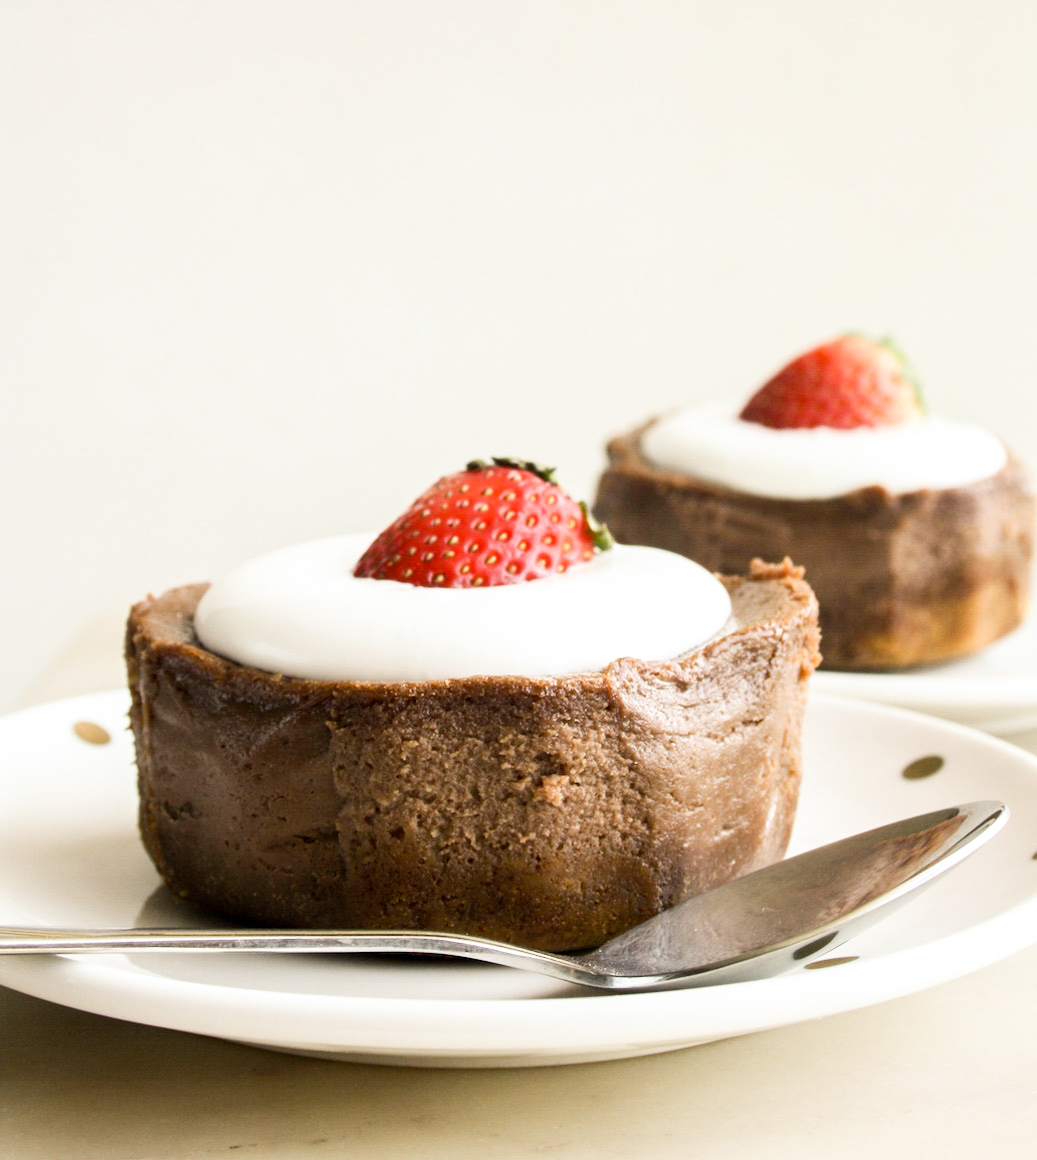
I wanted to make something with strawberries for Valentine’s Day but a cupcake recipe I was fiddling with bombed spectacularly and I decided to seek comfort in Nutella. But since I have no self control around cheesecake, I decided to go with a smaller recipe that would make two cute portions. (To be fair, cheesecake is a rich dessert and technically this could even be four servings.) With a little help from Food Network to figure out how to scale down my standard recipe, the cheesecakes were in the oven in no time. I never add flour to the batter and always use yoghurt instead of sour cream and even in a mini version, all of that works great!
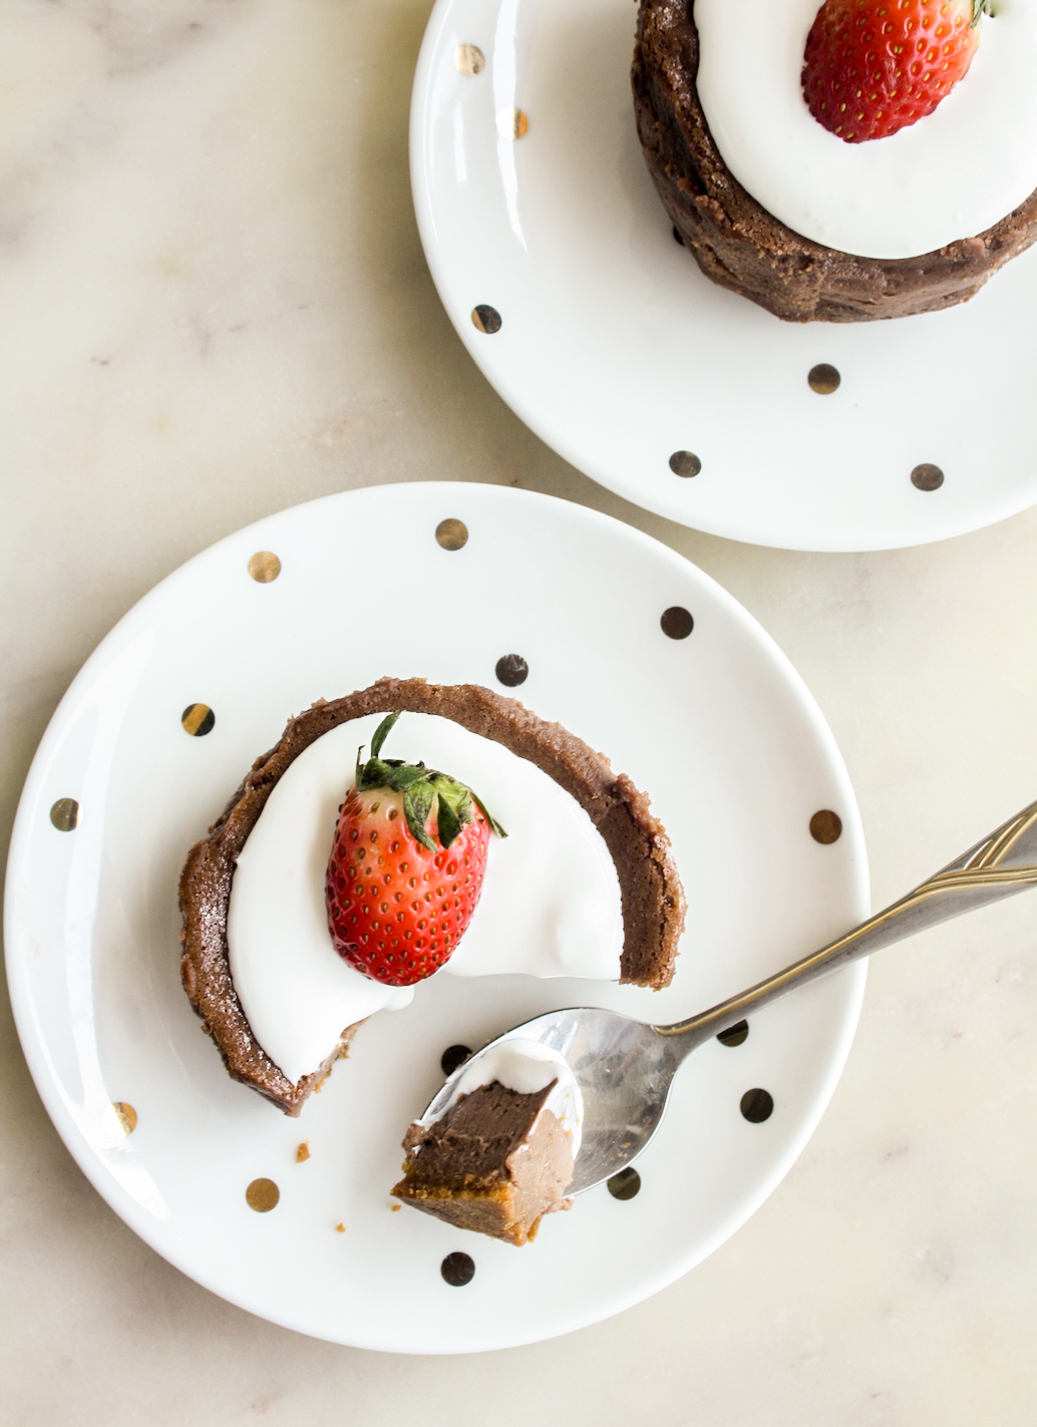
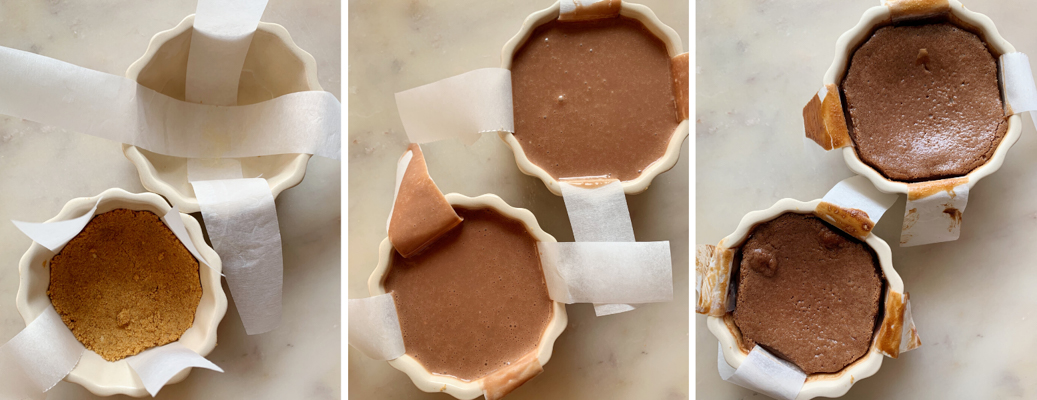
They are creamy, rich, packed with Nutella flavour and perfectly tangy. Since Nutella is already quite sweet, I only added a tiny bit of extra sugar to the batter. You can absolutely serve them right in the ramekins itself but I decided to pop them out mainly for photos and also kind of to see if I could do that without destroying the cheesecakes. I saw this little trick online a while ago using paper strips that act as handles to help pop the cheesecakes out. Worked so well!
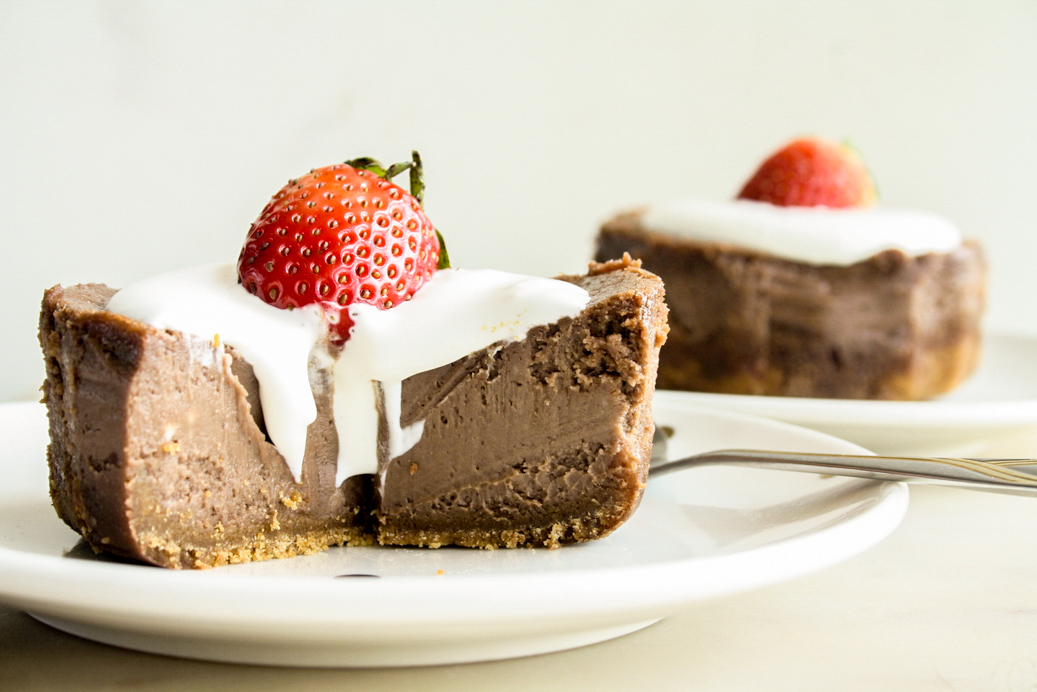
Since these are such small cheesecakes, there’s less chance of major cracks, over baking and generally, less stress involved. They may sink a bit on the top but that’s what the whipped cream and strawberries are for! I hope you’ll try these 🙂
Please read the recipe notes before beginning.
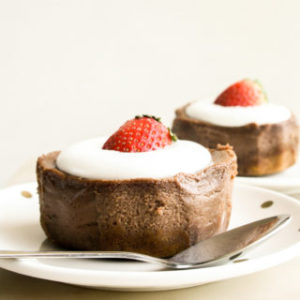
Baked Nutella Cheesecake For Two
Ingredients
- 6 digestive biscuits
- 1 tbsp melted butter
- 85 gms cream cheese, at room temperature (approx 1/3 cup)
- 2 tbsps plain yoghurt, at room temperature
- 1/4 cup Nutella, at room temperature (75 gms)
- 1 tbsp caster sugar
- 1 egg, at room temperature (see notes)
- 1 tsp vanilla extract
- Optional: lightly sweetened whipped cream and strawberries to serve
Instructions
- You will need two ramekins that are 3.5 inches wide and 2 inches high (see notes). Cut out strips of non stick baking paper and arrange them across each other (see photo above), using a dot of butter to help them stick to the base of the ramekin if needed. The paper strips are only necessary if you want to take the cheesecakes out of the ramekins to serve. You can use larger ramekins too for slightly smaller cheesecakes.
- Now make the crust. Blitz the biscuits in a food processor or blender/grinder till finely crumbed. (I didn't use a food processor since the quantity is so small). You need about 1/3 cup crumbs so you might need more or less biscuits depending on what you're using.
- Tip the crumbs into a mixing bowl and stir in the melted butter until the mixture clumps together.
- Divide this mixture equally among the two ramekins, pressing it down firmly into the base. Chill the ramekins for 20 minutes.
- Preheat the oven to 160 C.
- In the meantime, make the filling. Wipe out the mixing bowl, then add in the cream cheese and yoghurt. Use a hand mixer and beat the two together on medium speed until smooth. Add the Nutella, sugar, egg and vanilla and beat again till combined. Avoid over-beating.
- Pour the mixture equally over the chilled biscuit base in both ramekins. They will be full almost all the way but won't overflow.
- Bake for 25 to 30 minutes until the cheesecakes look set on the edges (small cracks may appear, this is ok) and are slightly wobbly in the center. Let them cool and set further at room temperature for 30 minutes, then place in the fridge at least 6 hours or overnight.
- To remove the cheesecakes, run a sharp knife around the edges, then use the paper strips to gently wiggle them out of the ramekins. They should come out cleanly.
- Top with whipped cream and strawberries! Store the cheesecakes in the fridge for 4 to 5 days and in the freezer for longer. Happy baking!
Notes



Pingback: Mini Peach Cobbler
Pingback: Small Batch Chocolate Oreo Cheesecake
Pingback: Strawberry Blueberry Scones with Lemon Glaze (Eggless)