Say hello to my new favourite carrot cake! With enough ginger to cure the worst of colds this monsoon. Grab your favourite hot beverage and cozy up with a slice of this because it’s goooood. Candied ginger is the star here and a silky cream cheese frosting gives it a good run for its money.
Let’s make cake!
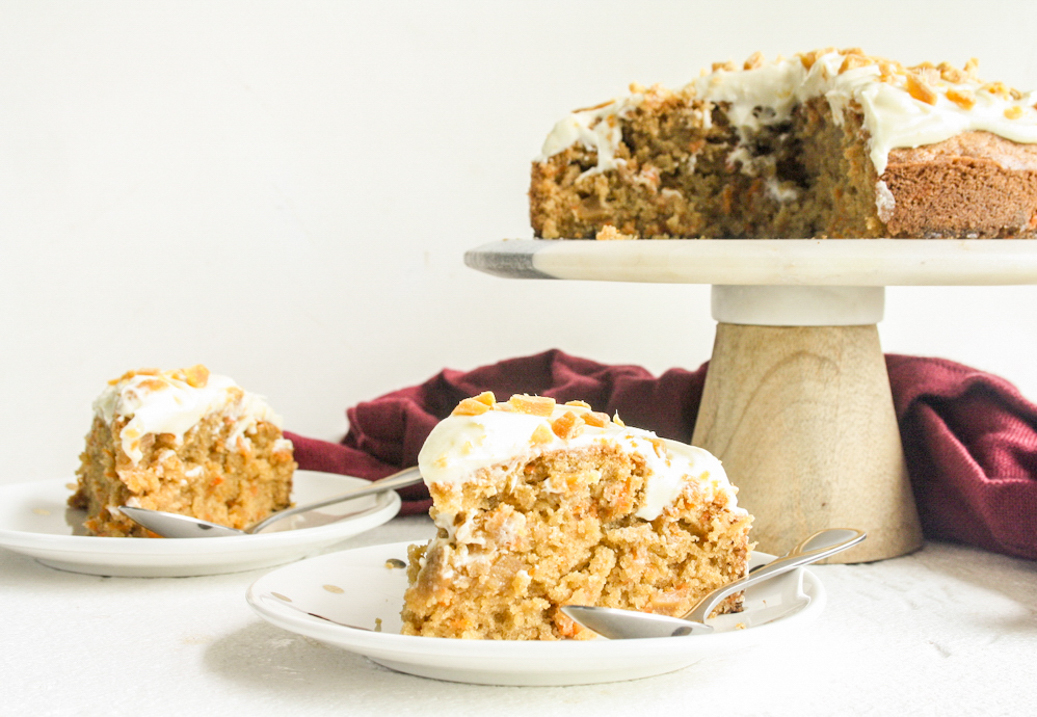
Nigella Lawson created this cake and she also made it on Masterchef Australia and I couldn’t stop thinking about it. Carrot cake does taste lovely with spices, but the ginger in this one is loud and proud. There’s no cinnamon or nutmeg or cloves, just ginger, both powdered and candied.
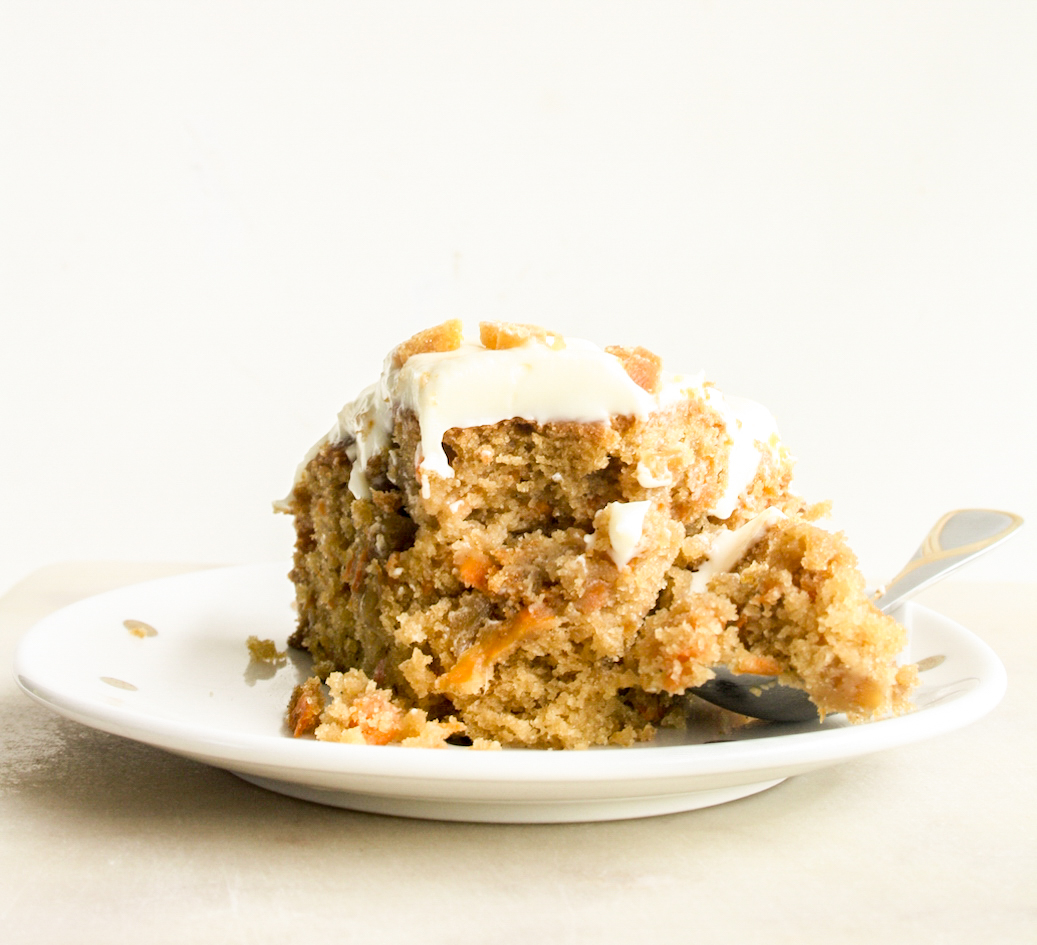
This was my first time baking with candied ginger though, so I reduced the amount quite a bit and used a bit more in the powdered form. The flavour is still super gingery, with plenty of texture from the carrots as well. I didn’t have walnuts on hand so omitted them, but I didn’t miss them at all. It’s an oil-based cake, so remains very moist and tender and each bite is packed with so much flavour!

The cream cheese frosting is not the same as Nigella’s, I use less sugar, no cornflour, less butter and a bit more cream cheese. It’s silky, creamy, tangy and has a bit of ginger juice in it for added zing. So perfect with the cake! Although if you decided to skip the frosting, I promise the cake is delicious even without it.
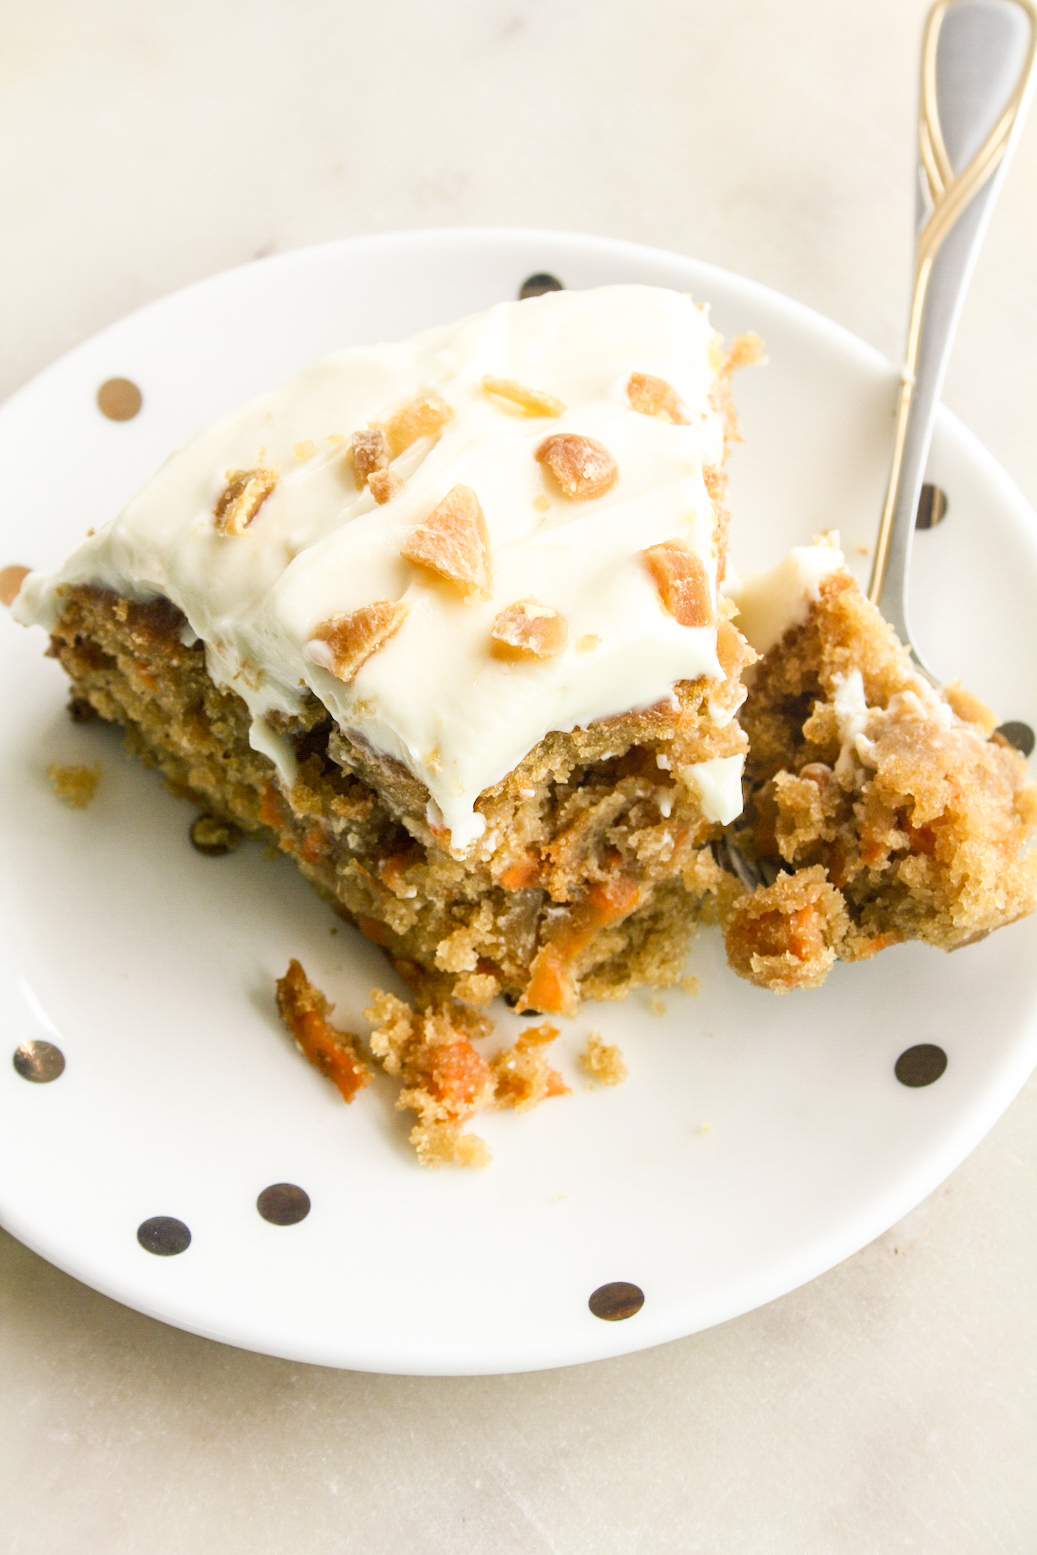
Once you’re done shredding the carrots and chopping the candied ginger, the batter comes together in one bowl and very quickly. This isn’t a very tall cake, so if you wanted to make a layer cake you’ll need to double the recipe and use two pans. Although as is, it makes very generous slices! The cake isn’t rich or too heavy, it’s really really perfect. I hope you’ll try it today!
Please read the recipe notes before beginning.
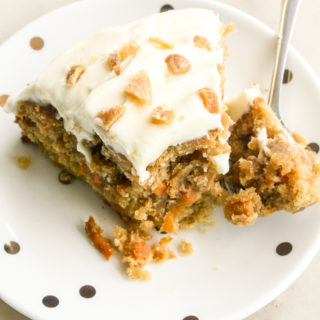
Carrot & Ginger Cake
Ingredients
For the cake
- 2 medium carrots, peeled and grated (200 gms)
- 1/3 to 1/2 cup candied ginger, finely chopped (about 50 gms, see notes)
- 3/4 cup vegetable oil
- 3/4 cup brown sugar
- 2 eggs, at room temperature (see notes)
- 1 and 3/4 cups all-purpose flour
- 1 tsp baking powder
- 1/2 tsp baking soda
- 1/4 tsp salt
- 2 and 1/2 tsps ginger powder
For the frosting
- 1/4 cup unsalted butter, at room temp
- 1/2 cup cream cheese, at room temp
- 1/2 cup icing sugar, sifted
- 1 tbsp grated ginger
Instructions
- Preheat the oven to 175 C. Grease an 8" round cake tin, preferably springform so you can take the cake out easily. Set aside.
- In a large mixing bowl, whisk the oil and brown sugar together, then add the eggs and whisk well to combine.
- Sift the flour, baking powder, baking soda, salt and ginger powder into the bowl. Fold gently to combine, do not over-mix.
- Now stir in the carrots and two-thirds of the candied ginger (save the rest for decoration). The batter will be thick and sticky. Spread it into the prepared cake tin and smoothen the top.
- Bake for 40 to 45 minutes until a toothpick poked in the center comes out clean. My cake domed and cracked a bit, but it sinks again as it cools so it's not hard to frost. If you feel the top is browning too fast, cover the tin loosely with foil and let it continue baking till the center is done.
- Allow the cake to cool completely at room temperature.
- To make the frosting, beat the butter and cream cheese with a hand mixer till creamy, then add the icing sugar. Beat on low speed until smooth and fluffy. Now squeeze out the juice from the grated ginger (I used a lemon squeezer, but a thin kitchen towel works too) into the bowl and stir it in.
- If the cake is not cool yet, place the frosting in the fridge and let it sit out at room temperature for 15 minutes when ready to frost.
- Spoon the frosting over the top of the cake, spreading it around evenly and creating a swirly top. Sprinkle the remaining candied ginger all over it.
- Slice and serve immediately or store in the fridge till ready to serve. I prefer this cake at room temperature so that the frosting is nice and creamy and silky. Will keep in the fridge for 5 to 6 days. I personally felt the flavour was even better on day two. Happy baking!
Notes

