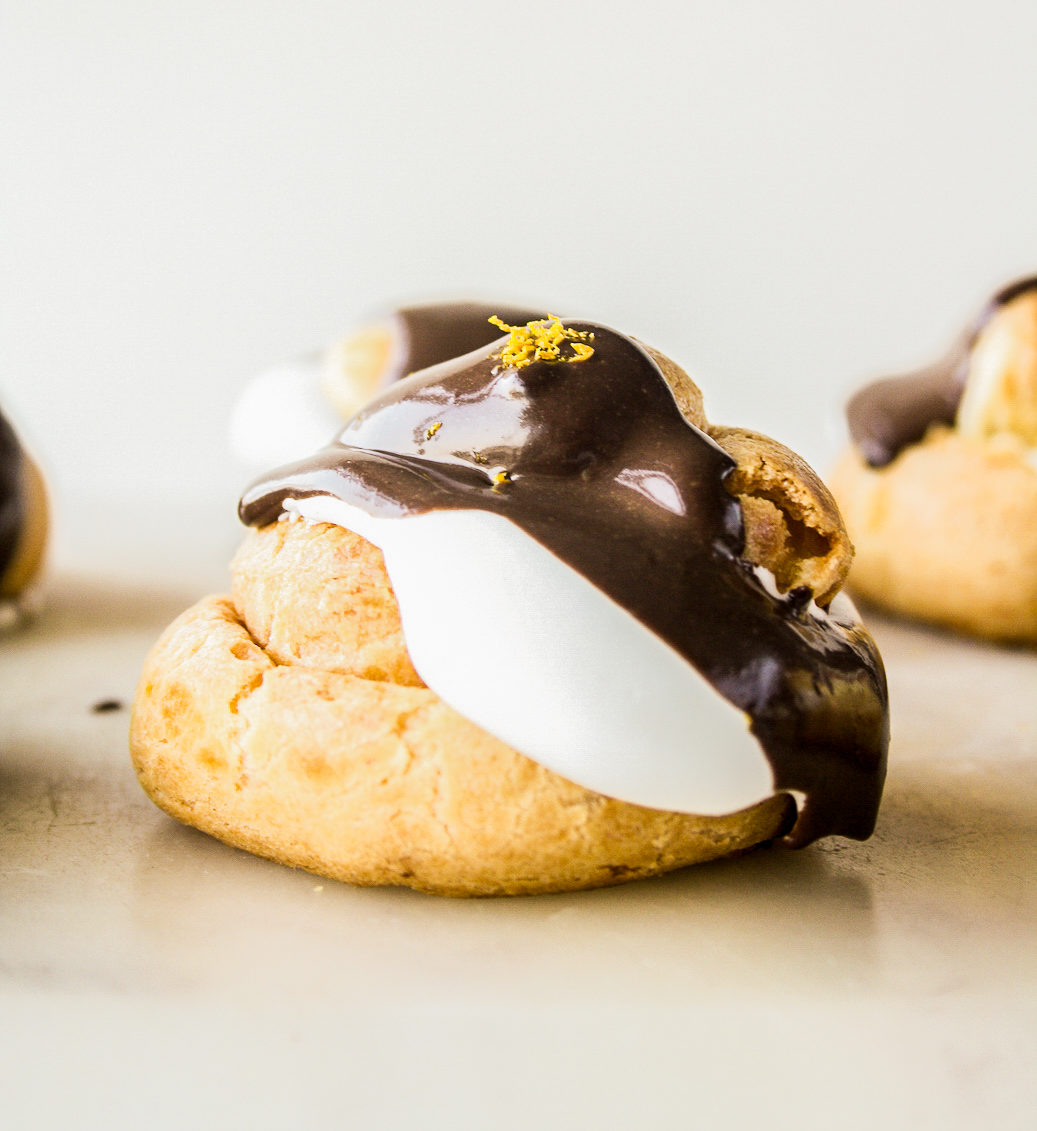
My fear of choux pastry is conquered! Choux is buttery, delicate and utterly delicious. It is NOT hard to make, I promise. Probably one of the easiest doughs you’d work with. With just a few ingredients, these cute little puffs are ready, waiting to be filled with the fun stuff. Light, airy, crisp on the top, soft on the inside. So good! I took it a little further and added fresh orange juice and zest to the dough, plus more zest for the cream and in the chocolate topping. Chocolate Orange for the win, right?
I’d taken a class a few years ago to learn more about choux pastry and put it off for a long time after that thinking no way could I do that at home. But Sally’s Baking Addiction recently shared a recipe after taking a class herself and I decided it was time.
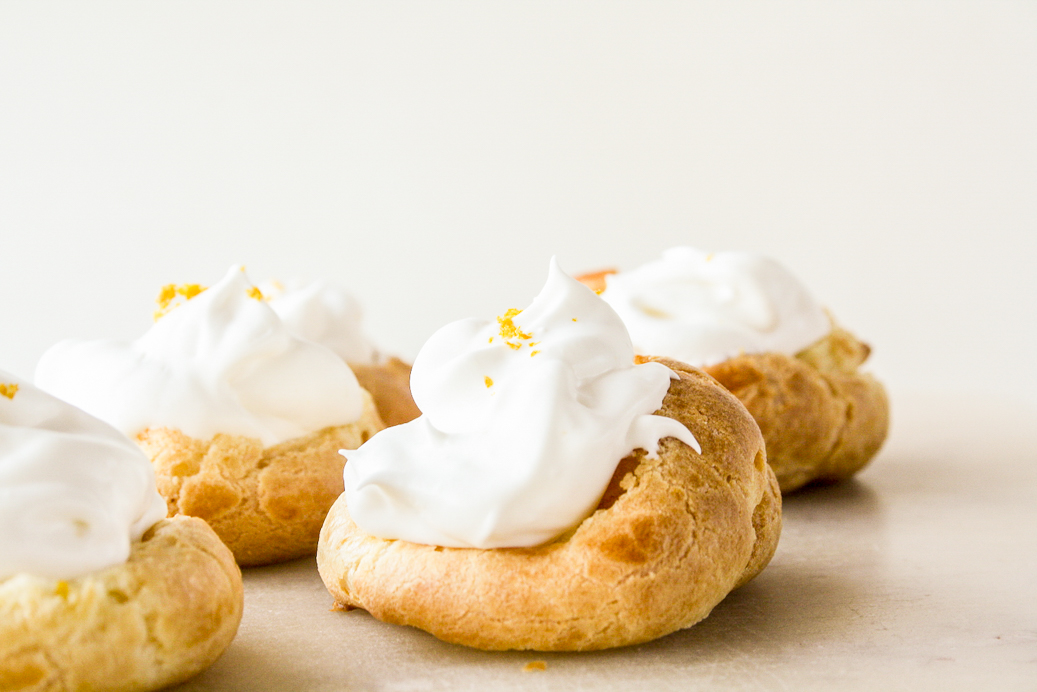
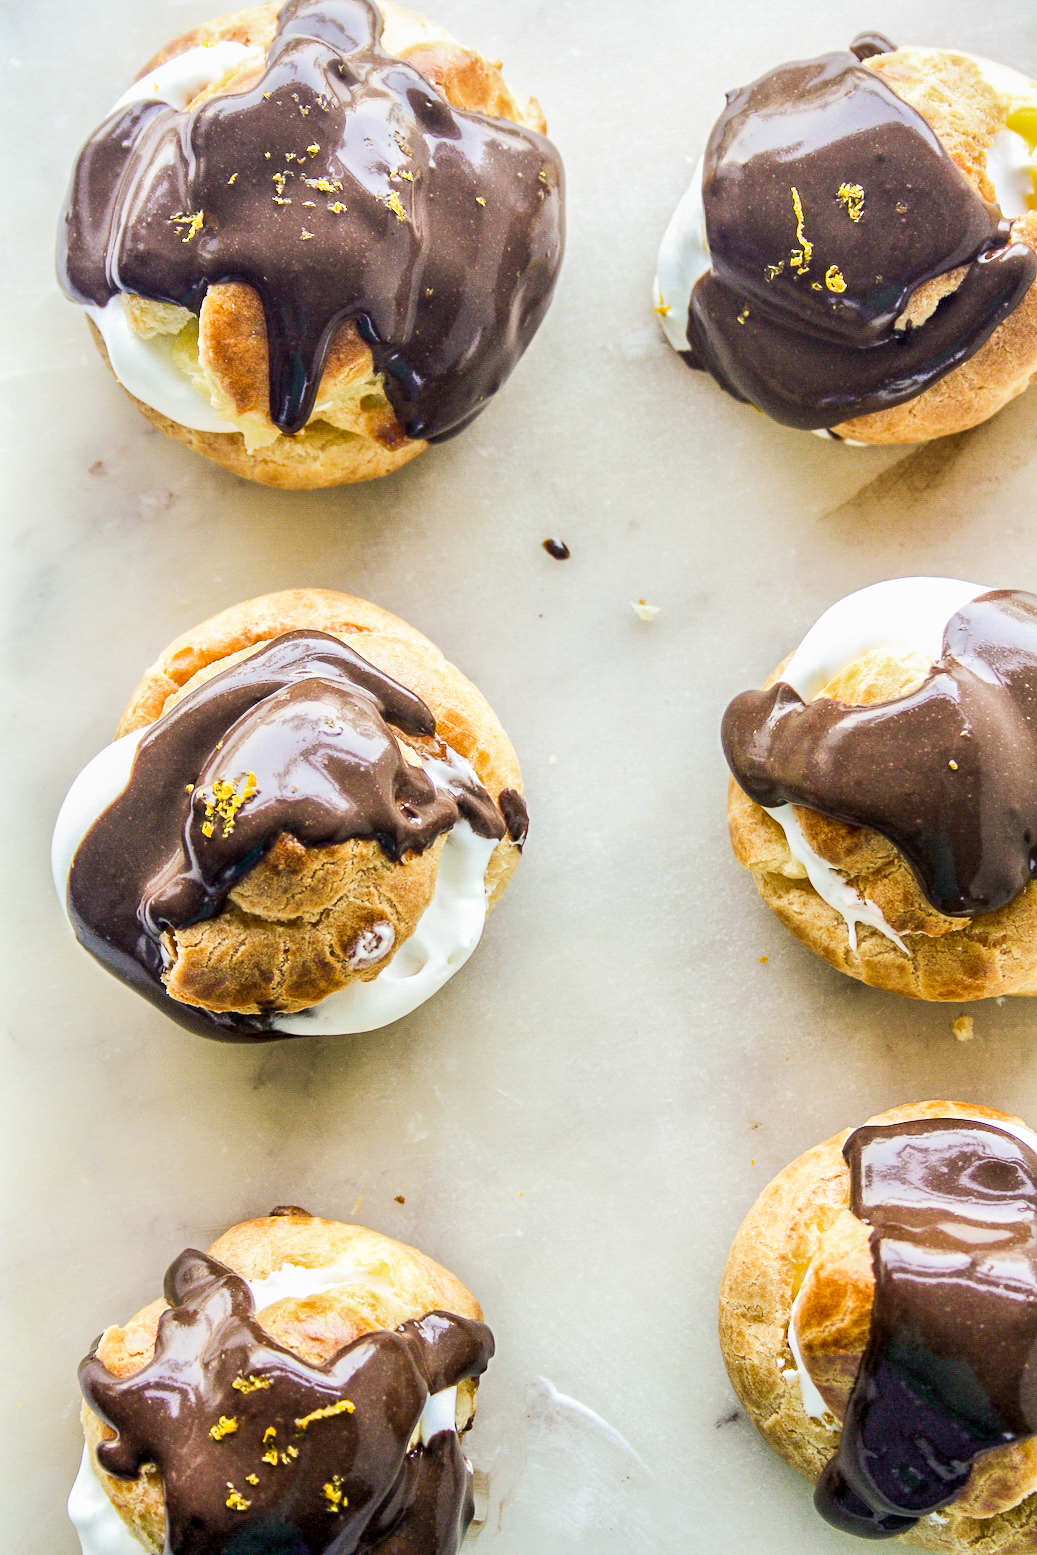
I didn’t have enough butter on hand, and since this was my first time making choux, I decided to make a half batch, and still got 10 cream puffs so it worked out pretty well. If you fill the same puffs with ice cream, you get profiteroles! The same choux dough is used for eclairs, crullers, churros and a whole bunch of stuff.
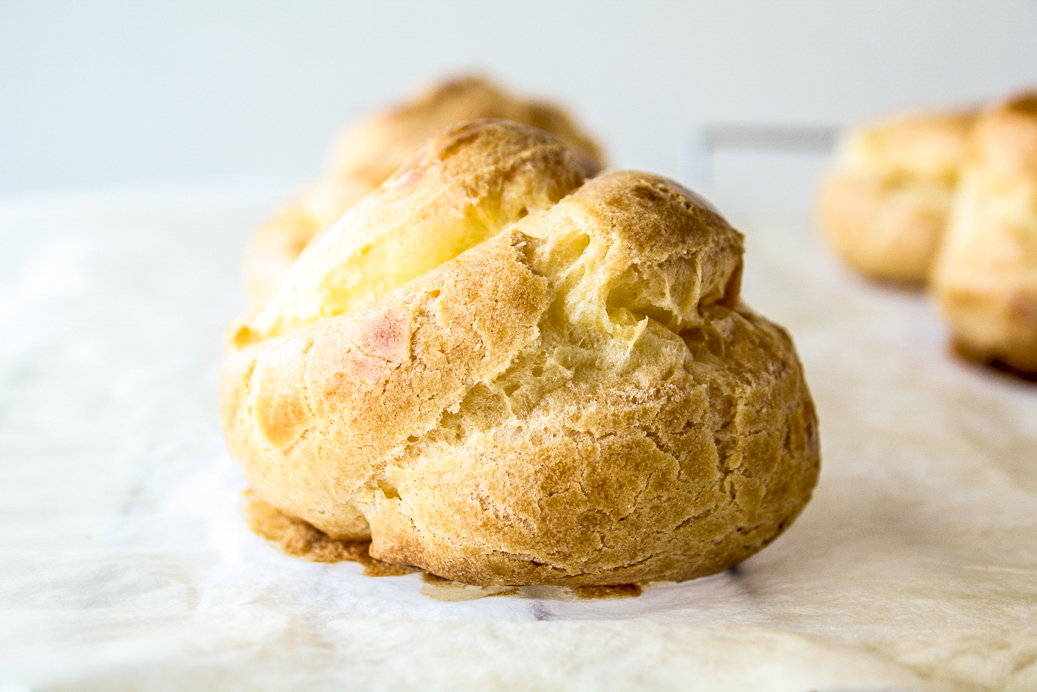
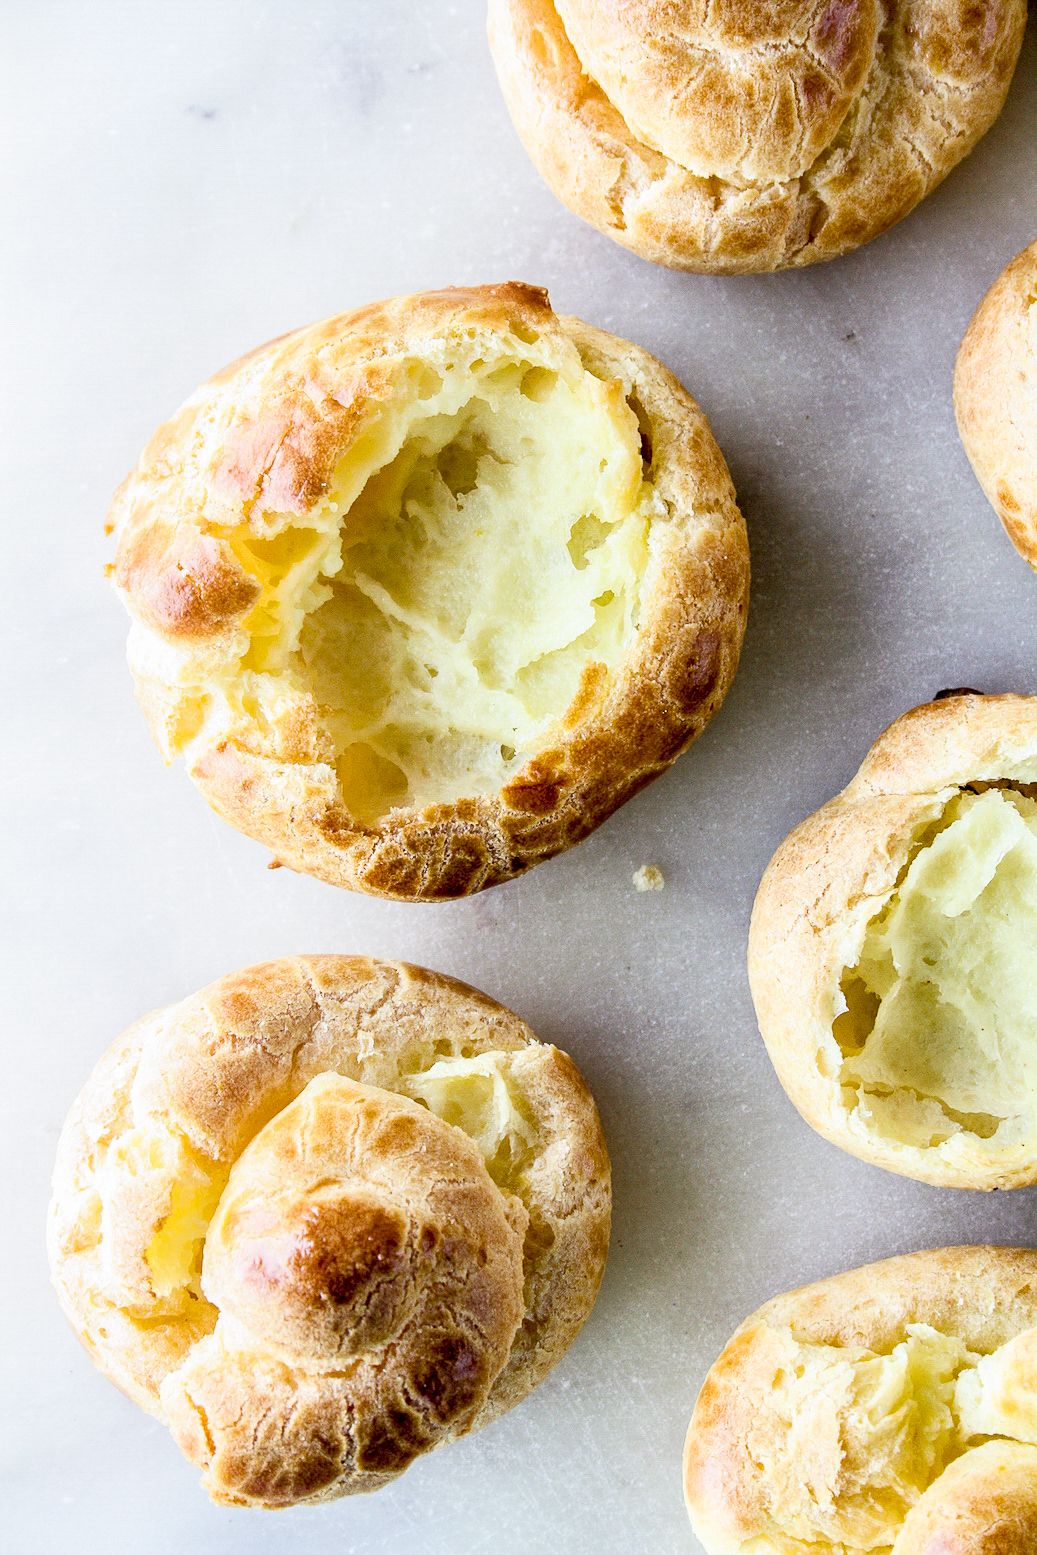
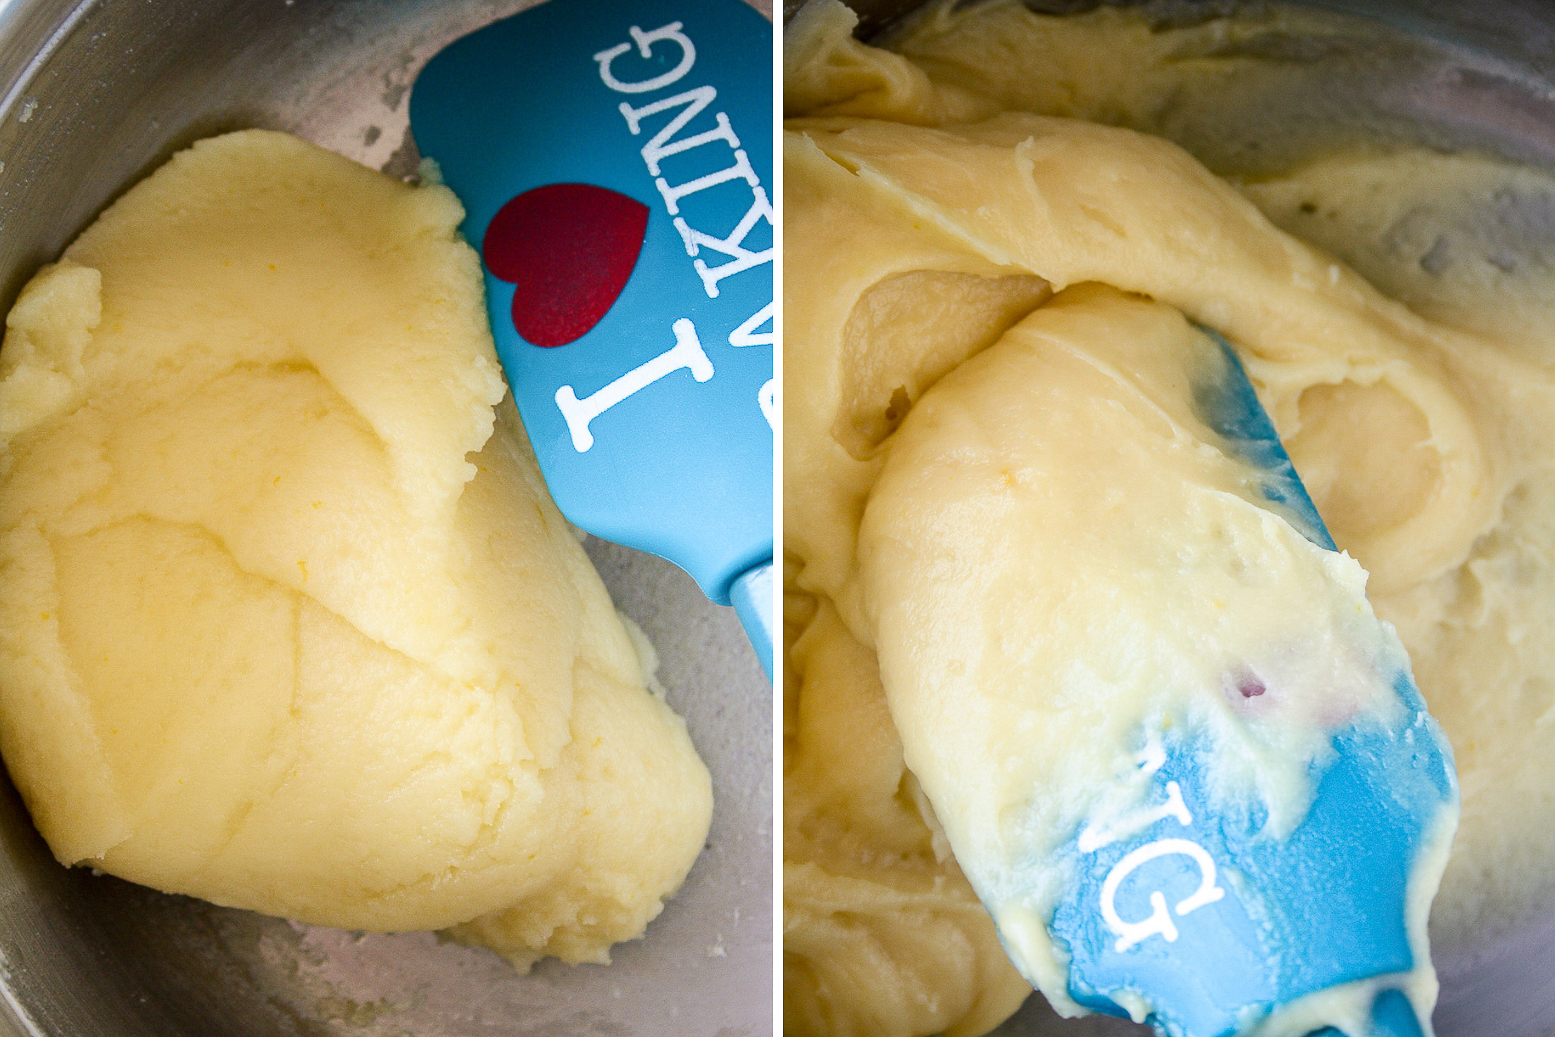
The dough is quick, but you do need a hand mixer or a stand mixer. Once the flour is added, the eggs are beaten in gradually to get a thick, shiny dough. I found this really hard to do by hand and a mixer will get it nice and smooth in no time. There are a few more pictures just after the recipe to show you what it looks like!
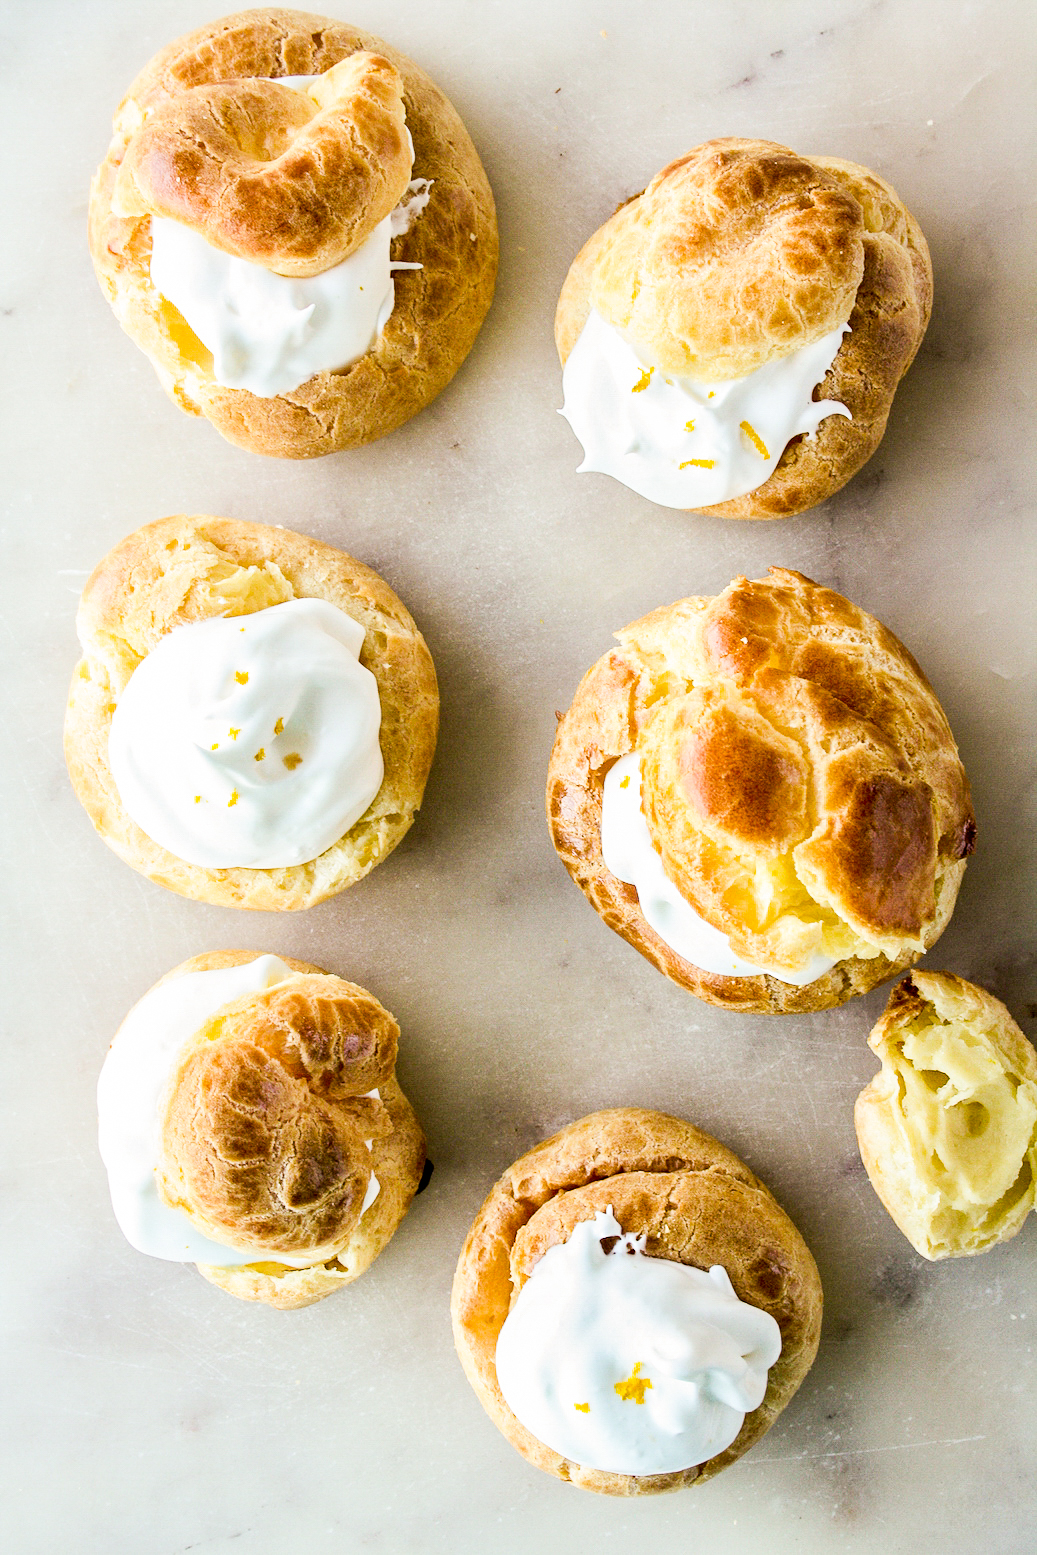
The orange flavour shines through so beautifully and serves another very important purpose: no eggy aftertaste! Because choux is so dependent on eggs, I had a feeling some orange would solve that problem, along with a little vanilla. I hesitated adding too much juice to the dough itself because it may have curdled the milk that goes with it, but a couple of tablespoons is perfectly safe to use.
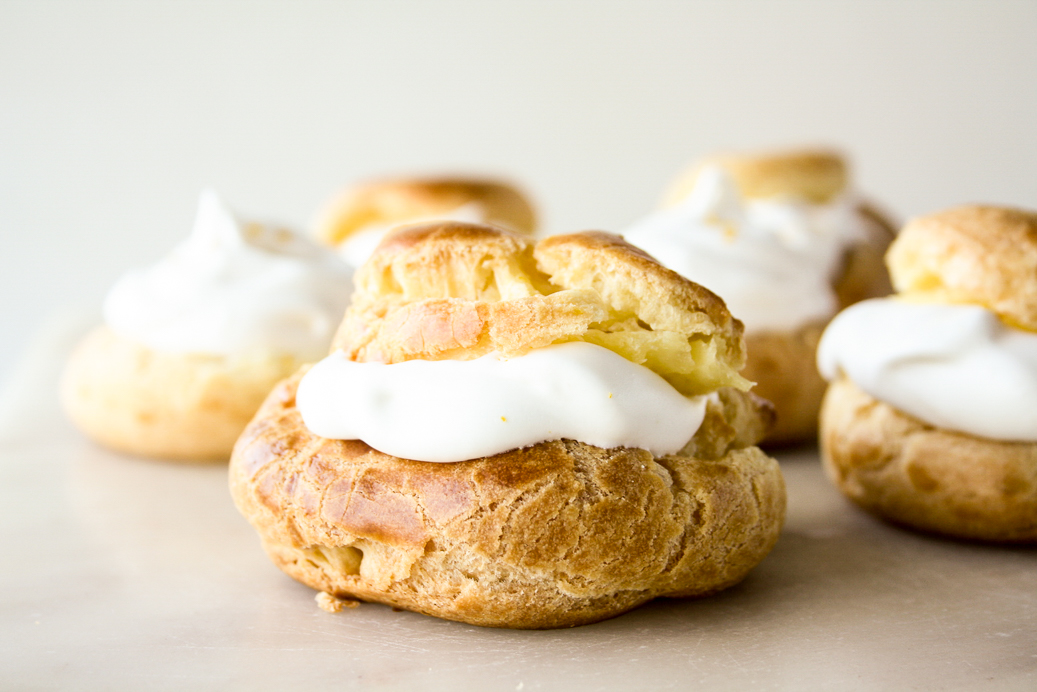
The delicate pastry goes so well with the creamy filling and that drizzle of chocolate on top is just incredible. There’s lots of tips and info in the recipe, so don’t be floored by the number of steps! This is easier than you’d think and I’d love to know if you try it 🙂
Happy choux-ing!
Chocolate Orange Cream Puffs
Ingredients
For the choux pastry
- 1/4 cup unsalted butter, at room temp (55 gms)
- 2 tbsps fresh orange juice
- Zest of 1 orange
- 1/4 cup water (60 ml)
- 1/4 cup whole milk (60 ml)
- Pinch of salt, skip if using salted butter
- 2 tsps caster sugar
- 1/2 cup all-purpose flour (60 gms)
- 1/4 tsp vanilla extract
- 2 eggs, beaten (integral to the recipe, I'm not aware of substitutes)
For the filling
- 1/4 cup whipping cream, chilled at least 24 hours (60 ml)
- 2 tsps caster sugar
- Zest of 1 orange
For the chocolate topping
- 1/3 cup cream, regular or whipping (80 ml)
- 1/4 cup finely chopped dark chocolate or chocolate chips (40 gms)
Instructions
- In a sturdy saucepan or pot, combine all the choux ingredients, except the flour, vanilla and eggs. Set the pot on low heat and stir until the butter has melted and the mixture comes to a simmer.
- Add the flour and use a wooden spoon or silicone spatula to stir the mixture quite fast. It will begin to come together and form a ball at which point keep stirring it around slowly for another minute, pressing it against the sides of the pot to cook the flour. The left-hand side picture below the recipe is the dough at this stage.
- Take it off the heat and transfer to a mixing bowl. Let cool for a few minutes. Stir the vanilla into the beaten eggs and slowly pour into the bowl while you use either a hand mixer or stand mixer to beat the dough. At first it will look like scrambled eggs, but it will come together and become smooth, thick and shiny in just a couple of minutes. When this happens, stop adding the eggs, even if you have some left. Depending on the weather, the egg size and other factors, you will likely not need to use all of it. Keep the remainder aside for the egg wash. The dough will be thick, but it should be a pipe-able consistency. The right-hand side picture below the recipe is the dough at this stage.
- Preheat the oven to 200 C. Line a baking sheet with a silicone mat. I tried baking paper, but the puffs stuck to the sheet and I ended up with some bottomless ones so I really recommend a silicone mat here.
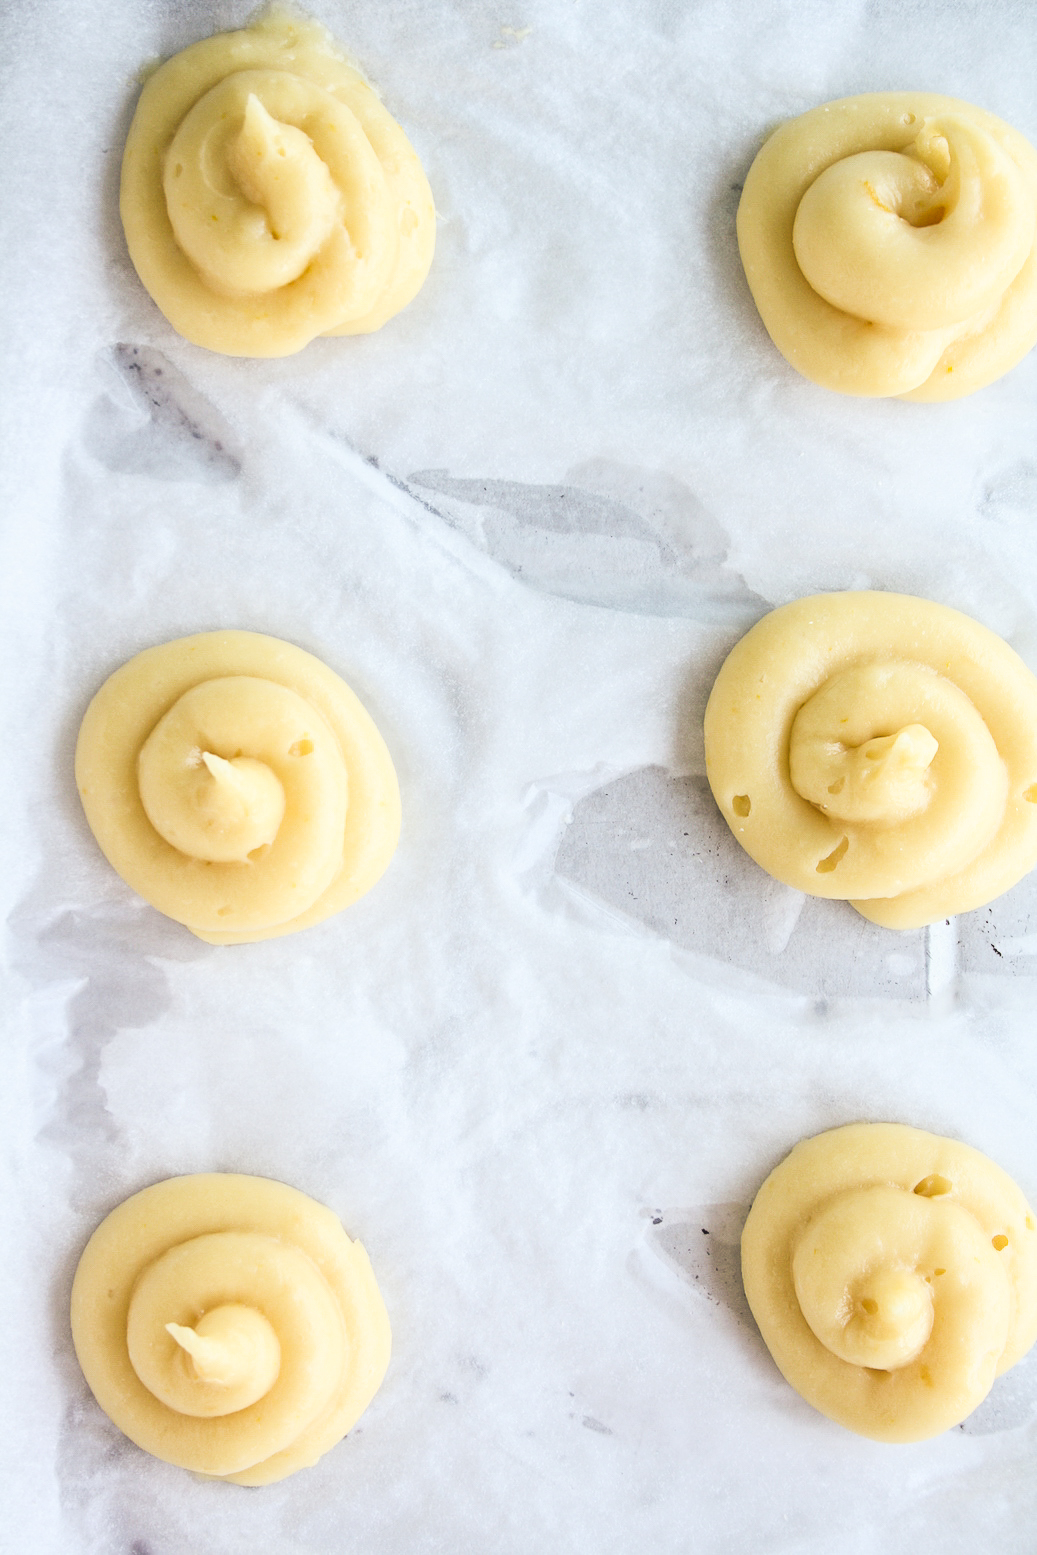
- Fill a piping bag with the mixture and pipe 8 to 10 equal sized mounds, roughly 2 inches in diameter. A swirly piping pattern results in cute baked puffs, but make sure you are piping in consistent circles, leaving no gaps at the bottom because that will result in your filling leaking out.
- Moisten your finger and smoothen the tops of the little dough mounds. Brush lightly with the remaining beaten egg.
- Bake for 20 minutes at 200 C, then leave the tray in the oven and lower the temperature to 175 C. Bake for an additional 5 to 10 minutes until the puffs are golden brown. Avoid opening the oven door because it will cause the puffs to deflate.
- When the puffs are done, let them cool in the oven itself so that the sudden colder air outside doesn't 'shock' them. After 30 minutes, take them out and let them cool completely at room temperature.
- Meanwhile, whip the cream with the sugar and half the orange zest (save the rest for the chocolate) until soft peaks form and the cream is nice and thick. It helps to chill your bowl and beaters before whipping and the cream MUST be very, very cold. Keep refrigerated till you're ready to fill the puffs.
- For the chocolate topping, combine the cream, chocolate and the rest of the orange zest from above in a small microwave-safe bowl. This isn't a traditional ganache, more of a quick chocolate sauce. Microwave for about 5 to 10 seconds, then stir to make a smooth, glossy topping. Overheating will cause the chocolate to seize, so it's best to heat in increments and let the warm of the mixture melt any lumps of chocolate. If it seems too thick, add more cream but don't reheat the mixture unless necessary.
- Now gently split open the puffs, and add a dollop of cream in the center. Place the 'lid' back on and drizzle with the chocolate topping. Decorate with more orange zest. Ta da! These are best eaten immediately though you can store them in the refrigerator for 2 to 3 days. They will soften and will last a couple of days longer if you haven't filled them yet. Happy baking!
Notes






Pingback: Homemade Eclairs
Delicious looking choux!
Thank you 😬