I don’t know if it’s some sort of consequence of adulting, but all of a sudden, I have no objections to dates. Really, this was not an ingredient I thought of with even remote fondness or ever had a “hey, maybe today I’ll make something with dates” instinct. Because I mean, there are chocolate chips, you know?
But growing up, this shortbread was the one time I made an exception and conceded that dates weren’t the worst after all. Maybe it’s the butter padding them on both sides. In fact, I’m pretty sure that’s what finally converted me. Because this incredible dessert is the greatest way to fool me into eating both, dates and walnuts. It’s like eating jam, honestly.
The recipe comes from a family friend and it’s scribbled in my Mom’s recipe book which is officially 653845267690864 pages long. She’s made it often, it’s always a hit and the dish is always scraped clean. Mostly by my Dad, whose birthday it is today! So this is for him and also in honour of great bakers I know, who’ve passed on the greatest love for baking.
This is all very straightforward. The dates are cooked with a little water till soft and jammy. Sugar is normally added, but I went with just a little honey because dates are plenty sweet and the shortbread has sugar too. The honey is more for a caramel flavour than sweetness honestly. It’s deeelish!
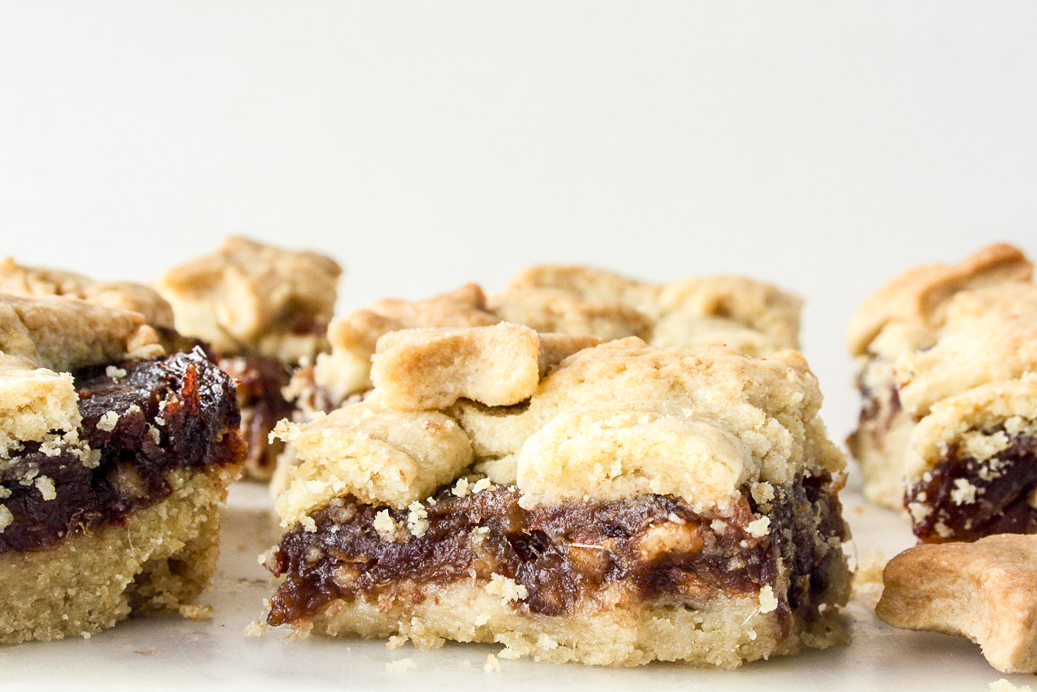
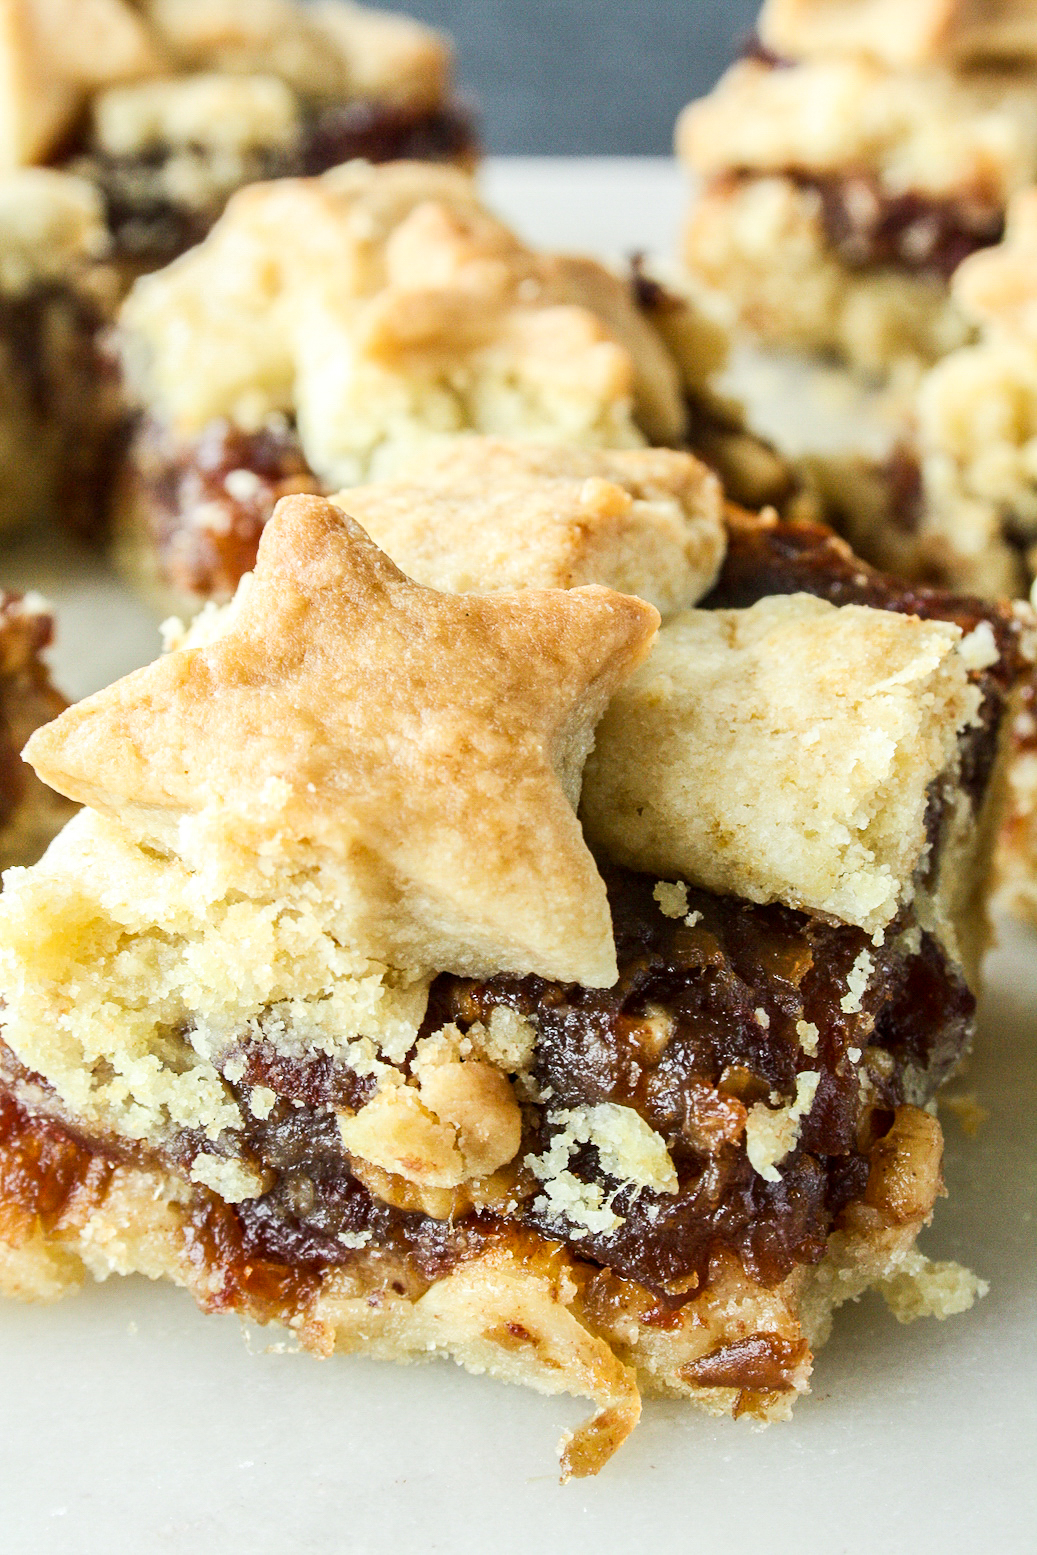
The crust is rich and buttery, with flaky, crusty tops. Unlike regular pie crust or shortcrust, this one has a little baking soda which gives it some lift and makes it super soft and tender. The bottom crust is just pressed into the pan, yay, but the top one is rolled out and cut into strips for that criss-cross pattern. It’s not nerve-wracking I promise, in case working with buttery doughs isn’t something you’re familiar with. The little stars are optional, but kind of not. Because look how cute! Save your dough scraps and get creative. Bonus, they help cover up any less neat pieces of the crust!
I felt the need to use more dates as well, because the filling layer looked a little thin. The shortbread dough is quite a bit, so if you really really really love dates, you can increase the quantity even more, for a higher date to crust ratio. Favourite kind of maths! The soft, crumbly crust goes so well with the sweet, jammy dates and chopped up walnuts everywhere.
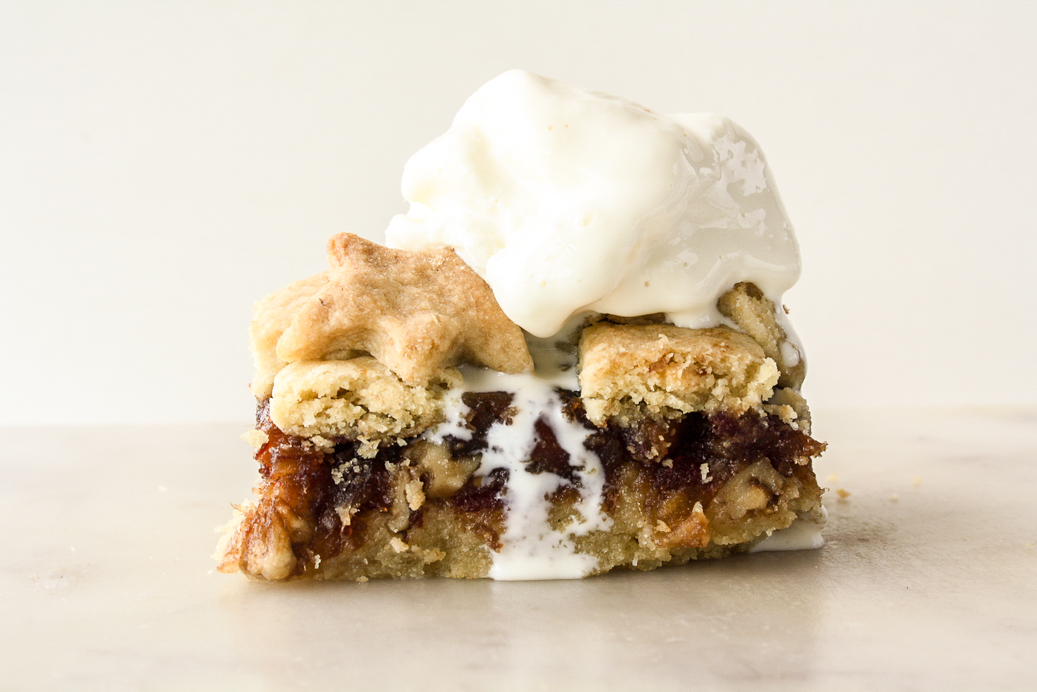
A piece of this shortbread is incredible warm with a scoop of ice-cream, but just as great cold from the fridge. It’s a lot of classic flavours in a very unexpected combination and I really think you should make this today!
Please read the recipe notes before beginning.
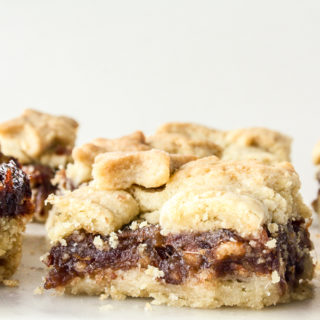
Date and Walnut Shortbread (Eggless)
Ingredients
For the shortbread crust
- 2 cups all-purpose flour
- 1 cup wholewheat flour
- 1 tsp baking soda
- 1 tsp salt if using unsalted butter
- 1 cup caster sugar
- 1 cup butter, cold and cubed (230 gms)
- Juice of 1 small lemon, about 2 tbsps
- 5 to 6 tbsps ice water
For the filling
- 1 and 1/2 cups chopped, pitted dates (about 250 gms)
- 1/2 cup water
- 4 tbsps honey
- 1/2 cup chopped walnuts
- 1/4 tsp vanilla extract
Instructions
- First make the crust. In a large bowl, sift the flours with the baking soda and salt (if using). Stir in the sugar.
- Add the butter and rub it into the flour mixture until it resembles coarse breadcrumbs and there is no dry flour left. This could take 3 to 4 minutes.
- Add the lemon juice and stir the mixture with a spatula. Then, a tablespoon at a time, add the ice water and bring it all together into a soft dough. You may not need all of the water, so add it slowly.
- Place the dough on a large piece of clingfilm, pat it into a disc, cover and chill for 30 minutes.
- Now make the filling. Combine the dates, water and honey in a saucepan. Cover and cook on low heat for 10 minutes until the dates have softened and the mixture is bubbling.
- Stir in the walnuts and vanilla and set the mixture aside to cool.
- Preheat the oven to 175 C and lightly grease an 8" square baking pan.
- Unwrap the cold dough and cut off a third of it. Place the smaller part back in the fridge to use for the criss-cross pattern on top.
- Work the larger portion of the dough with your fingers to soften it just a little, then place it in the bottom of the pan. Spread it out evenly, pressing down as you go, making sure it's right up to the corners. The dough is not sticky and will yield easily.
- Spread the cooled date mixture on top of the dough, using a spatula to help make an even layer. Place the pan in the fridge so that the crust remains cold and bakes up nice and flaky!
- Now get out the smaller portion of the dough and place it on a silicone mat or a floured surface. I like the mat because it prevents sticking and makes clean up easier.
- Roll the dough out into a roughly 8 to 9 inch circle. You don't need to be precise, just make sure the circle is wide enough that you can cut strips to fit your baking pan. If you prefer to roll it out into a square or rectangle, that's fine too!
- Slice the rolled out dough into even strips and lifting them gently one at a time, place them in a criss-cross pattern on top of the date filling.
- Use any remaining dough scraps to cut out cute shapes and patch up any torn bits of the criss-cross pattern.
- Bake for 35 to 40 minutes until the crust is browned on top and has puffed up. Let the pan sit at room temperature for at least 30 minutes before cutting into squares and serving with vanilla ice cream! Best stored in the fridge after day one so that the crust doesn't get soft. Happy eating!
Notes
Shop this recipe!
Check out a full list of my baking essentials here!
This post contains affiliate links.









Pingback: Peach Shortbread Bars (Eggless)