You guys. I’ve never been this excited about any sort of bread adventure EVER. Mainly because so many of you sent me sweet messages and lots of ‘recipe please!’ requests on Instagram. Thank you for being such carb-loving readers 🙂 It got me super enthusiastic about posting this as soon as I could and also, I was over the moon about how easy and how perfect these rolls are. On the first try!
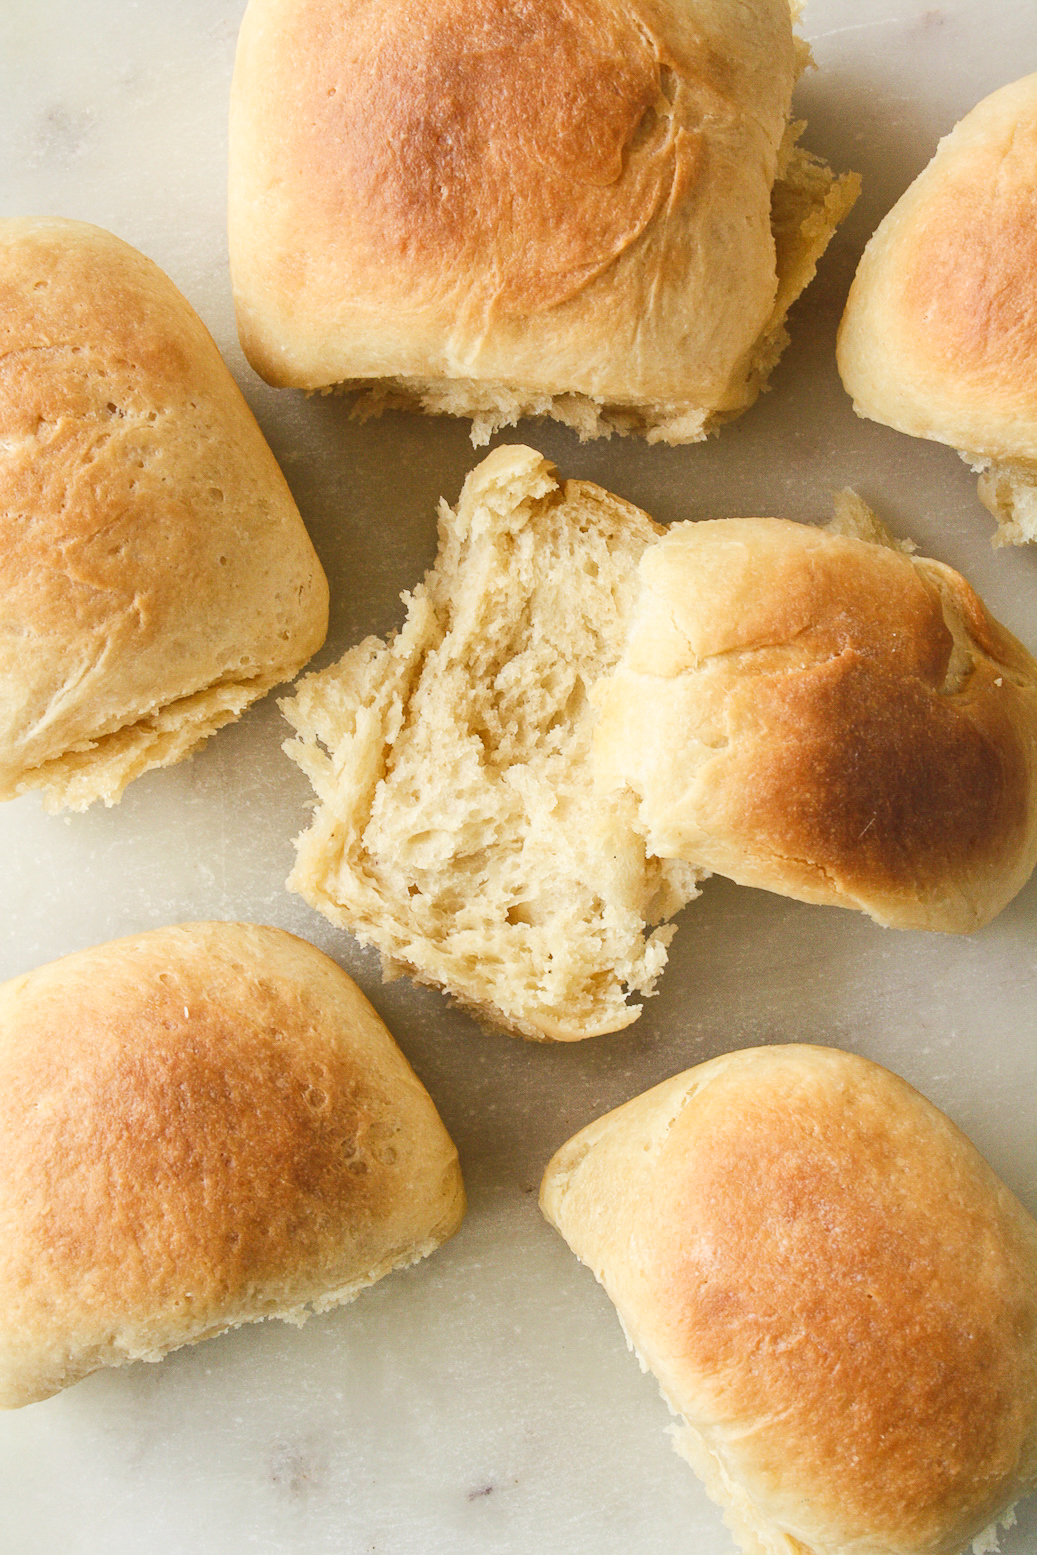
They’re buttery, soft and fluffy, beautifully browned on top and of course, melted butter helps make the most flavourful crust ever. Whether you eat these as rolls on the side, or include them in a pav-bhaaji, they will take centerstage. And they absolutely overpower any store-bought rolls.
Let’s do this!
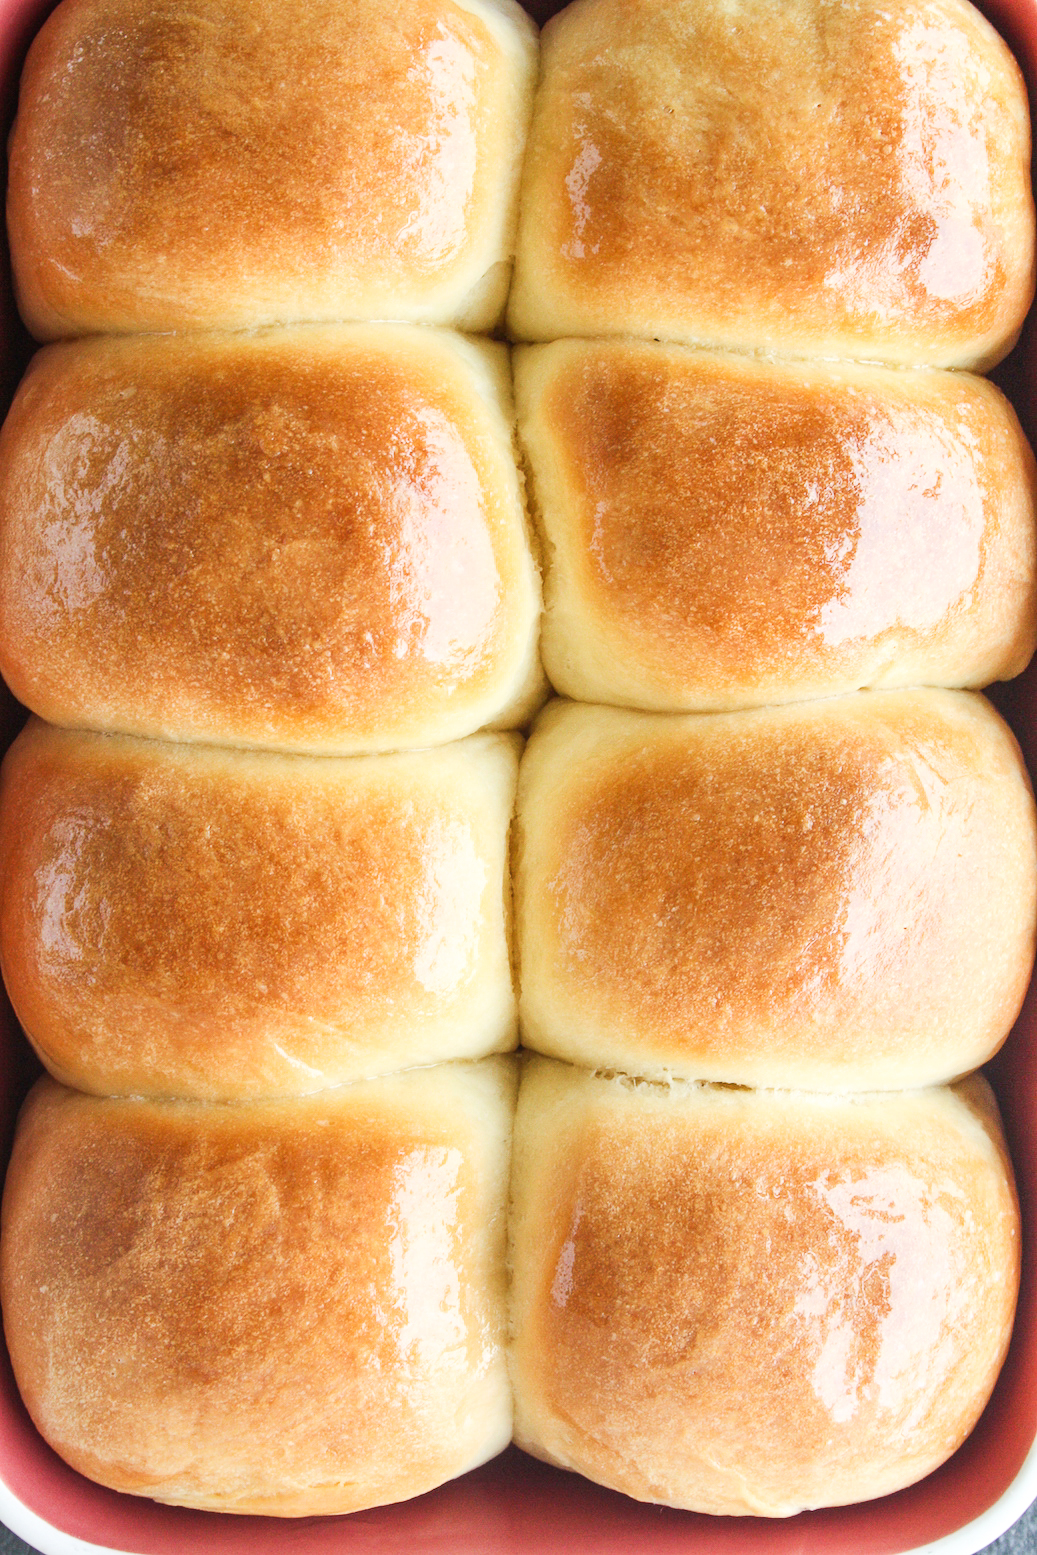
This amaaaaazing recipe from Cafe Delites caught my eye because it has no eggs. While I’m perfectly happy with eggs in other baked goods, in breads I find there’s sometimes an eggy aftertaste which I don’t enjoy. Plus an egg-free bread means more of you can bake and eat it, so yay! I halved the original recipe to make a smaller batch of 8 rolls (or pav, if you prefer!) because one, I don’t trust myself around carbs and two, my oven only takes one batch at a time, so the other batch tends to rise a bit too much in the meantime. The good thing is they’re so easy to make, I’m happy to bake a fresh batch every day!
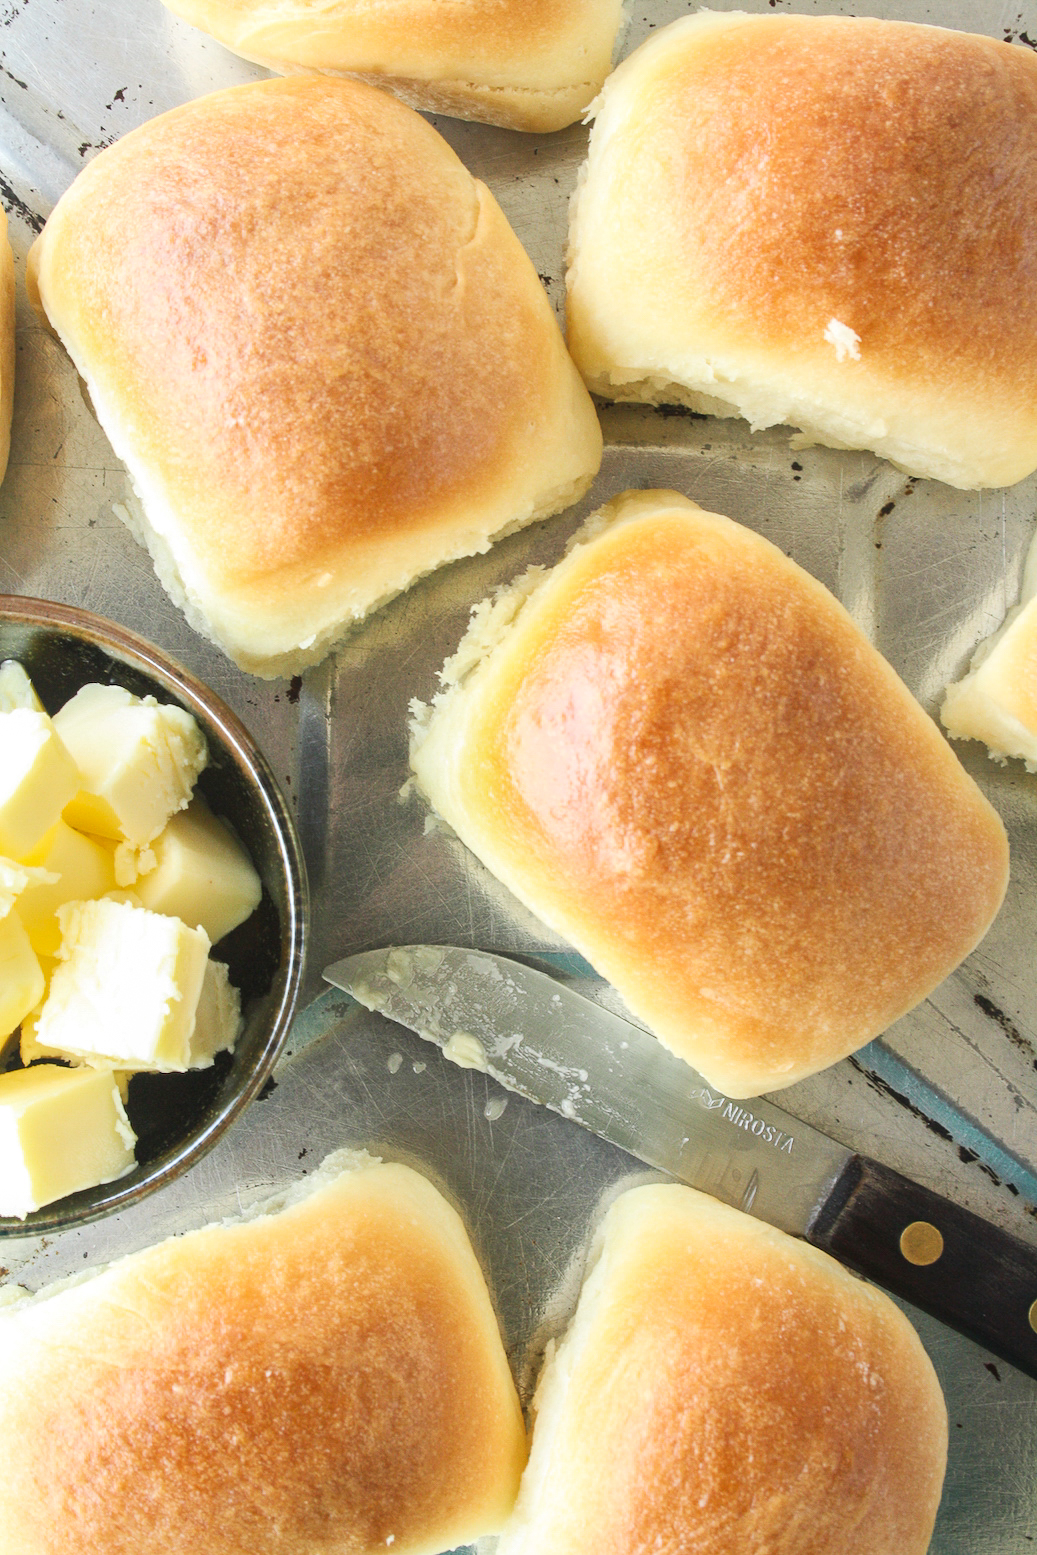
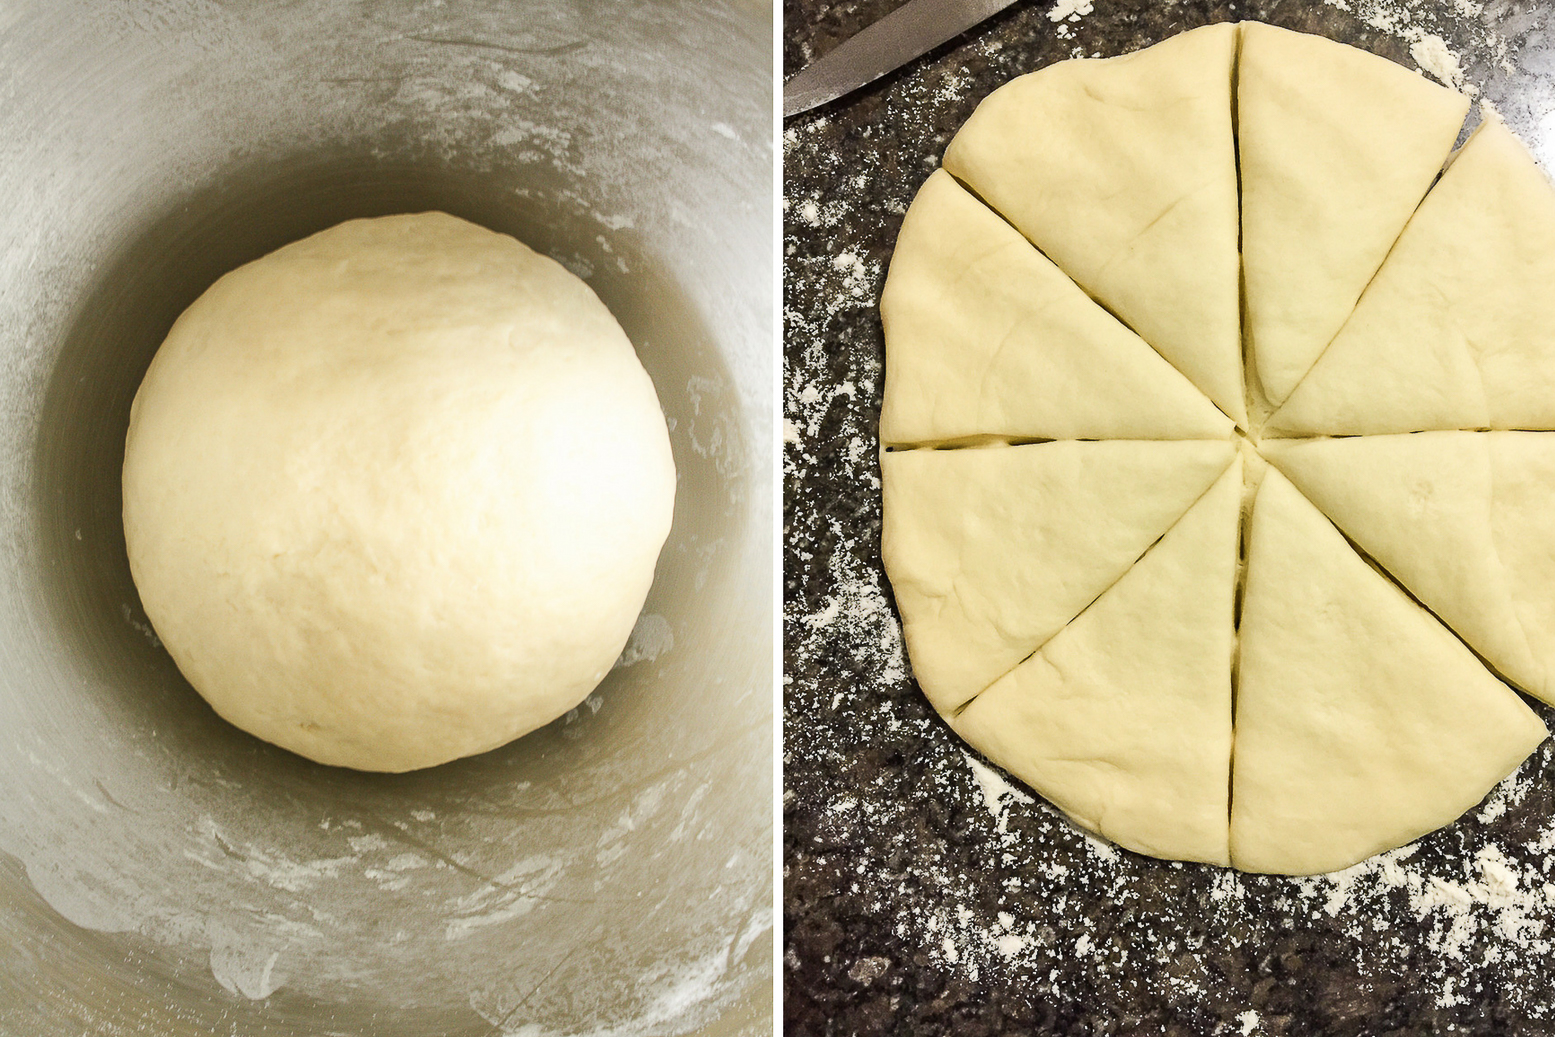
The dough is so super cooperative, I was amazed because bread dough can be sticky and difficult to knead especially in warmer climates like Mumbai has. But this one, whether you knead by hand or in a stand mixer, is soft, pliable, with minimal stickiness. It has more butter than a standard bread loaf which keeps it nice and greased and prevents any messy behaviour.
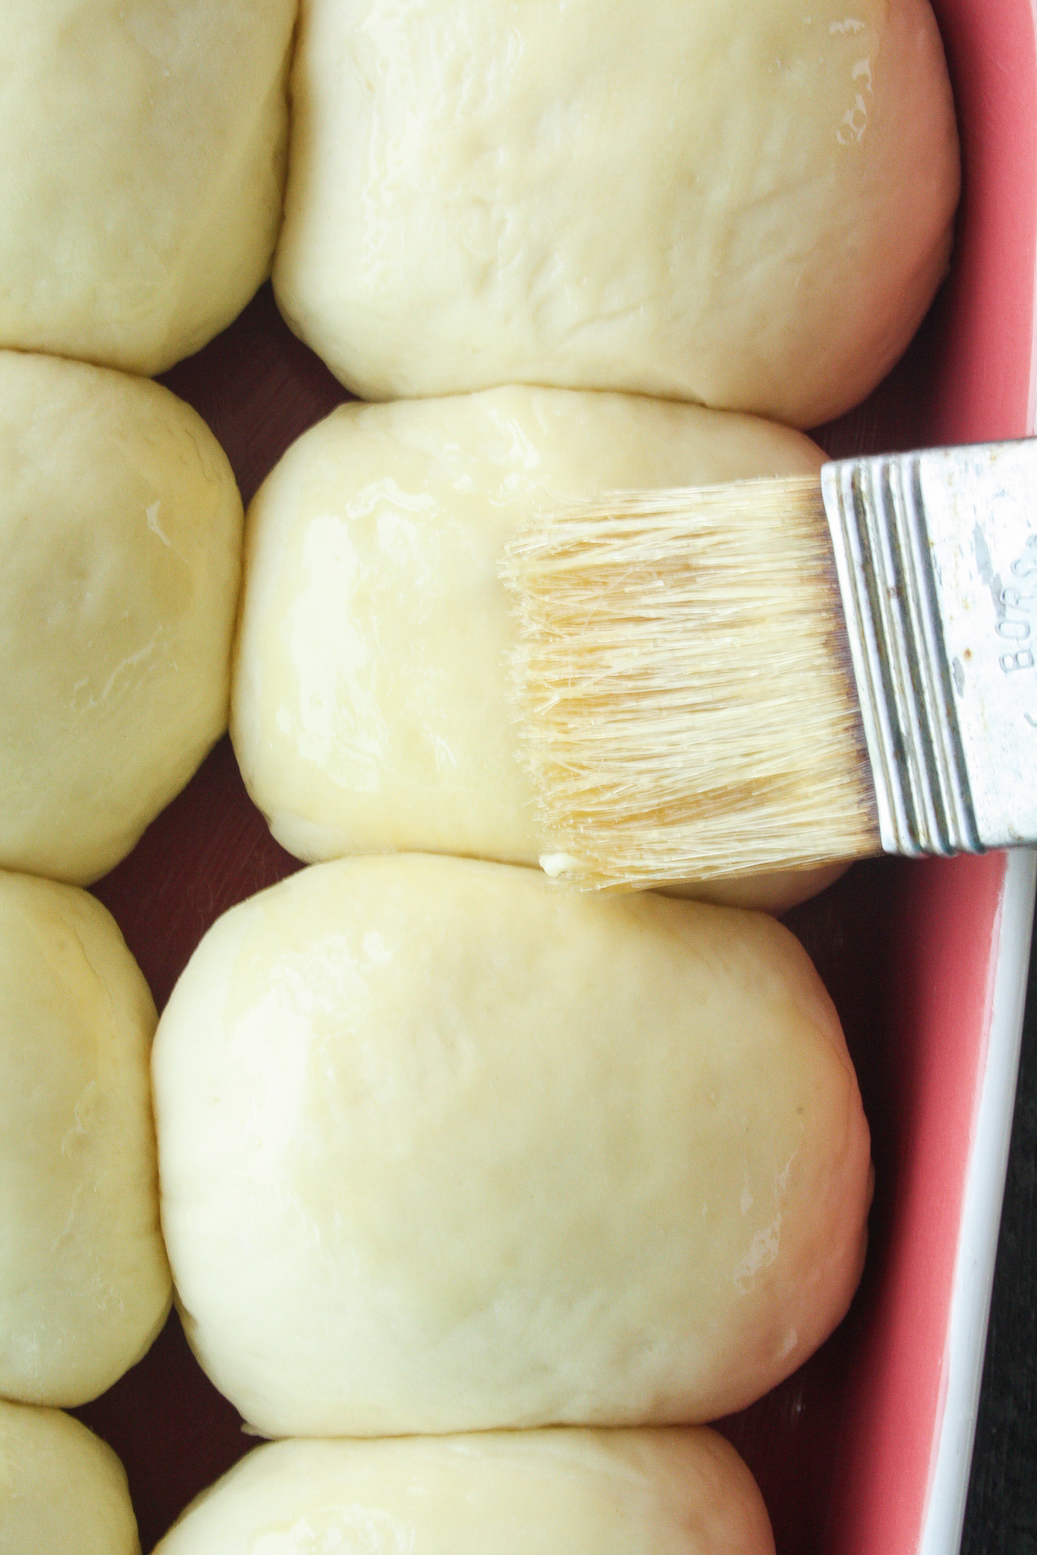
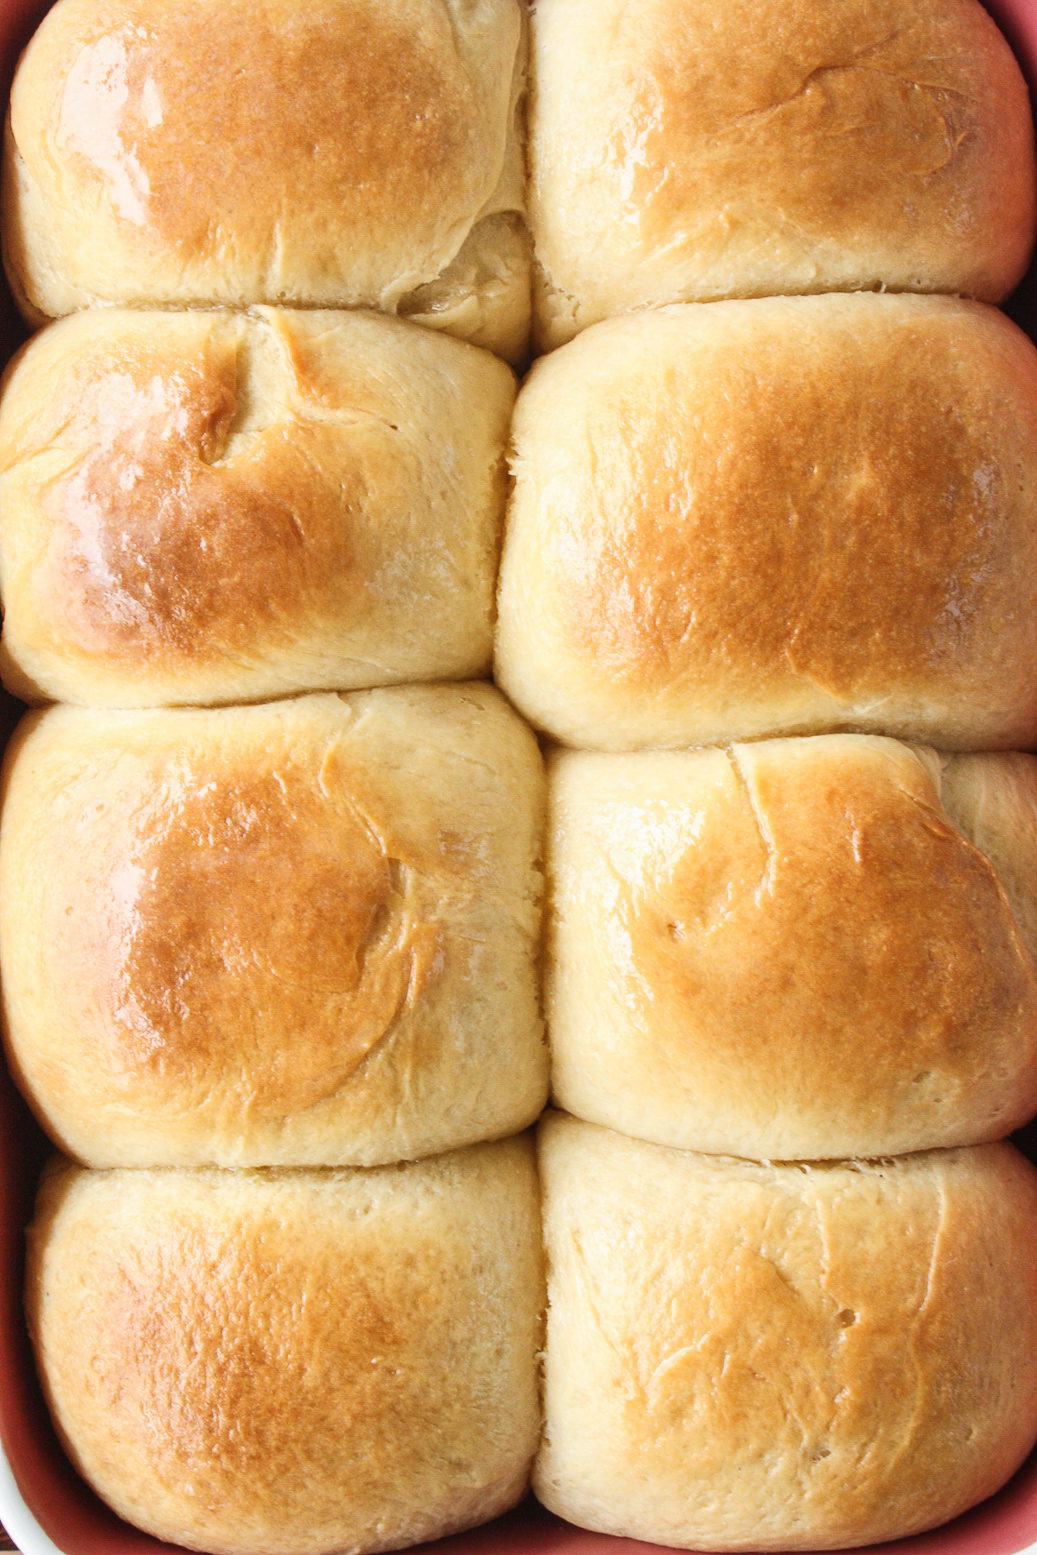
The rolls are brushed with butter before baking but I found they also needed some after baking to help the crust soften. Fresh out the oven, the tops are fairly hard so the butter is essential to keep them crusty, but not tooth breaking-ly so. And plus, who wouldn’t like that beautiful sheen!
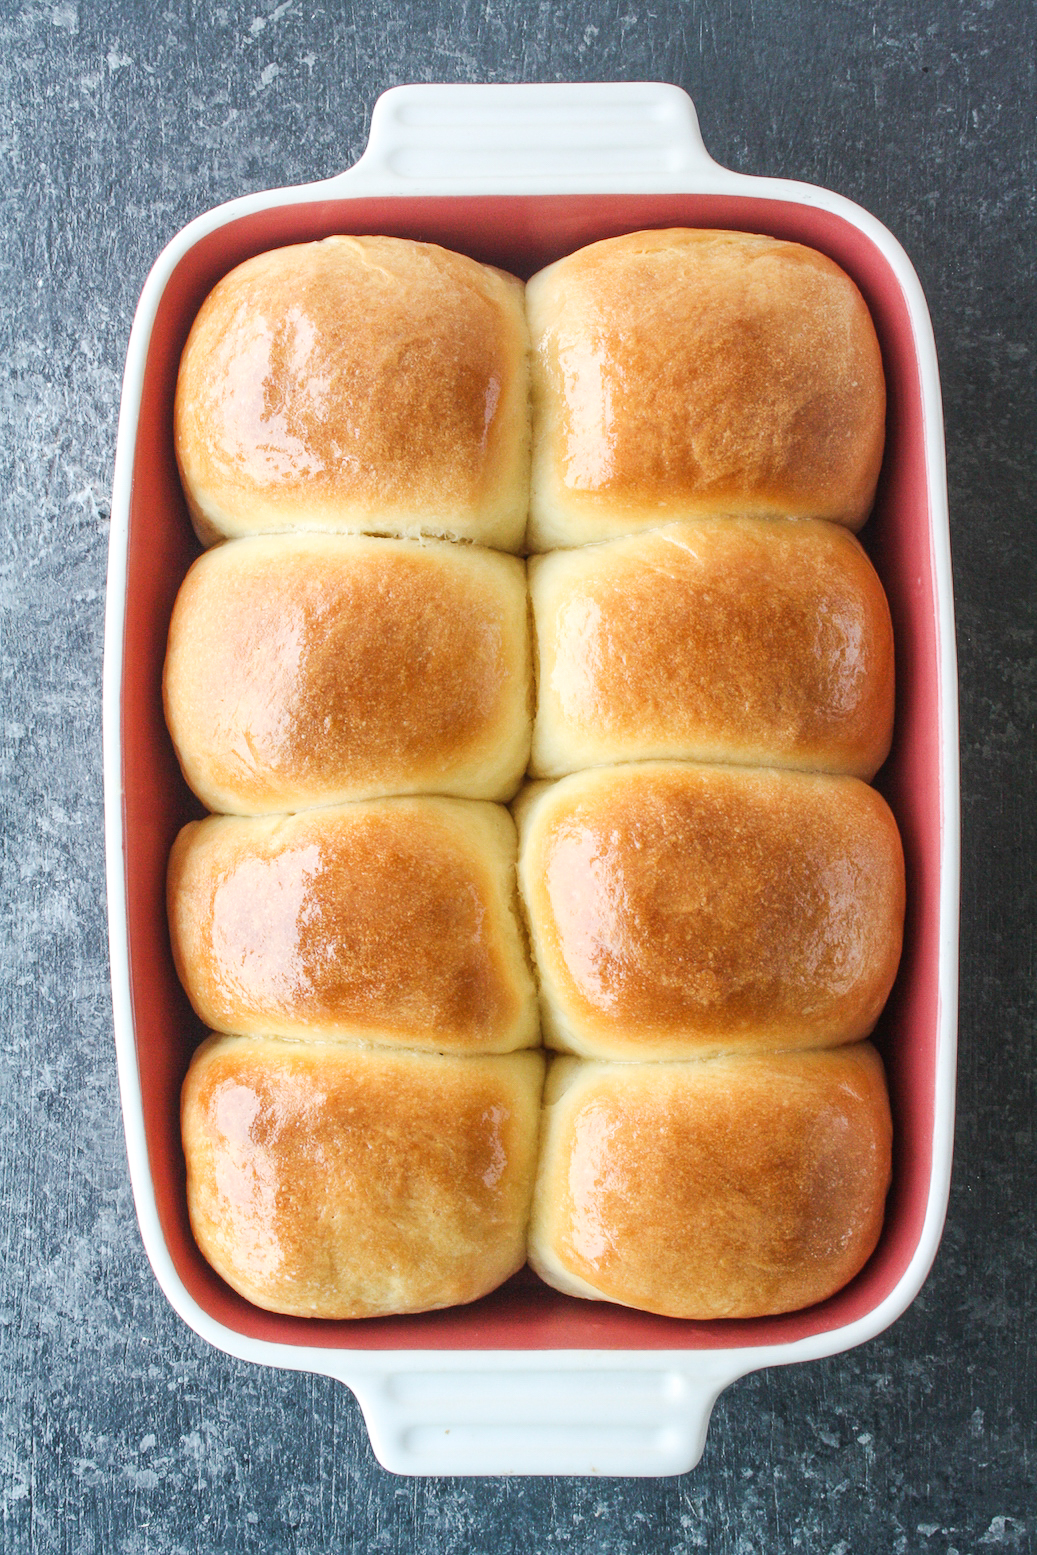
The flavour is wonderfully yeasty in that typical old school bakery way. I find that with the packaged rolls, you can’t really ever taste that lovely bready-ness. With this one, you absolutely can. They’re softest on day one, but toast beautifully after that. Keep them at room temperature for a couple of days, but transfer to the fridge after that if you live in a warm area.
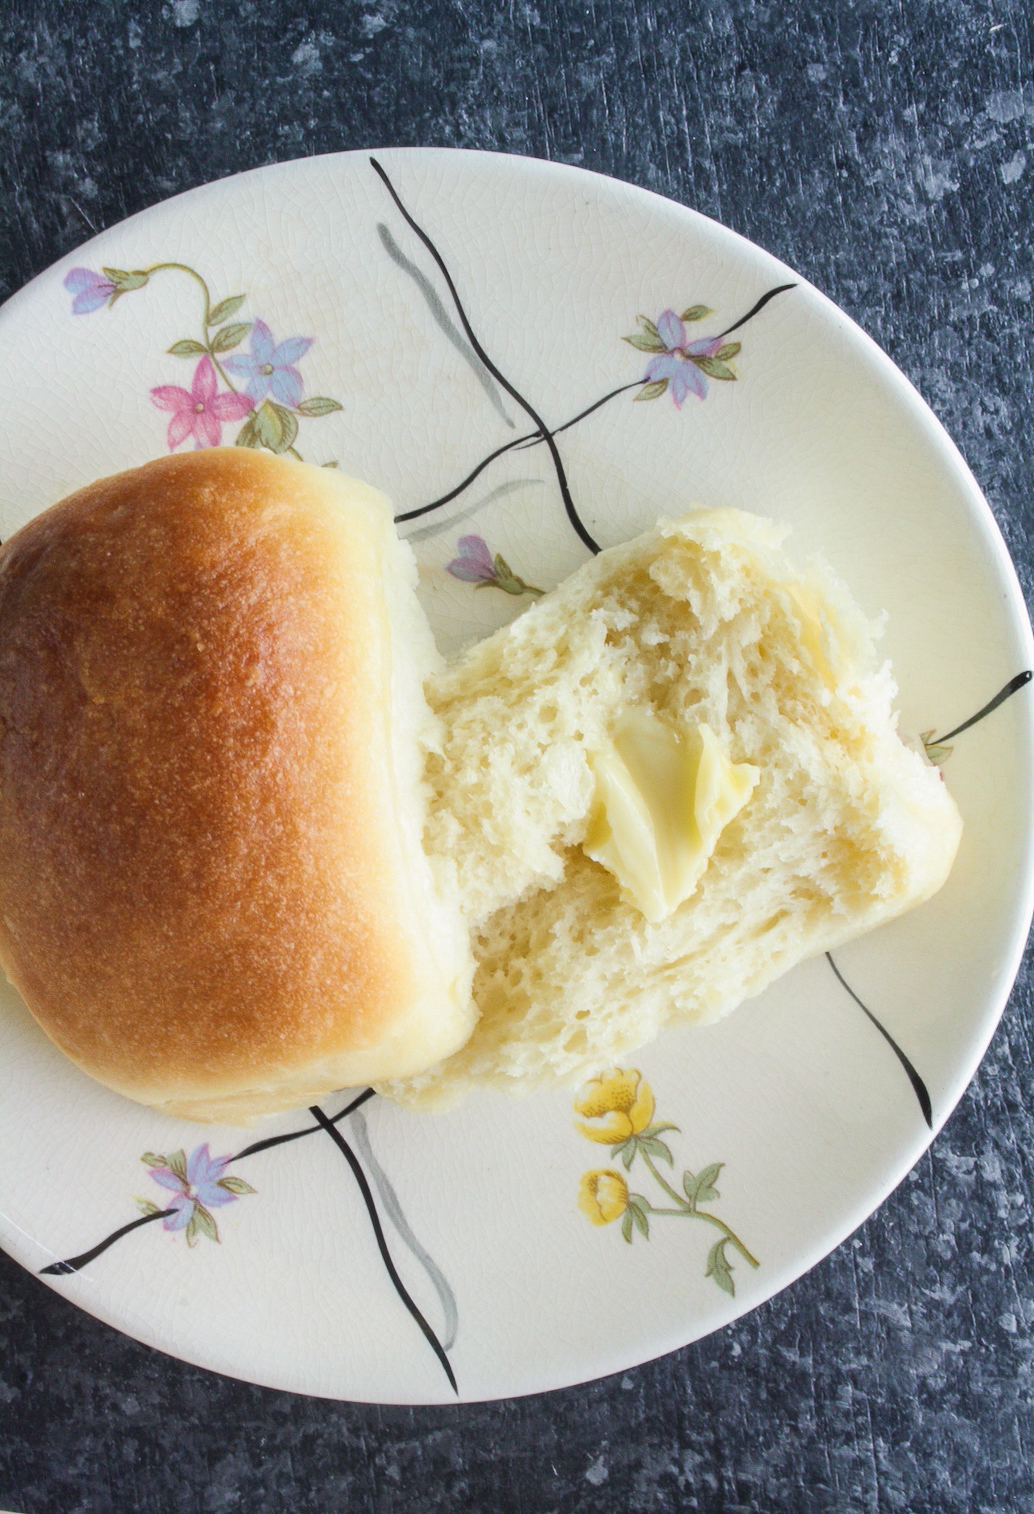
Half the flour can also be subbed with wholewheat flour (see recipe notes). In fact, it produces a more deeply flavoured, darker roll which I really really loved. I’m not sure which I’d choose, let me know what you think!
Till then, get ready to butter your bread.

As always, I will say that baking your own bread (in whatever form) is one of the most satisfying things to make. I hope you’ll try this. Let me know how it goes 🙂
Homemade Bread Rolls (Eggless)
Ingredients
- 1/4 cup water (60 ml)
- 1/2 tbsp active dry yeast
- 2 tbsps caster sugar
- 1/2 cup whole milk (125 ml)
- 2 tbsps butter, melted but not hot (salted or unsalted)
- 2 tsps salt
- 2 cups all-purpose flour (240 gms; see notes)
- 2 tbsps Extra melted butter for brushing on top
Instructions
- Heat the water until warm enough that you can still dip in a finger comfortably (too hot and it will kill the yeast, too cold and the yeast won't activate). Pour the water into the bowl of a stand mixer (or a large mixing bowl if doing this by hand). Stir in the yeast and 1 tbsp sugar, cover the bowl with clingfilm and set aside for 5 to 10 minutes to become frothy.
- Next, heat the milk till lukewarm and pour into the bowl along with the melted butter. Add the remaining 1 tbsp sugar and then the salt. Stir.
- Add the flour and attach the dough hook to the mixer. Let it run on medium low for 2 to 3 minutes until the dough comes together and begins to look smooth. At this stage I like to knead the dough by hand for another 2 minutes. It should hardly be sticky, and be elastic and smooth by the end of it. Poke a finger lightly on the dough. If it slowly bounces back, you've kneaded it enough. If doing this without the mixer, you will knead for about 5 minutes in total.
- Place the dough on a lightly floured surface, then lightly oil the mixing bowl. Pop the dough back in and cover with clingfilm. Leave to rise at room temperature for 1 hour until it doubles.
- Lightly grease a shallow 8x4 baking pan and set aside. Preheat the oven to 200 C.
- Take the puffed dough out of the bowl and press lightly to release the air. Pat it into a disc roughly 8" wide and divide into 8 equal triangles.
- Roll each triangle into a ball, then shape by lightly flattening the ball, then bringing the sides of the ball up and pinching them together. When you turn it over, the top should be smooth.
- Place each shaped ball of dough in the pan, leaving a little space between them. Cover with clingfilm and allow them to rise for 20 to 30 minutes until doubled. They will stick to each other, that's absolutely fine.
- Brush the tops lightly with melted butter, then bake for 20 minutes, rotating the tray halfway to ensure even browning. The rolls are done when they are puffed and browned and feel firm on the top.
- As soon as they're out of the oven, brush with more melted butter to soften the crust. Allow to cool for 5 minutes, then remove from the pan and place on a wire rack to cool without them getting soggy.
- Rolls are best eaten fresh (with butter!), but can be stored at room temperature for 2 days in an airtight tin and toasted after the first day. Beyond that, they're best stored in the refrigerator. Happy baking!
Notes
Shop this recipe!
Check out a full list of my baking essentials here!
This post contains affiliate links.






This was good it was longer than I expected with the rise time and I probably wont make them again but they were really good.
Thanks for trying them! Rise time can increase in cold weather so you can also place the dough in a warm oven (preheated to the lowest temp, then switched off) to speed things up.
This was good it was longer than I expected with the rise time and I probably wont make them again but they were really good.
Have made these multiple times and they always turn out great. Looking forward to making them again for Thanksgiving this year. Thanks for the great recipe!
Thank you! I love hearing that 🙂 Have a great Thanksgiving !
This recipe just went all kinds of wrong for me. I choose it based on the total calculated time, which didn’t include rise time. I should’ve bailed there but kept going. It was super sticky and wrong. I bake bread, biscuits like once a week and these just didn’t work for me.
Did you make any changes to the recipe? It’s not usually a sticky dough and most days in India are pretty hot and I still find it very manageable to handle this dough. Rise time can vary depending on where you live, an insufficient rise can lead to stickiness.
Pingback: Caramelised Pecan Cinnamon Rolls (Eggless)
Hi Gayatri,
The recipe worked out perfect and followed the directions precisely .
I used stand mixer kitchen aid for few initial steps which really turned out great . My only question is, how do we prepare a fully sweet bun instead of salted dinnerrolls? Can you please suggest if this can be further improvised to get a sweet bun as an end product.
I truly appreciate your time and effort in mastering the recipe and sharing the same.
Thank you very much.
Hi Sandhya! Thanks so much for trying this recipe and for your kind words, I’m so glad you enjoyed the rolls 🙂 you could increase the sugar for sweeter rolls or add some sweet mix ins like dried fruit or chocolate chips. Alternately you can see the cinnamon rolls on my blog and try that dough instead 🙂
Pingback: Top 10 recipes of 2020!
Hey,
Looks good. If I am using Instant dry yeast what is the proportion and method to be followed?
Usually you would need a little less instant yeast , about 3/4th the amount of active dry, and the rise time might be a little shorter. No change in method, except you don’t need to activate instant yeast in warm liquid, you can just add it with the flour. I don’t work much with instant yeast but this is what I’ve read.
Hey hi.. Wat can u use in place of yeast… Cos d last time I tried making pav with yeast it didn’t rise ar all..n it didn’t make as well.. So had to throw away everything..
Bread doughs can’t be made without yeast of some kind, the result will not be the same. If your dough didn’t rise, the yeast was probably expired or the water was too hot and killed the yeast so try changing those two factors and see if it works ?
Hi
Is it possible for one to freeze the rolls prior to baking?
I think so, but bring them to room temperature before baking. Hope it works 🙂
Awesome and easy recipe even for a first time bread Baker..
Hi, I only have unbleached flour, King Arthur Would you mind giving me the brand name of AP flour you use . It does make a difference in protein matters.
Thank you I look forward to making your rolls
Hey Kathy, I live in India and use a local flour from my grocery store, nothing specific. These rolls are quite forgiving and King Arthur would be just fine 🙂 I hope you like them !
Can you use soy milk to make these rolls.
I haven’t tried but you probably could, dairy milk adds some richness which you might miss out on
Hey! Can this be made with whole wheat atta?
There are details about this in the recipe notes, I don’t recommend a complete swap with wholewheat flour, the rolls may turn out dense. Try a half and half mix first, you can always use 100% wholewheat the next time if you prefer.
2 cups white to 2 whole-wheat works.
Tried the receipe and it came was absolutely Spongy and tasty. Thanks a ton and keep rocking .
I’m so happy to hear that!
Hey ! I am looking at this recipe from a long time, now i have decided to finally prepare this. I hope it turns out fine. I had a doubt, i have all purpose flour, and self raising flour so which one would be better, and do we need to use yeast with self raising flour also??
All purpose flour is maida, that’s what you need here. Self raising flour has baking powder so it’s used in cakes, won’t work for this recipe which needs yeast. Happy baking 🙂
Ok thanks a lot 🙂
Your recipe is so perfect, my pao came out perfect, i did Little mistakes but i know them and this was my first baking experience. I am sooo happy and satisfied . Thanks a ton !!!
Yaaaaaay you did it !! Thank you so much for trying them out 🙂 I’m happy you’re happy!
Gayatri, I finally made them. I still struggled (I don’t know what it is with me and bread – maybe I just don’t like dealing with gooey dough) but I do have terrific pavs at the end! I shared a pic on one of my FB groups and now everyone wants the recipe. So I’m posting your link there.
Thank you for sharing!
Yaaaaay you did it!! Bread dough is super moody, I struggle too, don’t worry about it 🙂 thank you for making them and for sharing!
Thanks came out absolutely lovely, even though I forgot to add salt. Recipe archived!
So happy to hear that!
I finally did it!! I made a homemade bread! This recipe is perfection! I was not measuring correctly so I dusted a tad (VERY little) more flour in until it hardly came together then kneaded away. I never achieved window pane stage but I kneaded by hand until it looked smooth and nice….followed all of her steps and I could cry. Thank you for an amazing recipe!
That’s great Melissa! I’m so happy you enjoyed these 🙂
Can I use a cake tin to bake them cause I don’t have a rectangle shaped tin of any kind?
Yup you definitely could. To be able to fit 8 rolls in it, I think you would need to use an 8” or 9” round tin.
Perfect! Thank you :))
Hi,
This is my first time baking and I want to try these pavs, the photographs look irrestible!
I have 2 questions-
Firstly, is all purpose flour Maida?
And secondly, can I use white/brown sugar to replace the caster sugar?
Yup same as maida. White sugar is perfect, caster sugar is just a finer white sugar, that’s all. Brown sugar will give a slightly different flavour. Good luck! Hope you enjoy making them 🙂
Thanks for clarifying!
No. Just no. I have tried to make pav twice because my Bombay-loving heart needs pav, and both the times I’ve questioned why I’m punishing myself while I grapple with horrible. sticky dough. Needless to say, I’ve had some strange kind of bread for dinner both the times, not pav.
I’m saying No now because you make it sound so easy, and your pav looks just so right, that I will try again, and swear pointlessly again.
Instead if you have some magic tricks that can tell me early on in the method if I am doing it right, I will appreciate it.
Haha no magic tricks , I think the reason this dough is easy to work with it has butter than I’d expected and that keeps it naturally greased. Also there’s more milk than water which is also good to prevent stickiness. If in Mumbai weather this was easy, I’m sure you’ll get good results !
They look instant grab and eat awesome!
Thank you 🙂