You guys, you guys. We have healthy candy. Made with clean ingredients and all of that. Don’t eat the whole batch of course, but you can eat many many more pieces of this without feeling guilty, than compared to, oh I don’t know, an entire bag of mini Snickers (no will power around those).
These reminded me of millionaire bars, but far saner. They are made with basically coconut flour, coconut oil, honey/maple syrup, and almond butter. They are full of chewy, crunchy textures and no cloyingly sweet bites. In short, just what Monday ordered.
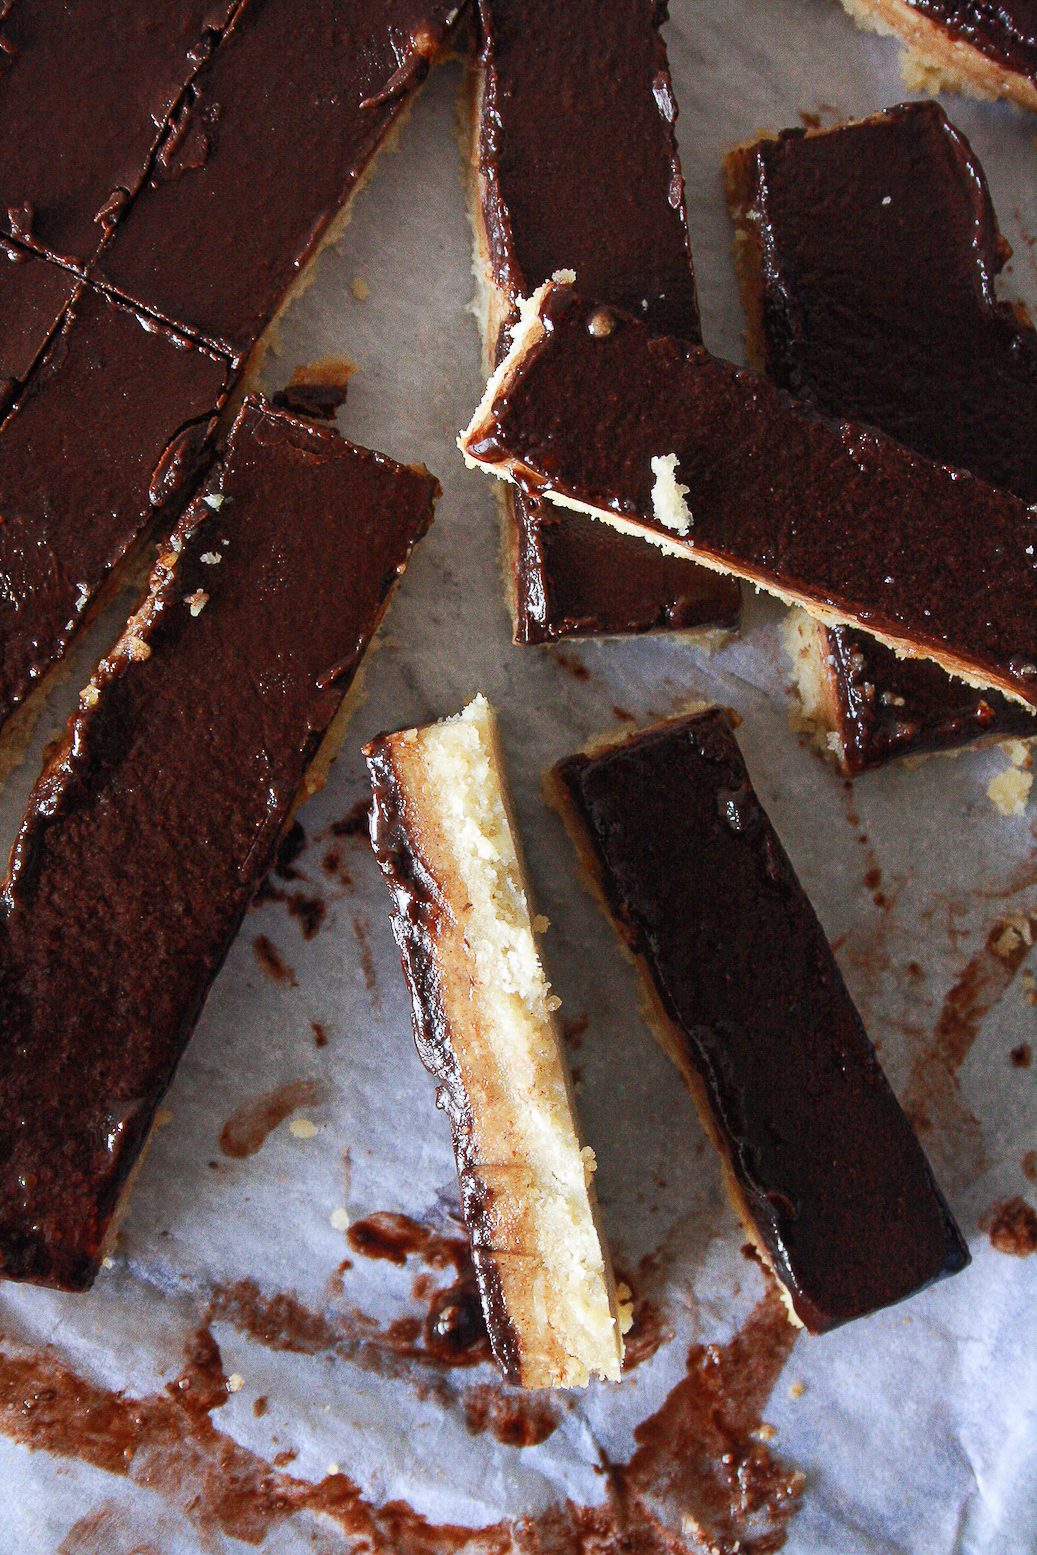
I first saw this recipe on the lovely Bakerita (Rachel is one of the nicest people I’ve met on this giant blogosphere!) and it was definitely up there on my list of experiments with baking ingredients. Not so much for health reasons, but more to understand what different flavours could be like, how alternate flours and fats could be used for classic desserts and basically, to step out of my comfort zone.

The recipe is easy, with the same ingredients repeated in different proportions for each layer: the base, the ‘caramel’ filling and the chocolate topping. If you don’t have almond butter, peanut butter works too, but try and use a natural one to keep this free of refined sugar or excess fat. The hardest part is waiting for the layers to chill enough that you can assemble and slice!

Of course, in hot weather, these bars don’t last three seconds at room temperature, so keep them refrigerated, or even frozen at all times. They’re great straight from the freezer! Cold, and chewy and sweet and salty. Yum. The dominant flavour is of course, coconut, because it is used in two forms, flour and oil. But it contrasts wonderfully with the chocolate and the nuttiness of almond butter. Excuse me while I go grab a piece.
I played around with some of the proportions in the crust because my square pan is a little larger than exactly 8 inches, so I was falling short with the bottom layer. But even in a slightly smaller pan, these proportions will still work. I also reduced the oil and honey in the caramel layer for a thicker, slightly less sweet filling. I found this worked perfectly for me, but feel free to adjust quantities according to your instinct, I found this to be a fairly flexible recipe. The thing to remember is the crust must not be too dry, or it’ll fall apart as it bakes and as you cut the bars.

I’ve been munching on these since Friday, and they’re a fabulous alternative to rich desserts, and make a fairly respectable snack as well! Go make make make!

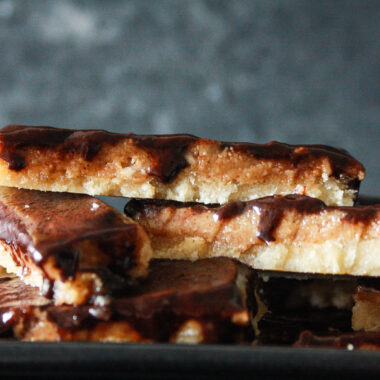
Coconut Caramel Bars (Vegan, Gluten-Free)
Ingredients
- <b>For the crust</b>
- 1 cup coconut flour
- 1/4 tsp salt
- 4 tbsps honey or maple syrup if vegan
- 1/3 cup solid coconut oil* <br></br>
- <b>For the caramel layer</b>
- 1/2 cup almond butter
- 1/4 cup honey or maple syrup if vegan
- 1/4 cup coconut oil liquid form
- 1 tsp vanilla
- Pinch of salt salt<br></br>
- <b>For the chocolate layer</b>
- 1/4 cup coconut oil liquid form
- 1/4 cup cocoa powder
- 2 to 3 tbsps honey or maple syrup if vegan
- Pinch of salt
Instructions
- Lightly grease an 8" square baking pan and line it with baking paper. Set aside.<br></br>
- In a mixing bowl, mix the coconut flour and salt, then add the honey and mix till moistened and crumbly.<br></br>
- Add the solid coconut oil and bring the dough together, making sure you press out any lumps of oil with your fingers. Tip into the prepared baking pan, and spread firmly and evenly. It will be a thin layer. Bake for 8 to 10 minutes until the edges are golden brown. Set aside to cool completely.<br></br>
- To make the filling, combine all the ingredients in a small saucepan. Heat on medium until smooth and combined. Pour onto the room temperature crust. Spread evenly and chill for at least 1 hour.<br></br>
- Finally, mix the ingredients for the topping in a small bowl. Pour over the chilled caramel layer and tilt the pan to make sure it reaches the corners. Refrigerate for 2 hours. Slice into bars or squares as desired, the yield will vary depending on the size of the pieces. But between 15 to 20 is my estimate.<br></br>
- Keep the bars chilled, or preferably frozen at all times. Enjoy!
Notes
Shop this recipe!
[amazon_link asins=’B01MR5JGY3,B01LFEFJU0,B01M0CVCGS’ template=’ProductCarouselNoheader’ store=’thedessertedg-21′ marketplace=’IN’ link_id=’f688a008-8a6c-11e8-bf2f-d9acae619c05′]
This post contains affiliate links.






The pictures are stunning and the food looks delicious! You’ve got all of my favorite C words! Coconut, caramel and chocolate 😉
Sofia
thank you! These bars really are great! They keep so well frozen in case you’re looking for munchies that last a while 🙂