This pie is even better than I thought it would be! While I first thought the oats might make it seem like granola was trying to pass off as pie, they actually create an amazing chewy texture here with a bit of crunch. Coconut adds flavour and more chewiness and honey ties it all together into a really delicious, caramel-ish treat. Flaky, buttery pie crust holds it all together and if you can wait, this actually tastes even better on day two. Let’s make some pie!
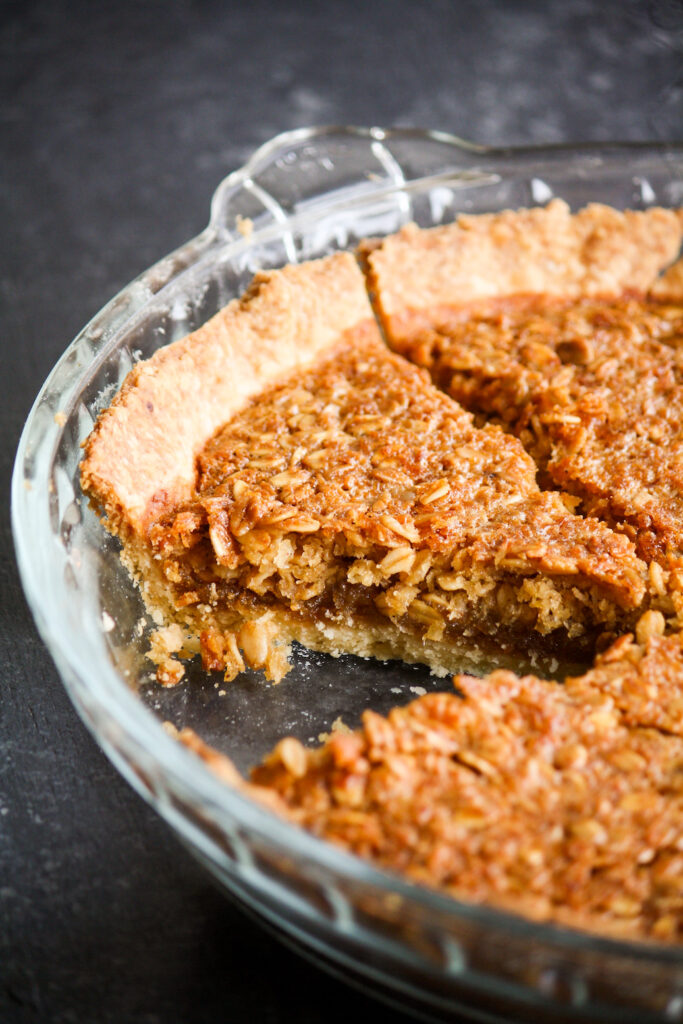
While I was hunting around for something to do with extra rolled oats I had at home, I came across many recipes for oatmeal pie, and some said it was invented as a cheaper alternative to pecan pie. I liked the filling in the Quaker Oats version which also uses coconut and since I had honey on hand, I used it instead of the corn syrup. I also added a little cinnamon to the filling which tastes great!
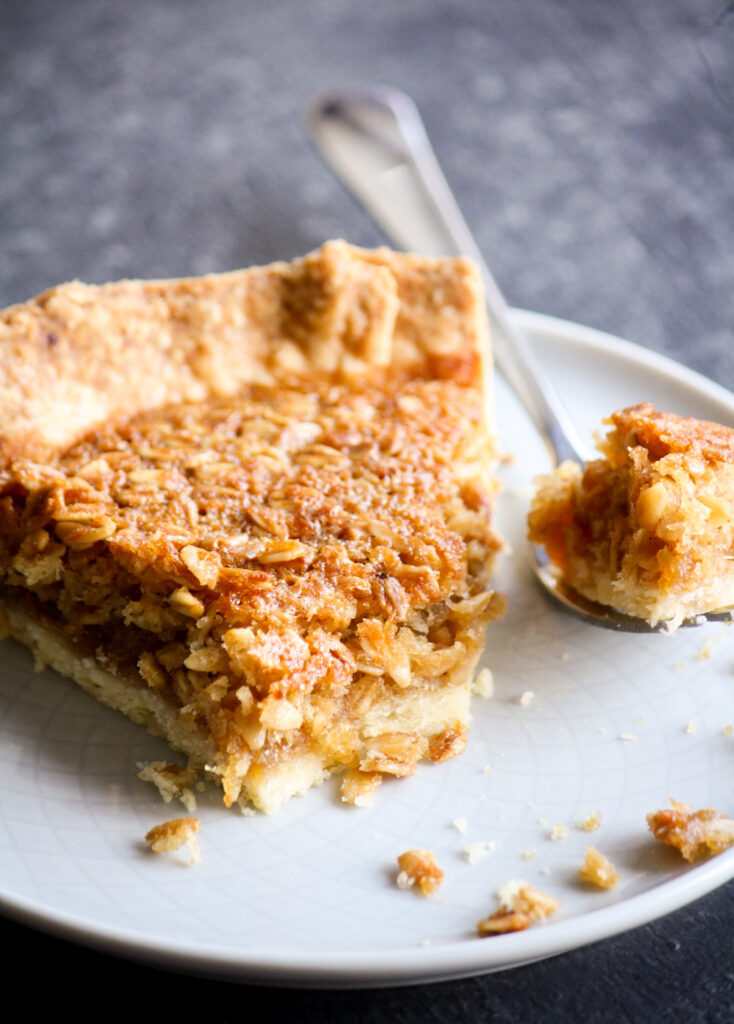
I increased the coconut, swapped the white sugar for brown because I like the flavour of it more, and I used a smaller quantity of it. I reduced the honey too but the pie is still sweet enough and doesn’t need anything else. Vanilla ice cream on top would I think make it a bit too sweet, but unsweetened whipped cream would be nice if you do want a topping!
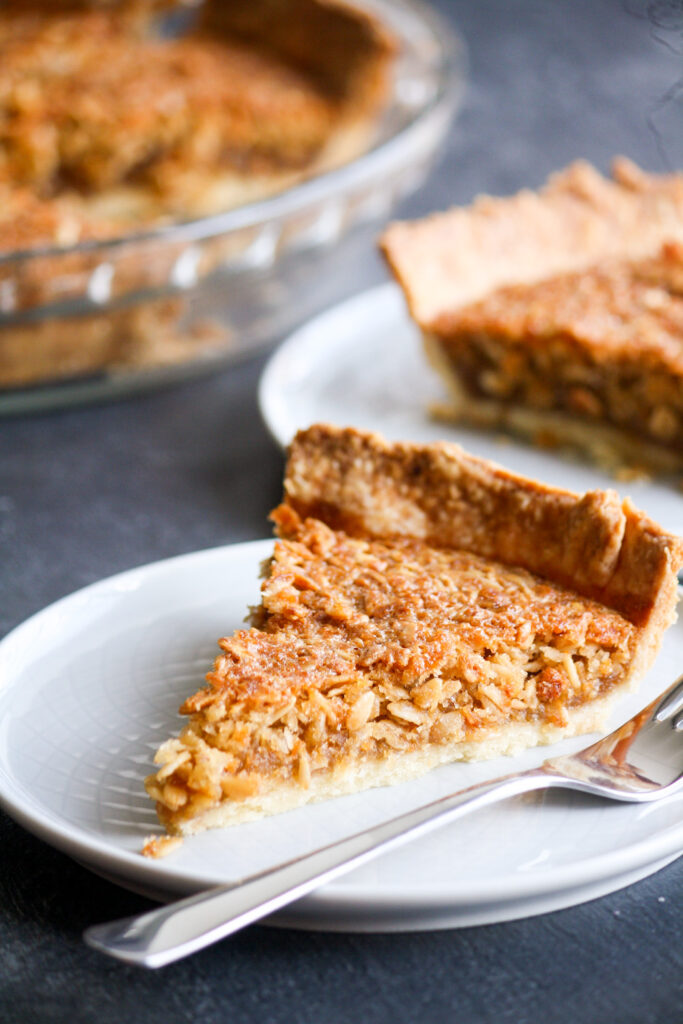
Eggs help set the filling and it turns into a gooey, caramel-flavoured layer with a crispier, more chewy layer of oats right on top. It’s really, really good!! The flaky crust is the perfect texture contrast and pre-baking it ensures the runny filling doesn’t make it soggy.
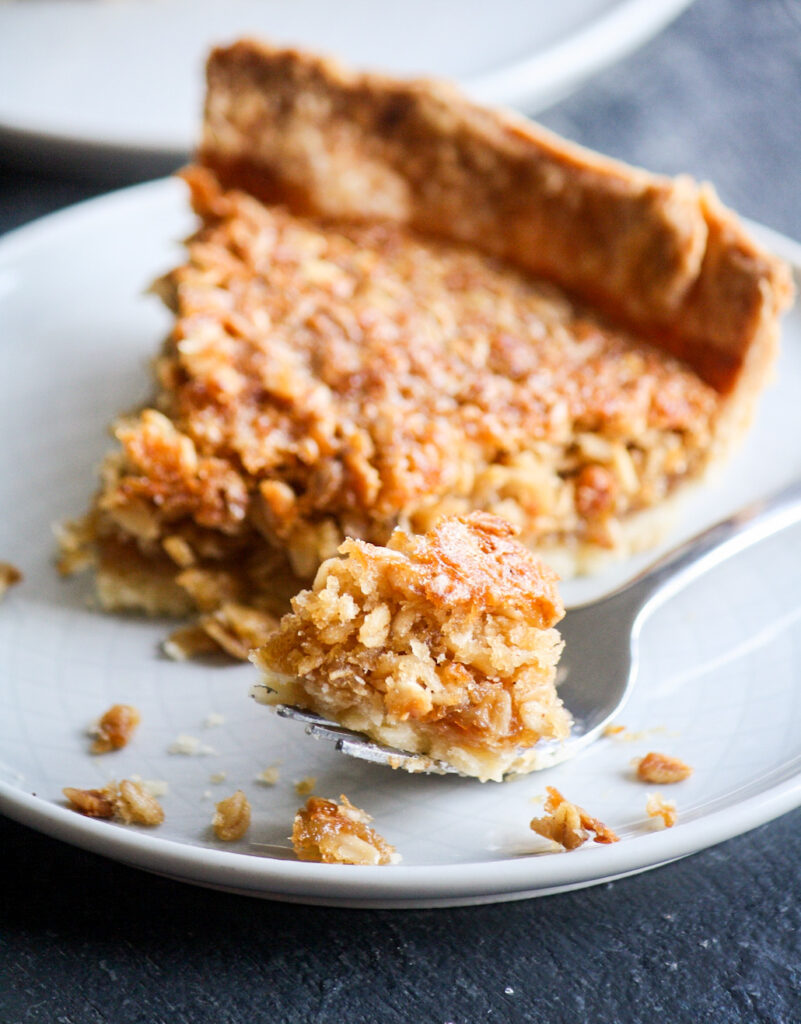
I hope you’ll try it soon!
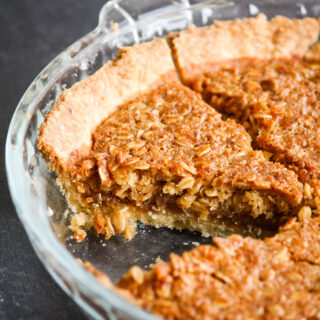
Coconut Oat Pie
Ingredients
For the pie crust
- 1 and 1/2 cups all-purpose flour (180 gms)
- 1/4 tsp salt, skip if using salted butter
- 2 tbsps caster sugar
- 1/2 cup unsalted butter, cold and cubed (115 gms)
- 2 tbsps ice cold water
For the filling
- 3/4 cup rolled oats (70 gms)
- 1/2 cup shredded coconut (30 gms)
- 2 tbsps all-purpose flour
- 1/2 tsp cinnamon powder
- 2 eggs, at room temperature (I haven't tried an eggless version)
- 1/2 cup soft brown sugar (100 gms; white is ok too)
- 1 tsp vanilla extract
- 1/2 cup honey (170 gms)
- 4 tbsps butter (55 gms), melted but not hot
Instructions
- First, make the pie crust. In a mixing bowl, stir the flour, salt and sugar together, then add the cubed butter. Rub the butter into the flour with your fingertips until the mixture resembles coarse breadcrumbs and there are a few pea-sized bits of butter scattered through it.
- Slowly add the ice water and stir with a spatula to combine, then use your hands to bring it together in a soft dough. Place the dough on a large piece of clingfilm, flatten into a disc, wrap tightly and refrigerate for at least one hour. To save time, I actually prefer to make the dough the previous day and let it rest overnight in the fridge and keep the filling and baking for day two.
- Remove the chilled dough from the fridge, unwrap and place on a lightly floured silicone mat. (You can also do this on a floured kitchen counter, but I prefer the mat for ease) Depending on how long it was chilled, you may need to let the dough soften just a bit at room temperature before rolling.
- Lightly flour the top of the dough, place the same sheet of clingfilm on it, and roll out into a 12 inch circle. I like to do this with clingfilm on top because I find that in warmer temperatures, this prevents the butter from melting onto the rolling pin and making the dough messy.
- Transfer the rolled out dough back to the fridge for 10 minutes, keeping the top covered with clingfilm. (This is also where the silicone mat comes in handy, you can easily slide it onto a tray with the dough and place it in the fridge.)
- Lightly grease a 9" pie dish. To place the rolled out dough in the dish, fold it in half and then half again to make a quarter shape. Use the mat to help you fold the dough if needed. Lift and place in the pie dish with the corner of the dough quarter in the center of the dish so that it fits easily when unfolded. Gently unfold and press it onto the sides and base. Trim the edges and use the scraps to patch up any bits that may have torn.
- Transfer the pie dish to the fridge for 30 minutes. Preheat the oven to 190 C.
- Prick the base of the dough with a fork several times. You will 'blind bake' the crust now so pricking it helps prevent the base from puffing up too much. You can also blind bake it by placing a piece of baking paper on the dough and filling it up with dried beans to weigh the dough down, but I didn't find this necessary.
- Bake for 15 to 20 minutes until the crust is very lightly browned on the bottom and slightly puffy. Set aside to cool while you make the filling.
- Lower the oven temperature to 175 C.
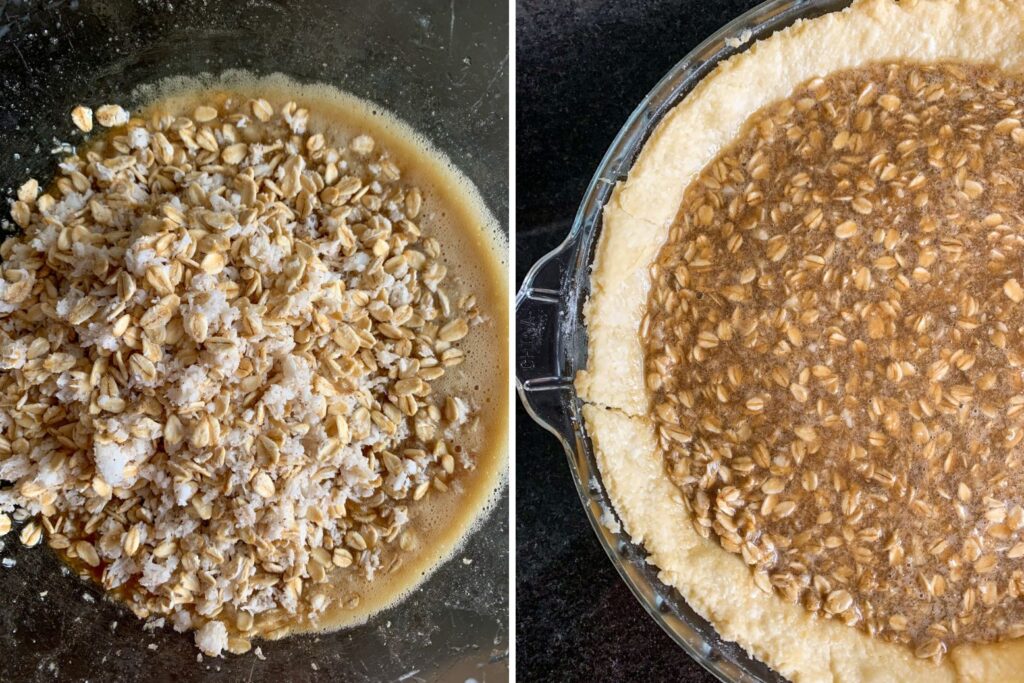
- Now make the filling. Combine the oats, coconut, flour and cinnamon in a bowl. Stir well and set aside.
- In a mixing bowl, whisk the eggs well (a balloon whisk is useful here, hand mixer not necessary). Stir in the sugar and vanilla, then pour in the honey and whisk it in. Finally, add the melted butter and whisk again till combined.
- Add the oats mixture and stir it all together. Pour into the pre-baked crust and smoothen out the top.
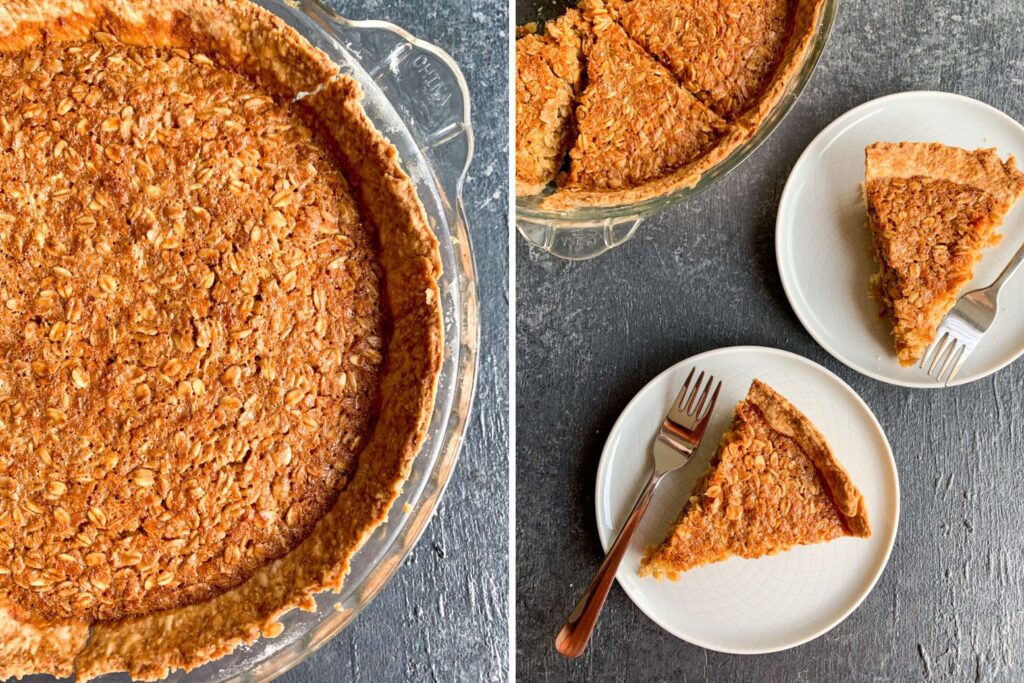
- Bake for 40 to 45 minutes until the edges of the pie are browned, the surface of the filling has turned a deep golden-brown, risen and set on top. Poke a toothpick lightly in the center to ensure there's no liquid inside.
- Allow the pie to cool completely to room temperature. The filling will fall slightly and any cracks that formed as it baked, will close up.
- Slice with a sharp knife in a light sawing motion for neater slices. I like it as is but unsweetened whipped cream on top would be yum! Store at room temperature for 2 days in an airtight container (in cooler weather) or in the fridge for a week, in the freezer for longer. The pie actually tastes even better the next day so I recommend waiting! Happy baking!
Notes
Shop this recipe!
