Homemade biscotti is so much better than most of the stuff you can buy in stores. I find it more flavourful, with a nicer texture that’s not rock-hard but not cake-soft (technical terms) and this particular version is an actually chocolatey one! With cocoa and melted dark chocolate, it’s wonderful with coffee and the toasted hazelnuts add a whole other level of deliciousness. Let’s make some biscotti!
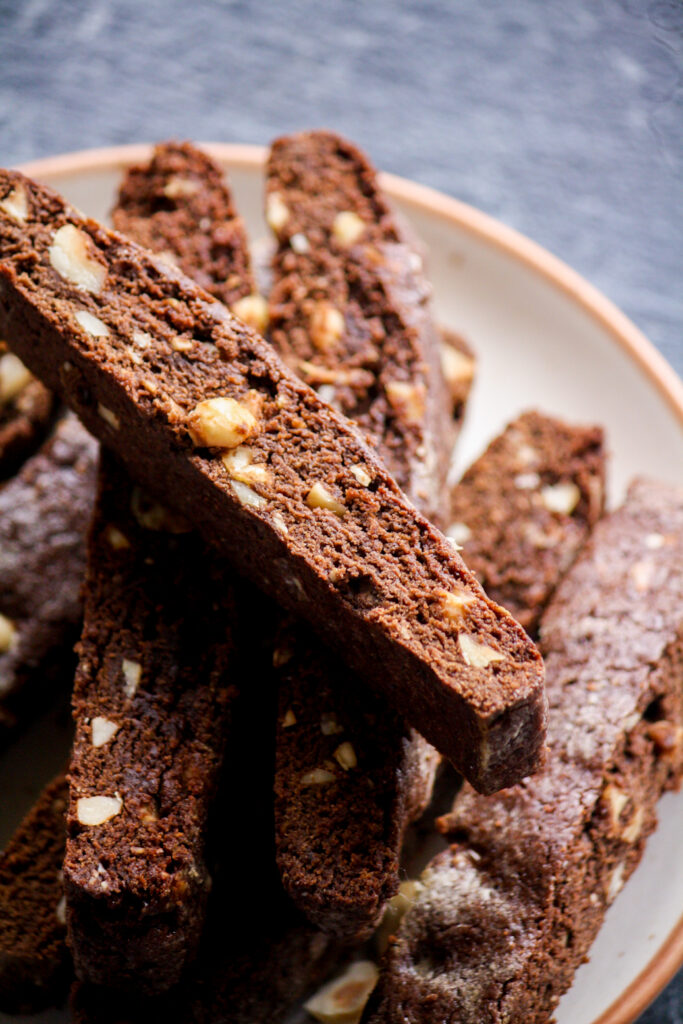
I’ve made biscotti earlier but it hadn’t turned out exactly the way it should. The recipe I had at the time used no butter, which is typical for biscotti, but there are versions that use some form of fat for a more tender cookie. Sally’s Baking Addiction showed me the way, and I’m never looking back!
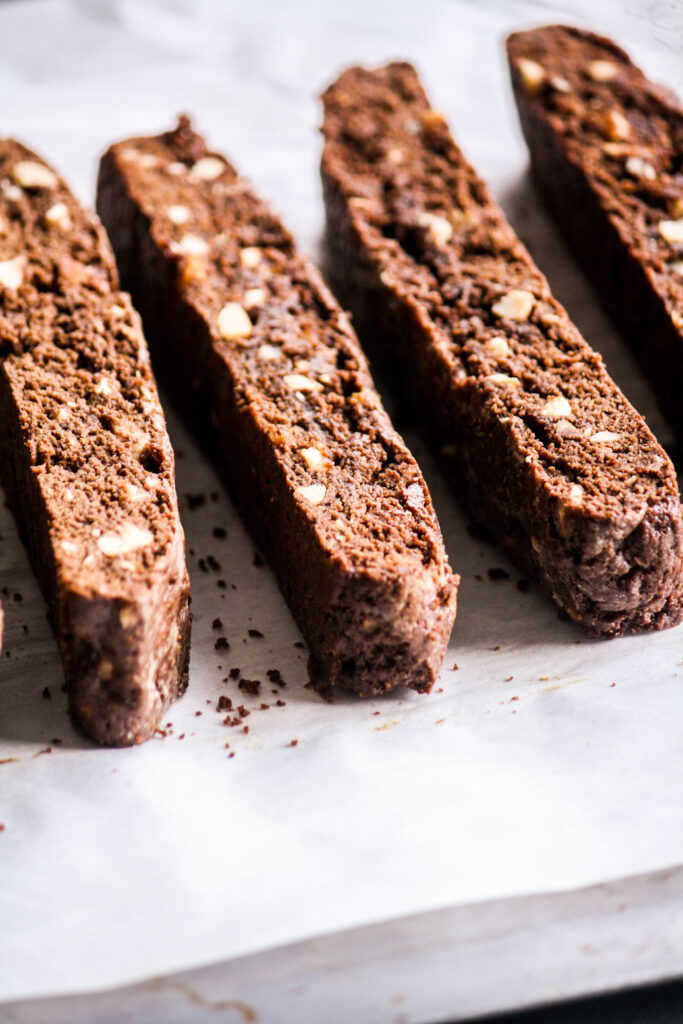
The biscotti isn’t hard to make, it just takes a while. Sally made an almond version and I’d tried it with hazelnuts at the time. But a chocolate version has been on my mind for some time and I decided to adapt that recipe and see what happens. It was a success! While chocolate and hazelnuts are amazing together, whatever nuts you decide to use, I recommend chopping them by hand, which is what will take up most of your time. My food processor tends to pulse everything into crumbs too quickly, so with a knife, I have a little more control.
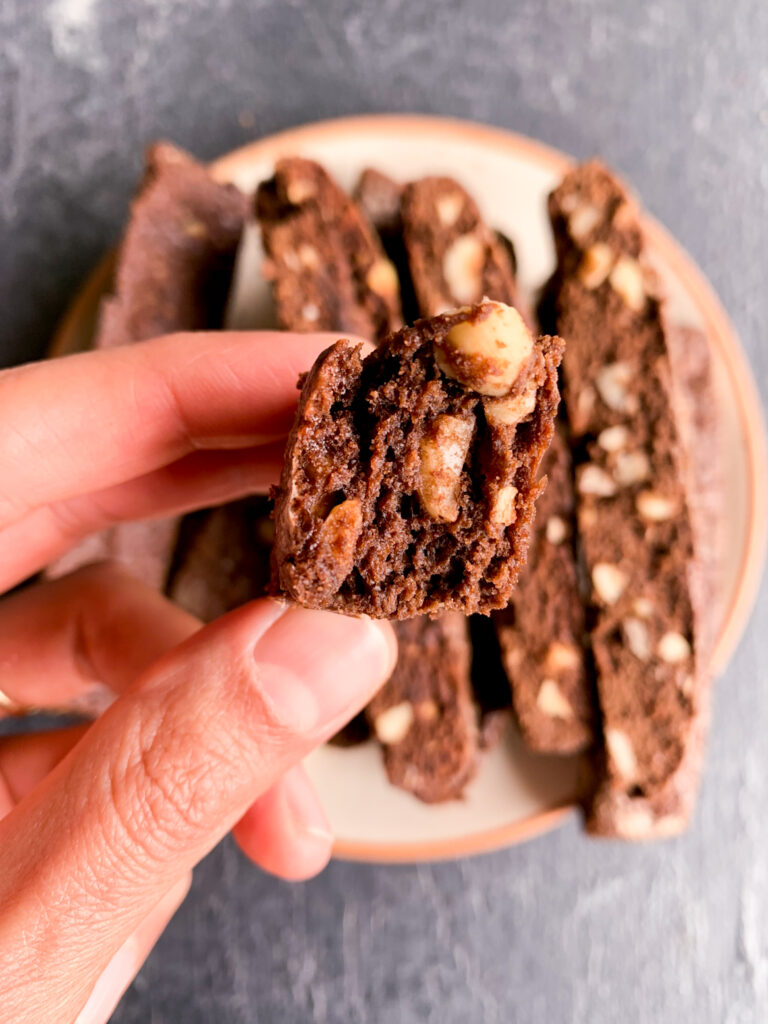
‘Biscotti’ means ‘twice-baked’ in Italian. So you bake the dough as slabs first, then slice them and bake them so that they became super crispy and delicious. With the addition of melted chocolate, the biscotti takes just a bit longer to cook through. The centers remain more tender than the edges but you can leave them in the oven for more time if that concerns you.
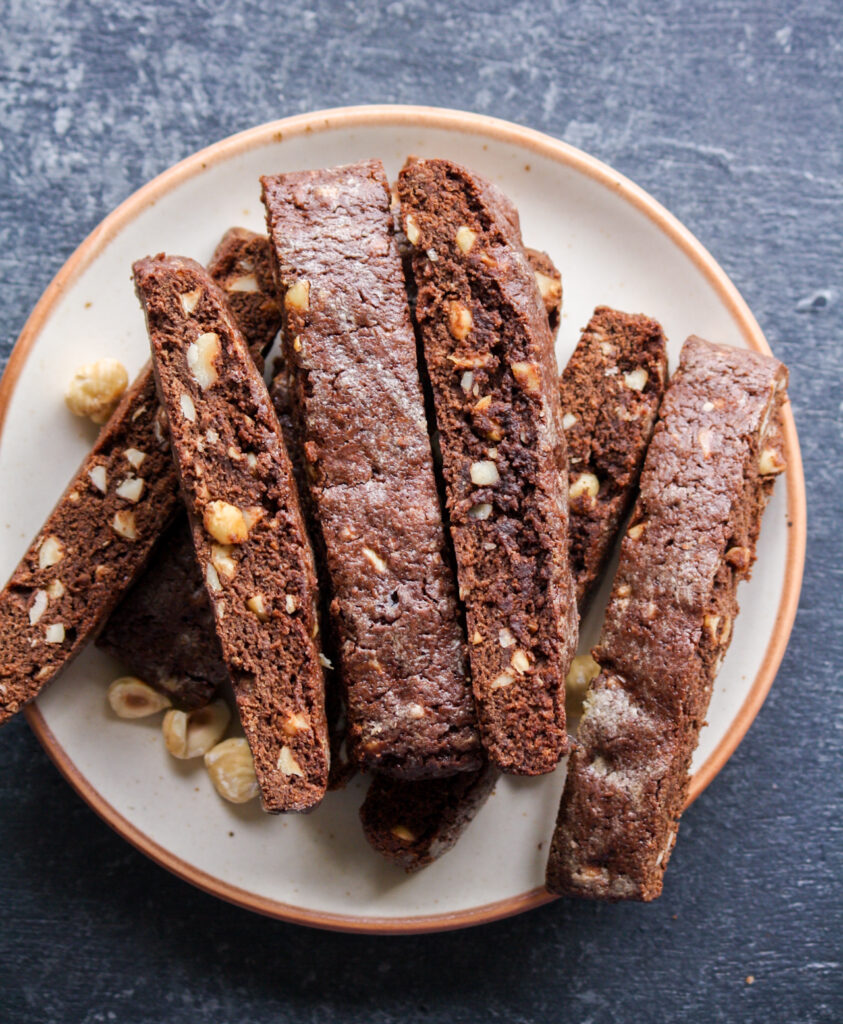
It’s an incredibly satisfying recipe to make and because biscotti keeps for over a week at room temperature (maybe longer if it’s not peak summer), it’s the gift that keeps on giving!
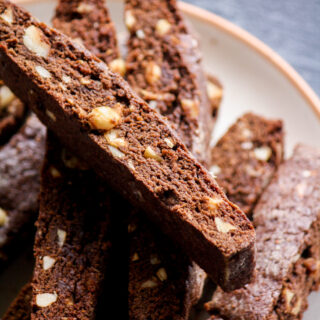
Double Chocolate Hazelnut Biscotti
Ingredients
- 3/4th cup hazelnuts (105 gms)
- 1 and 3/4th cups all-purpose flour (210 gms)
- 1/4th cup cocoa powder (20 gms)
- 1 tsp baking powder
- 1/2 tsp salt if using unsalted butter
- 1 cup soft brown sugar, light or dark (215 gms)
- 1/4 cup butter, cold and cubed (60 gms)
- 3 eggs (see notes)
- 2 tbsps oil
- 2 tsps vanilla extract
- 60 gms dark chocolate (70% to 75%), melted and slightly cooled
- Extra flour for sprinkling
Instructions
- Preheat the oven to 175 C. Spread the hazelnuts on an ungreased baking tray and bake for 5 to 8 minutes, until fragrant and very lightly browned. Set aside to cool for 10 minutes. Chop them coarsely and set aside (this takes a while so that's why the prep time for this recipe is longer, but I find a food processor chops the nuts up too finely).
- When you're done chopping, preheat the oven to 175 C again.
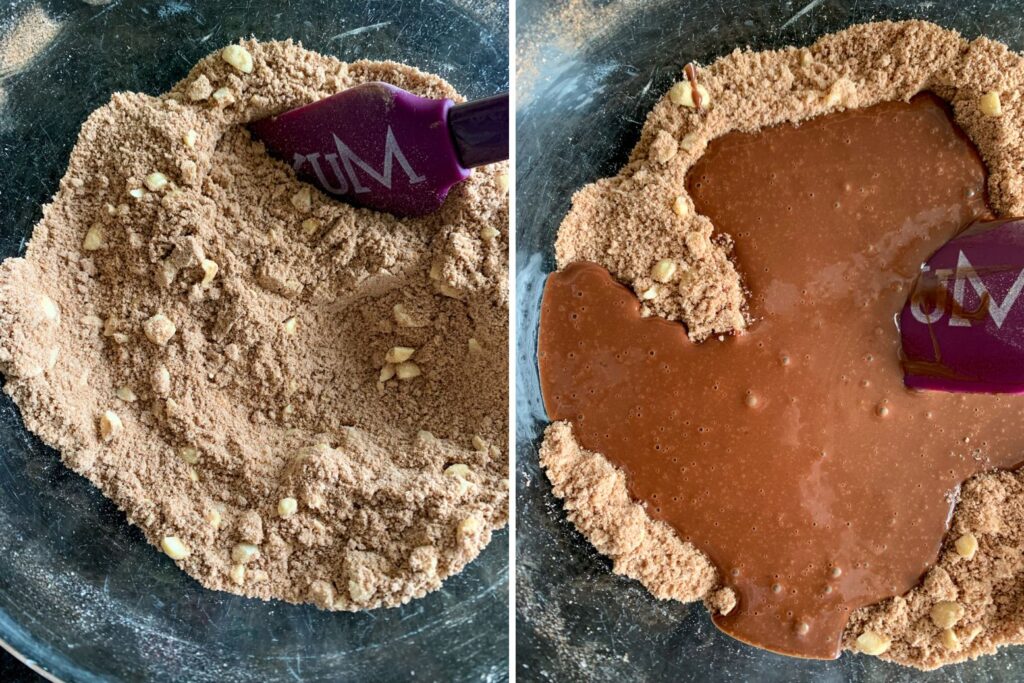
- Sift the flour, cocoa, baking powder and salt (if using). Add the brown sugar, then the butter and rub it in with your fingers till the mixture resembles coarse breadcrumbs and no dry flour remains. Stir in the chopped hazelnuts.
- In a small bowl, combine the eggs, oil and vanilla. Whisk to combine, then pour in the melted chocolate and whisk again till fully incorporated. (see photos below)
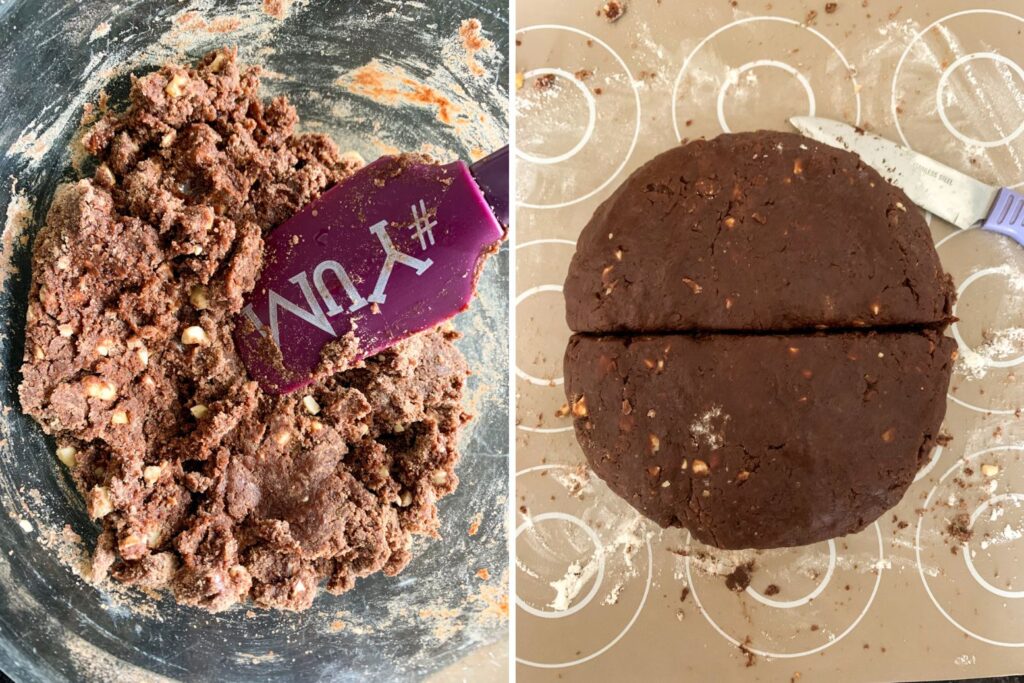
- Pour the liquid mixture into the flour mixture and gently stir together with a spatula to combine into a rough dough, so that the dry ingredients are moistened. Tip onto a lightly floured surface or silicone baking mat (easiest for clean-up and preventing sticking).
- Gently knead the dough 8 to 10 times until smooth, a little sticky and quite soft. Cut into two equal halves.
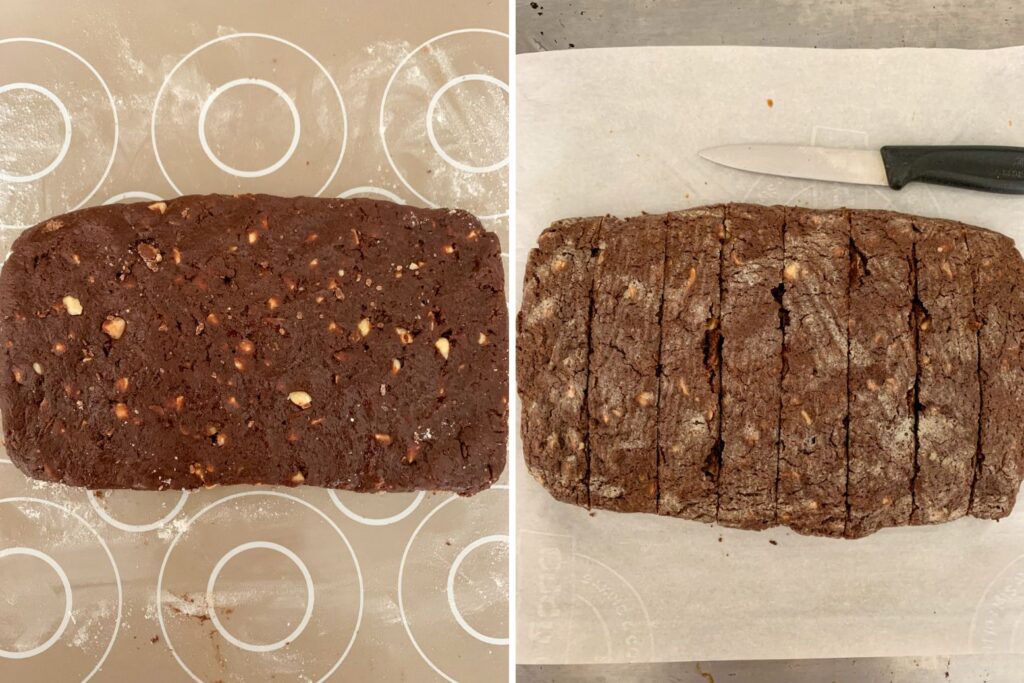
- Place another silicone mat or sheet of non-stick baking paper on the counter and place one half of the dough on it. Using extra flour to sprinkle on, shape each portion of dough into a slab, about 8x4 inches. You don't need to be too precise here.
- Bake each slab of dough for 25 to 30 minutes until you see small cracks on top and the top and sides look set. It's hard to notice browning since the dough is already dark. Let it cool till you can safely touch it (and meanwhile bake the second log if you're baking in batches).
- Once the slabs have cooled for about 15 to 20 minutes, use a long serrated knife to slice each one into roughly 1 inch thick pieces (with the longer side of the slab facing you). Each slab will give you 8 to 10 pieces.
- Turn each piece around so that the cut side is facing up (the side where you'll see the hazelnuts peeking out). You may not be able to do this with the edge pieces, just place them flat on the tray. The dough is still soft at this stage so be careful while turning the pieces around as they might break.
- Bake again for 10 minutes, then turn the pieces over and bake again for 10 minutes so that both sides are cooked through. The biscotti will still feel a little soft at this stage. Let them cool at room temperature completely and they will harden on their own. If at all you feel they're still a bit soft in the center (some of the larger pieces possibly), bake for another 2 to 3 minutes as needed.
- Once completely cooled, store in an airtight tin at room temperature for a week to 10 days. I find that they do soften a bit once covered, but still have a nice bite. You can also refrigerate or freeze for longer. Enjoy with hot coffee!
Notes
Shop this recipe!
This post contains affiliate links.







Lovely biscotti’s.. It was a great hit at home.. I did not have hazelnuts, so roasted some almonds and cashews instead..
Almonds and cashews would be yum here ! I’m so glad you enjoyed this recipe 🙂
Delicius recipe, thank you! Wishes from Lithuania!
Thank you 🙂
Pingback: Chocolate Chip Peanut Butter Biscotti (Eggless)
Pingback: Orange Cranberry Biscotti