There’s nothing more classic than a yellow cake, which is basically a buttery vanilla cake that somehow always make me think of birthday parties I had as a child. A simple, delicious cake with chocolate frosting is one that never goes out of style. It’s so soft and moist, perfect with a dark, fudgy frosting for a more grown-up touch. Salty potato wafers, fizzy soda and silly games recommended on the side 🙂
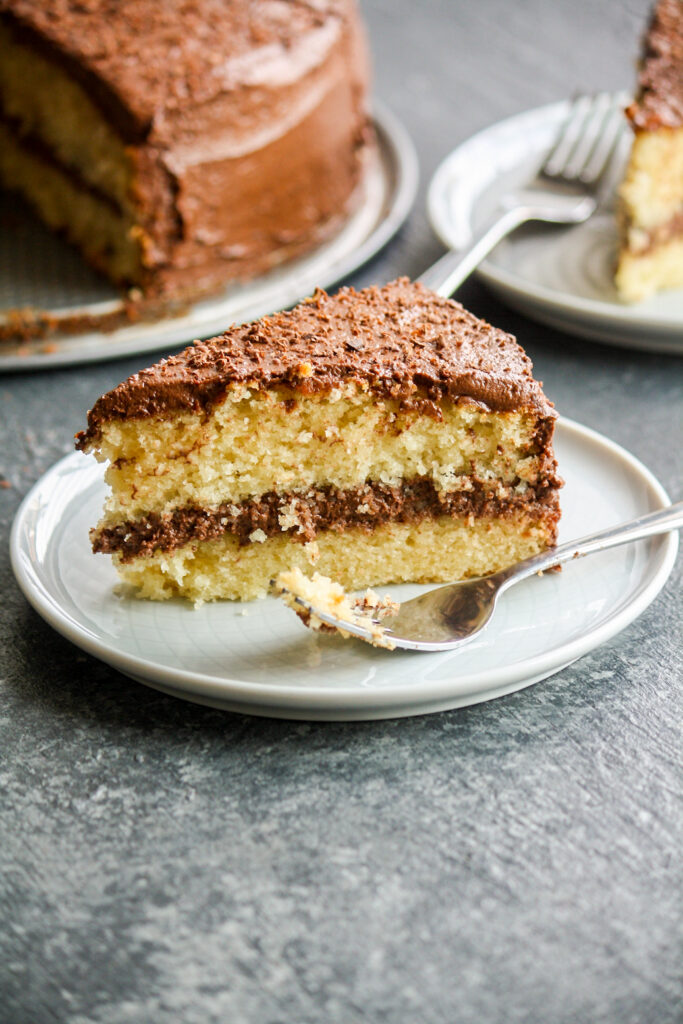
I first made this cake for a housewarming party a few years ago with a giggly bunch of people I went to school with and we sat around reminiscing, drinking wine, listening to the best early 2000s songs that were played at every single one of our birthday parties, recreating the dance moves we had for said songs, and there was no better time to dive into this nostalgia-filled cake. I updated it recently with fresh photos and some changes to the recipe and it’s better than ever!
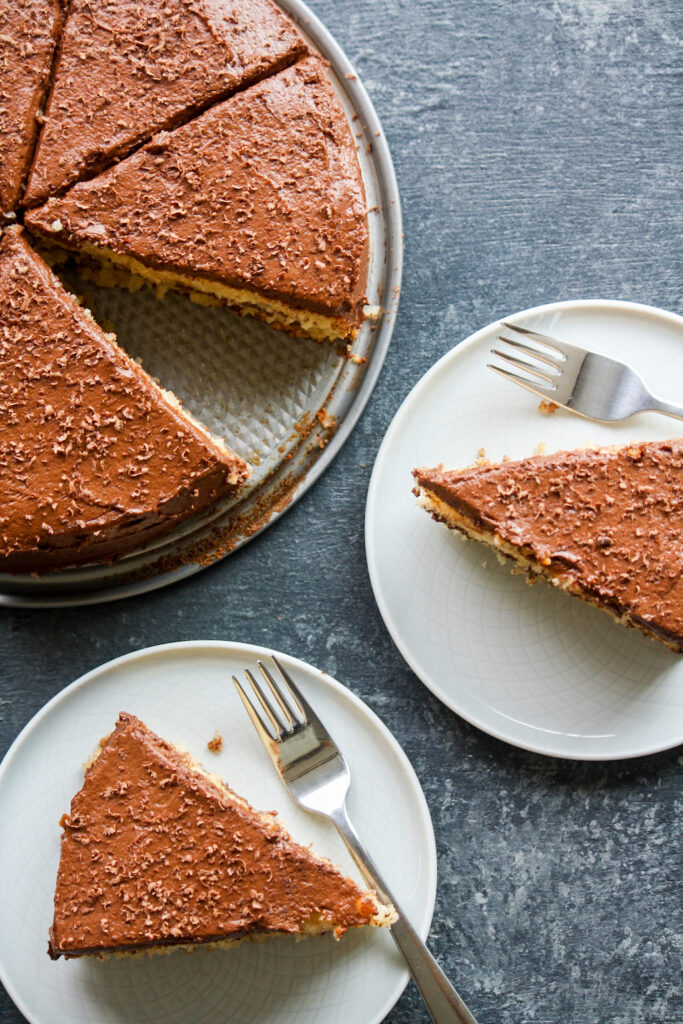
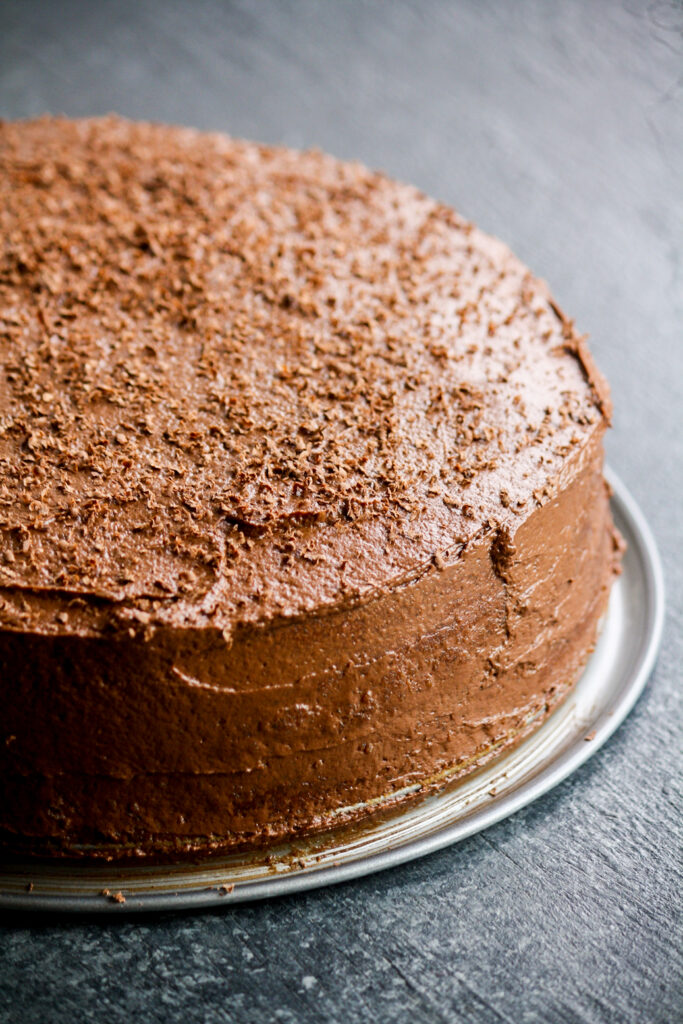
It gets its incredible texture and sunny colour from the eggs, and is therefore called a “yellow cake” but the ingredients are all super simple and I’m sure you’ll have them on hand. I adapted it from Sally’s Baking Addiction with reduced sugar and yoghurt instead of the sour cream. Both changes still produced a perfect cake. I wasn’t too keen on a buttercream frosting so instead, I tried a less-sugar, more-cream version of her insanely good dark chocolate frosting and you guys, ohmygodohmygod. It tastes like melted chocolate fudge! Smooth, silky, not too sweet and just so incredibly good. Seriously, the reason to make this cake, is so that you can make the frosting to go with it.
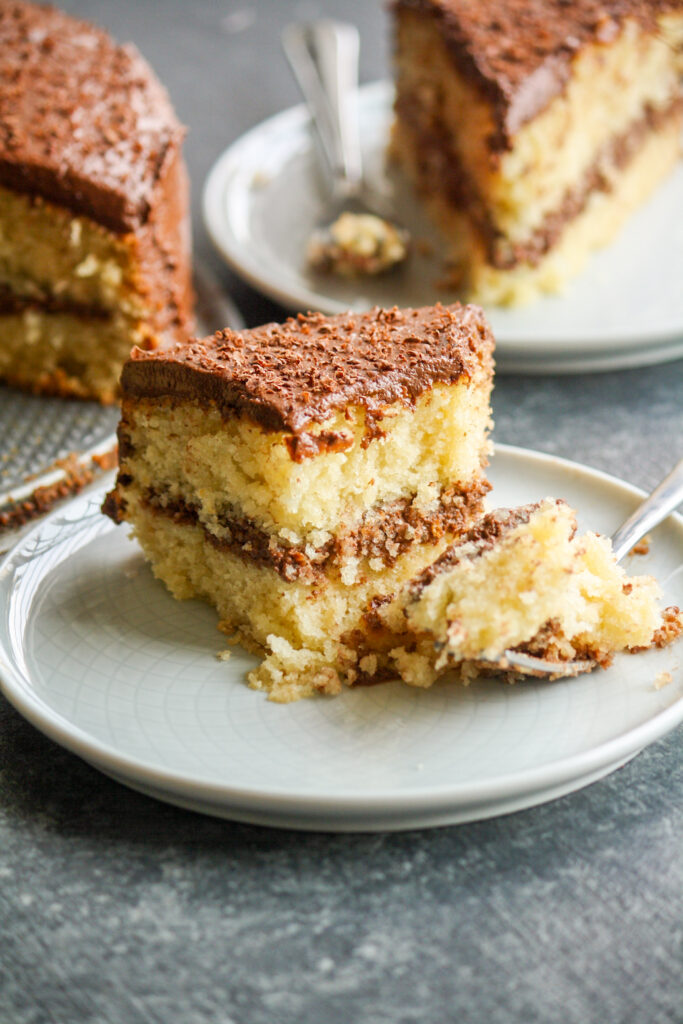
This time around, I made it twice before posting this version you see here. I found that only baking soda created a slightly too-soft cake and a bit of baking powder instead of the soda helped with a soft, but sturdier crumb. I later realised Sally herself modified her original version too! The frosting is a little darker this time around as well, the way I like it and goes perfectly with the cake.
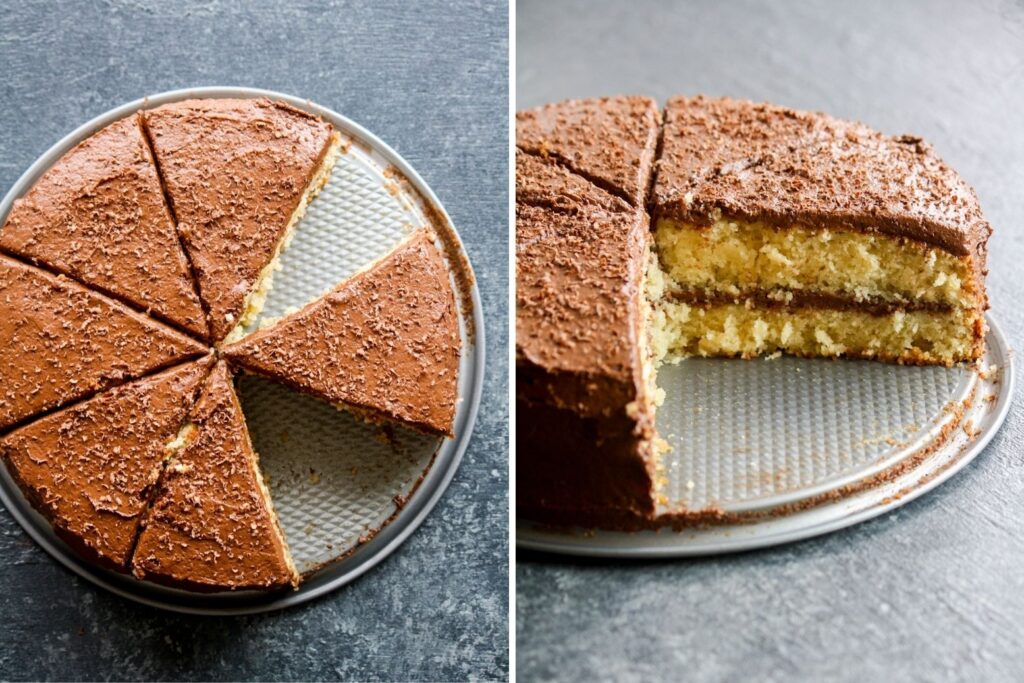
Slice after slice of this cake disappeared in front of my eyes and if you’re worried it’s too rich or too heavy, no one you feed it too will think so. It’s great shared, but there’s a certain joy in eating a big slice of homemade cake all by yourself, so try it both ways!
Please read the recipe notes before beginning.
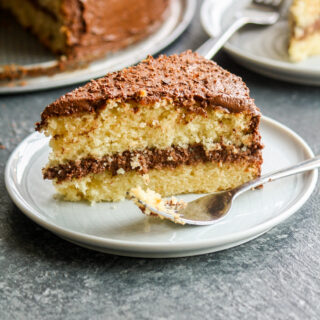
Yellow Layer Cake with Fudge Frosting
Ingredients
For the cake
- 2 and 1/4 cups all-purpose flour (270 gms)
- 1 tsp baking powder
- 1/2 tsp baking soda
- 1/2 tsp salt, if using unsalted butter
- 230 gms butter, at room temp
- 1 and 1/2 cups caster sugar (285 gms)
- 2 eggs, at room temp (see notes)
- 1 tsp vanilla extract
- 1/2 cup plain, thick yoghurt, at room temp (115 gms)
- 3/4th cup whole milk, at room temp (190 ml)
For the frosting
- 2 cups icing sugar (230 gms)
- 2/3 cup cocoa powder (55 gms)
- 100 gms butter, at room temp
- 8 to 10 tbsps cream, at room temperature (preferably whipping cream but regular is fine too)
Instructions
- First make the cake. Sift together the flour, baking soda, baking powder and salt, if using. Set aside.
- Preheat the oven to 175 C and generously grease a 9 inch round springform tin. A regular round tin is ok too but springform makes it easier to un-mould and frost the cake.
- In the bowl of a stand mixer fitted with the paddle attachment, beat the butter and sugar on medium speed until light and creamy, then add the eggs and vanilla. Beat on low speed till combined. You can also use a hand mixer and a deep mixing bowl instead of a stand mixer.
- Now add the flour mixture slowly, alternating with the milk and yoghurt and beat on low speed until combined into a smooth and slightly thick batter. Doing this alternately prevents the batter from splitting when the liquids are added. However, a slightly grainy or curdled batter may still occur because the liquid proportion is pretty high. Don't worry if this does happen 🙂
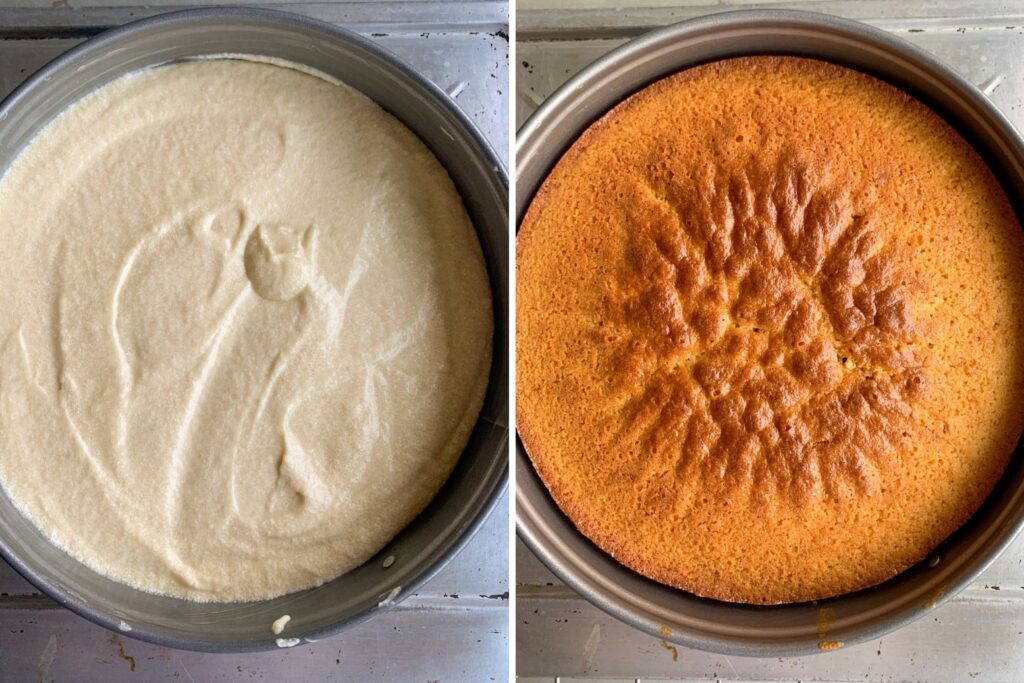
- Pour into the prepared cake tin and smoothen the top. Bake for 45 to 50 mins, covering the top loosely with aluminium foil about halfway through baking so that the top doesn't burn. The cake is done when a toothpick poked in the center comes out clean or only with a few moist crumbs. This cake takes a longish time to bake, and since all ovens are different, start checking for doneness around 40 minutes. If the top is browning too fast but the center is still raw, lower the temperature to 150 C, cover the tin loosely with foil and continue baking till done.
- Allow the cake to cool in the pan for about 30 minutes, then, undo the sides of the pan and let it cool to room temperature. Then transfer it to the fridge to chill for about 1 hour which makes it easy to slice and frost. Leave the top and sides open to prevent sogginess.
- To make the frosting, sift the sugar and cocoa very well, there should be no lumps. In a separate bowl, beat the butter with a hand mixer on low to medium speed until light and creamy, then add the sugar and cocoa mixture, alternating with the cream. Beat till smooth and slightly thickened. If you used whipping cream, soft peaks will form when you lift out the beaters. If needed, add more cream or whole milk a tablespoon at a time, to get the frosting to a thick, but spreadable consistency. Room temperature ingredients prevent the frosting from splitting. If it does appear split, it's likely because the butter or cream was either too warm or too cold. Place the bowl in the fridge for about 10 minutes, then beat gently to bring it together. Even if it's not super smooth, it's going to be yum!
- When ready to frost, use a long, sharp knife to slice off any uneven bits on the surface of the cake, then slice the cake horizontally in the middle to create two layers. Using a large metal spatula or flat spoon, lift off the top layer and set aside.
- Spread about 2/3rd of the frosting on the lower half of the cake in an even layer.
- Now gently lift the top half of the cake, place it on the frosted lower half and press down lightly. Spread the remaining frosting on top and using a thin metal spatula, spread it evenly and push it down to the sides to coat them as well. You can smoothen the top completely or make a slightly swirly pattern. Decorate with grated chocolate or your favourite sprinkles!
- Chill the cake for 30 minutes, then slice and dig in! Store refrigerated for a week, or freeze for longer. Happy baking!
Notes







Hi I have tried this before and it was loved by my family. This time, I would like to convert this into a butterscotch using essence. Is that okay?
I tried opening your affiliate links but they don’t open on the installed app directly. I ended up purchasing a few things but I had to see your list and copy it. I doubt if that helps you. Thought I’d let you know.
Hi, the links take you to the product on the amazon website, not the app. As long as you find the product list helpful , I’m happy! Thanks for letting me know 🙂
Hi! Need to take this for a friend tomorrow. Can i bake it tonight, frost it and keep it in the fridge overnight?
Yes absolutely, but make sure the cake has cooled completely before you frost it tonight 🙂 Let me know how it goes!
will do! thanks 🙂
those valentine’s day parties sound different than the ones i went to! mine usually involved massive envelopes that got filled with cards and candy (i’m jealous that you had cake). this cake sounds delicious, and i love that there’s yogurt in the batter!
Haha oops, I should have clarified they were birthday parties 😁 Valentine’s Day was a lot of cheesy music and heart shaped balloons most of the time! I wish we had envelopes of candy! I’m glad you like the sound of this cake, let me know if you try it 🙂