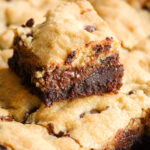
I didn’t know how much I needed this cake in my life and can’t believe I was sceptical about it. Originating in St Louis, Missouri (and therefore called ‘St Louis Gooey Butter Cake’), this is unlike anything I’ve tasted. A yeasted dough with a topping of butter and sugar that bakes up into gooey, crackly perfection, without being overwhelmingly sweet. It’s incredible warm from the oven, and lucky for us, this version makes a small-batch cake because self control is a little hard with this one around. Let’s make some cake!
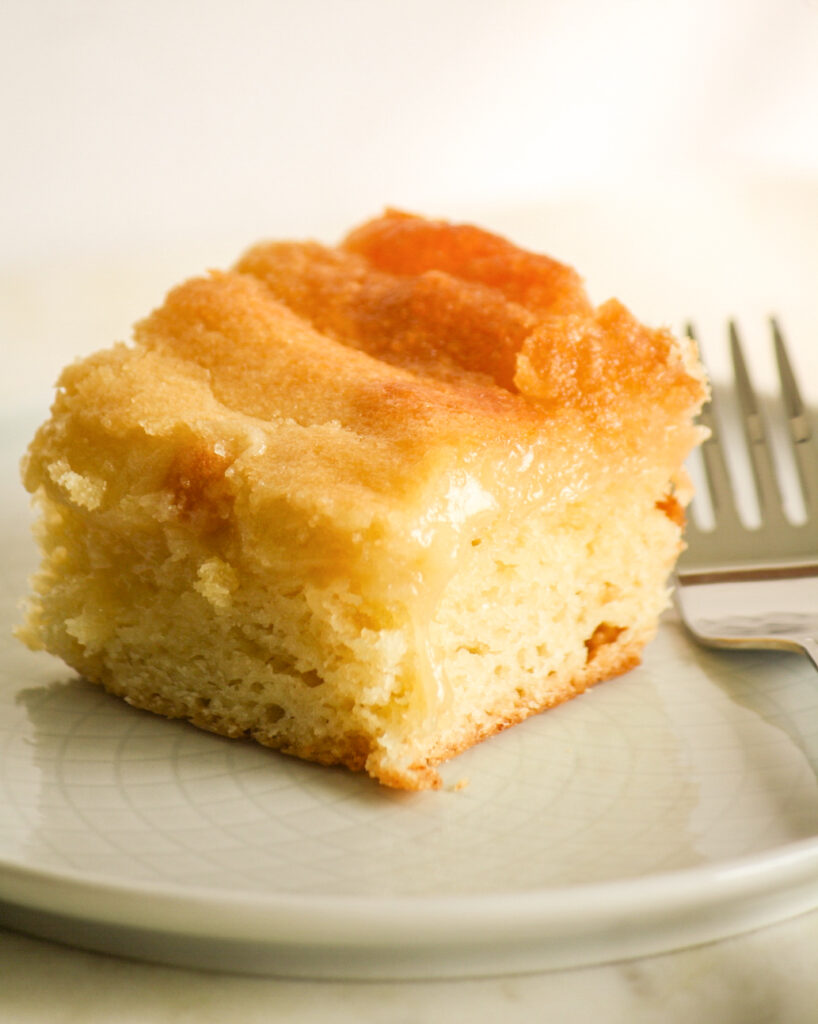
Made with the same everyday ingredients in both layers, it’s the proportions that make this cake so amazing. Much more butter and sugar in the topping vs the base. Many recipes for gooey butter cake use cake mix and a cream cheese topping, but the authentic one is said to do it this way. A barely sweetened cake batter which is more of a dough, topped with that sweet, thick cake-batter like magic of butter, eggs and sugar. As it bakes, it has this irresistible vanilla sugar fragrance and I’m so glad I decided to add vanilla to the base too because ooooof the flavour was even better than the smell.
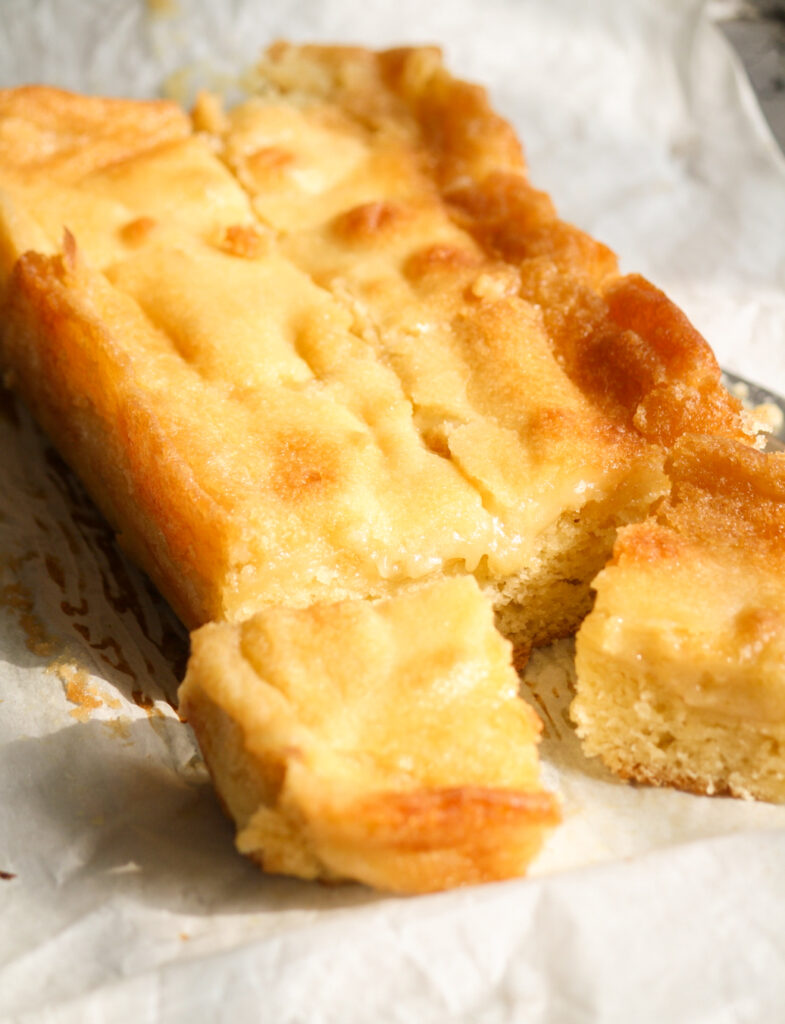
This cake, first made in the 1930s came about when a baker accidentally reversed the proportions of butter and flour. All I can say is, we should have more such kitchen mistakes in the world. I’ve been wanting to make this for a long time but every recipe sounded so overly sweet, I wasn’t tempted at all. Then I saw one on Smitten Kitchen, with this yeasted base that has almost no sugar, helping the sugar topping go perfectly with it. It’s not bread, but it’s also not a regular butter cake, it’s somewhere in between. It came from a New York Times feature, based on a recipe by a St Louis resident called Molly Killeen. It’s amazing how recipes make their way into our homes!
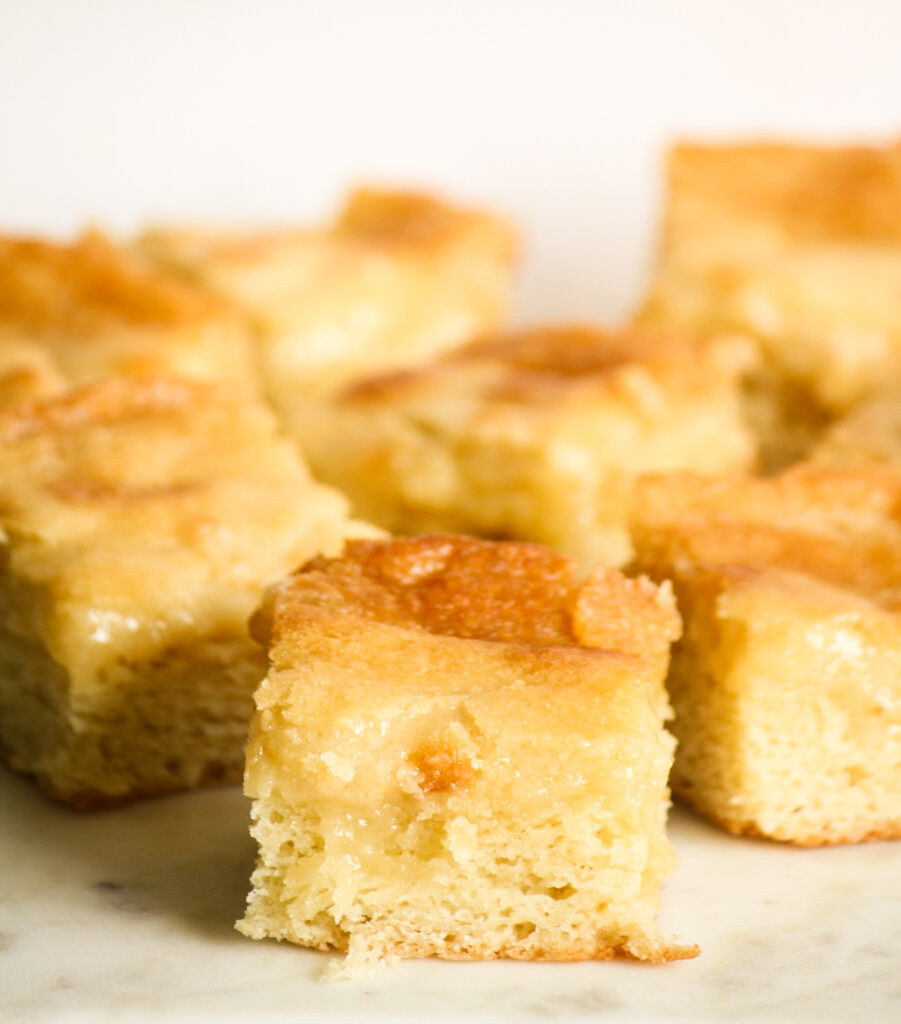
I halved the recipe, with a little bit of estimating to make the measurements simpler and used one beaten egg across both layers. Worked like a charm! I thought this would make a thin 8-inch cake, but it actually made a smaller amount than I expected and fit perfectly in a 9×5 loaf tin, making it a good size for a small household. The base, made from the dough-like batter, takes a while to rise because it’s heavier with the butter and egg than a regular bread dough, so plan ahead a bit. The recipe is actually very simple and the dough can be made by hand since it’s not a huge amount.
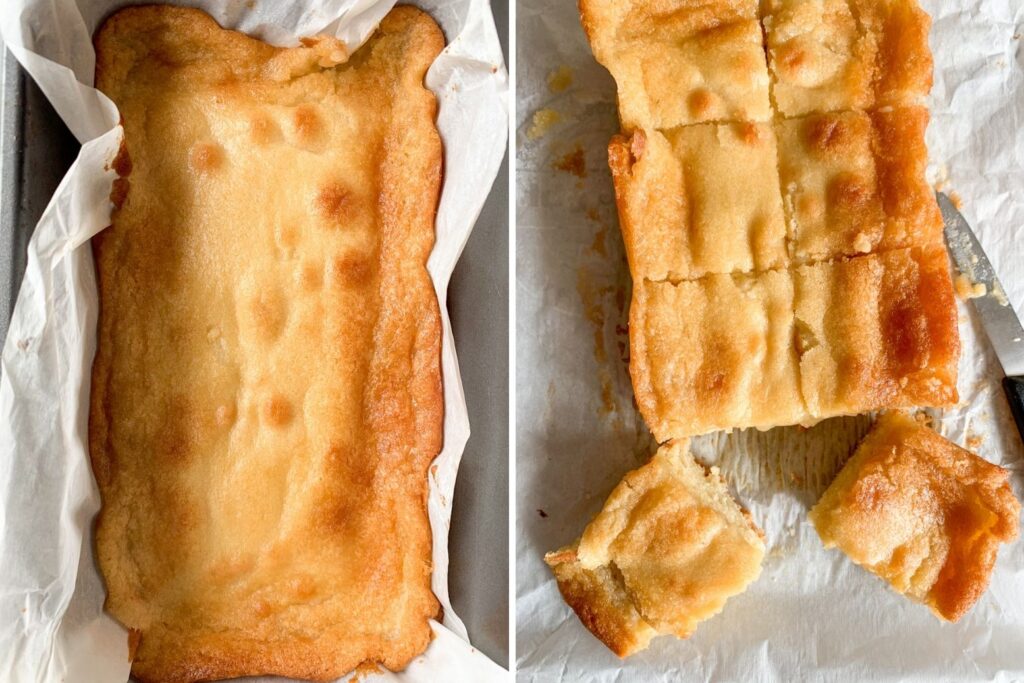
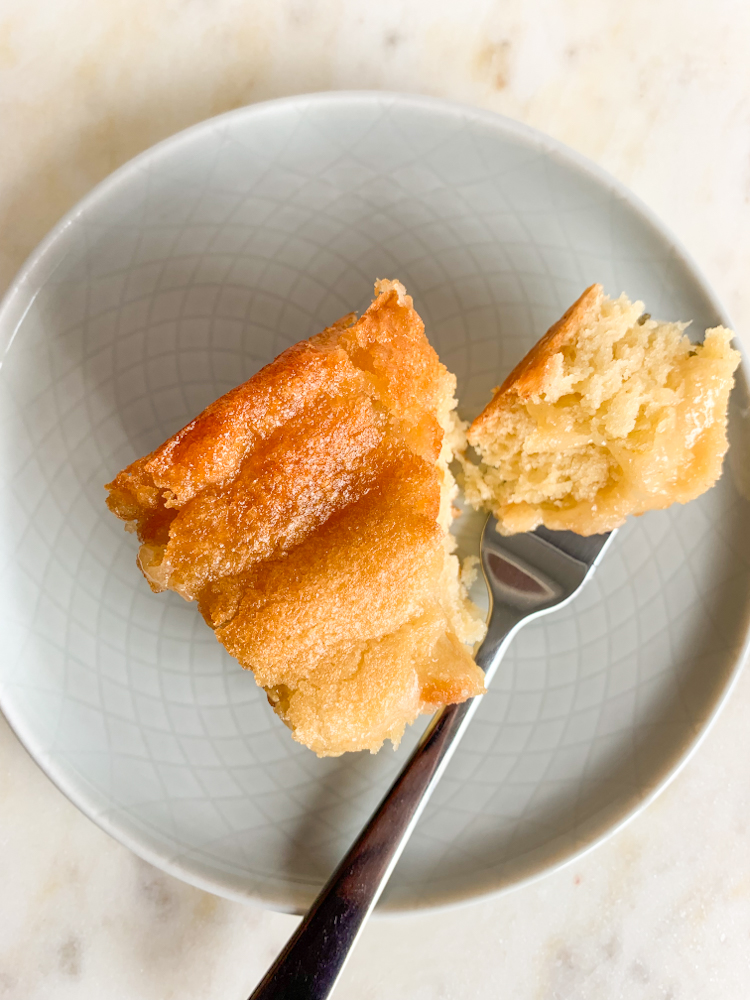
I do recommend eating this cake fresh from the oven. That’s when the base is the softest, the sugary topping has its crackly and chewy edges and the center is perfectly gooey. It can be reheated lightly in the oven to crisp it back up though. Hopefully you’ll love it as much as I did and have no leftovers!
Please read the recipe notes before beginning.
Gooey Butter Cake
Ingredients
For the cake
- 3 tbsps butter, at room temperature (45 gms)
- 1 and 1/2 tbsps caster sugar
- 1/2 tsp vanilla extract
- 1 egg, lightly beaten (I have not tried an eggless version)
- 1 cup all-purpose flour (120 gms)
- 1/4 tsp salt, if using unsalted butter
- 3 tbsps lukewarm milk (45 ml)
- 3/4 tsp instant yeast (see notes)
For the topping
- 1 and 1/2 tbsps honey
- 1 tbsp water, at room temperature
- 1/2 tsp vanilla extract
- 6 tbsps butter, at room temperature (85 gms)
- 1/2 cup + 1 tbsp caster sugar (100 gms)
- 1/4 tsp salt, if using unsalted butter
- 1/2 cup + 1 tbsp all-purpose flour (70 gms)
Instructions
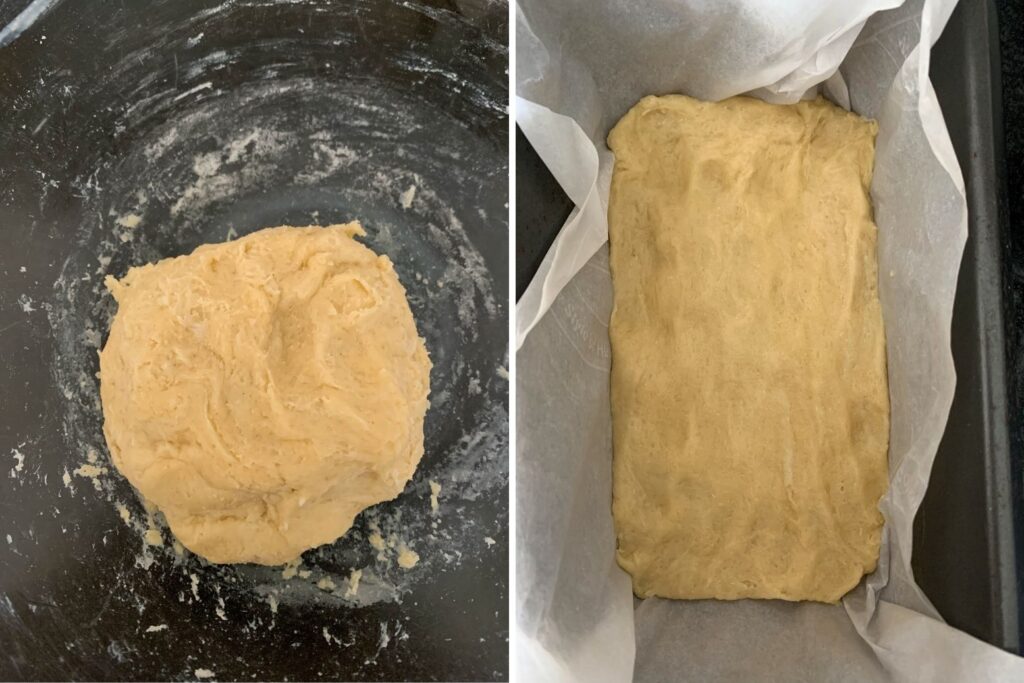
- The cake batter is more like a dough but can be mixed by hand since this is a small quantity. In a mixing bowl, combine the butter and sugar and use a wooden spoon or silicone spatula to beat them together until fluffy and pale, about 2 minutes.
- Add the vanilla and half of the beaten egg (the remaining will go into the topping, cover and set aside till then) and whisk it all together. If it seems a little uneven, that's ok.
- Add the flour, salt (if using) and yeast and stir it all in, then pour in the lukewarm milk. Stir gently to combine, then use your hands to bring it together into a soft, slightly sticky dough, kneading very briefly to smoothen it out.
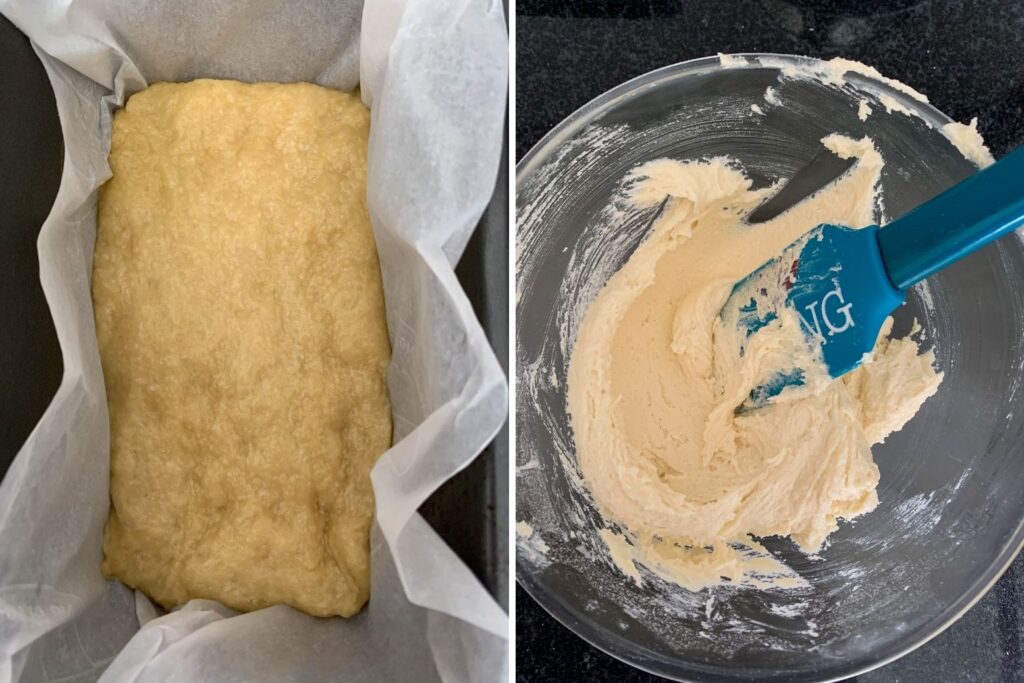
- Press the dough into a 9x5 inch loaf tin that's lined with non-stick baking paper, leaving a little overhang for easy removal. Use your fingertips to evenly spread the dough right into the corners. Cover the tin with clingfilm and set aside for about 2 hours until doubled, or significantly puffy (see third photo below). To speed this up, or if it's a cold day, turn your oven to 100 C for a couple of minutes, then switch it off and place the tin inside. Repeat this if needed (taking the tin out before heating).
- Preheat the oven to 175 C while you make the topping (just before the dough is ready, don't make the topping too much in advance).
- To make the topping, combine the honey, water and vanilla in a small bowl. Stir and set aside.
- In a mixing bowl, beat the butter and sugar with a hand mixer on low speed for about 2 minutes, until light and fluffy. Because the topping has more butter than the base, a mixer will get better results than doing it by hand.
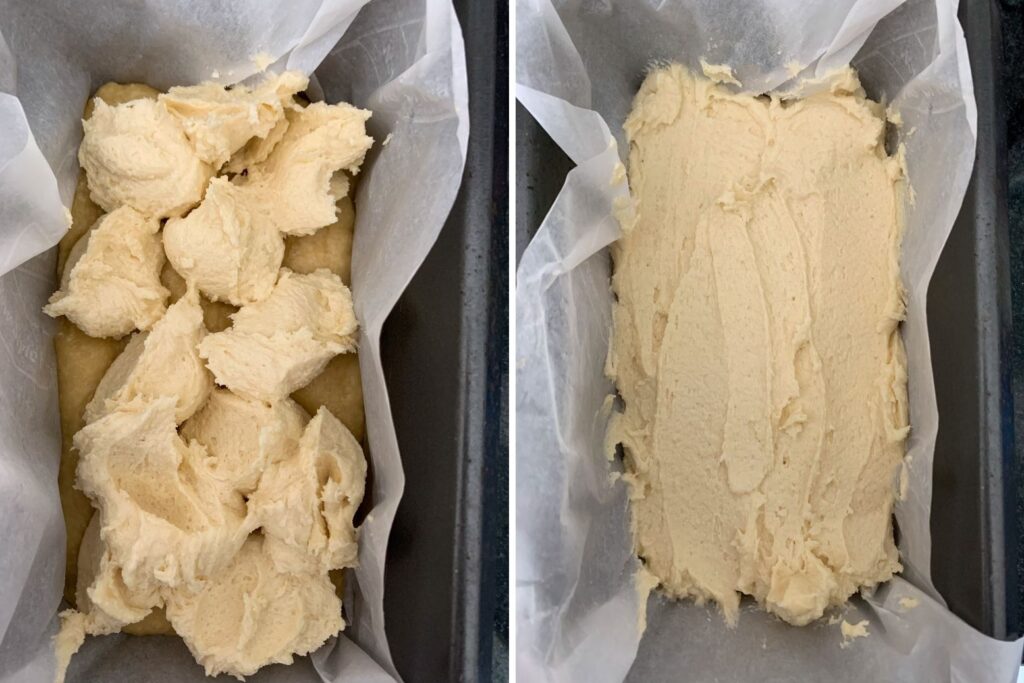
- Add the remaining half of the beaten egg from step 2 and beat briefly to combine. Then add the honey mixture and the flour alternately, using a silicone spatula or the hand mixer on low speed, to gently stir the mixture together. It's like a thick cake batter.
- Now add dollops of this to the puffy dough and smoothen it out in an even layer.
- Bake for 25 to 30 minutes until the edges are golden-brown, the center of the topping is a little paler and still wobbles a bit like a cheesecake. When you poke a toothpick in, it will come out with a liquidy, gooey mixture. You could bake it longer for more colour, but watch carefully so that the topping doesn't completely firm up. It needs to be gooey for the cake to taste great!
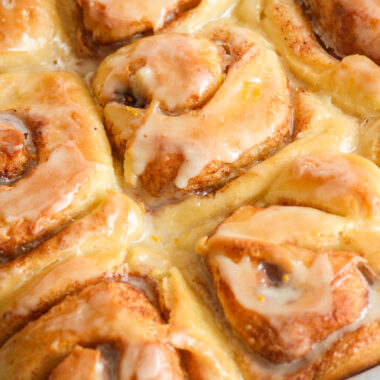
- Let the cake cool in the tin for 30 minutes and it will firm up further. Remove from the tin using the paper overhang and slice into 8 squares. Eat immediately for the best texture in the base (soft and tender) and the contrast with the sugary, gooey topping!
- Store in an airtight tin for 2 to 3 days (although it tastes best on day one). The topping will lose its crackly-ness once covered, but you can reheat it very gently in the oven, or if you don't mind it being soft, just microwave each piece before eating. Happy baking!
Notes
