It’s probably because I love the peanut butter chocolate combination so much that Snickers is my all-time favourite candy bar. And yet, apparently post-30 metabolism means if I do eat a full-size Snickers, I will need to sleep for two days straight after that. Which is why I’m so excited about this healthier version that does taste quite a bit like the original! With an oat base, date caramel layer, roasted peanuts and a divine salted dark chocolate coating, they’re a terrific snack or dessert.
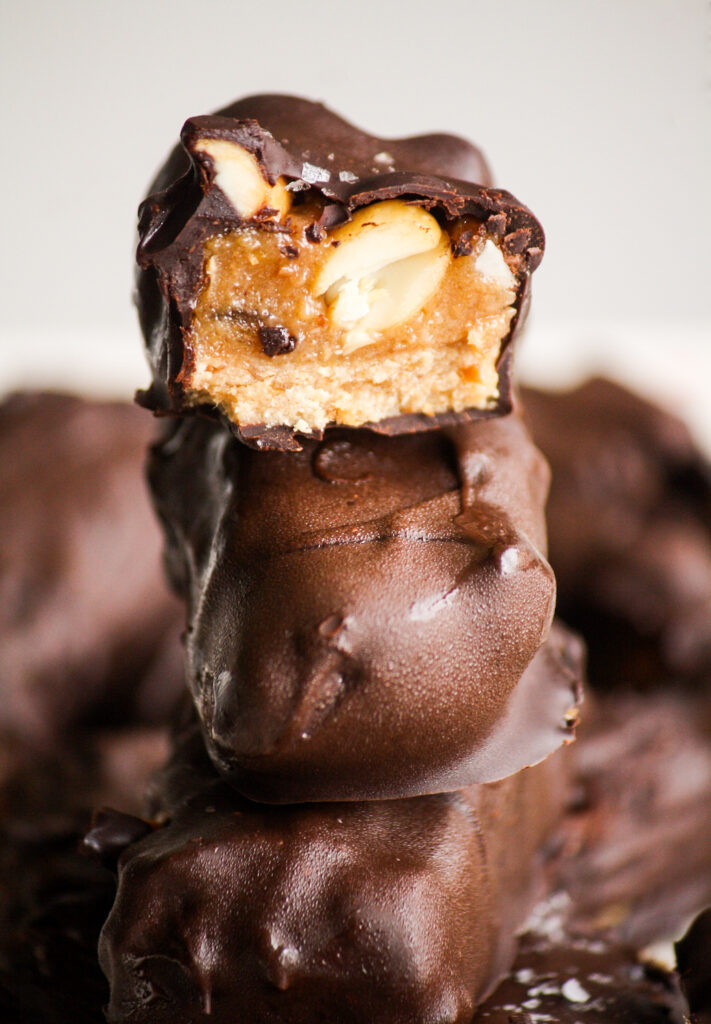
Healthier homemade candy bars often involve ingredients I don’t always have on hand but I did have lots of oats and peanut butter. A bit of Googling later, I came across a From My Bowl recipe that seemed straightforward and didn’t need anything more than what I already had in my kitchen. The recipe is largely unchanged, but I made a thicker base using more oats so I could use a standard loaf tin to mould the bars and a little more peanut butter for a stronger flavour.
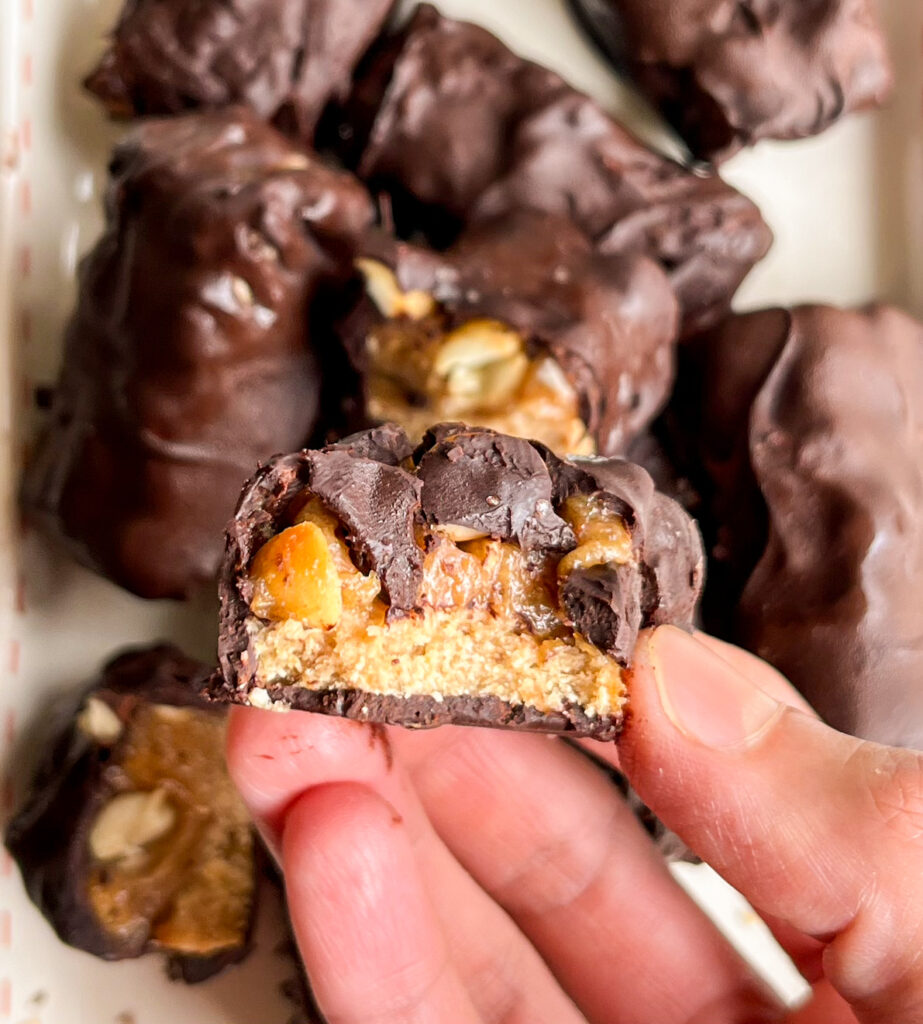
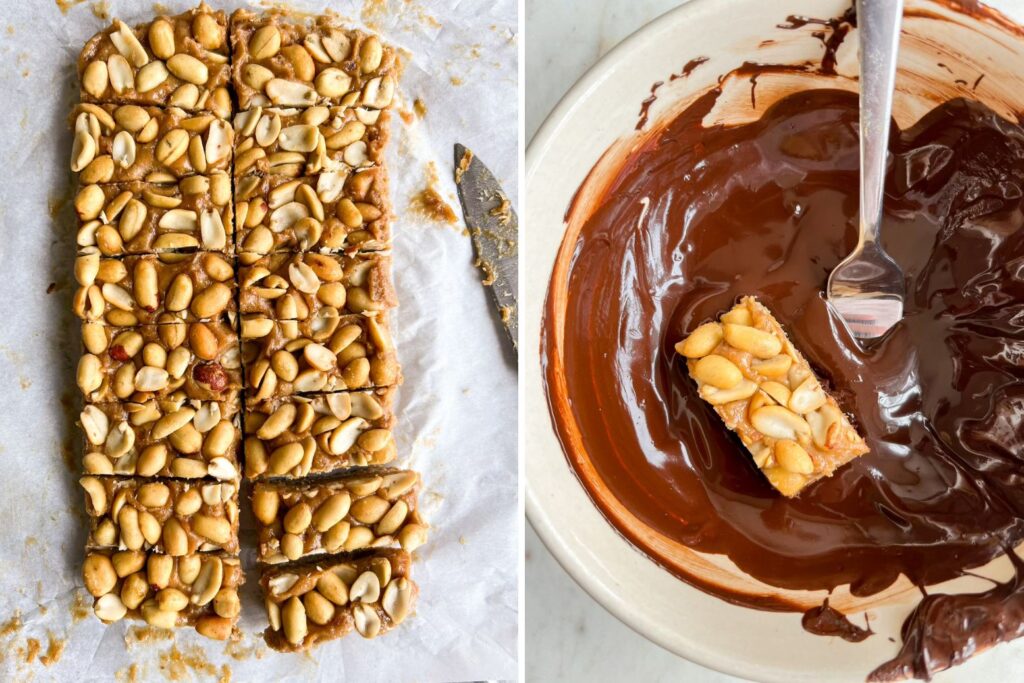
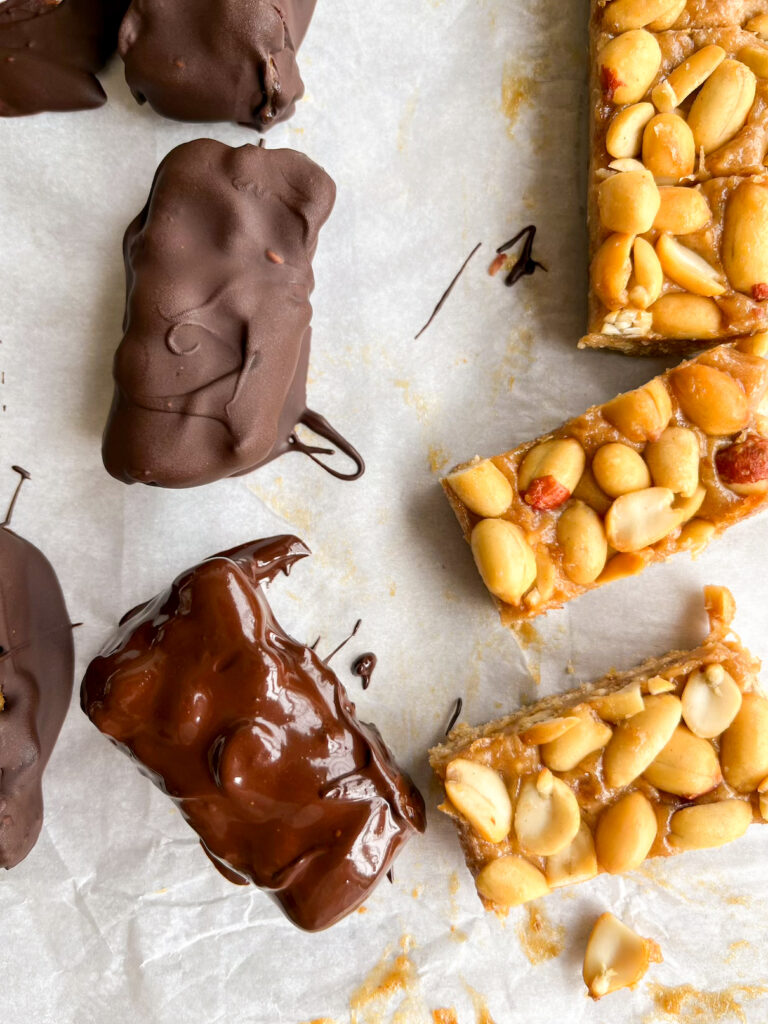
I will admit coating the bars in dark chocolate is messy. You do need to work quickly and make sure the bars are frozen for at least 2 hours before you dip them. I found that cutting them in half (like fun-sized Snickers!) made the dipping process a lot easier and the bars don’t accidentally break while lifting them out of the chocolate. After they’re coated, you can sprinkle some coarse salt over the bars for an extra flavour kick!
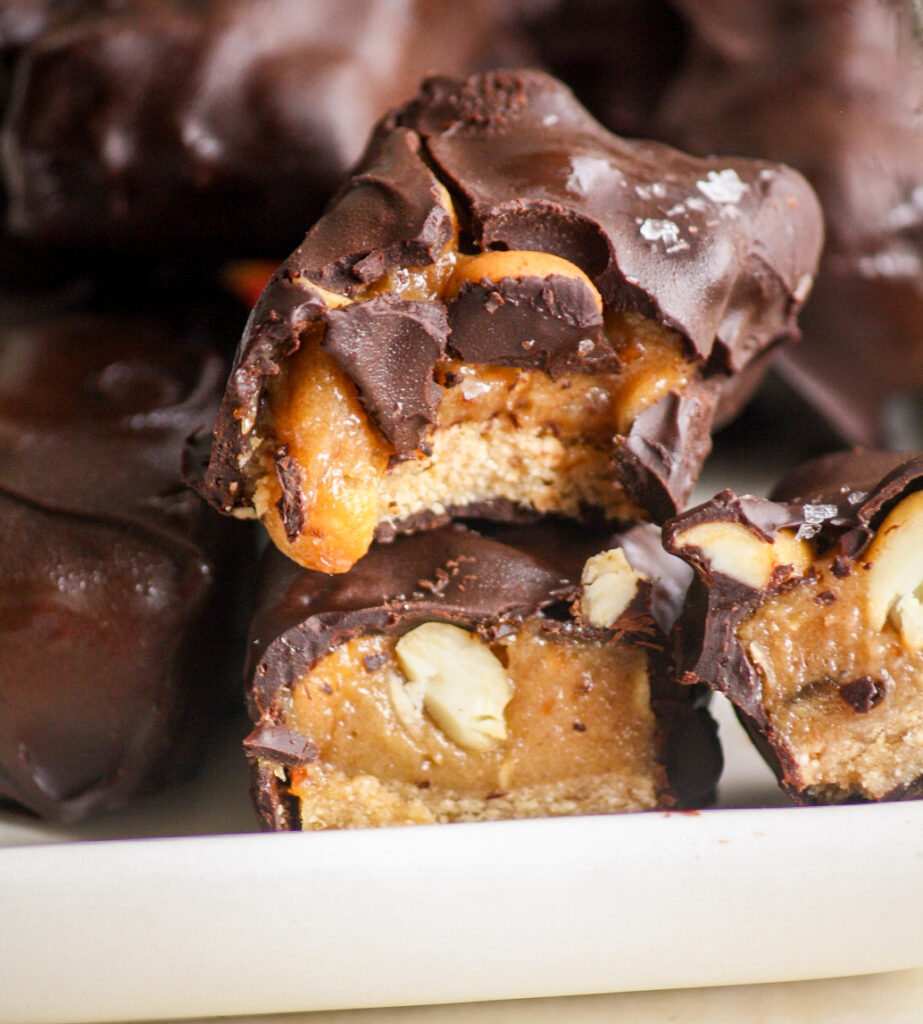
I love these straight from the freezer, where the chocolate remains hard and crackly like a traditional Snickers bar and the inside is somehow still chewy. The flavour is pretty authentic and having these bars on hand is incredible when the sugar cravings strike!
I hope you’ll make a batch of these today, they’re so great for weekday snacking! Let me know how you like them 🙂
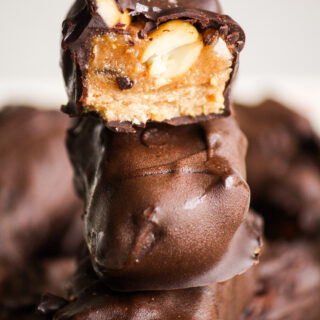
Healthier Snickers Bars (Vegan & GF)
Ingredients
- 200 gms seedless dates
- 3 tbsp creamy peanut butter
- 1 tsp vanilla extract
- 1/4 tsp salt
- 1 cup finely ground oats (from 1 cup instant oats)
- 1/2 cup roasted peanuts, I like salted
- 200 gms dark chocolate, finely chopped (I like 75% dark but a milder chocolate is ok too)
- Optional: sea salt
Instructions
- Add the dates to a bowl and cover with boiling hot water. Set aside for 10 to 20 minutes, until soft. Drain the dates but save a little of the water.
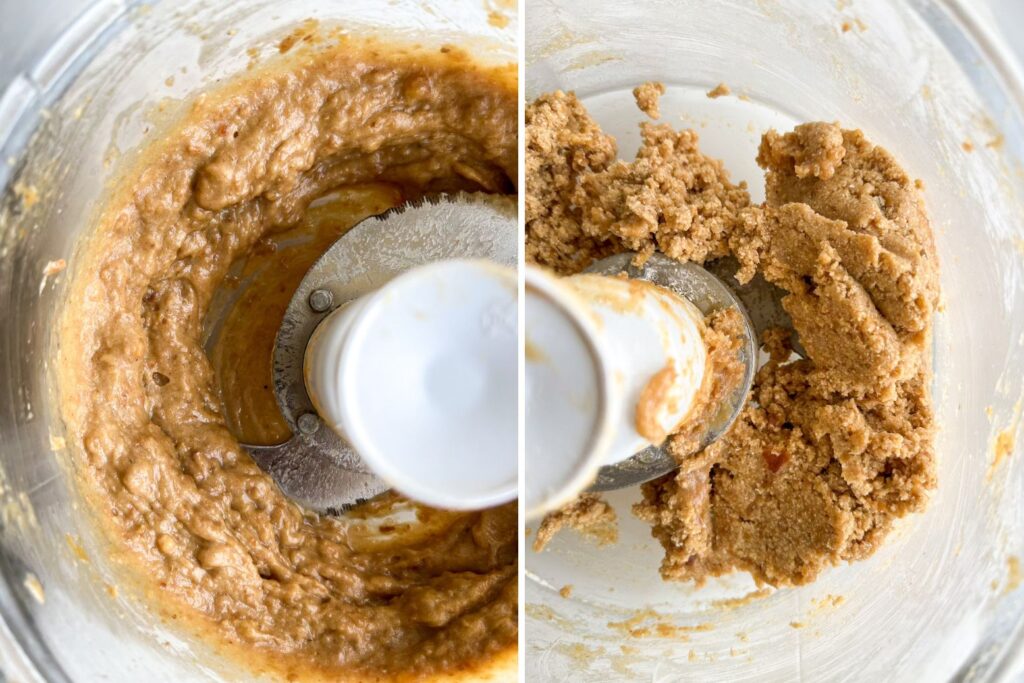
- Add the warm dates, peanut butter, vanilla and salt to a food processor fitted with a sharp blade. Blitz till you have a smooth and thick 'caramel'. If needed, add a couple of tablespoons of the saved soaking water to help it along.
- Scoop the caramel out into a bowl, then add the ground oats along with 1/3 cup of the caramel back into the food processor. Blitz until a soft and thick dough forms that holds together when pressed between your fingers.
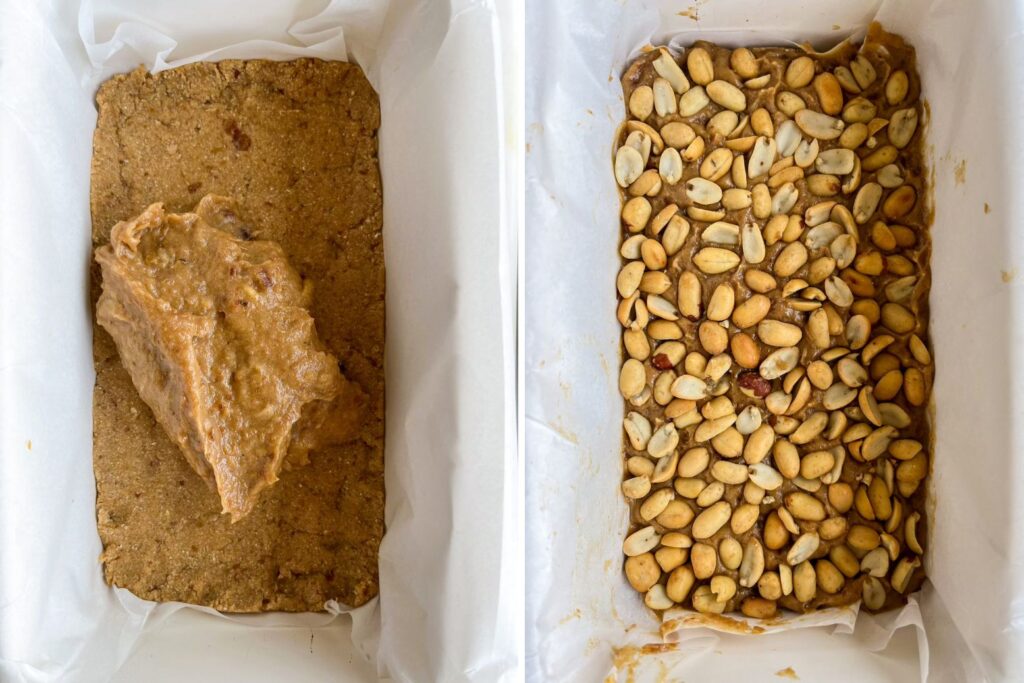
- Lightly grease a 9x5 inch loaf tin, then line it with non-stick baking paper (greasing helps the paper stay in place) leaving an overhang for easy removal.
- Now press the oat dough into the base of the pan, packing it down firmly and evenly. It will seem like it won't fill the base, but it will, just keep using your fingertips to spread it out.
- Now spread the remaining caramel over the base, then scatter the peanuts all over it. Press them in lightly. Place the pan in the freezer for 2 hours.
- After this base is firm and very cold, slice into 8 equal sized bars. To make the coating step easier, I prefer to cut each bar into half again to make mini Snickers.
- Place the sliced bars on a baking tray lined with the same sheet of paper, and stick the tray in the freezer for 30 minutes.
- Now melt the chocolate in a heatproof bowl in a double boiler, or in the microwave in 10-second increments. Don't let it overheat. If there are still a few lumps of chocolate, stir gently to help them melt down.
- Dip each frozen bar in it, using a fork to turn it over, coating all sides. This is messy work but worth it! Lift it out and let the excess chocolate drip off as much as possible, and place back on the lined baking tray.
- Once all the bars are coated, sprinkle the tops with coarse salt, then place in the freezer for 30 minutes before digging in. I prefer to store these in the freezer at all times where they will keep for a few weeks without becoming rock-hard. Happy Snicker-ing!
Notes
This post contains affiliate links.
