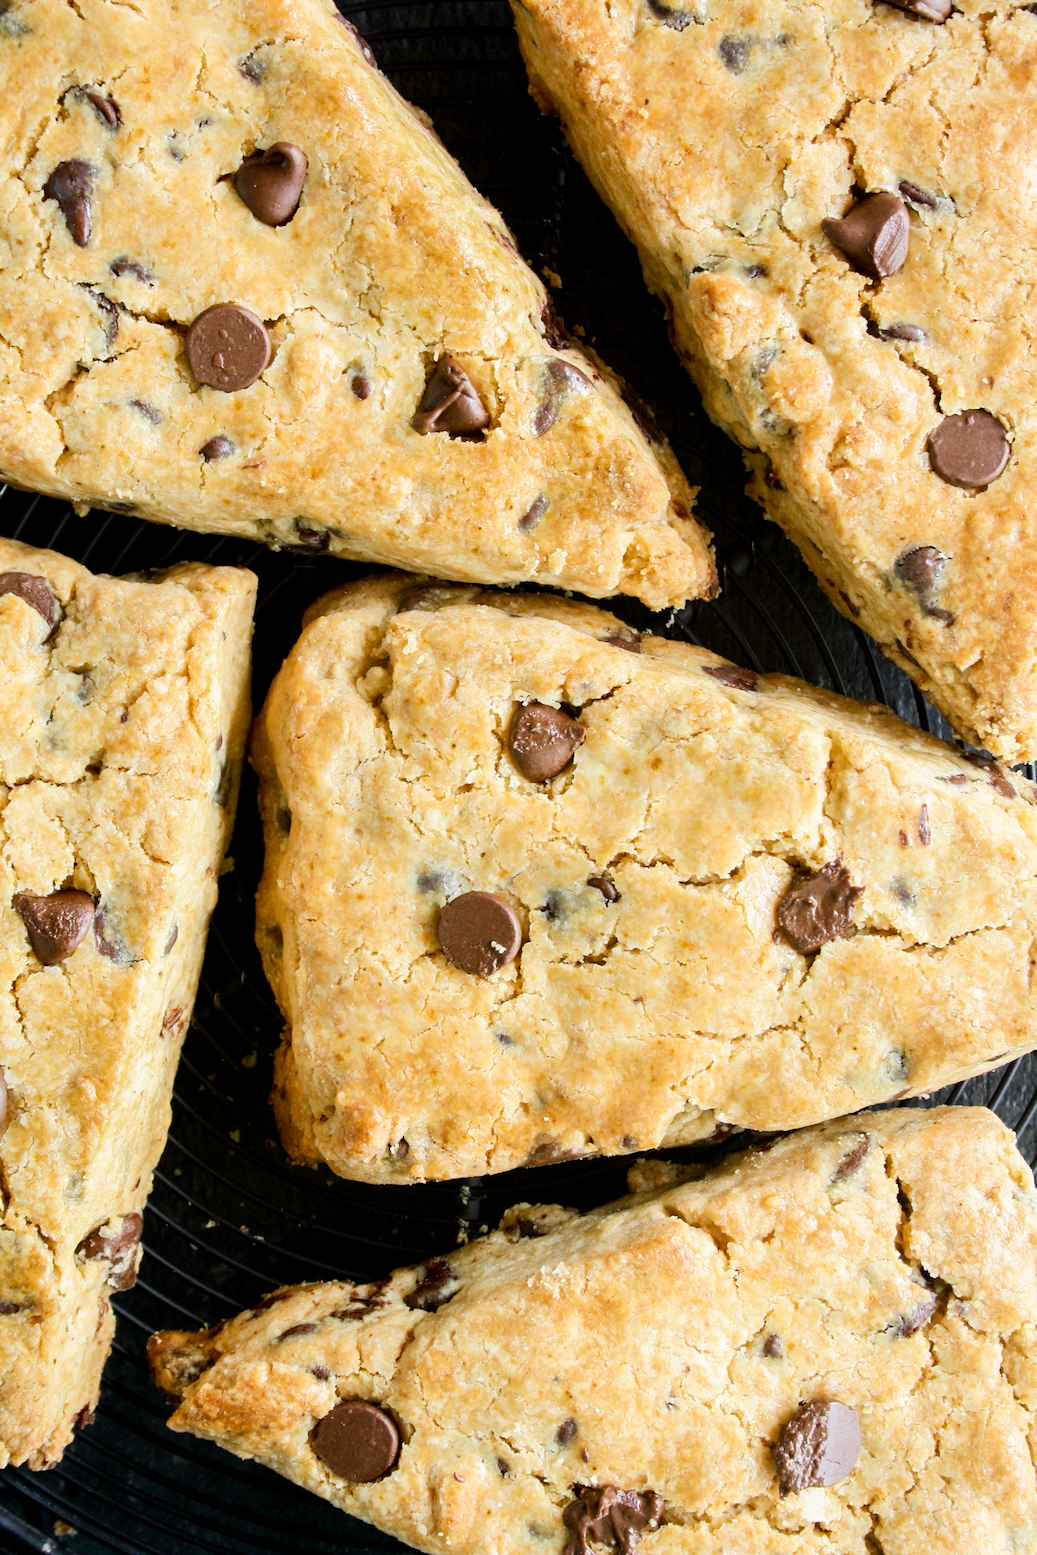
The world’s greatest flavour combination, now in scone form! I was so happy with how these turned out, making them my new favourite scones. Flaky on the top, crumbly on the inside, absolutely packed with peanut butter flavour, and lots of melty chocolate chips for the perfect bite.
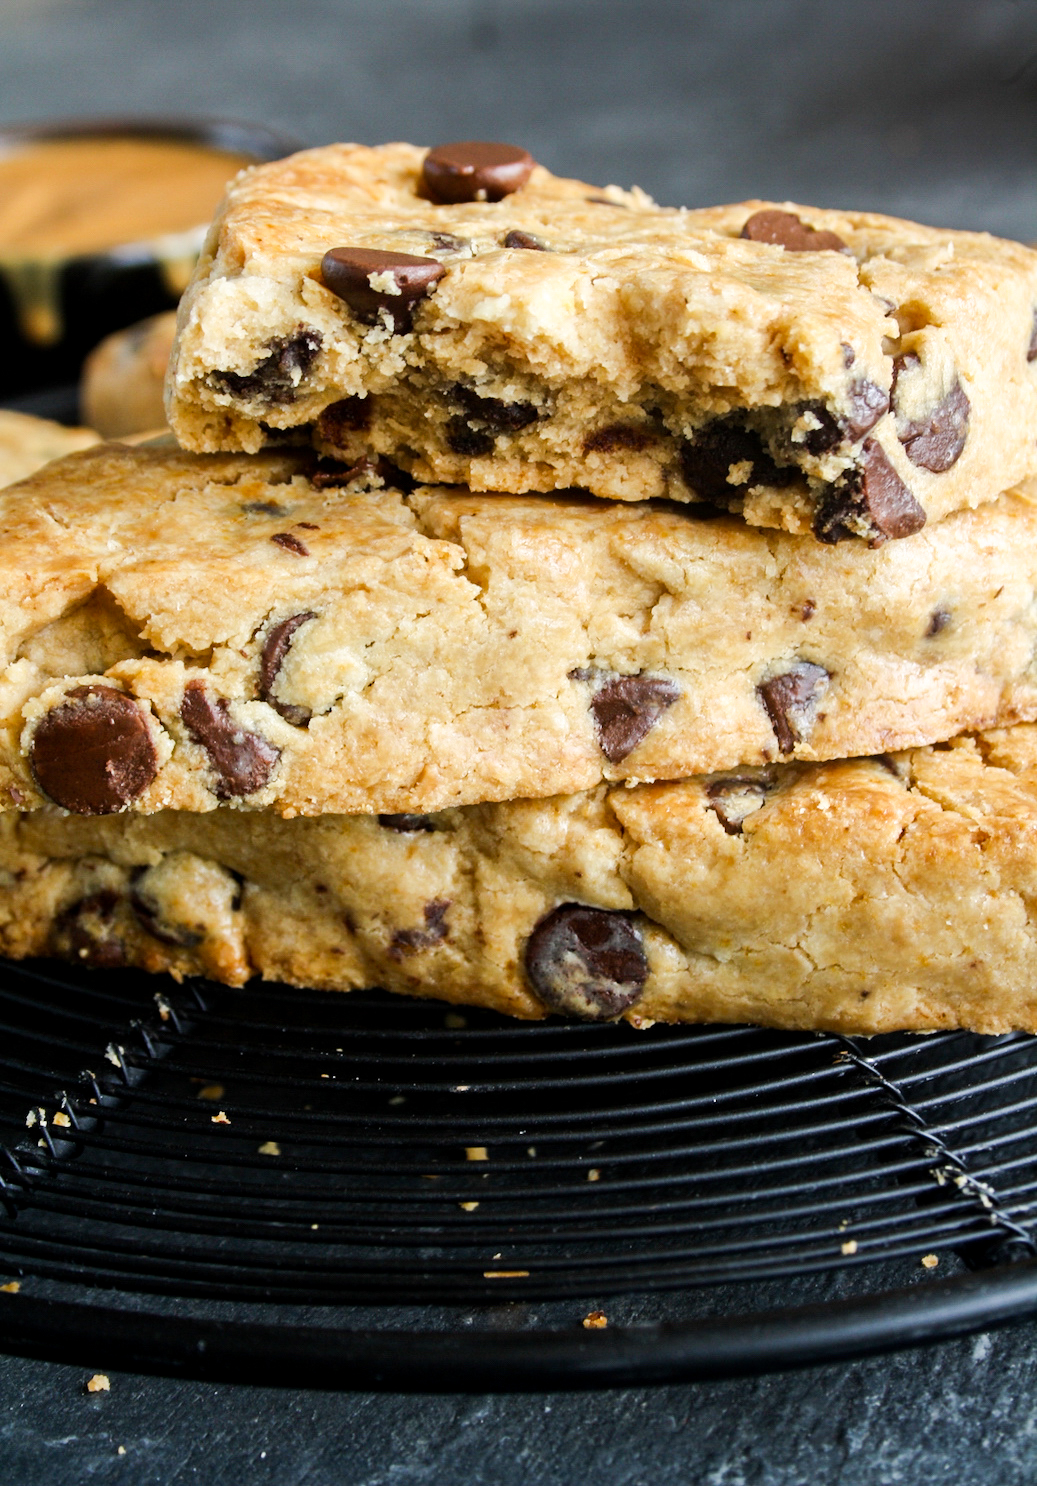
My go-to scone recipe is always easy to modify depending on whatever new flavour I want to try in them. Simply adding peanut butter to the dough did the trick and making these scones really couldn’t be easier. Warm from the oven, they’re just sooooo good!

It helps to use a runny, natural-style peanut butter here since it’s easier to stir into the dough. However, if you only have a more processed and refined peanut butter on hand, don’t let that stop you from making these! Even with the chocolate chips, these aren’t overly sweet, making them the perfect buddy for your mug of hot tea or coffee.
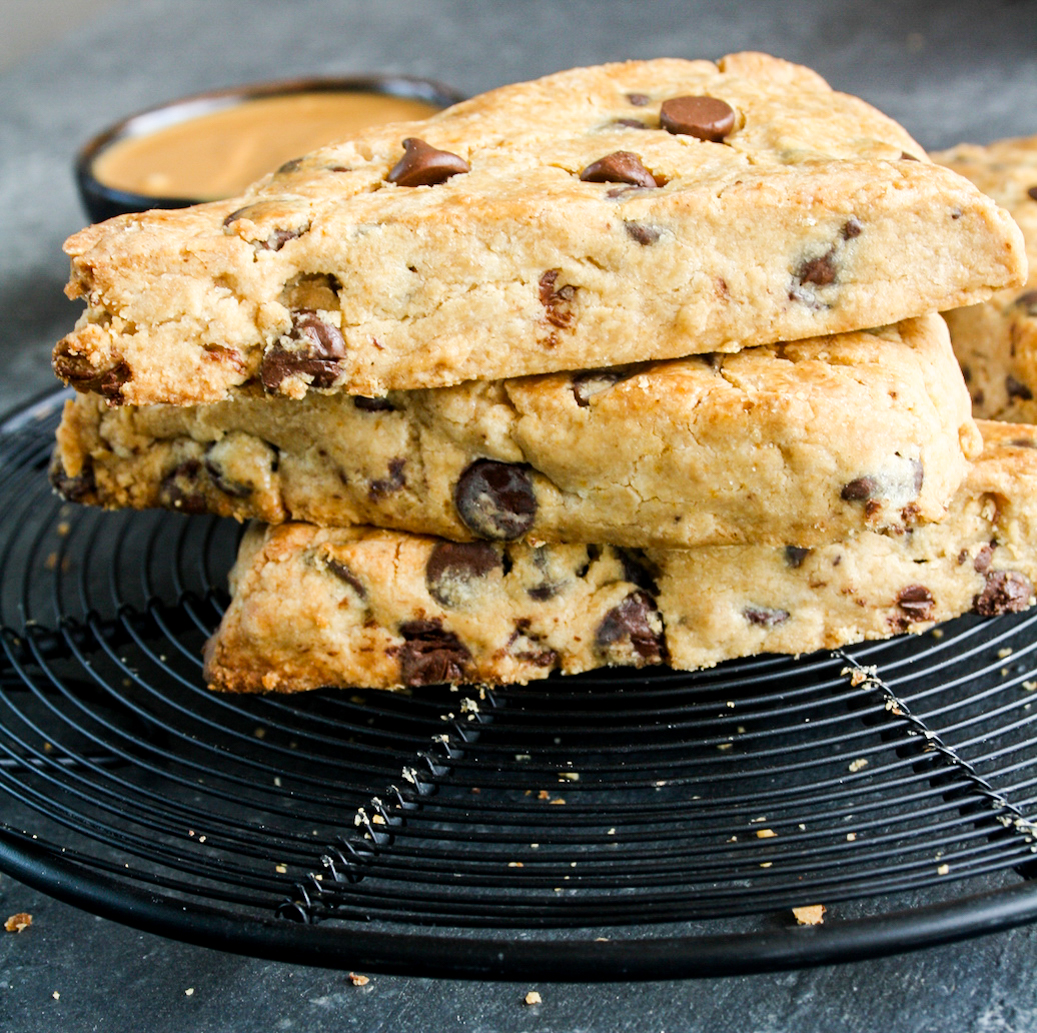
Scones are best eaten fresh from the oven but they do also keep well for a few days without refrigeration. You might need to reheat them if they go a bit dry and they’ll be as delicious as ever. Make a batch today!

Peanut Butter Chocolate Chip Scones
Ingredients
- 2 cups all-purpose flour (240 gms)
- 2 and 1/2 tsps baking powder
- ½ tsp salt, if using unsalted butter
- 1/2 cup caster sugar (95 gms)
- 100 gms frozen butter
- 1 cup dark chocolate chips (170 gms)
- 1/2 cup creamy peanut butter (135 gms) (see notes)
- 1/2 cup chilled cream (125 ml; regular or whipping cream)
- To finish: 1 tbsp cream + 1 tsp water
Instructions
- In a mixing bowl, combine the flour, baking powder, salt and sugar.
- Grate the frozen butter into the bowl and using your fingertips, rub it into the mixture until it resembles coarse breadcrumbs with some bigger bits of butter scattered throughout.
- Stir in the chocolate chips and distribute them through the batter. Now stir in the peanut butter, followed by the cream.
- Bring the dough together with a silicone spatula, then use your hands to shape it into a rough mass. Don't overwork the dough or you'll end up with tough scones. It's ok if some dry flour is still visible.
- Tip the dough out onto a silicone baking mat and pat into an 8" wide circle. You can also make a 9" circle for slightly flatter scones (I kind of prefer them this way). Slice into 8 equal triangles with a sharp knife.
- Slide the mat onto a baking tray and chill the sliced dough for 20 minutes.
- Preheat the oven to 200 C.
- Now separate the sliced dough, placing each scone at least an inch apart on the baking tray. Mix the cream and water in a small bowl, then brush over the top and sides of each scone.
- Bake for 25 minutes or until golden-brown on top and puffy. Let them cool for 15 minutes before diving in. Scones taste best on day one in terms of texture, but can be stored at room temperature for 3 to 4 days and in the fridge for a week, reheating as needed. Happy baking!
Notes
Shop this recipe!
Check out a full list of my baking essentials here!
This post contains affiliate links.









Pingback: Roasted Pear and Chocolate Scones