If you’re looking for a quick, Christmassy dessert, look no further! The cutest buttery ‘snowball’ cookies, packed with walnuts and a coating of icing sugar. They’re not as sugary as they sound, are deliciously crumbly, and come together in no time at all!
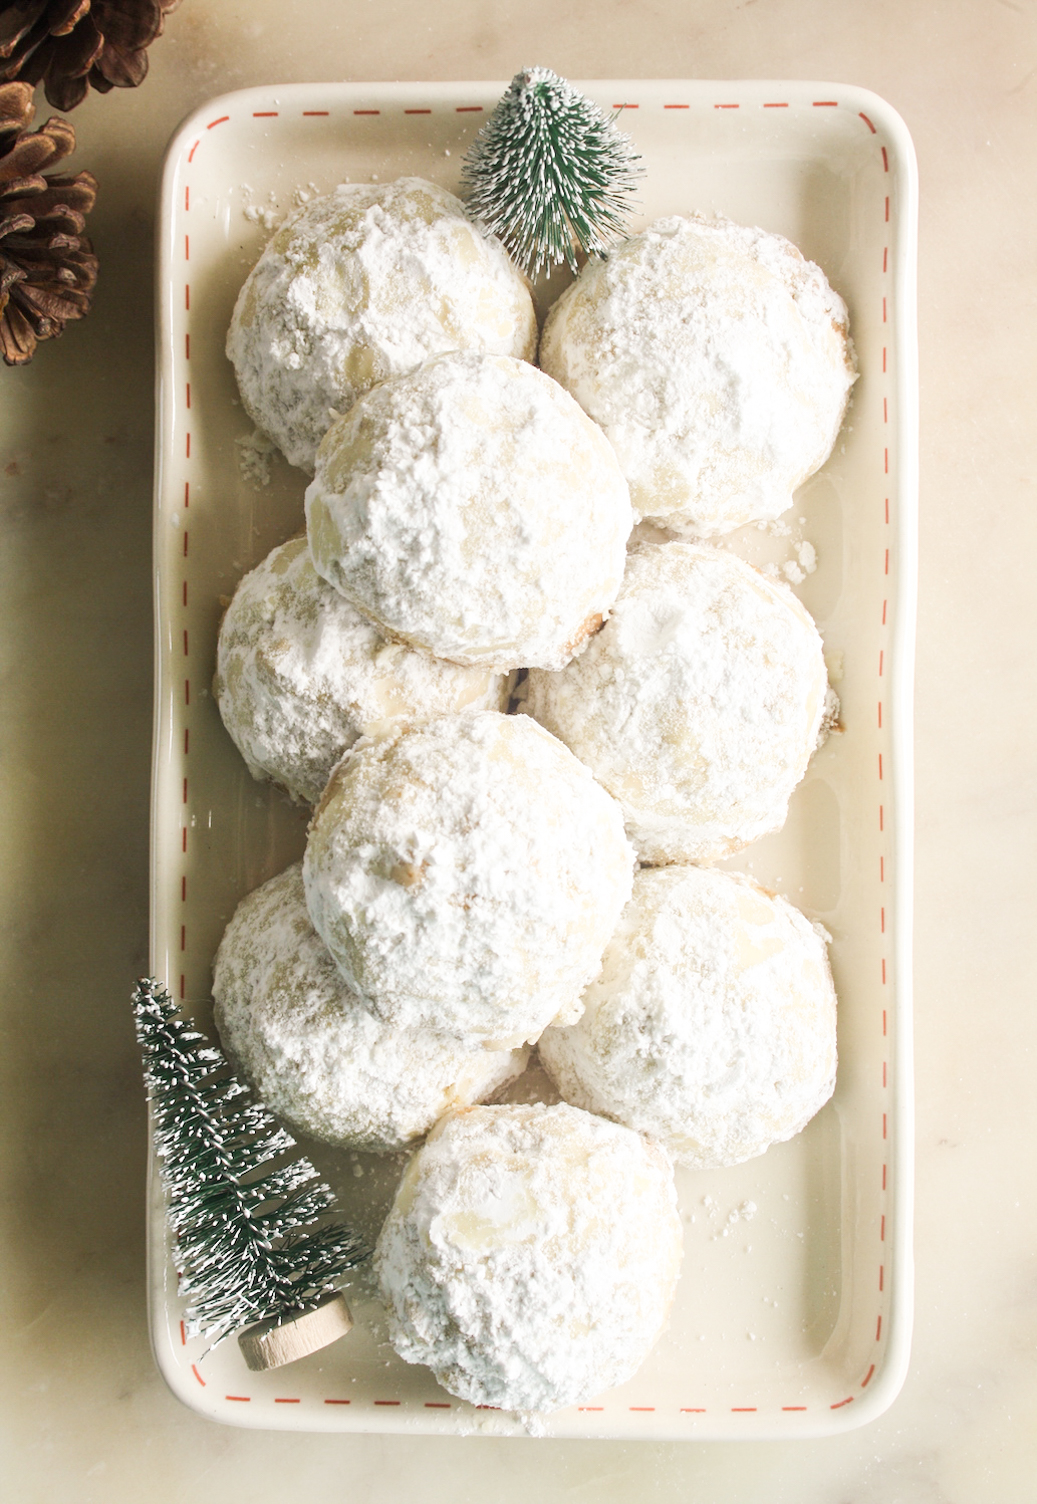
I first made snowball cookies with hazelnuts, but since you can make them with basically any nut, I decided to try them with walnuts this time around. Many recipes use chopped nuts, but I like to grind them into a coarse flour so that the flavour is more evenly dispersed through the dough.
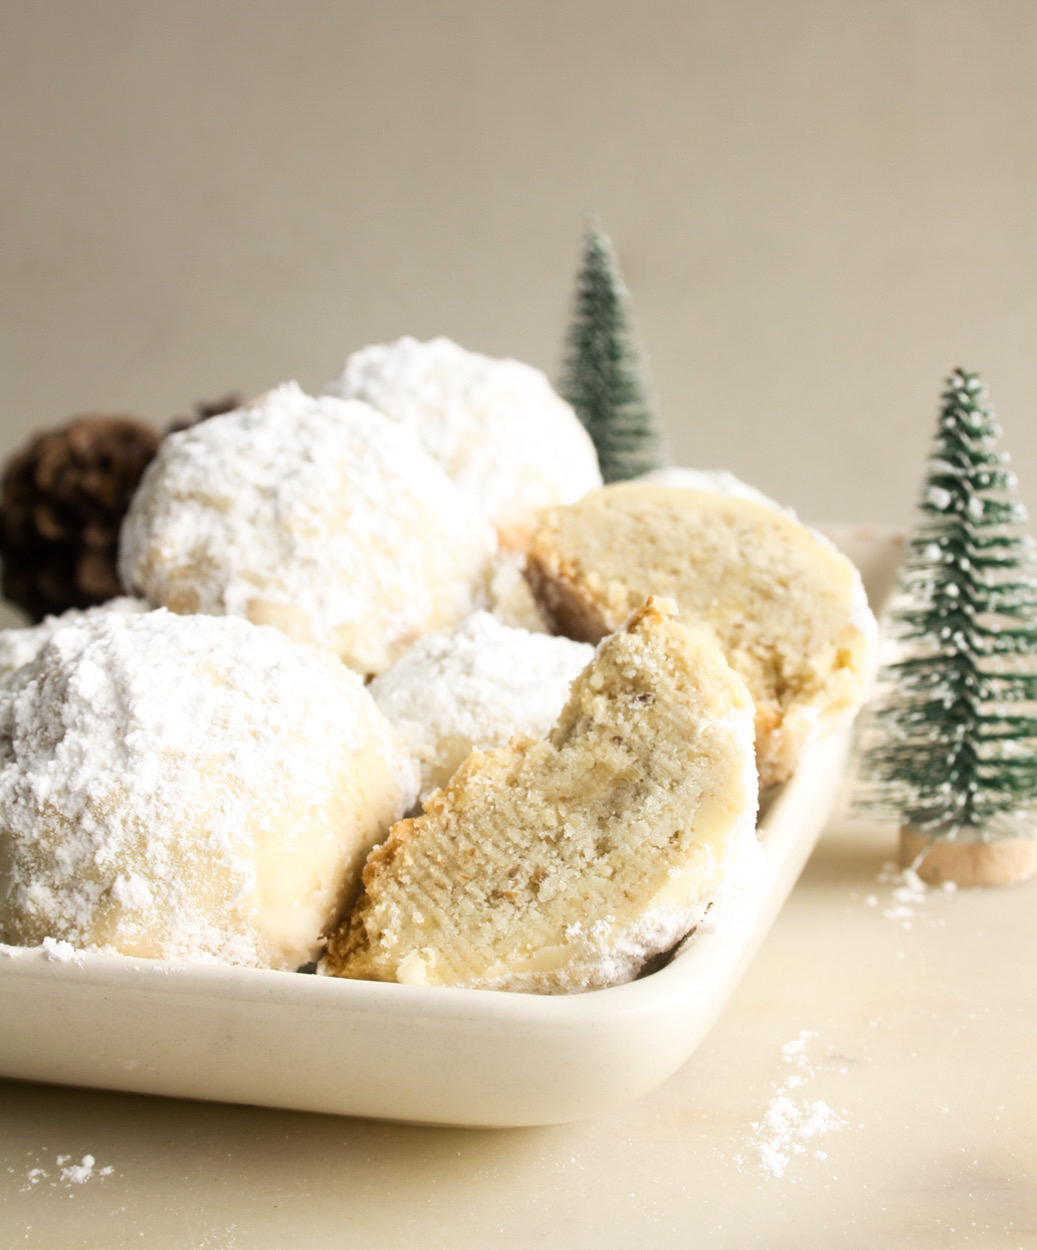
To get the ‘snowball’ look, the warm cookies are rolled in icing sugar to create a sticky coating, and then once more after they’ve cooled so that the sugar sticks. In all, you need just about an hour to make these which is why I decided to share them on Christmas Eve for any extra dessert you might want for tomorrow!
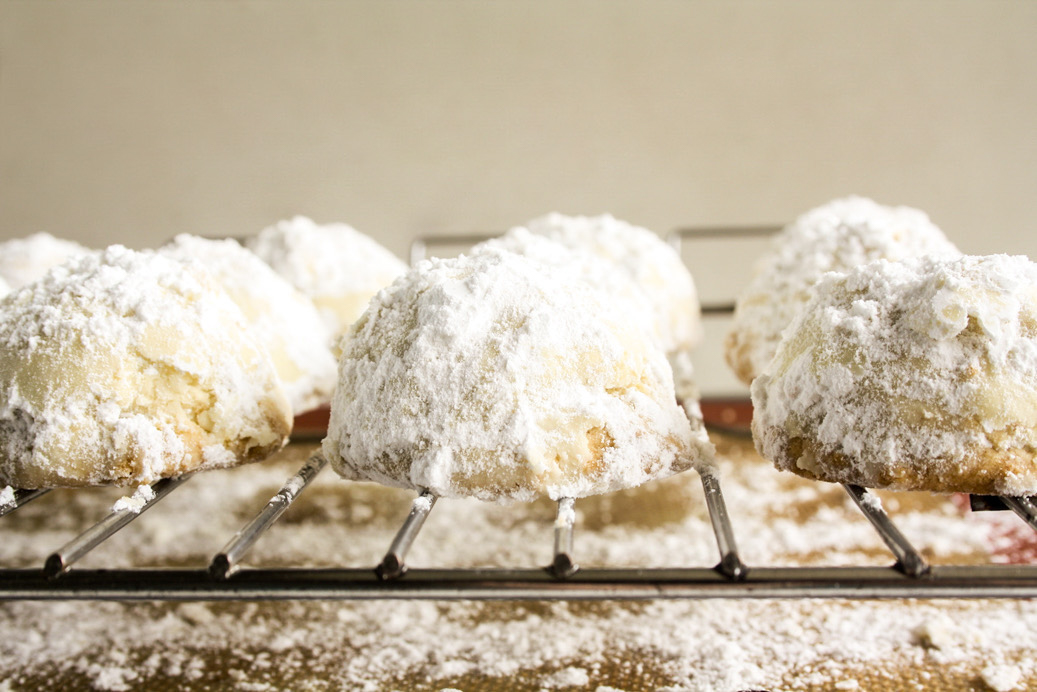
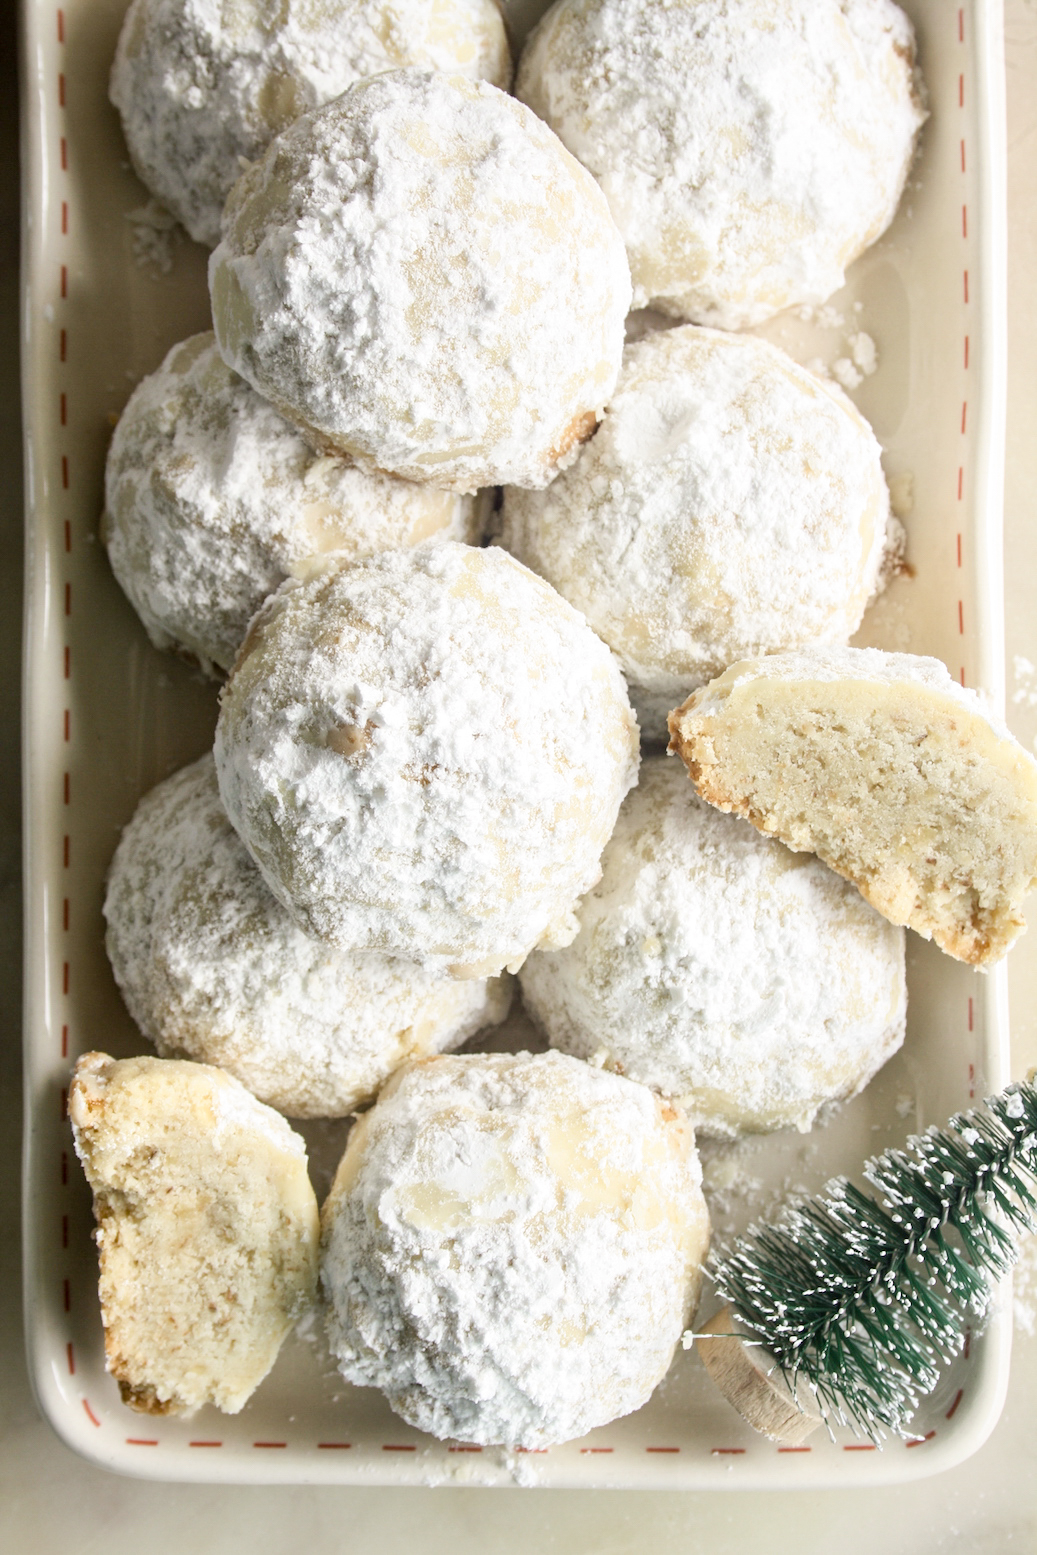
They are crisp on the outside and soft and crumbly when you bite into them. Butter and vanilla add plenty of flavour, and a few larger pieces of nuts add some extra texture. Seriously, I’m not a fan of sugar coated cookies but I can’t stop eating these!

Feel free to use whatever kind of nut you may like, anything works here! And if you want to add orange zest, cinnamon or another festive flavour to the dough, I salute you. Let’s make snowballs!
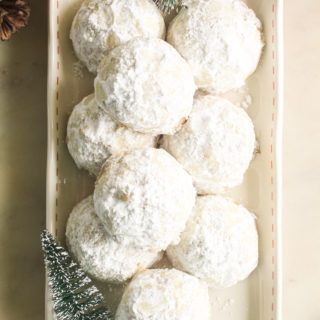
Walnut Snowball Cookies (Eggless)
Ingredients
- 1/2 cup walnuts (65 gms; see notes)
- 1/2 cup butter at room temp (115 gms)
- 1/3 cup icing sugar (35 gms)
- 1 tsp vanilla extract
- 1 and 1/8 cups all-purpose flour (135 gms)
- Pinch of salt if using unsalted butter
- 2 cups sifted icing sugar for rolling (220 gms)
Instructions
- First, grind the walnuts in a blender or food processor until they turn into a coarse flour consistency. Some bigger bits are fine, but make sure you don't process them too much or the walnuts will turn into a sticky mass.
- In a mixing bowl, beat the butter and sugar with a hand mixer until smooth and creamy. Mix in the vanilla extract.
- Add the flour and mix it in. Finally, add the ground walnuts and stir to combine into a soft, sticky dough.
- Use a cookie scoop (recommended) or your hands to form 10 to 12 equal sized portions of the dough, placing them 1 inch apart on a baking tray lined with a silicone mat or non-stick baking paper.
- Place the tray in the fridge and chill for 30 minutes. Chilling is mandatory to ensure the cookies retain their shape.
- When ready to bake, preheat the oven to 175 C. Slide the tray into the oven and bake for 15 to 20 mins until the bottoms have flattened a little bit, and the tops and edges are lightly browned.
- Set aside to cool for 5 mins. Spread the sifted, powdered sugar out onto a large, flat plate and roll the still-hot cookies in it, coating them all over. Transfer to a wire wrack to cool completely, then roll one more time and eat the whole batch!
- These cookies taste best fresh in my opinion but can be stored at room temperature in an airtight tin for 4 to 5 days, or frozen. Happy baking and happy Christmas!
Notes
This post contains affiliate links.







Please mention metric measurements for the indgredients