I realise Mumbai in October is hardly peak pie-making season, but honestly, we get about three days a year when making dough, rolling it and standing around a hot oven is bearable so….I guess we make pie while the sun shines? And if it’s cinnamon-scented apple pie, with the butteriest, flakiest crust ever that also has cream cheese (!!!!!), then it’s 1000% worth it. And when you add vanilla ice cream? A million % worth it!
 A while ago, I saw a cream cheese pie crust by Michelle of Hummingbird High and I was highly intrigued. Turns out, it was a recipe inspired by Rose Levy Beranbaum (author of The Cake Bible) and it’s a crust that’s said to be flakier and easier to handle than an all-butter crust because cream cheese doesn’t melt as quick as butter. I was sold. Anything to make rolling out crust easier in this heat!
Can you taste the cream cheese? I didn’t think it was a prominent flavour, though there is a slight tang plus additional richness to the crust. The second thing that really got me curious was the use of baking powder. I’ve never added baking powder to a pie crust and I didn’t know if it was a good idea. Turns out, it helps the crust rise and spread a bit more, preventing the shrinking that usually happens as the crust bakes. So just a tiny amount does the trick, not enough to turn your crust into cake, I promise.
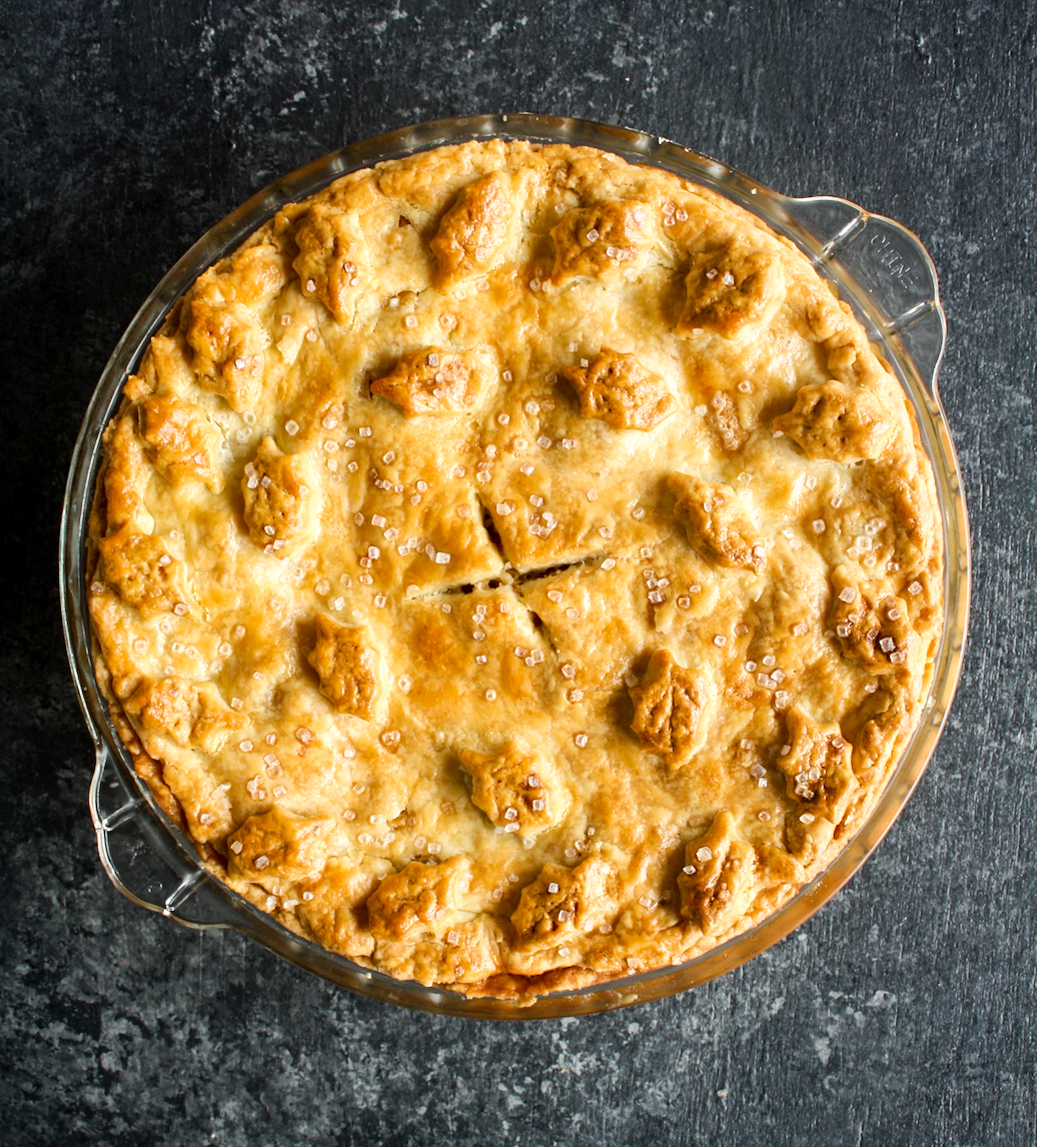
Look at how flaky that top is!!
I found that though the original recipe and Michelle’s version used three tablespoons of cold water in the dough, Michelle also includes extra ice to be stirred into it. However, I added just two tablespoons of water to my dough, and it was done. I didn’t need more water and I definitely didn’t need the ice, so I’m going to write the recipe based on my experience. The amount of water will vary depending on the temperature you’re working in but you’re unlikely to need more than three spoons. Both versions also have some apple cider vinegar along with the water to tenderise the crust. Does it work? I don’t know for sure because with all that butter, you’re guaranteed a super tender crust anyway, so if you don’t have it, I don’t think you need to go buy a bottle just for this.

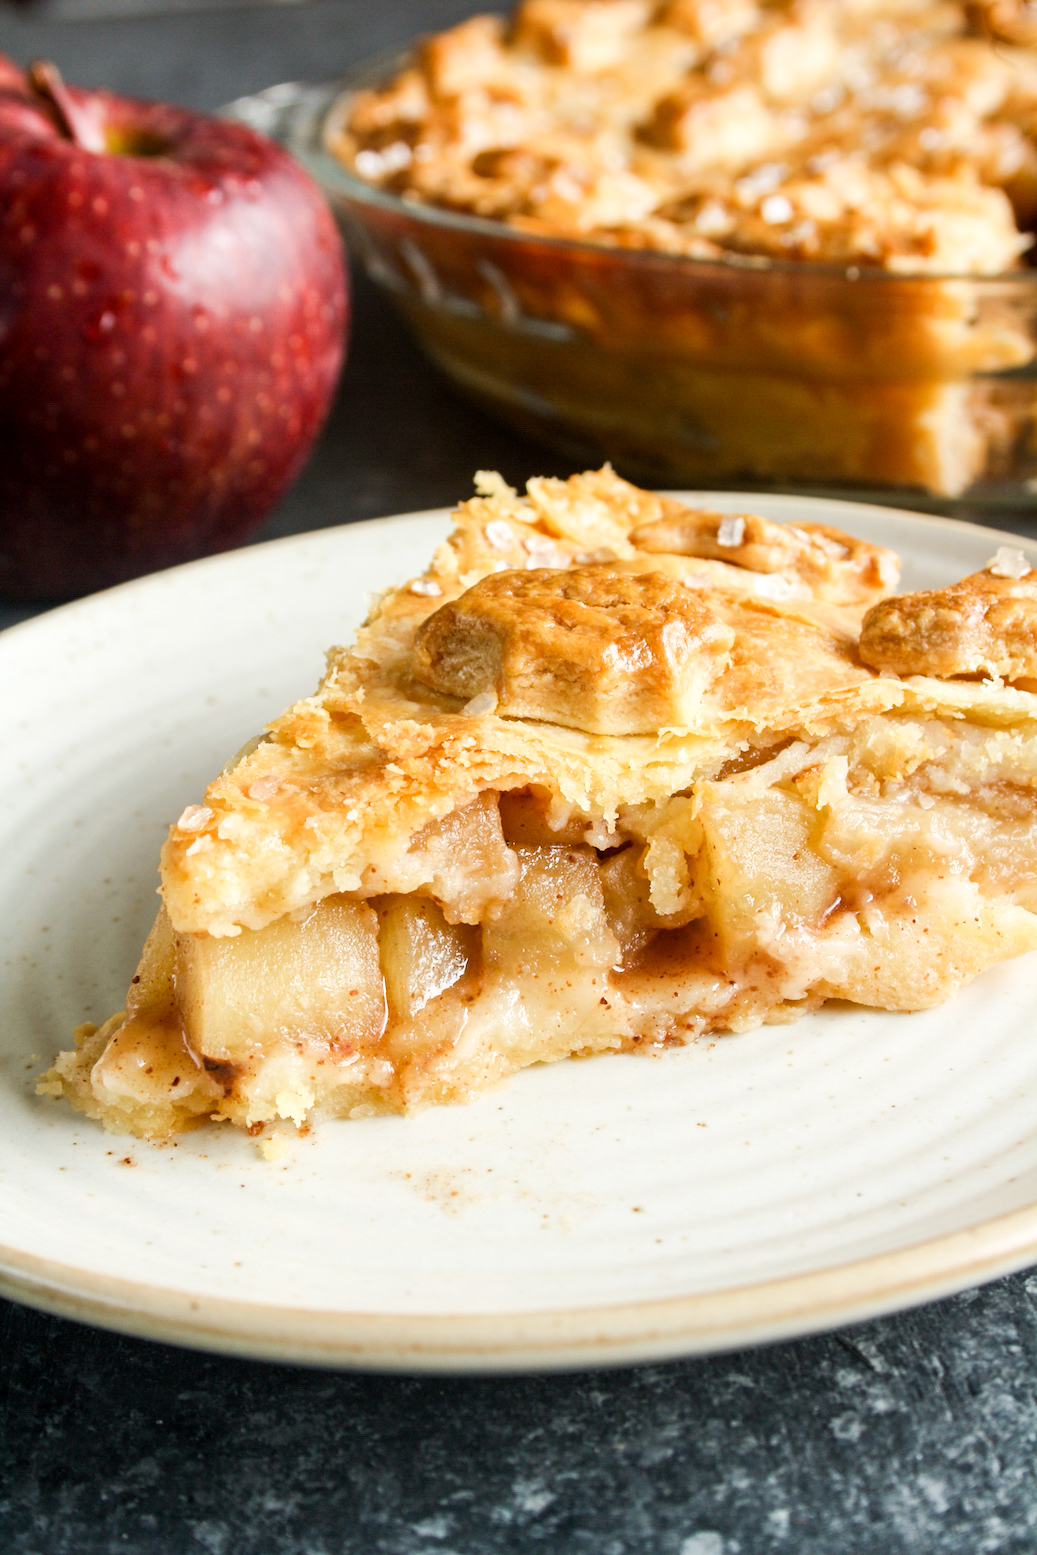
Now, what kind of apples do you use? I’m going to keep this simple and say use what you can get. There’s certain varieties that are said to hold their shape in the oven but this time, I found Shimla apples and went with those. Yes they’re a bit softer after baking than Red Delicious which I used here but don’t let a little difference in texture stop you from making apple pie! All you need to know is there are no big rules here and no fiddly flavours. Just the classics, apple, sugar, cinnamon. It makes the perfect filling, soft but not soggy and cutting some of the chunks a bit larger than others guarantees a little fun texture.

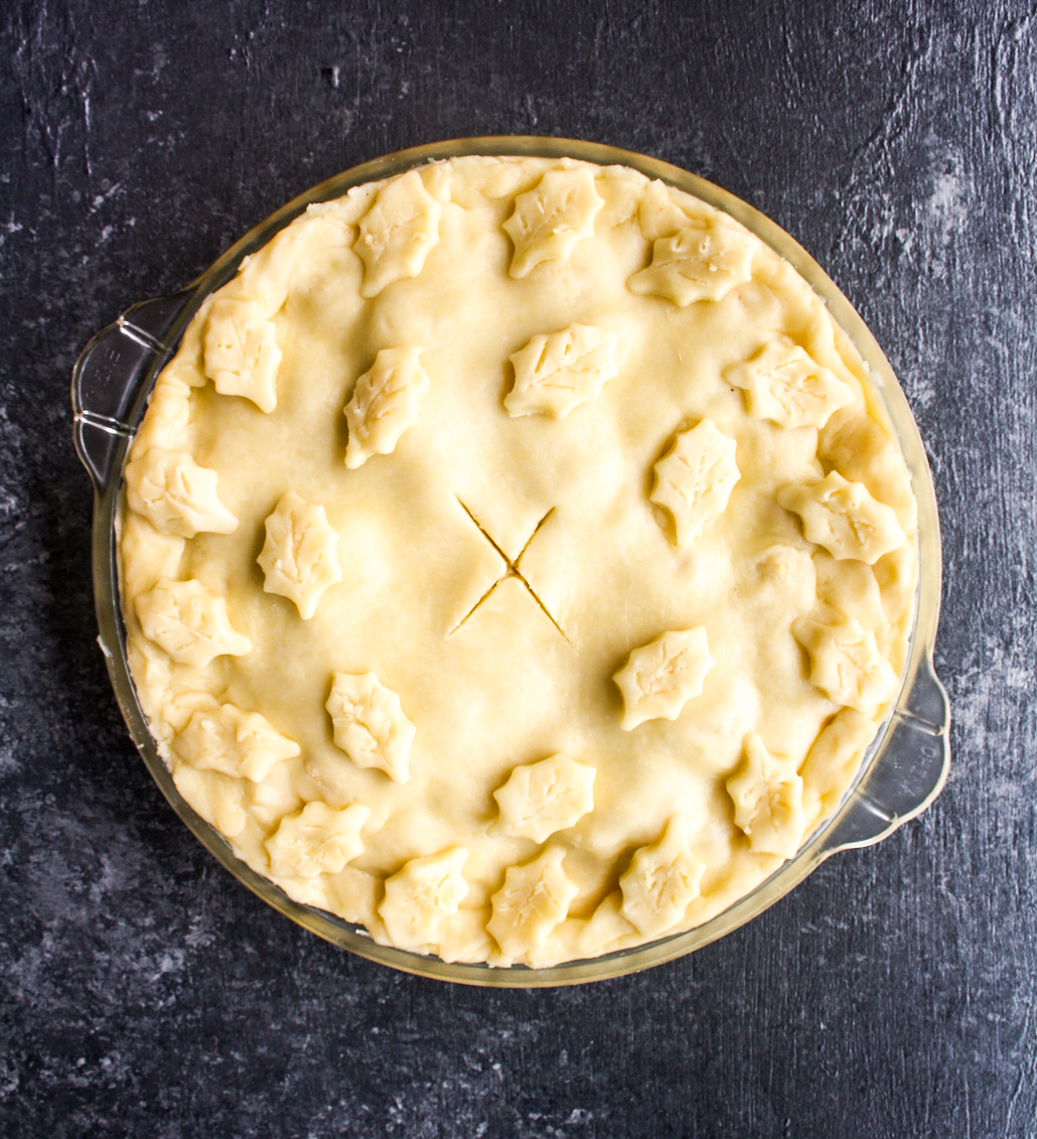
This makes a large amount of pie dough, enough for a double-crusted pie like I did with this peach pie which is why I didn’t spend time doing a lattice on top or anything. I just used the whole thing and still had leftover scraps for some cute leaf designs on which I drew veins with a toothpick! I also use cream instead of egg wash, for a nice glossy, browned crust.
I added a tiny bit of sugar to the dough because the original recipe doesn’t use any and that surprised me. The apples are sweet as well so the flavours are balanced but if you’re using slightly tart apples, you may want to add more sugar to the dough. I prefer not to stir in too much sugar into the apples as it causes a lot of juice to be released, resulting in a soggy crust.
And speaking of crust, here’s one last bit of my pie thesis. Keep in mind that even after minimising the apple juices, thickening them with cornflour and baking the crust for over an hour, the bottom crust can remain a bit soft. It’s not raw, it’s not soggy, it’s not falling apart and it’s browned on the underside (use a glass dish and you can see), but the layer of the crust that’s in immediate contact with the apples is unlikely to become crisp and flaky. I’m ok with this but if you really want some insurance, here’s how to blind bake a double crusted pie. Personally I feel that doing this makes sealing the top and bottom crusts together a bit harder, but you do you!

I think I’m finally done talking. I know this looks like a crazy long recipe, I’m just obsessive thorough. This pie is a LOT of fun to make, I kid you not. Enjoy the process, don’t worry about the result and it’ll be easy as pie.
Do. Not. Forget. The. Vanilla. Ice. Cream.
Please read the post above and the recipe notes before beginning.
Apple Pie with Cream Cheese Crust
Ingredients
For the pie crust
- 230 gms cold unsalted butter (1 cup)
- 170 gms cold cream cheese, cut into cubes (3/4th cup) (see notes)
- 2 and 2/3 cups all-purpose flour (320 gms)
- 1/4 tsp baking powder
- 1/2 tsp salt
- 4 tbsps caster sugar
- 2 to 3 tbsps ice cold water
- 1 tsp apple cider vinegar, optional
- To finish: 1 tbsp cream mixed with 1 tsp water, and optionally, coarse granulated sugar to sprinkle on top
For the filling
- 6 firm red apples (see notes)
- 2 tsps lemon juice
- 1 tsp cinnamon powder
- 3 tbsps caster sugar
- 1 tsp cornflour or cornstarch
Instructions
- To simplify this recipe, make the dough for the pie crust on day one, and do the filling, assembly and baking on day two.
- To make the pie crust, first cut the cold butter and cream cheese into 1/2 inch cubes. Place in a bowl and freeze while you do the rest.
- In a large mixing bowl, sift in the the flour, baking powder and salt. Add the sugar and stir well to combine.
- Now add the frozen butter and cream cheese cubes and toss them through the flour. Working quickly, use your fingertips to rub both into the flour until evenly dispersed. The mixture should look like coarse breadcrumbs with larger, pea-sized bits of butter scattered through it.
- Stir the vinegar into the cold water. Add 2 tablespoons of this to the dough and bring it together using a spatula. Only if it feels dry, add the third tablespoon. You want a soft but not sticky dough.
- Turn the dough out onto a lightly floured silicone mat (the mat prevents sticking). Knead it very lightly to bring it together, then press it into a disc and cut into two equal pieces. Form each piece into a ball and wrap tightly in clingfilm. Refrigerate at least two hours, but overnight is best. The dough will puff up a bit in the fridge because of the baking powder.
- Before you roll the dough, lightly grease a 9" pie dish (glass preferred) and set it aside.
- Unwrap one half of the chilled dough and place it on a lightly floured silicone mat. Flour the top as well and roll the dough out into a 12" circle, making sure it's even all around, rotating the mat every so often. (If the dough feels too firm to roll out, let it sit out for a few minutes. And if you find the dough sticking to the rolling pin, place a piece of clingfilm in between and roll over it.)
- Now fold the circle of dough in half and then half again, to create a quarter. Lift and place it in the center of the pie dish. Unfold it and press it gently into the dish, making sure it's sticking to the sides in particular. Trim the dough around the edges and use the scraps to patch up any torn or thin bits in the crust. (Save the remaining scraps). Place the pie dish in the fridge for at least one hour.
- Now roll out the second half of the dough on the mat again, this time into a 10" circle for the top crust. Slide the mat onto a tray and place it in the fridge as well.
- Now make the filling. Peel and core the apples, then cut each into 1/2 to 3/4th inch pieces. A few bigger pieces here and there add some texture. Add the chopped apples to a bowl and stir the lemon juice through. Then add the cinnamon, sugar and cornflour. Stir very well to combine and disperse the cornflour. Let the apples rest for about 20 minutes until some juices are released.
- Now get out the chilled pie dish with the bottom crust. Spoon the filling into it (along with the juices) and spread it out evenly.
- Bring the chilled top crust out of the fridge and gently peel it off the mat, lift and place it over the apples. Pinch the edges of the top and bottom crust together to seal them well.
- Now roll out any remaining scraps of dough and use cookie cutters to cut out whatever shapes you like. Press them onto the top crust. Cut an X in the center of the pie to act as steam vents. Now place the entire pie back in the fridge for one hour at least.
- When ready to bake, preheat the oven to 190 C. Get the chilled pie out of the fridge and brush the top with the cream and water mixture. Optionally, sprinkle on some coarse granulated sugar for extra crunch.
- Bake the pie for one hour, rotating it if needed to ensure even browning. At the end of the hour, poke a toothpick in the center of the steam vent and see if the apples still have a little bite to them. If you want them softer, cover the top of the pie with foil, lower the temperature to 175 C and continue baking for 10 to 15 minutes. Also check that the sides and bottom are browning well, moving the dish to the lower rack in the oven if needed (although in smaller ovens like mine, it's easy to burn the bottom of the pie so keep an eye on it.)
- Once the filling is bubbling on the edges of the pie and through the steam vent (you will be able to hear this even if you can't see it), your pie is done! Take it out of the oven and let it rest and cool for at least two hours at room temperature. It slices easier after a chill in the fridge but warm apple pie is irresistible so messy slices are ok! Serve with vanilla ice cream of course.
- Cover the dish with foil and store in the fridge for 3 to 4 days, or freeze the slices in an airtight container for about a month. Leftover pie tastes best when gently reheated. Happy baking!
Notes
Shop this recipe!
Check out a full list of my baking essentials here!
This post contains affiliate links.







Pingback: Caramelised Apple Hand Pies
Pingback: Peach Ice Cream (no-churn)
Pingback: Apple Lattice Pie
Pingback: Double Crusted Peach Pie
This is very really unique helpful information.I learn so much from you as well! Thank you so much for sharing your helpful information. Keep it up.