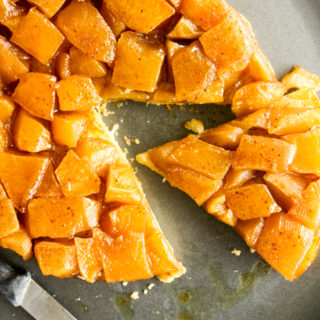
I may still be struggling with how exactly to say ‘tarte tatin’ but there’s one thing I’m sure of: it’s AMAZING. Think of it like an upside down pie, with a single crust made of crisp, flaky, homemade, all-butter puff pastry. Caramelised apples with butter and cinnamon become the topping and together, it’s basically the dessert of everyone’s dreams.

Making a tarte tatin sounded straightforward enough until I went down a tatin rabbit hole. Some people cook the apples completely, some leave them raw till they bake, some people use pie crust, some use puff pastry, some use homemade, some use store-bought. So confusing. I finally decided to make my own version of this basic concept which is fruit and pastry, flipped over after baking. With a little help from this BBC Good Food recipe , the whole thing became clearer. Strangely, no tarte tatin recipe seems to use cinnamon which I just don’t get it. Apples without cinnamon!? What is even the point. I went all out of course!
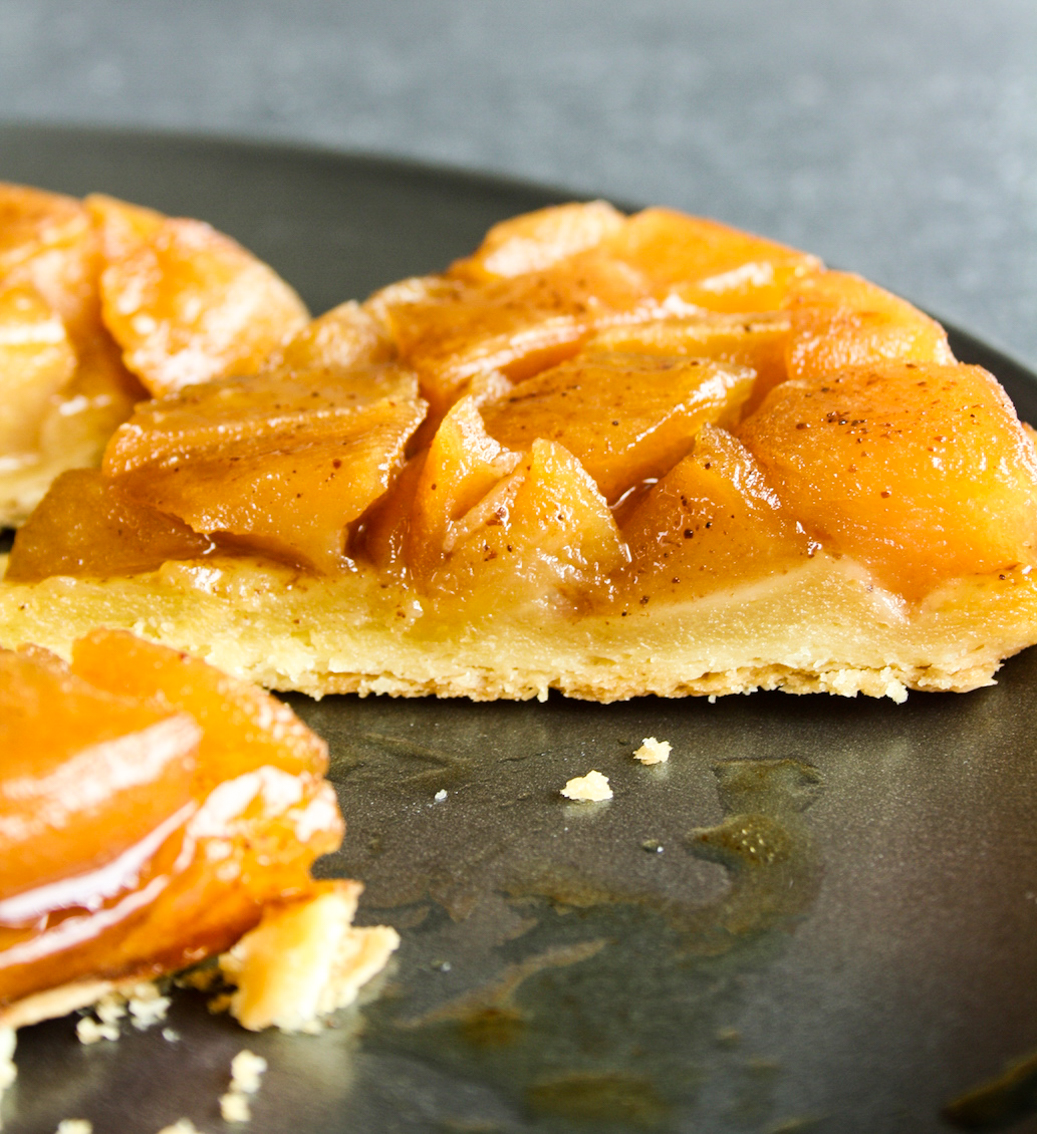
Now, making your own puff pastry really isn’t necessary. But since it’s not always available at Indian stores, it’s actually easier for me to do it this way. Plus, after making cream rolls with it, I wasn’t afraid anymore! The one thing I forgot was that while rolling it out, ideally the pastry should be a couple of inches larger than the dish you’re going to bake it in, because it gets tucked all around the edges forming a border around the apples. It completely slipped my mind, so I had extra juices around the sides that I spooned out and drizzled over each slice. No harm done really, and I actually liked how prettily the apples peak out around the sides before you flip the whole thing over. Do it any way you like, you’ll have plenty of puff pastry to work with!
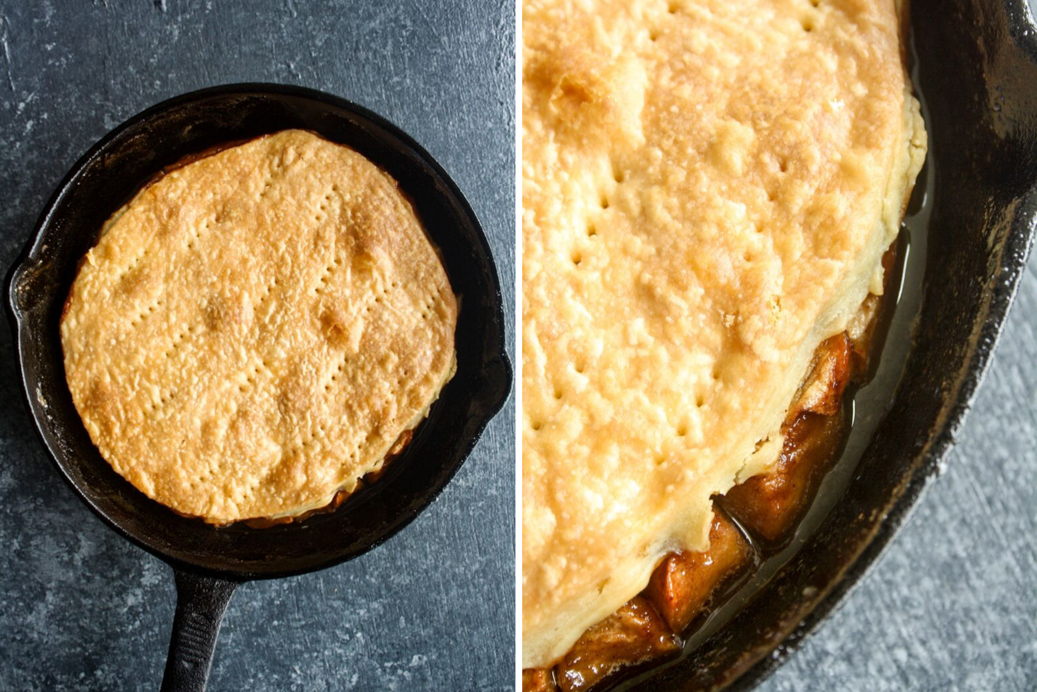

It’s also important to bake both the apples and the pastry for long enough that the fruit softens and the pastry crisps up. The top half of the pastry is crispier and flakier, since the bottom is the one exposed to the caramel and apple juices. The texture contrast is soooo good! Also your kitchen will smell like a million bucks. If you have a cast iron skillet, this recipe was made for it. The caramel is cooked first, then the apples are arranged over it, and then the pastry placed over them. So a skillet makes this a one-dish dessert, yay!
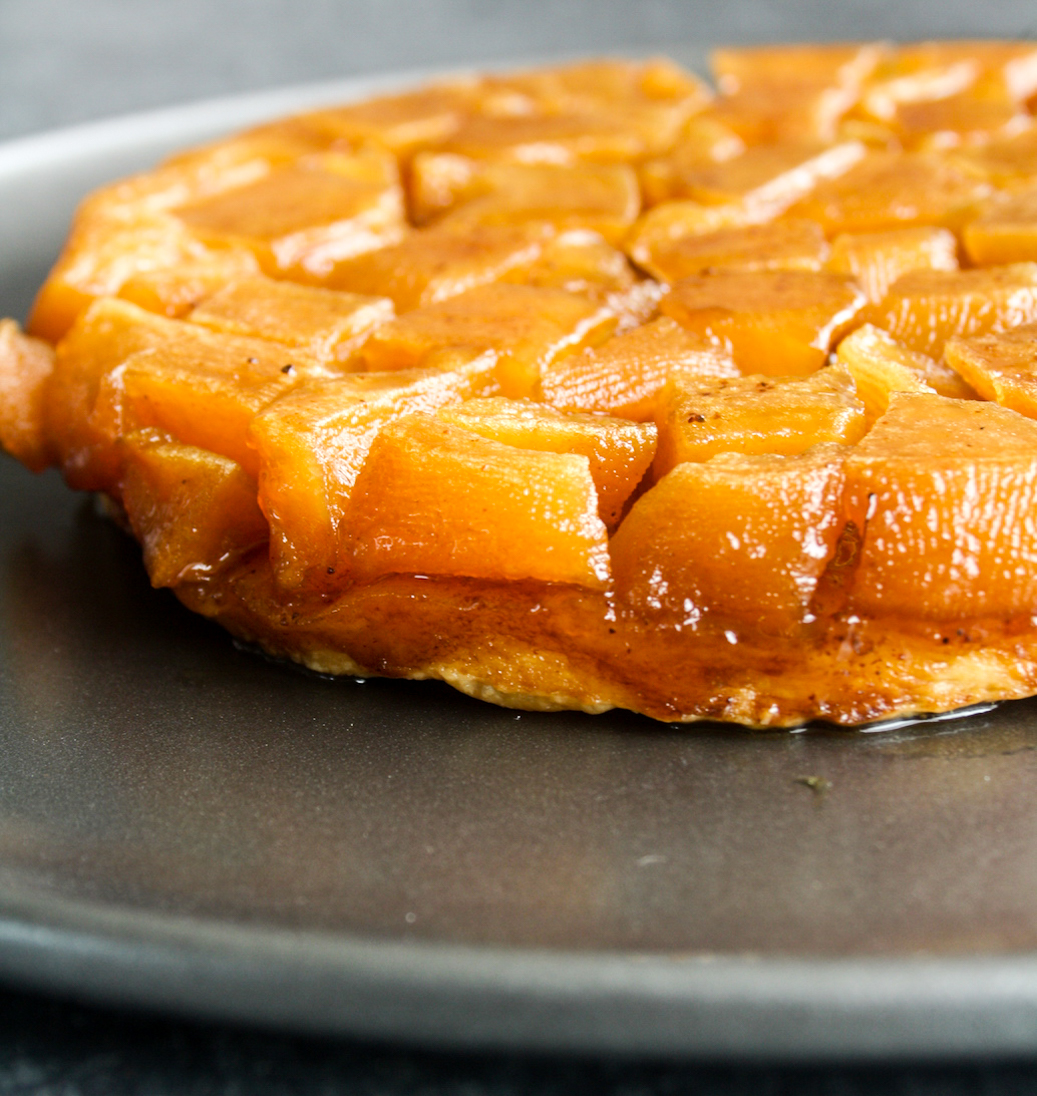
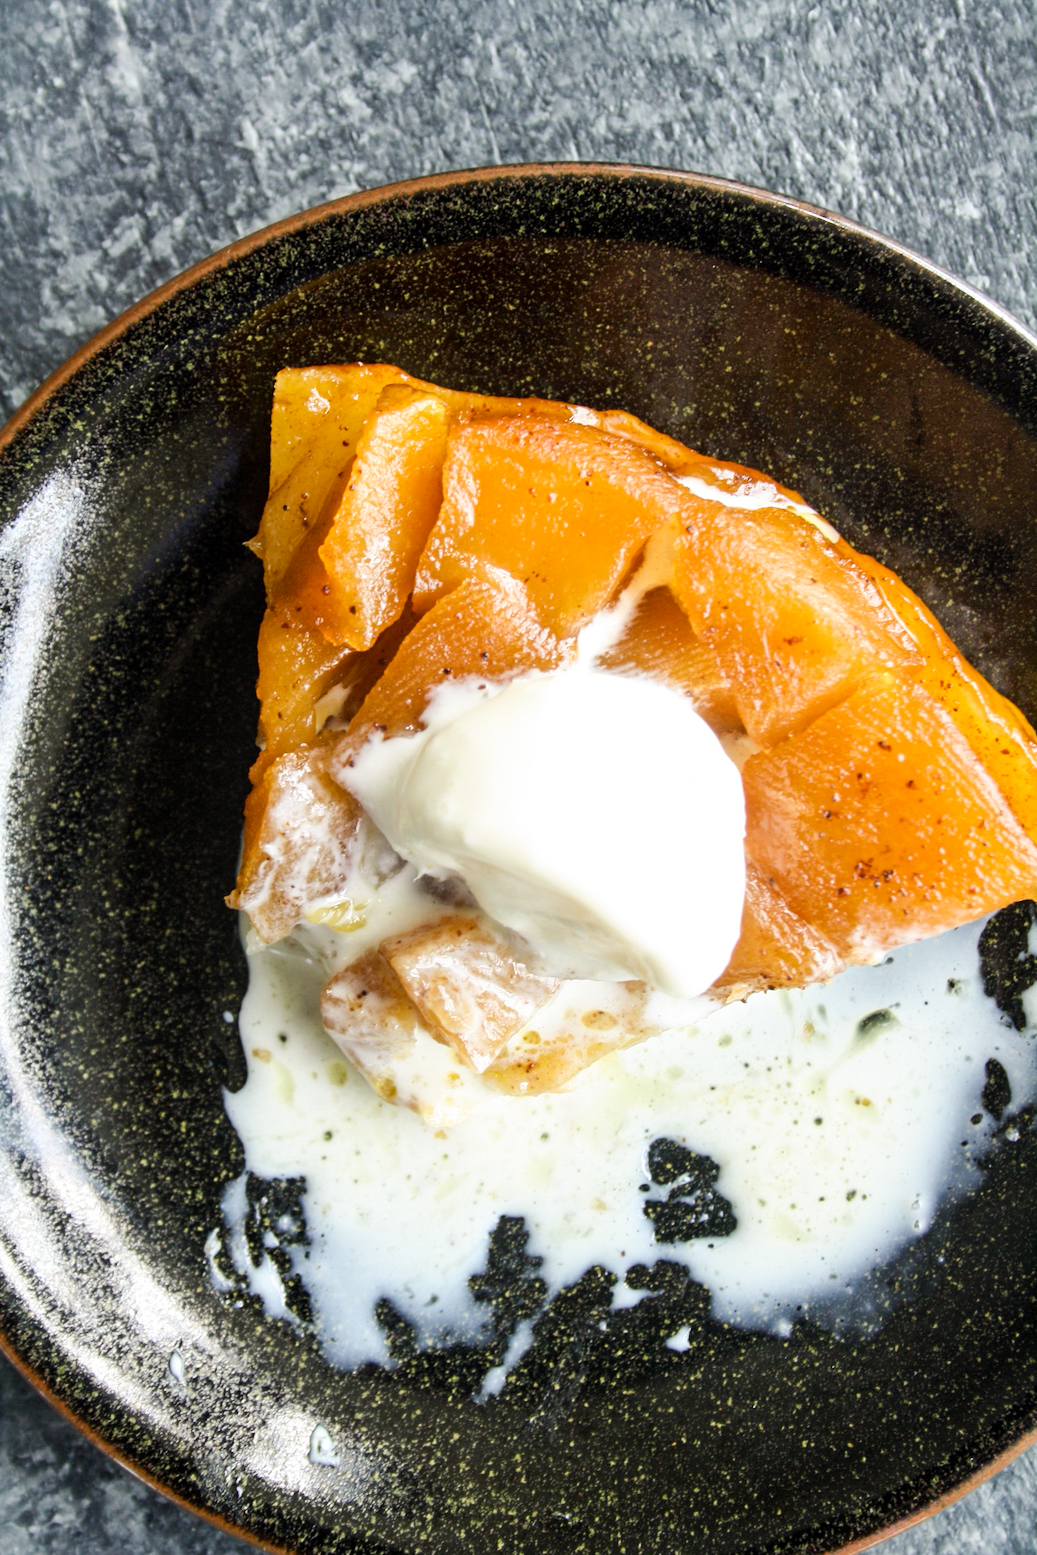
And um, if you’re not adding a scoop of vanilla ice cream over the warm apples, you’re doing it wrong. Must, must, must eat this with ice cream! It’s a little sweeter with it of course, but I added some lemon juice to the apples and the pastry itself is barely sweet so it all balances out.
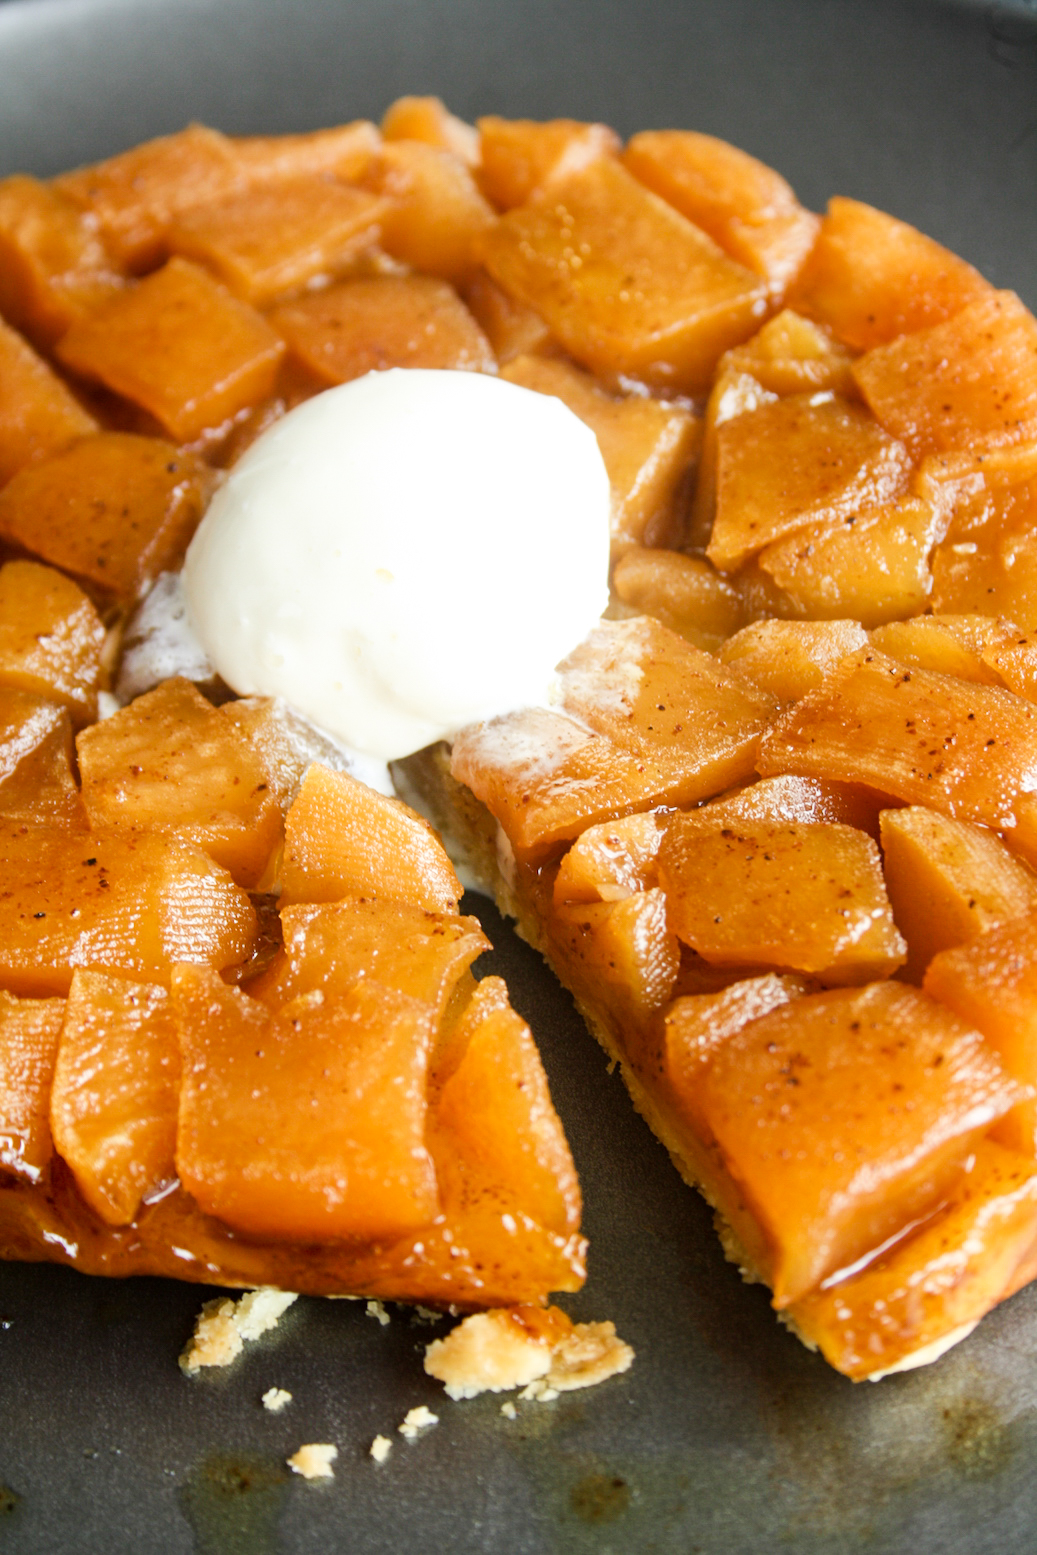
Ok, let’s make some tarte tatin!
Please read the recipe notes before beginning.
Apple Tarte Tatin
Ingredients
For the puff pastry
- 1 cup + 2 tbsps all-purpose flour and more for sprinkling as needed
- 1/2 tsp salt
- 3 tbsps caster sugar
- 140 gms unsalted butter, cold and cubed
- 1/4 cup ice water
For the apples
- 3 medium sized red apples
- 2 tsps lemon juice
- 1/4 to 1/2 tsp cinnamon powder, as per preference
For the caramel
- 1/4 cup caster sugar
- 30 gms unsalted butter, cold and cubed (2 tbsps)
Instructions
- In a mixing bowl, combine the flour, salt and sugar. Stir, then add the cubed butter. Rub the butter into the flour with your fingertips until there are still pea-sized bits of butter throughout the dough and there's no dry flour left. Do this as quickly as you can so that butter doesn't soften too much.
- Pour in the ice water and bring the dough together with a silicone spatula. It will be quite soft. Don't overwork it, just form it into a rough mass, and place it on a silicone baking mat. Shape into a disc that's about an inch high, then cover the dough with clingfilm and chill for 1 hour.
- Uncover the dough, lightly sprinkle the top with flour, then place the sheet of clingfilm back on top. Roll the dough over it unto a roughly 10x6 rectangle, but precision isn't important. It's more important to make sure you're rolling it out evenly. The clingfilm helps to prevent any butter or flour from sticking to the rolling pin.
- Remove the clingfilm and now fold the bottom half of the dough to the center, and fold the top half over it, like a letter. If you're doing this on a silicone mat, just lift the edges of the mat itself to help with the folding. Chill the folded dough for 10 minutes.
- Now rotate the dough ninety degrees (or just rotate the mat), and roll out again into a roughly 10x6 rectangle. Fold again, rotate and roll. Repeat this fold-rotate-roll routine 6 to 8 times at least. This is where you're ensuring the puff pastry has multiple flaky layers. As you work, you'll find the dough becoming more pliable and less sticky with every fold. Keep chilling the dough as needed, by sliding the mat onto a baking tray and placing it in the fridge every time the dough warms up. Keep sprinkling flour as needed during this process, but lightly sprinkle it.
- When your final roll is done, fold the dough up again the same way, cover with clingfilm and chill for at least two hours, or overnight.
- Preheat the oven to 180 C.
- Peel, core and chop the apples into chunks, about an inch wide (mine were chopped a bit 'rustic'). Add them to a bowl and toss with the lemon juice and cinnamon until evenly coated. Set aside.
- Now make the caramel. In an 8 inch oven-safe skillet (see notes), heat the sugar on low for about 5 minutes, till it has melted and turned an amber colour and you start to see just a bit of smoke coming off the surface (use a spoon to check the colour since the base of the skillet will be dark).
- Take the skillet immediately off the heat and add the cold, cubed butter (it will splutter so be careful). Stir till the butter has melted completely.
- Now arrange the apple chunks over the caramel in concentric circles, placing the chunks with the rounded side facing downwards.
- Place the skillet in the oven and bake for 25 to 30 minutes until the apples have softened a bit but are still firm.
- While the apples are baking, unwrap your chilled puff pastry dough and place it on a floured silicone mat. (if chilled overnight, let the dough sit on the counter for 5 to 10 minutes to soften).
- Now roll the dough out into a rough circle that's 3 mm thick (this is important so that you don't have a too-thick pastry that doesn't bake well), then using a plate or base of a cake tin as a measure, use a sharp knife to cut out a circle that's 10 inches wide (see notes).
- Peel away the scraps and freeze the circle of dough for 20 minutes on the mat itself.
- When the apples are done, prick the dough all over with a fork, then gently lift it and place it right over the hot apples (watch your hands!). Tuck the sides in gently around the edges, enclosing the apples.
- Place the skillet back in the oven and bake for another 40 to 45 minutes until the pastry is golden brown, puffed and feels crispy on the top and sides. If it's browning too fast, lower the temperature to 160 and cover the top loosely with foil.
- Allow the tarte tatin to cool at room temperature for an hour. Scoop out any extra juices that may be leaking around the edges of the skillet. Then place a large platter on the top and carefully invert the skillet. It should flip over easily enough and any apple pieces that may fall out can be pushed right back in. Slice and serve warm with vanilla ice cream and a drizzle of any extra juices! Best on day one, although leftovers can be kept in the fridge for 3 to 4 days. Happy baking!
Notes
Shop this recipe!
Check out a full list of my baking essentials here!
This post contains affiliate links.






Pingback: Apple Pie with Cream Cheese Crust