I’m going to confidently say these are the best, the only chocolate chip cookies I ever want to eat. I call these ‘everyday’ cookies because you really can make them every single day. The dough is simple, quick and I’ve now turned it into a one-bowl recipe, yaaaaaay. It doesn’t need to be chilled for very long and the flavour is still phenomenal so it’s an absolute win win situation. The cookies are buttery, crispy-edged, chewy centered just like a classic American-style cookie should be. I recently refreshed the photos and added some more details to the recipe and I hope these become your everyday cookies too!
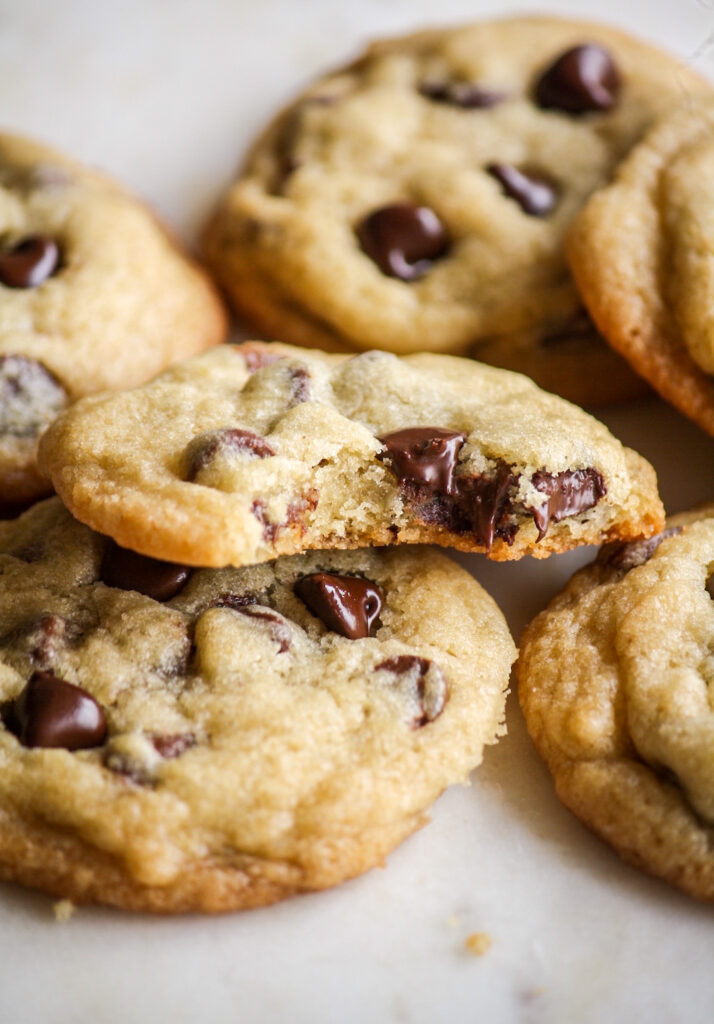
A few years ago, I made David Leite ‘s cookie recipe after discovering it on Smitten Kitchen and they were delicious but made way more than I needed and were also much larger than I usually like. This is a scaled down version which makes 20 cookies of a more manageable size (they’re very rich!!). These cookies have the most lovely brown sugar and vanilla flavour and I use salted butter because salt and chocolate is always phenomenal together.
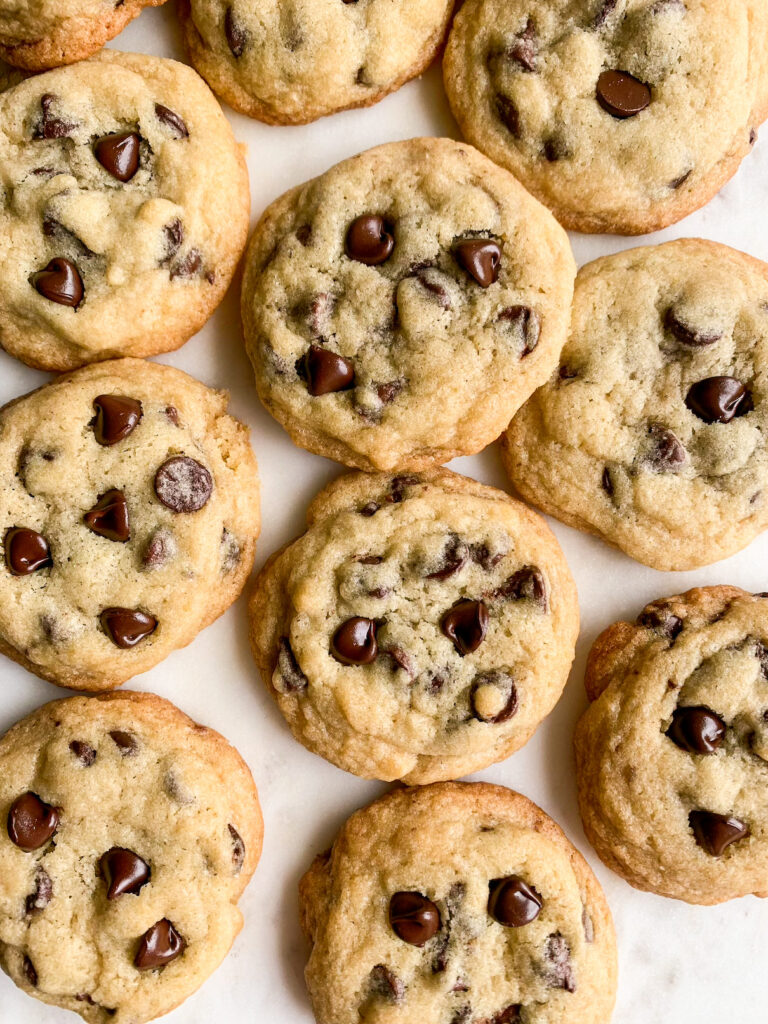
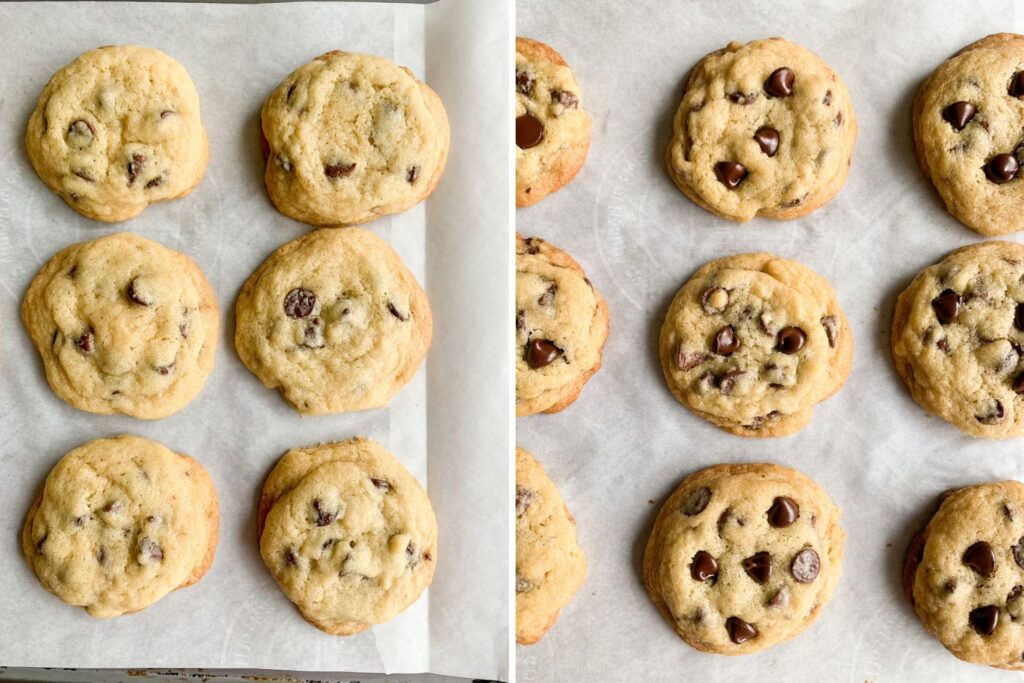
The centers are soft and chewy, just the way I like them. This is a result of being brave enough to take the cookies out of the oven even though they look under-baked, because they are. What happens is they continue to bake as they cool, and firm up enough to be picked up easily. But most importantly, they’re not dry or hard on the inside. So you’re baking just until the edges have crisped up and then letting the residual heat do its thing. Cookies will naturally dry up after a few days, so the under-baking trick ensures they remain soft for a little bit longer.
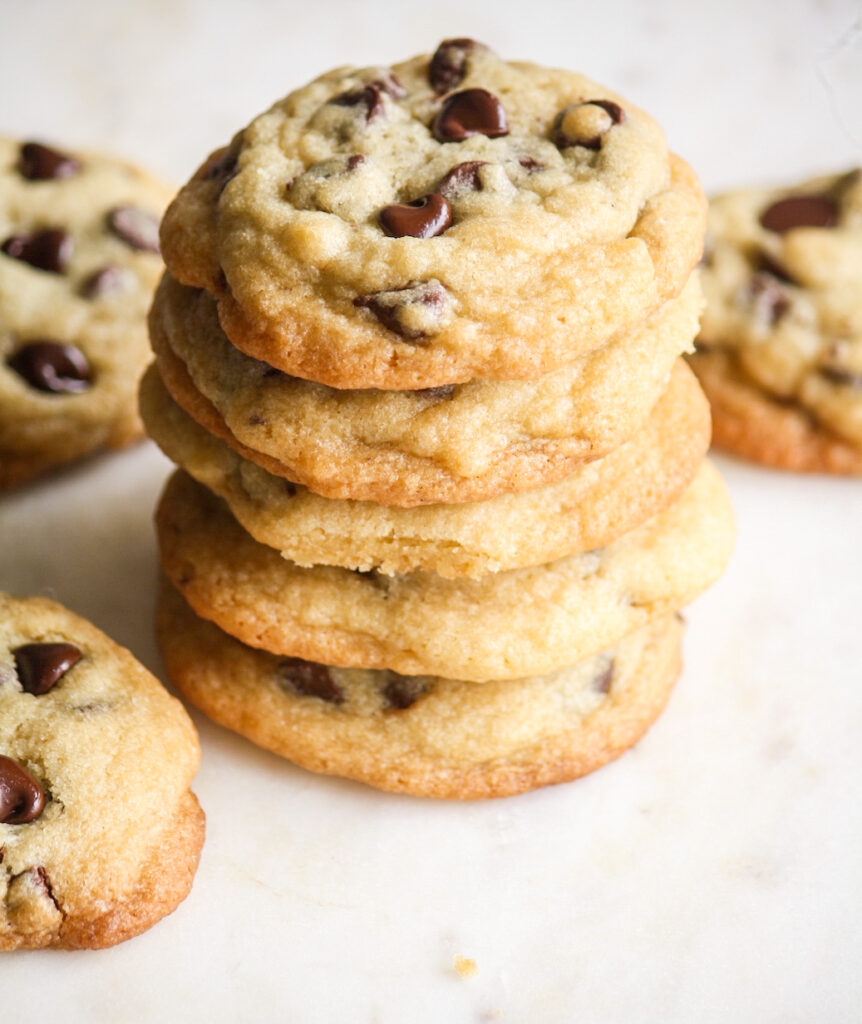
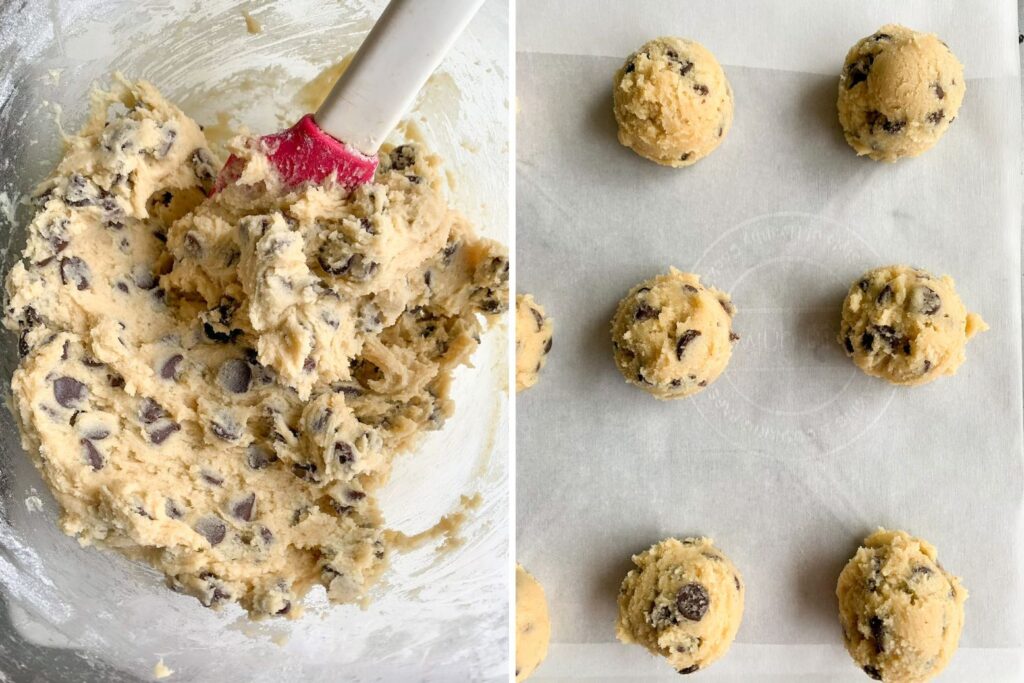
Should you chill the dough? Most of the internet says YES OMG HOW CAN YOU NOT. And sometimes I do listen, but other times, I just really need a cookie like right now. So honestly, if you don’t chill the dough, your cookies are going to spread more and be thinner and crispier. Are you into that? Yes? Great! If not, chill the dough for just about 20 minutes to make it easier to scoop and then bake. You’ll have the perfect balance of crispy and chewy. You can chill it for hours more, or even two to three days but I’ve found this results in much thicker cookies than I’d like and there really isn’t a flavour difference in my opinion.
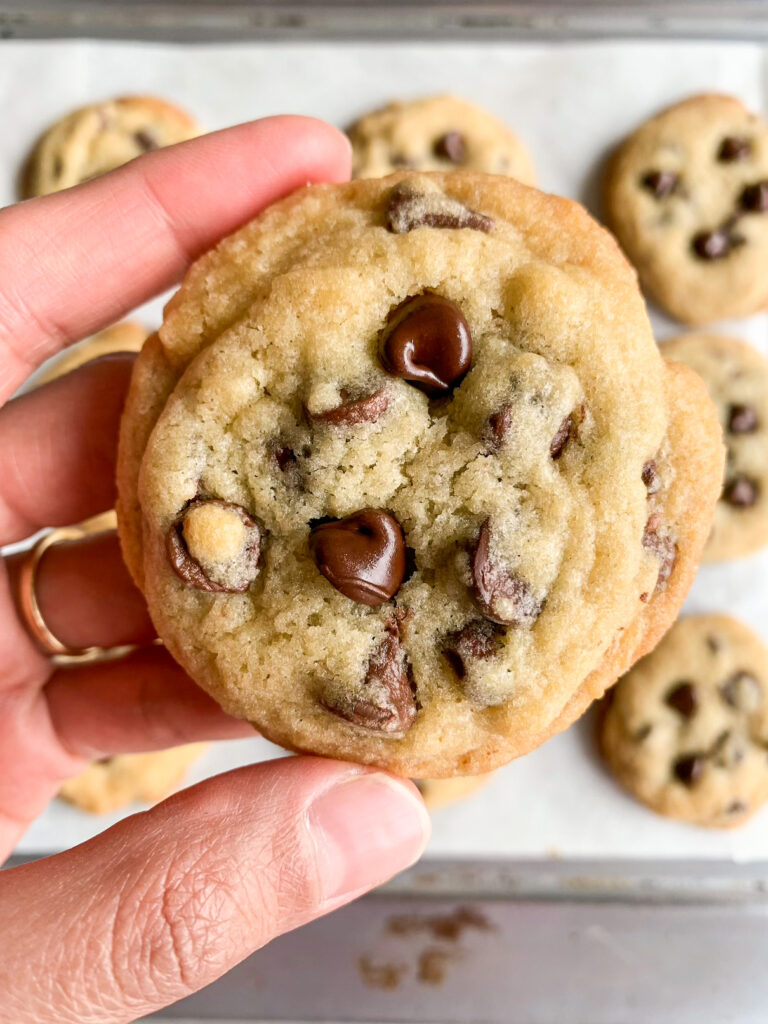
Everyone should have a good chocolate chip recipe and I hope you love this one as much as I do!
Please read the recipe notes before beginning.

Everyday Chocolate Chip Cookies
Ingredients
- 1/2 cup brown sugar (100 gms, light or dark; the soft brown variety is best)
- 1/3 cup caster sugar (60 gms)
- 140 gms butter, at room temp
- 1 egg, at room temp (see notes)
- 1 tsp vanilla extract
- 1 and 1/2 cups all-purpose flour (180 gms)
- 1/2 tsp baking soda
- 1/2 tsp baking powder
- 3/4 tsp salt, if using unsalted butter
- 1 and 1/4 cups dark chocolate chips (210 gms), plus more to sprinkle on top (see notes)
Instructions
- In a mixing bowl, beat the butter and sugars using a hand mixer on medium, until pale and creamy, about 2 minutes.
- Add the egg and vanilla and beat again till combined.
- Sift in the flour, baking soda, baking powder and salt, if using. Fold to combine into a thick, sticky dough. Lastly, fold in the chocolate chips, making sure they're evenly dispersed.
- Cover the bowl the clingfilm and refrigerate the dough for about 30 minutes until easy to scoop but not hard. I don't find it necessary to chill the dough for longer than 45 minutes at the most if it's a very hot day. In my experience, the dough is then too hard to scoop, needs to sit out at room temperature, and the cookies bake up thicker than I'd like and need a couple more minutes of baking time. Many bakers say chilling for at least 24 hours improves the flavour and I've honestly never noticed enough of a difference, but you can go that way if you wish! See notes if you want to freeze the cookie dough.
- While the dough is chilling, preheat the oven to 175 C. Line a baking tray (or two if you're baking in batches) with silicone baking mats or non-stick baking paper. Set aside.
- Using a 1.5 tablespoon cookie scoop, drop equal portions of the dough onto the baking tray, at least two inches apart. You could also use a spoon if you don't have a cookie scoop. I bake 9 cookies at a time in my oven, the remaining dough can sit at room temperature between batches.
- Bake for 10 to 12 minutes until the cookies are lightly browned on the edges and still puffy in the middle, rotating the tray halfway through the baking time to ensure even browning. They will seem very soft and underbaked, because they are, but don't worry, it's the best way to get chewy, not dry cookies. If you do prefer your cookies crunchier, leave them in the oven for another 2 to 3 minutes.
- As soon as they're out of the oven, very gently press down on each cookie with the back of a spoon to flatten if they're too puffy, or alternately, use the popular 'pan-banging' technique a lot of bakers love, where you carefully hold the tray with both (gloved!) hands, and rap it gently but firmly on the counter which allows the cookies to flatten and get a layered look around the edges. Press a few more chocolate chips into the top of each cookie and optionally, sprinkle on some flaky sea salt too.
- Allow them to cool and firm up for 10 minutes on the tray, then transfer to a wire rack to cool completely. Store in an airtight tin at room temperature for 4 to 5 days. In the fridge, they'll last about 2 weeks and longer in the freezer. Happy baking!
Notes
This post contains affiliate links.





Hello! I love your recipes! For this one Can I do it without the soda?
Hi! Thank you for your kind words 🙂 It’s usually not a good idea to leave out any kind of leavener from a recipe, it’s likely to change both texture and flavour. I can’t say for sure what would happen if you leave out the soda here without trying it myself, sorry!
Pingback: Toasted Macadamia Sprinkle Cookies
Pingback: Chocolate Chip Oat Cookies
Pingback: Top 10 Recipes of 2019!
Pingback: Funfetti White Chocolate Pecan Cookie Bars
Pingback: Chunky Peanut Butter Cookies
Pingback: Top 10 recipes of 2021!
Pingback: Browned Butter Pecan Chocolate Chip Cookies
Pingback: Coconut Cookies
Pingback: Chocolate Chip Cookie Pots For Two
Pingback: Date Almond & Honey Muffins
Pingback: Chocolate Chip Brookies
Pingback: My New Favourite Chocolate Chip Cookie
Pingback: Cranberry Walnut Chocolate Chip Oat Cookies