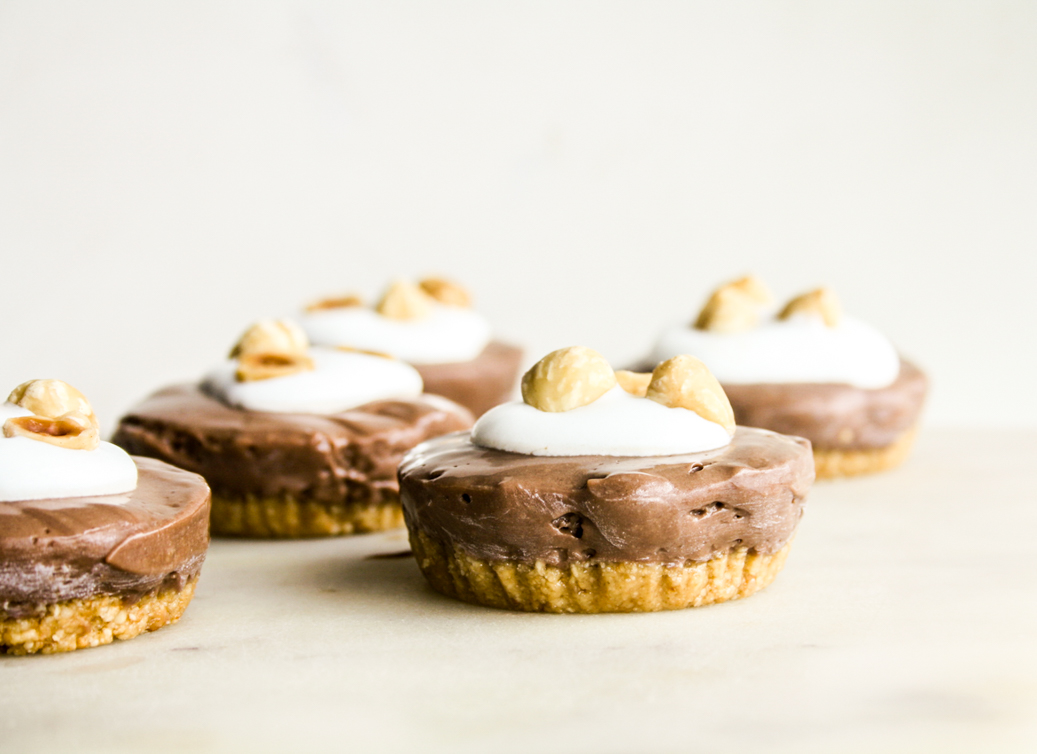
I must warn you, these are bite-sized cheesecakes and so if you eat a hundred of them, you can’t blame me because as I said, you are warned. They’re so ridiculously good, so I’m not going to pretend you will stop at just one. Say hello to no-bake, super easy cheesecakes with Nutella aaaaand a crust made of toasted hazelnuts. So delicious and the fridge basically does all the work. Let’s (not) bake!
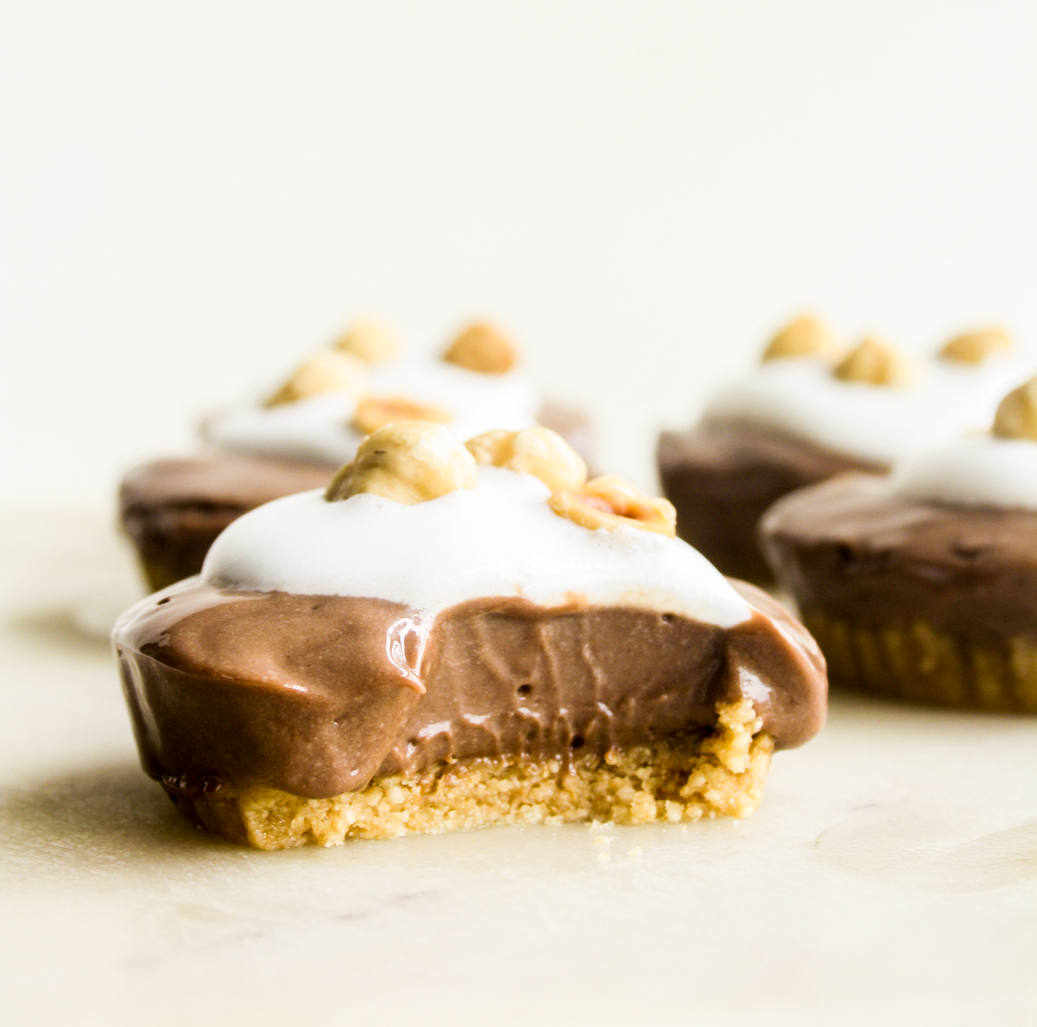
One of the earliest recipes on this blog was a no-bake cheesecake based on a recipe by Nigella Lawson. It was incredibly good, but made a giant cheesecake and it was very very rich. I’ve been thinking of variations of it for a while now, with a more flavourful crust and a cute mini size that would make it easier to just freeze what you can’t (shouldn’t) eat immediately.
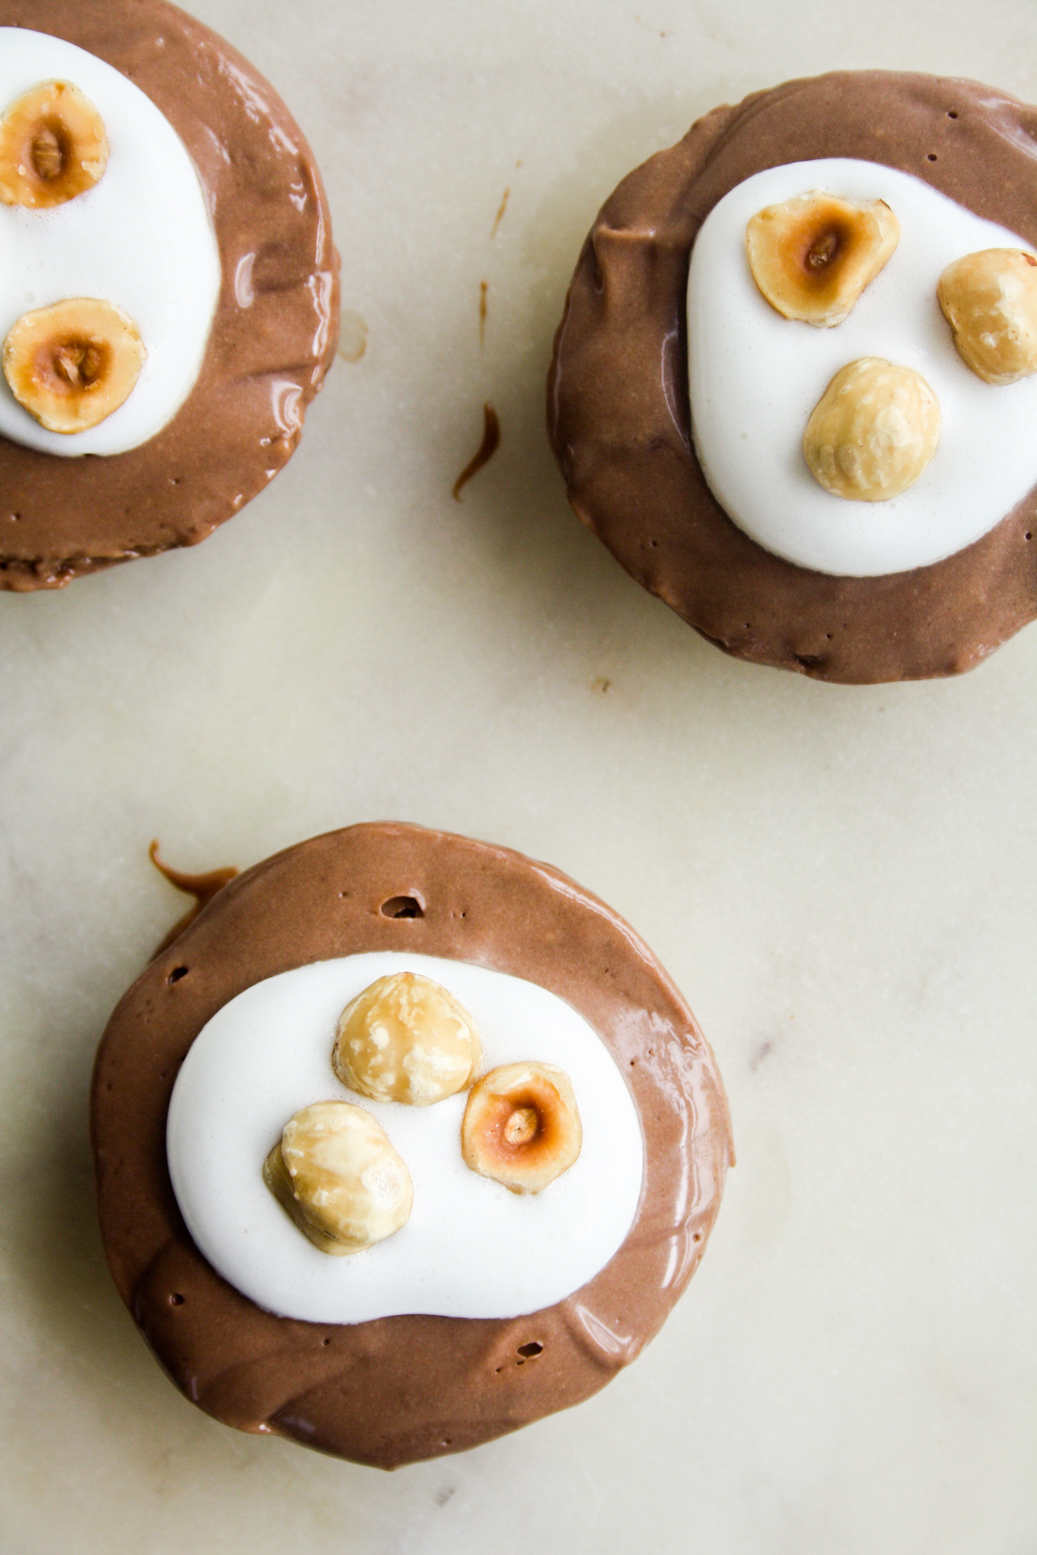
So I just went back to the drawing board and started adding stuff to a food processor, taking notes along the way. Technically, the toasted hazelnuts were baked in the oven but to keep this recipe entirely no-bake, simply use a dry pan to toast the nuts. For the rest of it, I just used Nutella and cream cheese, with an addition of whipped cream to keep the cheesecake light and airy, not super heavy. Which is ironic considering there’s all kinds of heavy stuff in there, but I promise these are not the kind of cheesecakes that make it difficult to move afterwards.

The easiest way to make them is to use cupcake liners, press the crust in, let it chill and then pour the filling on top. When you’re ready to eat, peel away the liners and tada. They also make it easier to store the cheesecakes and transport them if you think of sharing, which might be a good idea?
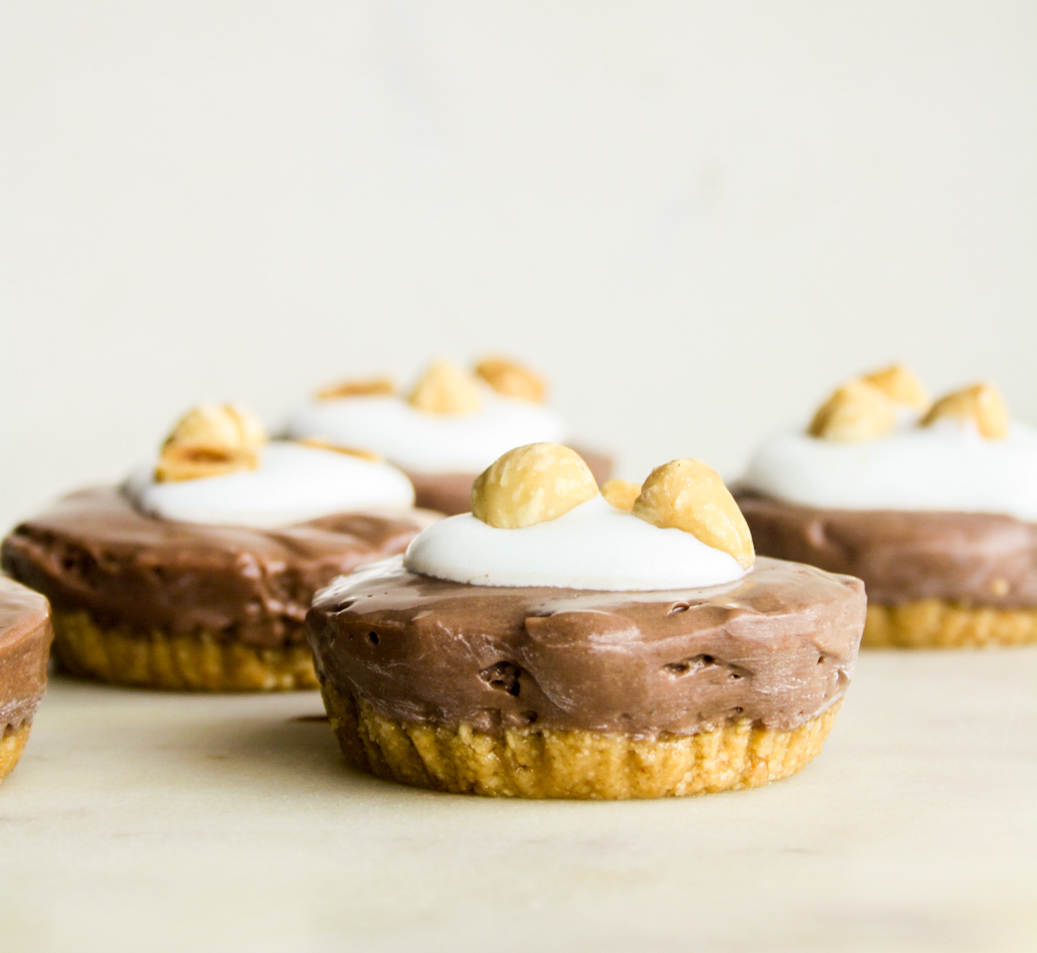
The Nutella flavour is amazing thanks to the crust as well, which is mostly hazelnuts with a few biscuits for structure. The crust is lightly sweetened but the filling contains no extra sugar because the Nutella has more than enough ! Top with lightly whipped cream and more toasted hazelnuts for the most textural fun. Soooo good you guys!
Mini No-Bake Nutella Cheesecakes with Toasted Hazelnut Crust
Ingredients
- <b>For the crust</b>
- 150 gms hazelnuts
- 4 to 5 digestive biscuits / Marie biscuits or any biscuits / crackers you prefer for cheesecake
- 2 tbsps icing sugar
- 1 tbsp melted butter<br></br>
- <b>For the filling</b>
- 3/4 cup cream cheese at room temperature
- 3/4 cup Nutella at room temperature
- 3/4 cup chilled whipped cream made from about 1/3 cup chilled whipping cream<br></br>
- <b>To finish:</b> Extra whipped cream and toasted hazelnuts
Instructions
- Preheat the oven to 175 C and spread the hazelnuts in a single layer on an un-greased baking sheet. Bake for 5 to 7 minutes until lightly browned and fragrant. This is the only 'baking' part of this recipe, you can also use a dry pan on low heat to toast the hazelnuts if you prefer.<br></br>
- Let the hazelnuts cool for 15 minutes, then add to the bowl of a food processor fitted with a sharp blade. Add the biscuits and icing sugar as well.<br></br>
- Blitz till the nuts and biscuits are finely crumbed and the mixture clumps together when pressed between your fingers. You may not need to add the butter at all because the hazelnuts will release their oils as the food processor runs. But if the mixture looks dry, pour in the butter and blend it in.<br></br>
- Line 12 muffin moulds with liners and divide the mixture equally among them, about 2 tablespoons per liner. Press it down firmly to create the crust.<br></br>
- Place the moulds in the fridge for the crust to chill while you make the filling.<br></br>
- Wipe out the bowl of the food processor and switch to the beater blade if you have one. Add the cream cheese and Nutella and blend together till smooth. Now add the whipped cream and blend again for a few seconds, then stir the rest in by hand so you don't deflate the air in the cream, which is what makes the cheesecakes nice and light.<br></br>
- Divide the filling equally among the liners, spooning it on top of the crust. Don't fill the liners all the way to the top because you'll need a little space to peel the liners off. About two-thirds full is best.<br></br>
- Tap the moulds on the counter to smoothen the tops, then chill for 3 to 4 hours, or speed it up by freezing for 1 to 2 hours until firm but not hard. Peel away the liners slowly and serve with extra whipped cream and toasted hazelnuts.<br></br>
- Store in the fridge at all times, they will keep for 4 to 5 days. As there are no eggs or gelatin to set the mixture, the cheesecakes soften pretty fast at room temperature so if storing them for longer, you can even freeze them and leave at room temperature for 10 minutes before serving. Happy not baking!
Shop this recipe!
Check out a full list of my baking essentials here!
This post contains affiliate links.




Yum! Love that these freeze well. How do you think it would be if you used Oreo cookies in the crust instead of a neutral flavor cookie? This is on my list of things to make this weekend and I wanted to ask before I did.
Ooooo Oreos would be good! I’m sure they’ll go well with hazelnut or you could skip the nuts entirely and just make an Oreo crust, yum!
you had me at that toasted hazelnut crust!!!! looks amazing!!!
Thanks Sheenam!