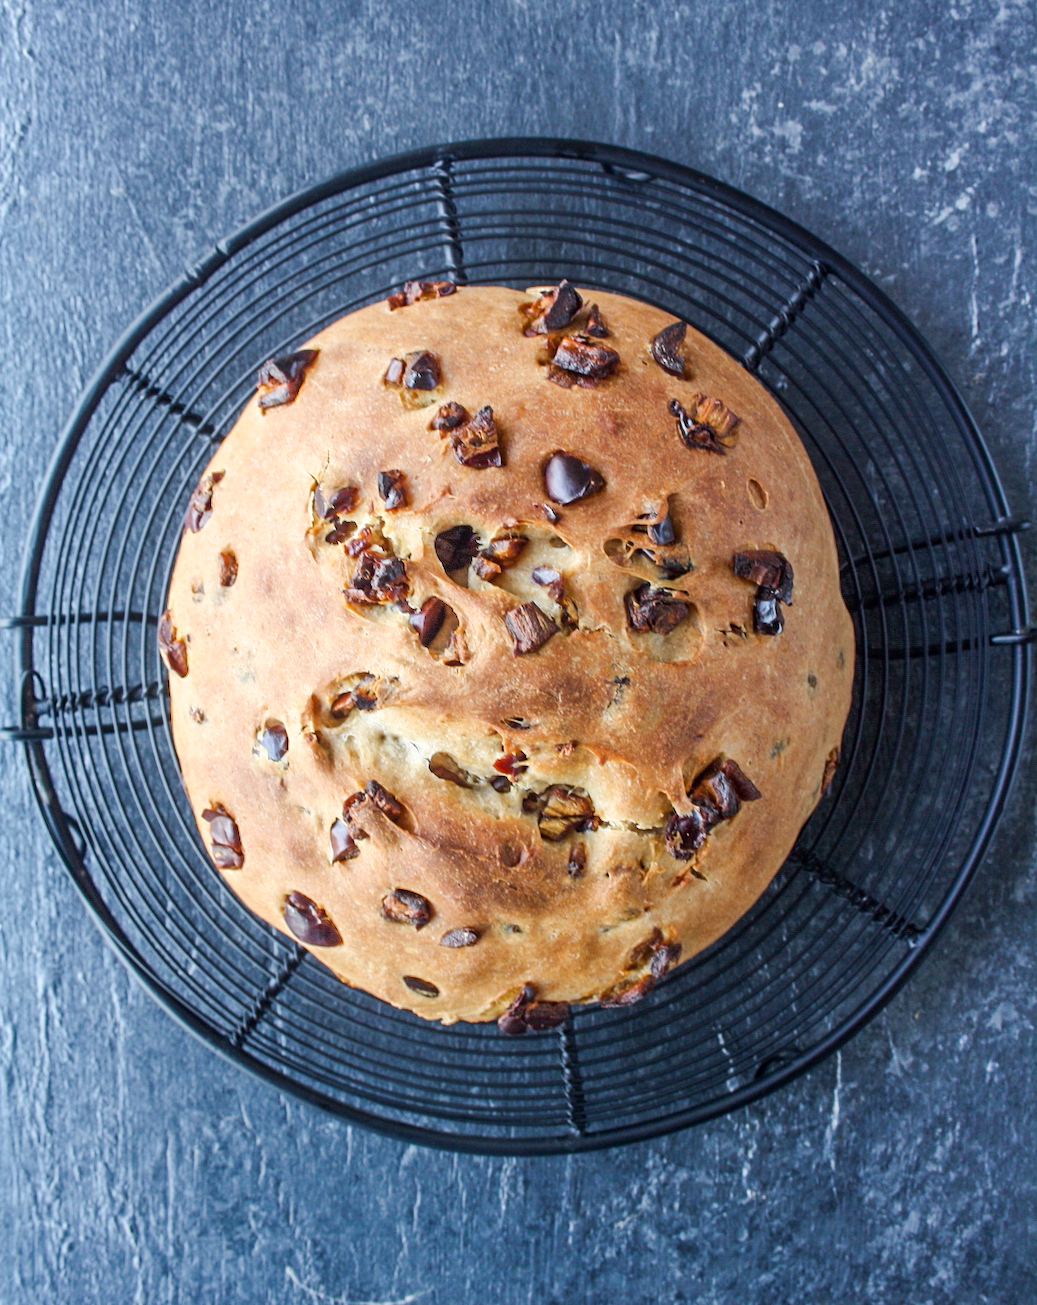
I hope the new week has begun well! For me, homemade bread is always a good start. This particular loaf is slightly chewy but tender all at once, packed with sweet, jammy dates and has some rye flour for an extra flavour kick.
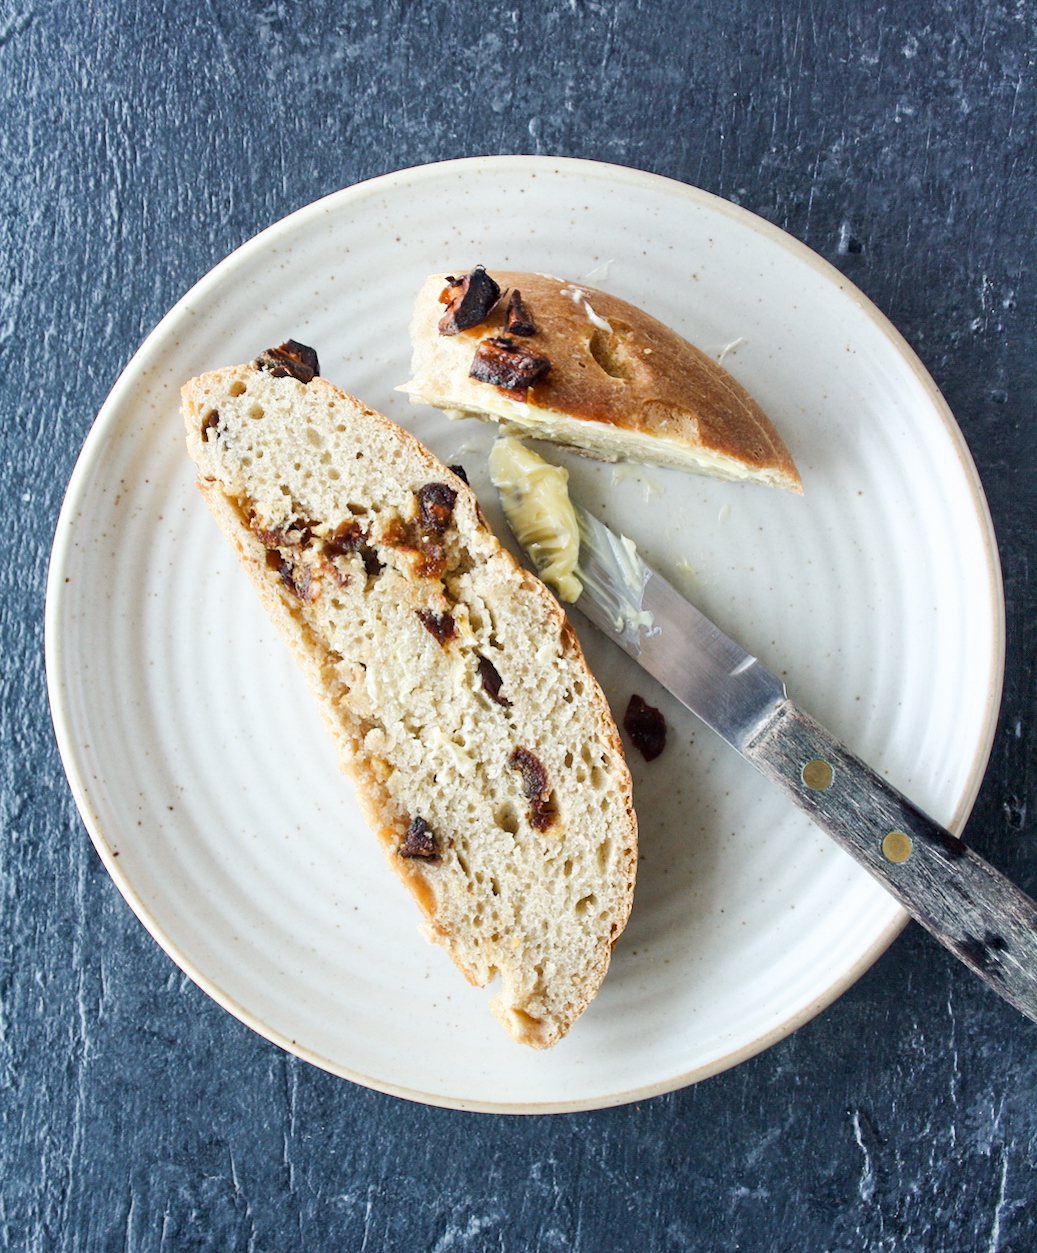
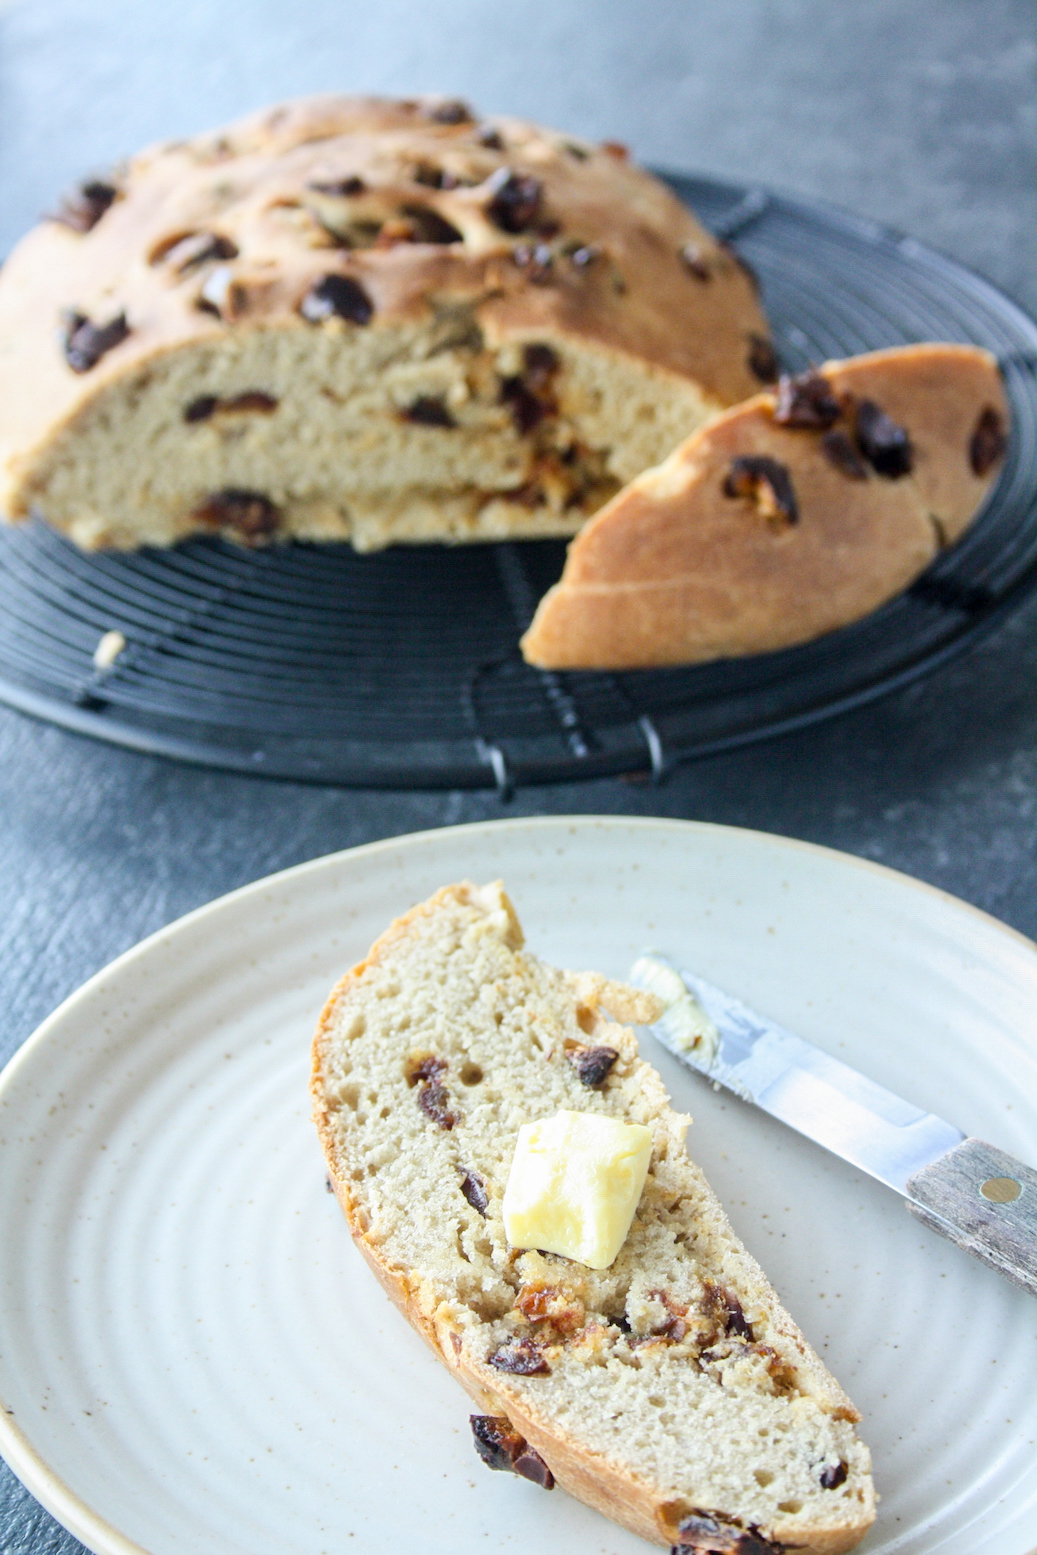
It’s no fuss, no stickiness and no stress! Sliced and toasted with a pat of melty butter. Do we really need anything else?
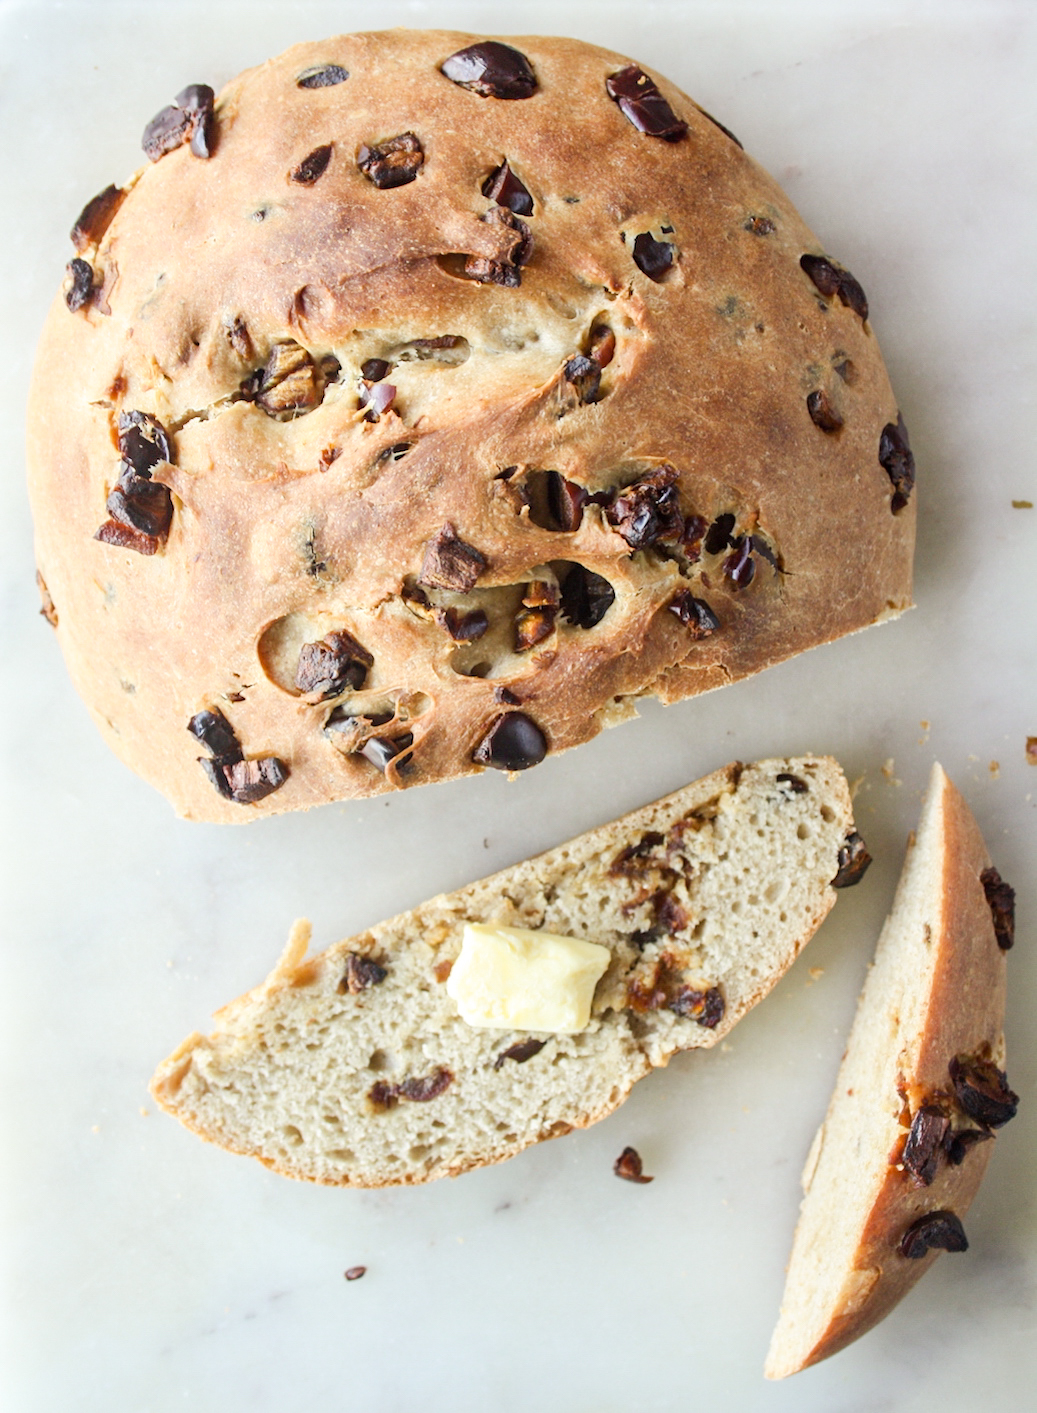 This cute round loaf was inspired by an Olive Magazine recipe that I came across while hunting for a new kind of bread to make, because I was in a very specific baking mood. I felt the need to knead, if you will. And there had to be some yeast involved too. This seemed like a great place to start because a round bread is so much funner than a rectangular bread!
I changed up quite a few things in this recipe because there are certain things I’ve found work better for me while making bread. First, I halved the recipe for a more manageable amount of dough, so that I ended up with one moderate sized loaf. Second, I increased the yeast a bit for a lighter loaf and proofed the yeast with sugar instead of honey like in the original recipe, because I’ve always had better luck with sugar. The honey instead went into the dough for a little extra flavour and the bread still didn’t become too sweet. Third, because I don’t have and I don’t use bread flour, I skipped the wholewheat in the recipe and only used all-purpose flour. The reason is that bread flour typically produces softer breads so it counters the denseness of wholewheat flour. With all-purpose, it takes a bit more trial and error to compensate for the denser wholewheat flour. The rye flour adds enough nuttiness and flavour even without the wholewheat. And finally, this recipe originally had no fat in it, which worried me. What if the bread turned out dry and bland, especially because I wasn’t using bread flour? So I added just a couple of tablespoons of melted butter and the end result was perfect.
The bread is chewy on the outside and soft on the inside. While not as pillowy as say, these rolls, it isn’t hard or dry at all. It looks and tastes like those artisanal loaves you’d buy at a fancy bakery or cafe! The dates add plenty of sweetness, but this is not a bread that passes off as dessert, in case you’re worried. In fact, it’s amazing with salted butter or even cream cheese.
Unlike this rye bread which was all kinds of sticky while kneading, you won’t have any trouble with this dough. It’s easily manageable and very docile! The bread does have the best texture on day one, but can be kept at room temperature for a couple of days and in the refrigerator for a week. After day one, you need to toast each slice before eating and toasting actually makes it more delicious. Somehow the satisfaction of making my own bread just never gets old! Let’s bake 🙂
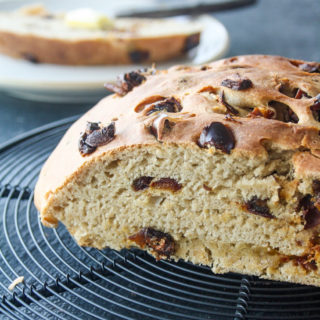
Date & Rye Bread (Eggless)
Ingredients
- 3/4 cup warm water <i> warm enough that you can comfortably dip your finger in, not hot</i>
- 1 and 1/4 tsp active dry yeast
- 1 tbsp caster sugar
- 1 and 3/4 cup all-purpose flour
- 1/2 cup rye flour
- 1/2 tsp salt
- 2 tbsps melted butter
- 1 tbsp honey
- 3/4 cup dates pitted and chopped into small pieces
Instructions
- In a small bowl, combine the warm water, yeast and sugar. Stir well, then cover the bowl with clingfilm and set aside for about 10 minutes, or until the surface of the mixture is frothy. If this doesn't happen, it means the water was too hot or too cold. Or it could mean the yeast wasn't fresh. Start over because without properly proofed yeast, the dough will not rise.<br></br>
- In the bowl of a stand mixer fitted with a dough hook or in a large mixing bowl, combine the flours, salt, butter and honey. Give it all a good stir, then pour in the yeast mixture.<br></br>
- If using the mixer, let it run for 30 seconds on low speed just to bring the dough together, then knead on medium speed for 5 to 10 minutes. If doing this by hand, bring the dough together with a silicone spatula, then knead by hand on a floured surface for 5 to 10 minutes. In both cases, the dough is ready when it forms a smooth ball and if you poke it, the indent left by your finger should slowly bounce back. I used a mixer but I still prefer to get my hands in there and finish the kneading manually towards the end.<br></br>
- Place the dough in a lightly oiled bowl and turn it around to coat all sides. Cover with clingfilm and set aside for 2 to 3 hours until doubled in size. This may take more or less time depending on the temperature in your kitchen. To speed up the process, preheat the oven at its lowest temperature for a few seconds. Turn it off, then place the bowl inside.<br></br>
- When the dough has doubled, press it down to release the air, then turn it out onto a lightly floured surface. Flatten it a little, then sprinkle half the dates over it. Knead them in, then repeat with the rest of the dates. The idea is to get dates in every bite, so spread them out as much as you can. Save a few pieces for the top.<br></br>
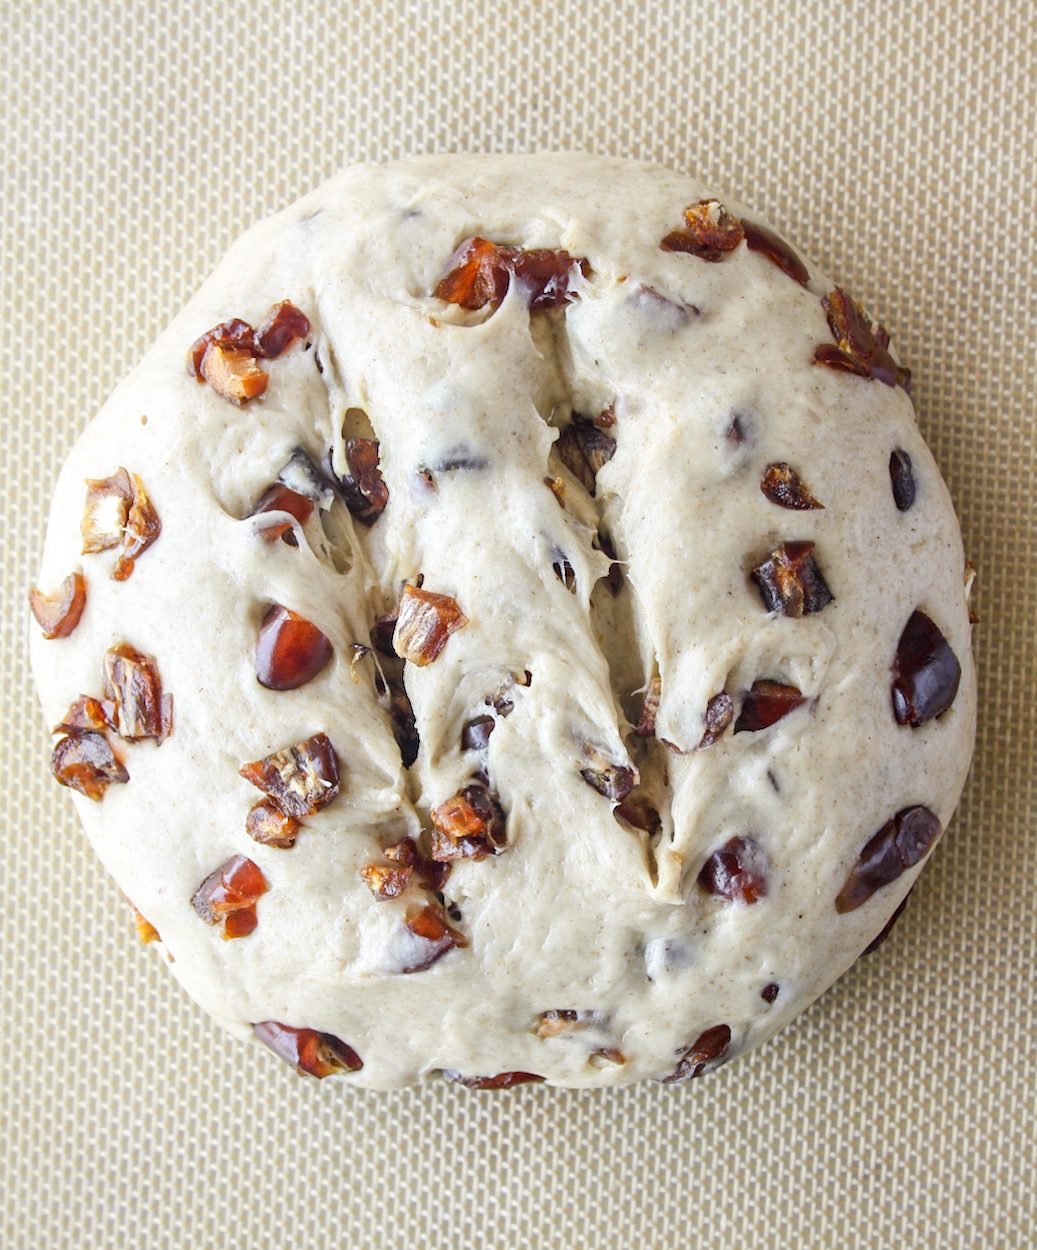
- Form the dough into a ball and place it on a silicone baking mat. Press the reserved pieces of dates on the top. Now make two sharp cuts on the top of the dough ball (see photos above). This helps the inside of the bread cook and the top looks cool once it's baked too :)<br></br>
- Cover loosely with clingfilm and let it rise again for an hour.<br></br>
- Towards the end of the rise, preheat the oven to 200 C. The dough will be puffier, but not exactly doubled.<br></br>
- Slide the dough along with the silicone mat onto a baking tray. Bake for 30 minutes, rotating the tray halfway so that the top browns evenly.<br></br>
- Let the bread cool for 15 minutes on the tray, then transfer to a wire rack until completely cool.<br></br>
- Slice and enjoy with butter or cream cheese! Store tightly wrapped at room temperature for 2 days and after that, in the fridge for one week. The bread will need to be toasted after day one and it tastes amazing! Happy baking!
Notes
Shop this recipe!
Check out a full list of my baking essentials here!
This post contains affiliate links.
