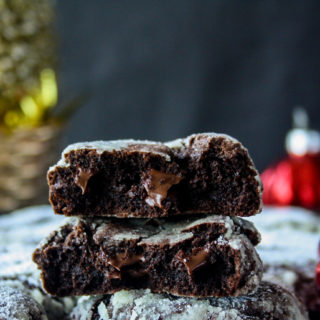
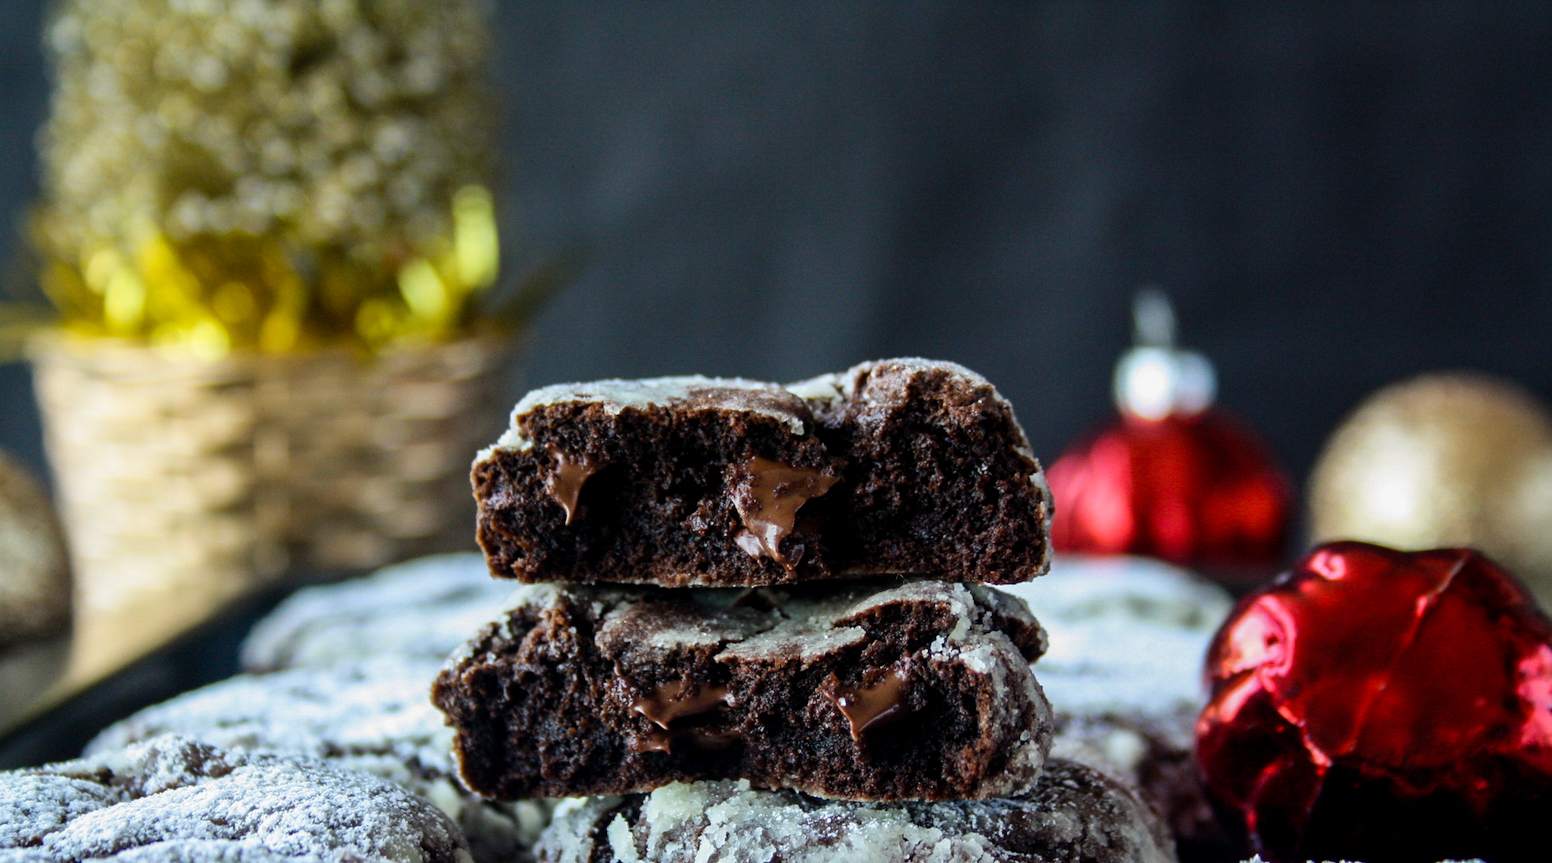
Crinkle cookies are defined by their crackly, sugary, crinkled tops. But I feel like what we need to talk more about is the inside of this cookie. It tastes like a brownie! Soft, gooey, fudgy, chocolatey. Yes, the pretty sugary crust doesn’t hurt, but I feel like I’m going to be making these more often, crinkle or crinkle!
Apparently making these crinkle cookies is something of a science because there’s so many opinions all over the internet about it. I found this article the most enlightening and made some discoveries of my own. There are discussions over what kind of leavener to use (baking soda / powder / both), whether to use melted chocolate or just cocoa or both, whether to roll the cookies in granulated sugar and icing sugar, or just icing sugar. So much studying!
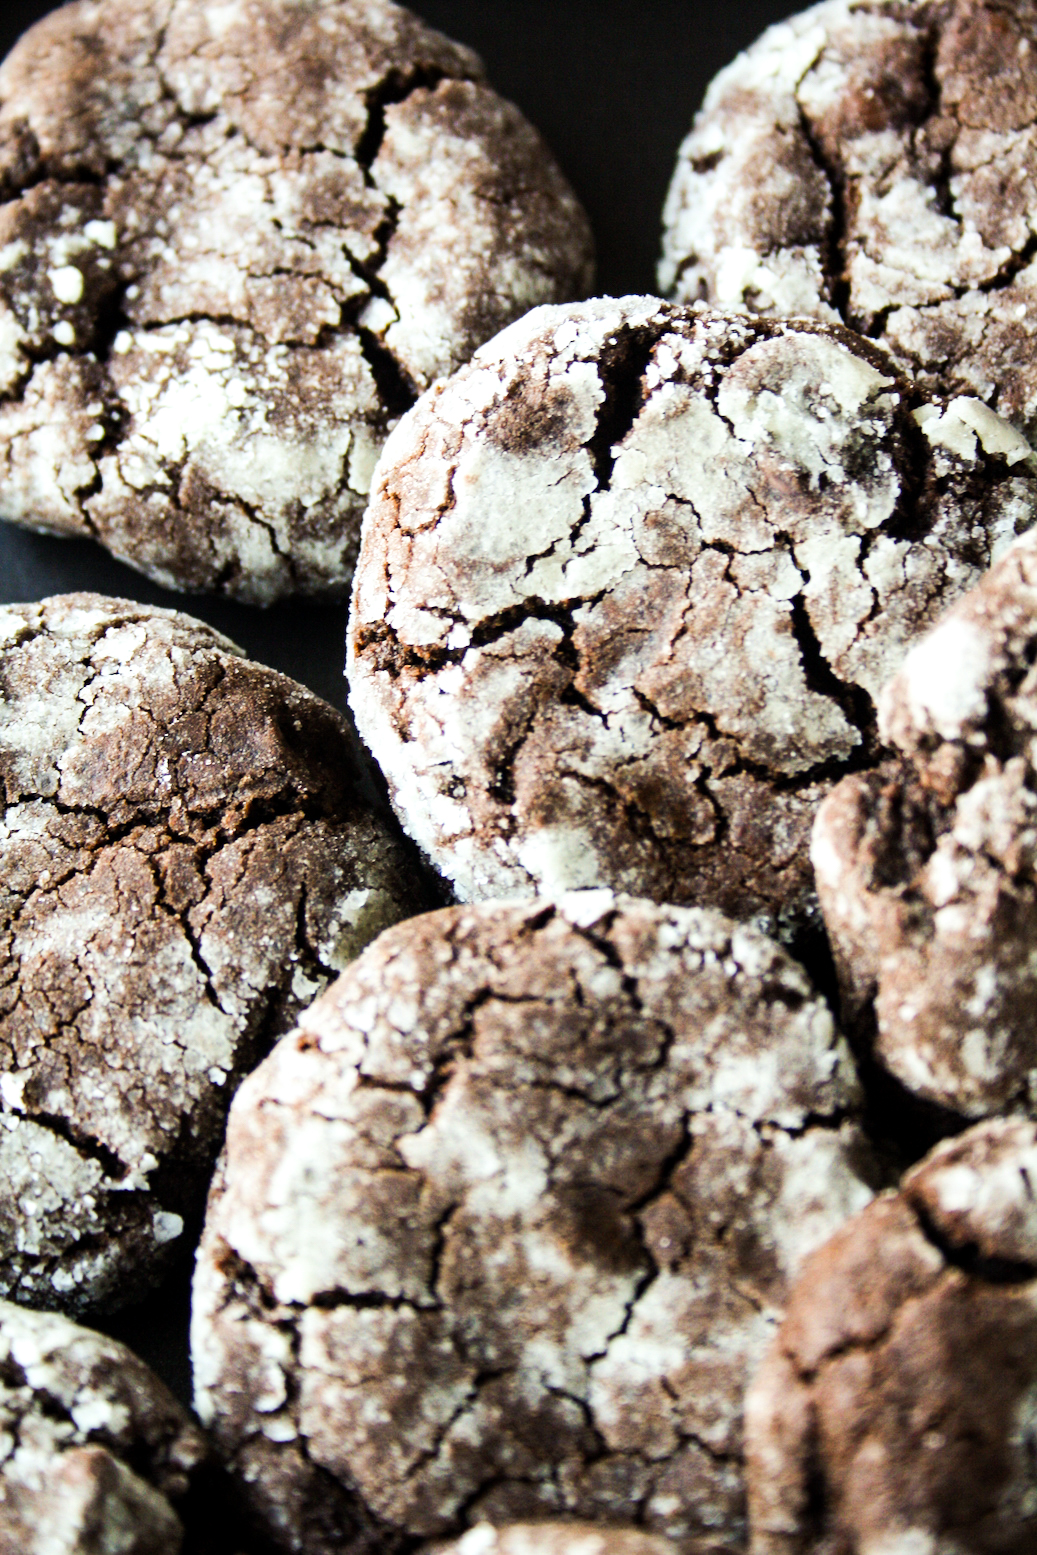
I found the main difference was that a butter-based dough seemed to produce crackly tops but the sugar was less powdery after baking in some patches, possibly because it absorbed the water content from the butter and became less ‘bright white’. An oil-based dough produced a whiter, more powdery top with less of the sugar dissolving into the dough, but somehow the flavour was lacking. Personally, I much preferred the butter one and went with a recipe from Sally’s Baking Addiction because it produced a cookie that was ridiculously delicious and I think that’s the most important thing! (more on oil-based recipes at the end of the post).
I also didn’t think it was necessary to roll the cookies in granulated and icing sugar (the granulated sugar prevents the icing sugar from dissolving) because well, there’s enough sugar on here already. However, if you really want to, go right ahead!
The cookies are baked until barely done and they firm up and cook further as they cool. This is to make sure the sugar doesn’t overheat and melt away or become moist but if you do end up leaving it in there for a couple extra minutes, it’s not a huge issue I promise. The cookies themselves are deeply chocolatey, with melty chocolate chips scattered throughout and I reduced the sugar in the dough itself to make room for the sweetness on top. Balance balance balance!
The crunchy tops give way to squishy, gooey interiors that are just perfect. I recommend storing these in the fridge so that sugar topping doesn’t absorb the moisture in the air, but if it’s cold where you are, room temperature is fine too.
I hope you’ll try these!
Chocolate Chip Crinkle Cookies
Ingredients
- 1 cup all-purpose flour
- 1/2 cup + 2 tbsps cocoa powder
- 1 tsp baking soda
- Pinch of salt, skip if using salted butter
- 1/2 cup unsalted butter, at room temp (115 gms)
- 1/4 cup caster sugar
- 1/2 cup brown sugar
- 1 egg, at room temp
- 1 tsp vanilla extract
- 3/4 cup dark chocolate chips
- 1 cup icing sugar (see notes)
Instructions
- In a large bowl, sift the flour, cocoa, baking soda and salt. Set aside.
- Beat the butter and sugars in a mixing bowl using a hand mixer, until light and fluffy. Add the egg and vanilla. Beat to combine.
- Gradually add the flour mixture and fold to combine. Finally, fold in the chocolate chips. The dough will be thick and sticky.
- Cover with clingfilm and chill for 30 minutes to an hour. I found that a longer chilling time resulted in much thicker cookies and I prefer them to spread a little bit in the oven. If chilling for longer, let the dough soften for about 15 to 20 minutes at room temperature before baking.
- Spread the icing sugar out onto a plate. Preheat the oven to 175 C and line a baking tray with a silicone mat. If you're baking in batches, keep two trays ready.
- Using a cookie scoop (highly recommended for this dough) or two spoons, scoop equal portions of the dough, about 2 tbsps per cookie. Roll them in the sugar until well coated and rounded, then place on the baking tray, an inch apart. Flatten lightly with the back of a spoon.
- Bake for 8 to 10 minutes then remove from the oven and let them cool on the baking tray to firm up. They will be cracked and have crinkled sugary tops. They will look super soft at first, but will cook through on their own. Over-baking will lead to the sugar melting and dissolving.
- Let the cookies cool completely, then store at room temperature in an airtight tin for 1 to 2 days, after which they're best in the fridge especially in humid environments. Happy baking!
Notes
Shop this recipe!
This post contains affiliate links.
Note: I tried this oil-based dough recipe, and the crinkly tops were more pronounced with clearer sugar patches as you can see in the photo below. I felt the flavour of butter is unparalleled though, but you can go with either method.









Pingback: Gluten-Free Banana Muffins (Eggless)
Pingback: Lemon Cream Cheese Cookies
Pingback: Gluten-Free Banana Muffins (Eggless)