This is an ode to sleepovers, midnight feasts and every other recreation of the Enid Blyton universe in my life when I was about 10 years old. My friends would come over, we’d struggle to stay awake till a respectable hour, stuff our faces with a whole bunch of goodies, pat ourselves on the back for having successfully had a ‘midnight feast’, and go to sleep.
The chocolate fudge my Mom made multiple times was the star of most of these events. I loved it, my friends loved it and I know for sure my dentist didn’t.
And so I decided at some point, I really needed to make it and bring back a ton of super fun memories. Yes it’s sweet, yes it’s not something I can now eat tons of, but it’s made with extra dark cocoa, balanced with sea salt and really quite addictive.
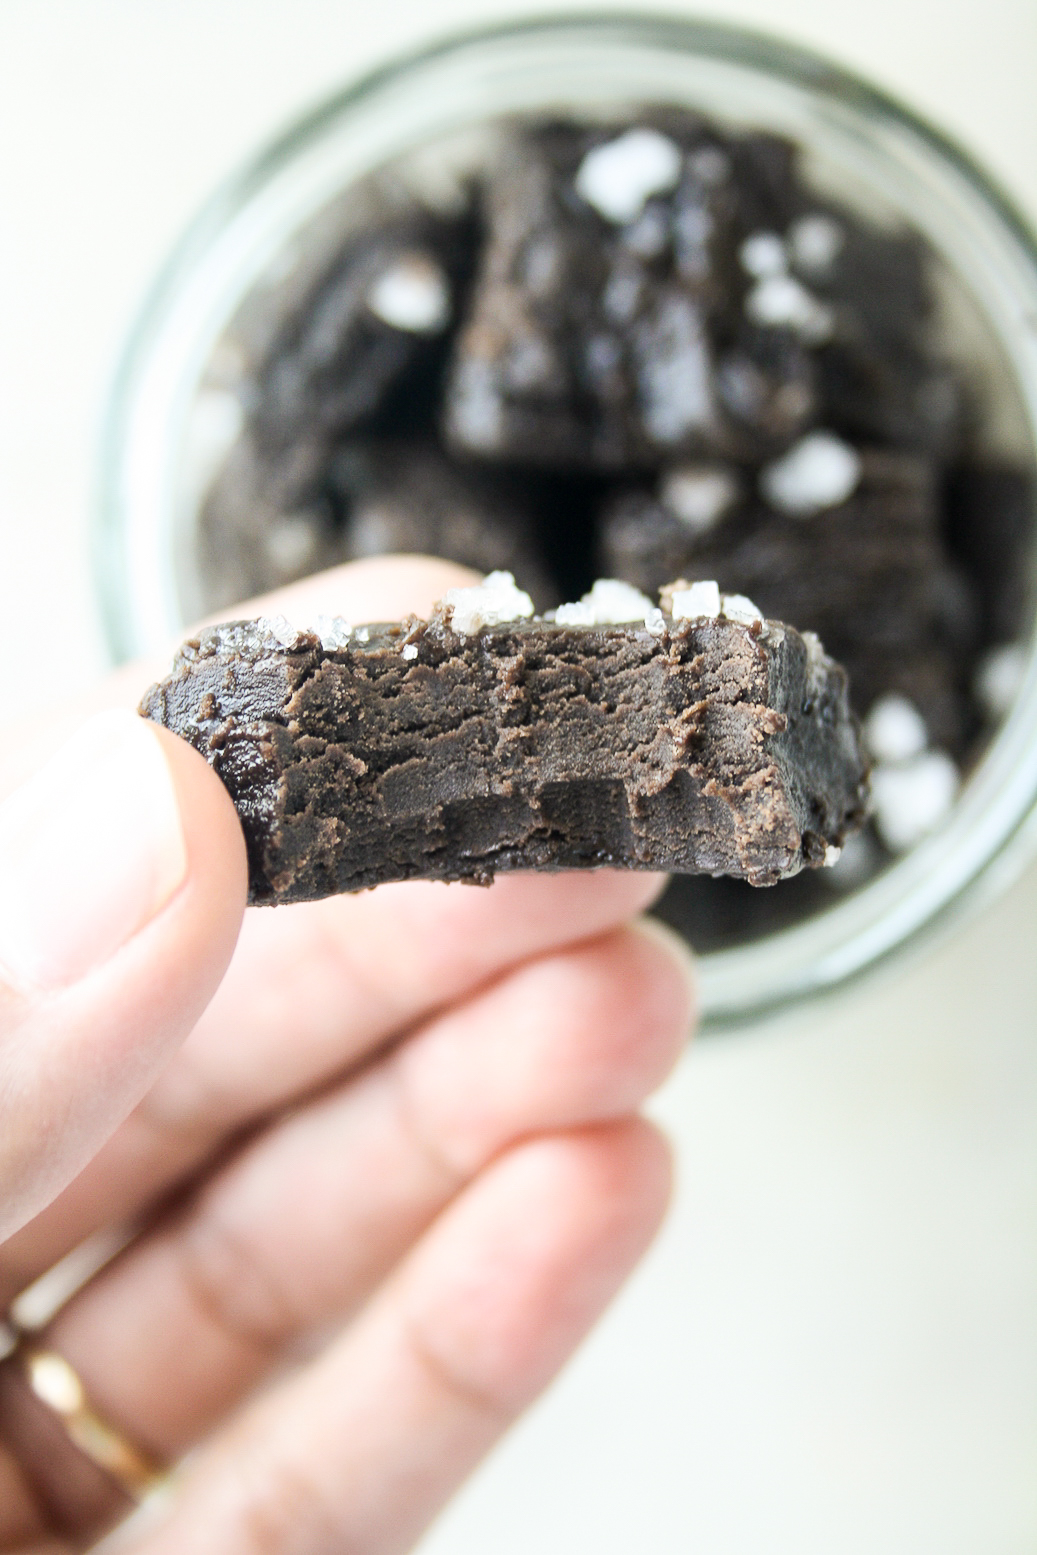
Making fudge at home can be done in a number of ways, the most popular of which is to use condensed milk because it’s an instant kind of fudge. But the one I remember had a harder, chewier texture with a sort of melt-in-your-mouth finale. The top almost has a crunchy crust giving way to a dense, softer center. It’s just perfect and you have to try it but it takes a little more work.
The thing with making fudge this way is that you have to be prepared to keep testing the mixture as it cooks and work very very quickly once it’s done. I made this based on recipes by The Kitchn and Hershey’s . There were also many commenters who described what did and did not work from them and that was super helpful.
It was my first experience making this sort of candy at home, where you need to make sure the mixture reaches the ‘soft ball’ stage before turning off the heat. I don’t have a candy thermometer and testing this manually may actually work better because if the thermometer touches the base of the pan, it’ll throw the temperature off. If you go old school, it’s also kind of fun! The whole idea is to keep drizzling the hot mixture (which is just milk, cocoa and sugar) into some iced water till you can hold it between your fingers and it forms a soft, pliable ball. I found this video incredibly helpful. Then you add the butter and some say you let it melt, some say you stir it in immediately. I just let it melt and then the muscle work begins because you need to beat the mixture to cool it, and make sure it loses it’s gloss. This happens so quickly that your fudge will harden before you know it! At this point I had some trouble scraping it into the prepared pan, but I managed. And even though the tops weren’t smooth it didn’t really matter. It took about an hour to set, after which I put the whole thing in the fridge and that really helped get that firmer, chewier texture.
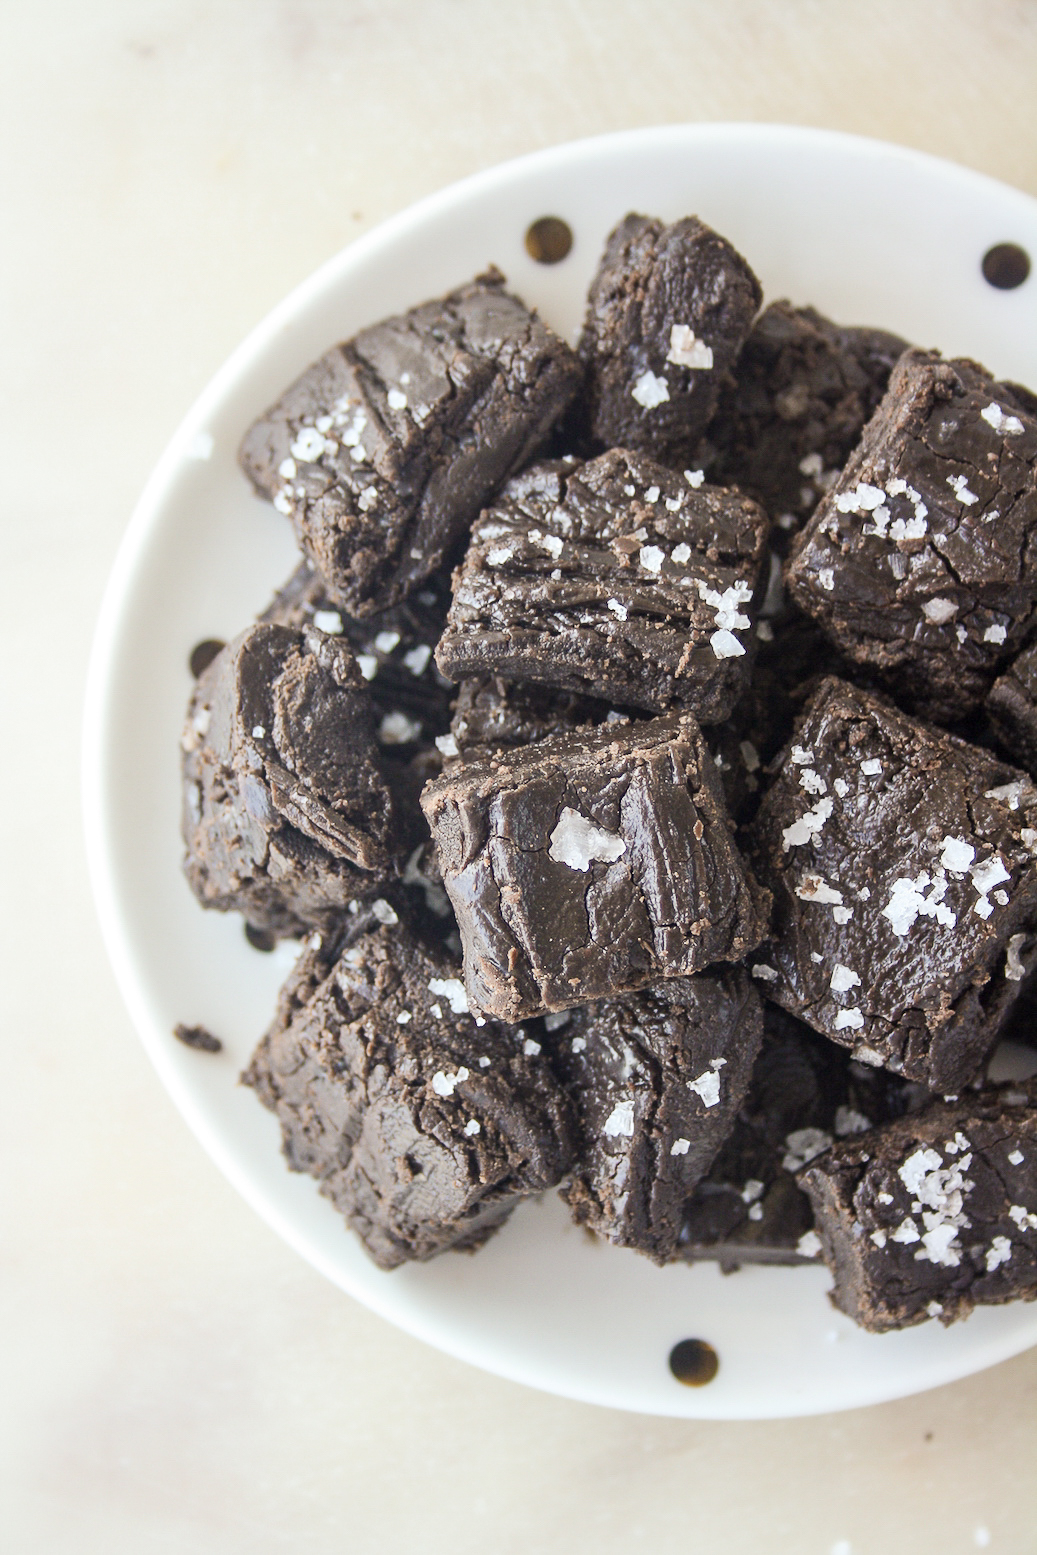
This is certainly a very sweet dessert. It’s not something I make often so I’m quite content nibbling small bits at a time. I wish I’d managed neater pieces off it but ‘rustic’ is in, right?
Though I reduced the sugar by half a cup, this is after all candy, and sugar is what makes it set. So you really can’t reduce it beyond this. To balance the sweetness, I used extra dark cocoa and added sea salt on the top. It’s super rich and chocolatey and a very satisfying thing to make at home!
I hope you’ll try this! It would make a great addition to your Diwali table this year 🙂
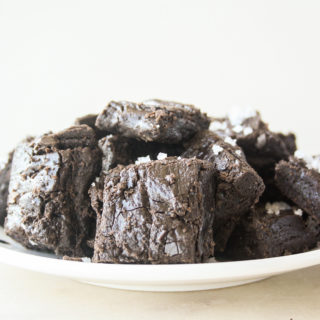
Salted Dark Chocolate Fudge
Ingredients
- 1/4 cup cocoa (I used an extra dark one, but regular is fine)
- 1 and 1/2 cups white sugar
- 1/2 tsp salt
- 1 cup whole milk
- 30 gms unsalted butter, at room temp (2 tbsps)
- 1 tsp vanilla extract
- Iced water as needed
- Sea salt, to sprinkle on top
Instructions
- Make sure all your ingredients are ready to go, don't spend time looking for anything once the fudge is cooked. Line a shallow 8x4 baking pan with non-stick baking paper.
- In a sturdy, large and deep saucepan or pot, combine the cocoa, sugar and salt. Mix and then add the milk. Use a whisk to bring it all together but don't worry about lumps.
- Set the mixture on medium low heat and bring to a boil, stirring only once in a while to make sure it isn't sticking. Overall, it's best to let the mixture cook undisturbed. You will notice it begins to simmer and then boil in about 10 minutes. Though I read that you can start testing the mixture at this point, I found it didn't reach the soft ball stage till much later. You will see it beginning to foam and form smaller, tighter bubbles.
- When these bubbles appear (10 to 15 minutes), add a little ice water to a shallow bowl. Drizzle a little of the mixture into it. If it forms a flat layer on the surface of the water, keep boiling. If it falls to the bottom and clumps just a little when you push it with your fingers, it's getting there. Keep changing the water and drizzling the mixture in until you can gather the mixture up in your fingers and form it into a soft, pliable ball. This could take more or less than 30 minutes, a lot depends on the weather as well. So don't be alarmed if the timing is different for you. The video linked in the notes below is really helpful!
- After the soft ball stage is reached, turn off the heat and place the pot on a cool surface like the kitchen counter. Add the butter and vanilla. Let the butter melt on its own.
- Once it has melted almost completely, grab a wooden spoon and beat vigorously about 6 to 7 minutes. This is an arm workout for sure! The mixture will thicken and continue to look glossy for a few minutes. After about 6 minutes, stop beating and if you notice that it looks less glossy, almost matte, your fudge is done. If not, keep beating. Transfer the cooled, not-glossy fudge to the prepared pan and smoothen the top as best as you can because by this time, it will already have begun to harden.
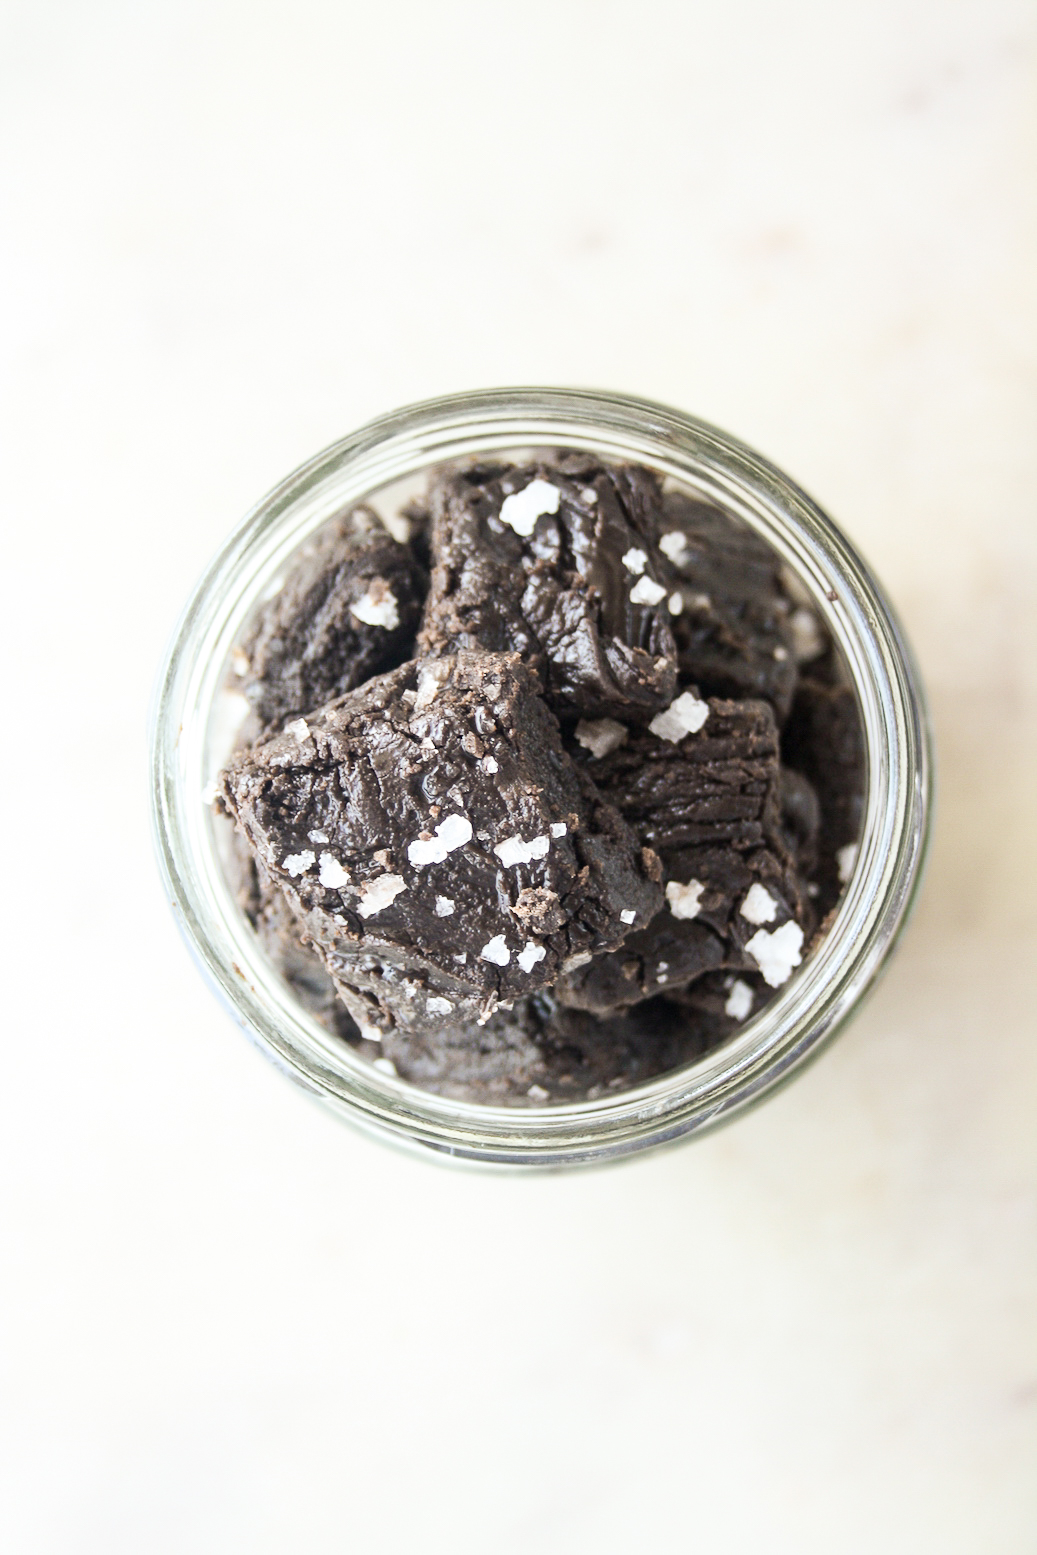
- Sprinkle the top with sea salt and let it cool completely at room temperature. You can cut it now if you wish, but I find that in warmer temperatures, it's better to stick it in the fridge for a couple of hours. Cut into pieces and enjoy! Best stored in an airtight tin in the fridge.
Notes
Shop this recipe!
[amazon_link asins=’B0052WPB3C,B076D7JKXN’ template=’ProductCarouselNoheader’ store=’thedessertedg-21′ marketplace=’IN’ link_id=’1af27177-ddb7-11e8-b81f-8766cd96d4ea’]
This post contains affiliate links.










Pingback: Peanut Butter Fudge