My week in Russia last October was filled with a surprising amount of really great food, considering I went there with the assumption of seeing no good vegetarian food. So wrong. Tons of lovely veggies and all of the cheese in the world is basically my kind of balanced diet. And if there’s cheese stuffed into bread, I’m always happy.
So. I decided that one of the first things I was going to recreate from that week was Khachapuri. It’s a Georgian bread, filled with cheese and usually topped with an egg that cooks with the heat from the cheese itself. But runny eggs and I aren’t really friends and so at the cafe we ate at, they had a spinach version and very kindly left off the egg. It was a soft and chewy bread that you sort of break off and dip into all that gooey cheese and melty butter. So good. So so good.
Ta da!

I found a super easy recipe on Simply Homecooked that works the yeast into the dough without proofing it, much like the dough in this pizza. I found the rise time to be much longer than the 1 hour recommended in the recipe, but because yeast is so dependent on the brand, the temperature, the dough itself, the time might work for you, or it may not. Keep an eye on the dough and go from there!

I’d also recommend using a finer yeast, one with smaller granules. Because active dry yeast is typically dissolved in warm water before using, it doesn’t normally matter. But with this recipe, you’ll drop it directly into the flour and pour warm liquid over it and let the yeast do its thing. A finer granuled yeast will dissolve better into the dough, and rise more. Kitchenart or Blossom would be my recommendation, but all I had while making this was Bluebird so I found the yeast didn’t break down very fast. It doesn’t hurt the dough, but it will take longer to puff up. The end result either way, is a soft, but slightly chewy bread, crusty on the outside. Very much like a slow-rise pizza dough which I love. The version I ate in Moscow was more pillow-y, but I loved this one as well.

For the cheese, I used a mix of mozzarella and ricotta, you can also add feta, or use cottage cheese instead. The cheese will of course be super soft and melty and completely incredible. But the spinach is where the flavour kicks in. I decided to cook it down in a little bit of butter and garlic, and then add it to the shaped bread. So, bread, cheese and veggies. Healthy 😀
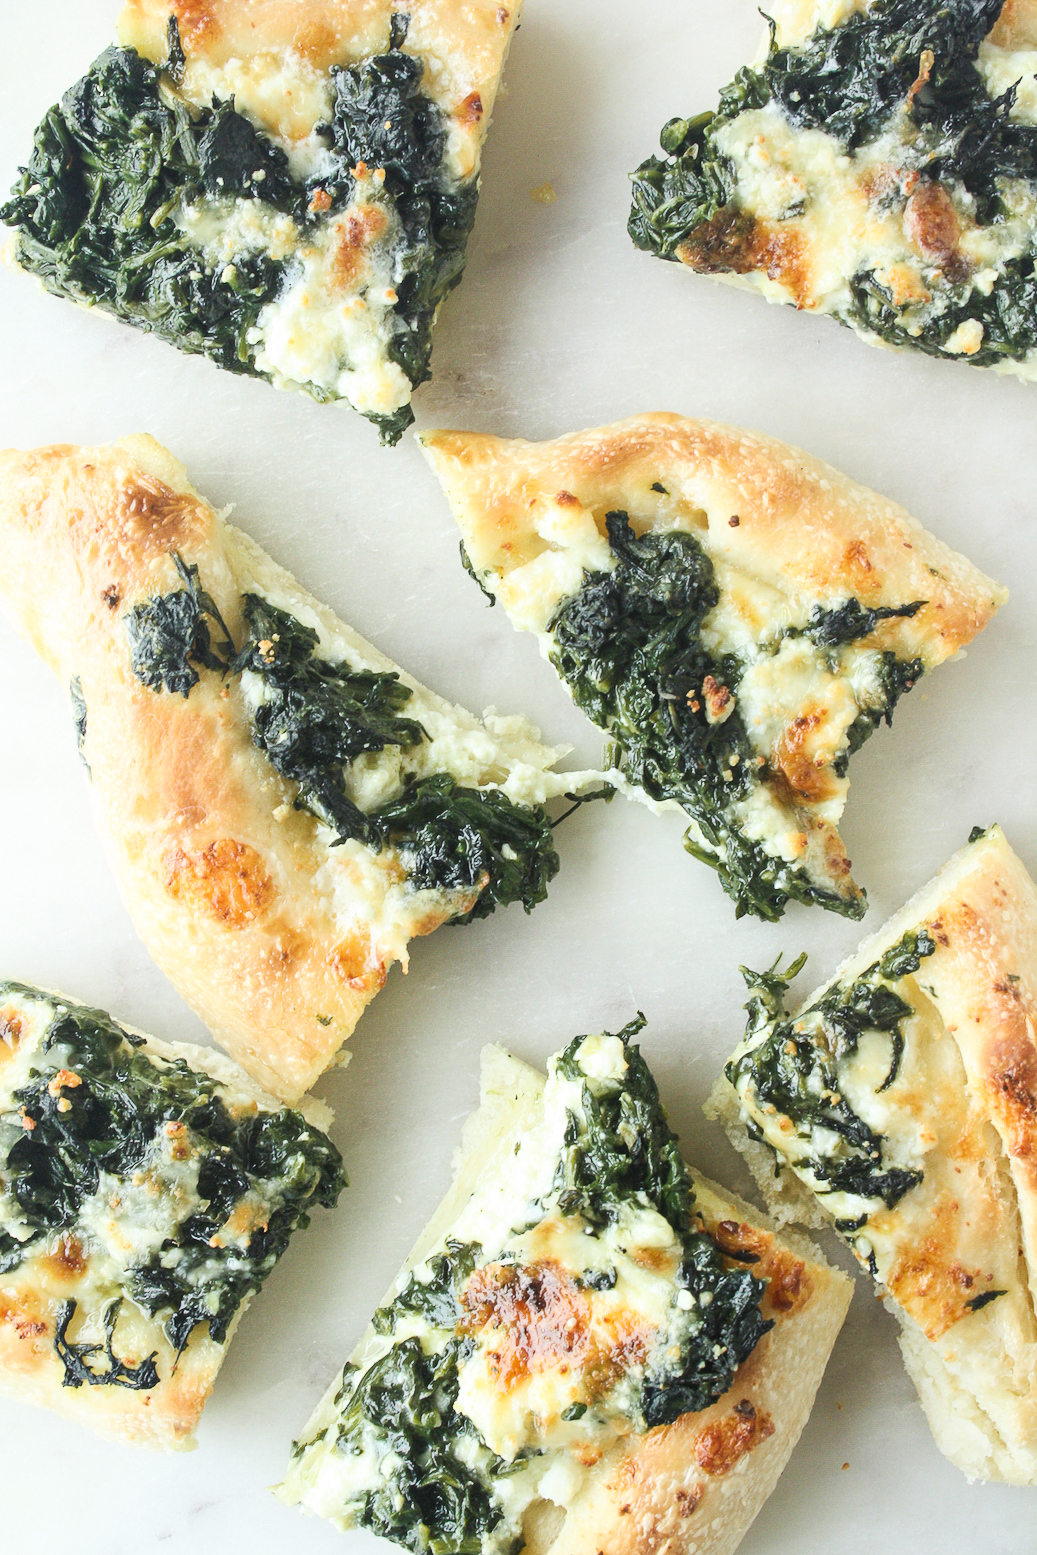
After pulling off the end pieces of the little boat-shaped breads, I cut them up into pieces to make it easier to eat, but traditionally, you would keep dipping the crust in the cheese and then finally roll up the bits that are left and eat it that way. Whatever floats your boat!
Shaping the bread is not at all difficult and the dough is easy to work with. A sprinkling of flour is all you need and you’ll be eating freshly baked, warm Khachapuri before you know it. Try this today!
Georgian Khachapuri
Ingredients
- <b>For the bread</b>
- 3 and 1/2 cups all-purpose flour plus more if needed
- 1 tsp salt
- 1 tbsp sugar
- 1 tsp active dry yeast*
- 1 cup water
- 1/2 cup milk
- 1 tbsp oil <br></br>
- <b>For the filling</b>
- 200 gms mozzarella shredded*
- 150 gms ricotta
- 1 large bunch of fresh spinach chopped (about 300 gms)
- 2 to 3 cloves of garlic crushed
- Butter salt and pepper, as needed
Instructions
- First, make the dough. In a large mixing bowl or the bowl of a stand-mixer, combine the flour, salt, sugar and yeast. Stir to combine.<br></br>
- In a separate bowl or saucepan, combine the milk and water and heat just till you can comfortably dip a finger in it, about lukewarm. Pour the warm liquid into the flour mixture.<br></br>
- Knead the dough using the dough hook (or your hands, though it will take longer), until it is almost smooth and elastic, though it will still be a little sticky. Pour in the oil and continue kneading. I needed to add 2 to 3 more tablespoons of flour at this stage, if your dough feels too oily or sticky, you may need to as well.<br></br>
- Knead the dough till it is completely smooth and soft, then turn out onto a lightly floured counter and shape into a ball. Lightly oil the mixing bowl, pop the dough back in and cover with clingfilm. Set aside to double for 1 to 3 hours, depending on the warmth in your kitchen. You can also turn the oven to 100C for a few seconds, turn it off and place the bowl inside to kickstart the rise.<br></br>
- While the dough is rising, combine the mozzarella and ricotta in a small bowl and set aside.<br></br>
- In a shallow pan on low heat, melt 1 tbsp butter and add the garlic. Fry till lightly golden, then add the spinach and cook till it's wilted and darkened. Season with salt and pepper and set aside.<br></br>
- Once the dough has doubled, press it down lightly with your fingers, cover again with clingfilm and set aside for 30 minutes. Preheat the oven to 220 C.<br></br>
- Now transfer the dough to a lightly floured surface or silicone mat (for easy clean-up). Cut into 4 equal parts. Roll each part out into a roughly 9" circle, preferably on a silicon baking mat which you can transfer easily to a baking tray.<br></br>
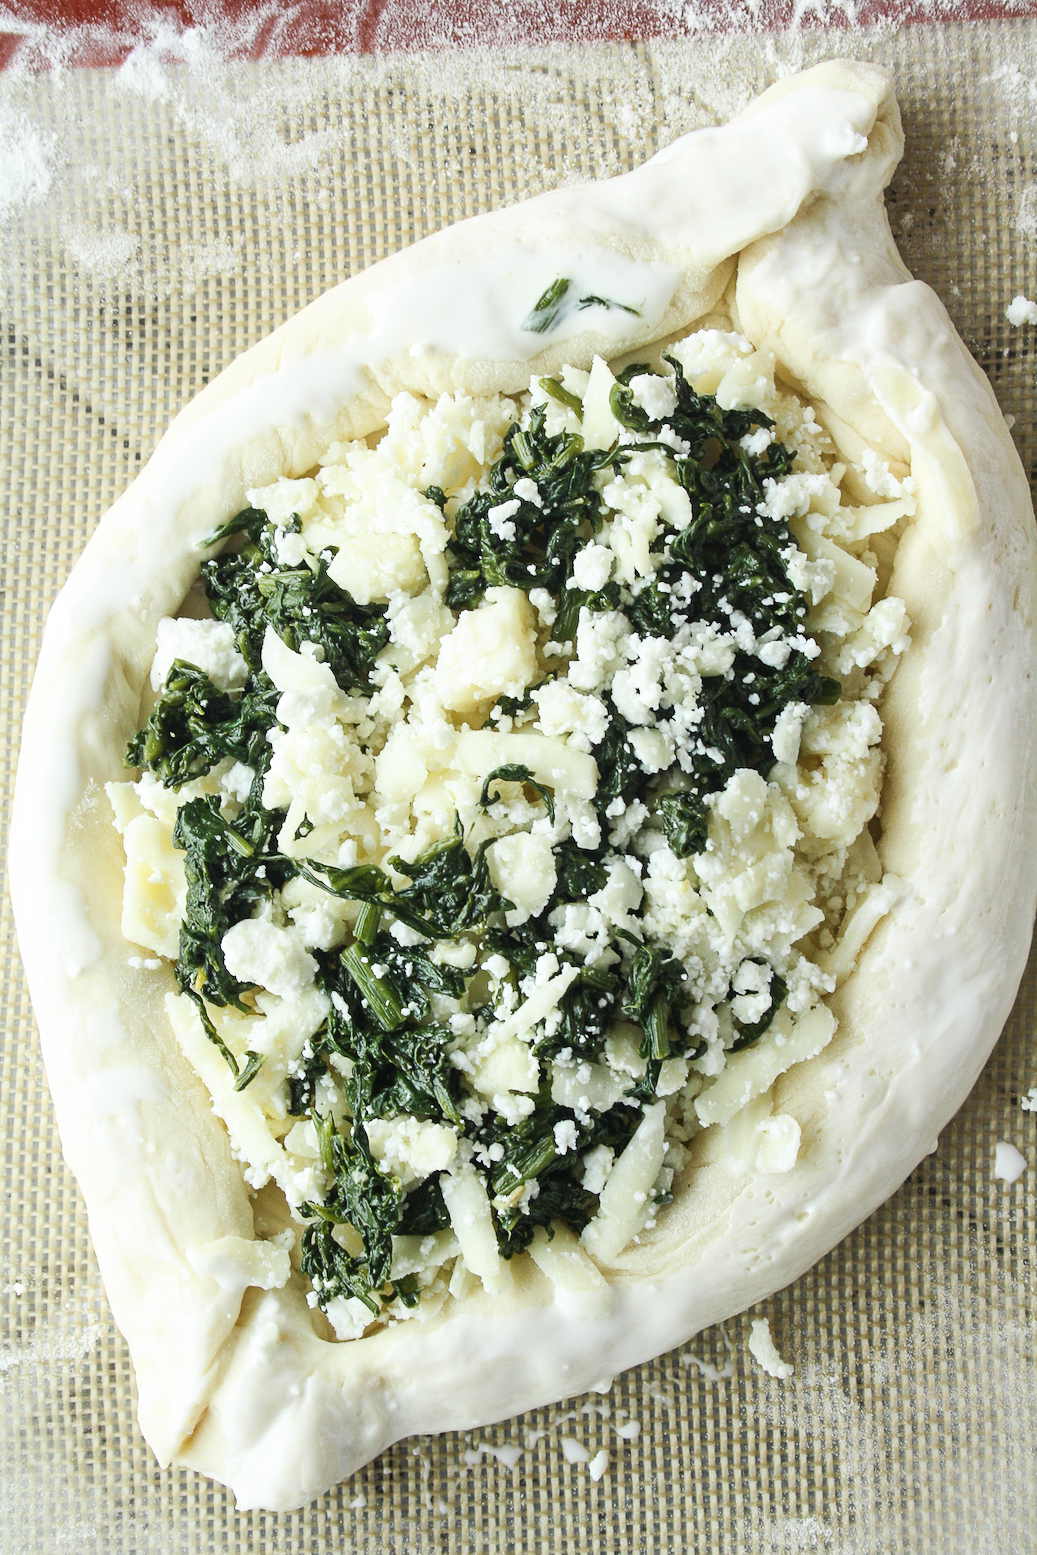
- Roll the edges of the circle inwards and twist the ends together to create a 'boat' shape.<br></br>
- Fill the center with 1/4th of the cheese mixture, then top with 1/4th of the spinach. Slide the mat onto a baking tray and bake for 15 minutes, rotating the tray halfway for even browning. I turned my oven to the broil setting for a couple of minutes for a little extra browning. <i>For a little bit of a glaze on the crust, mix 1 tbsp cream with 1 tsp water, then brush it onto the edges.</i><br></br>
- Repeat with the remaining three portions of dough and dive in!
Notes







I made this using 1:1 gluten free King Arthur flour. I also substituted the ricotta with feta cheese. (I prefer it. ) I added a little garlic to my oil that I use to brush on the pies before adding the cheese mixture. These turned out absolutely amazing and I was scared because I was using gluten free flour. Thank you so much for sharing this and it’s going into my favourites binder, cause I’ll be making it all the time! 😁
It’s great to hear a GF version of these worked! Thank you for trying out this recipe 🙂