I’m not sure why I choose weekday mornings to do things that are only, and I mean only, weekend-friendly. This blog turns me into crazy cake lady sometimes. There’s a not-so-little voice at the back of my mind going “maaaaaaake something” but I don’t listen to it when I don’t have the energy.
Early mornings, however, lots of energy. But when a super sticky dough is involved, I do regret this enthusiasm.
Then I see these scones. And it’s all good 😀
A certain someone (aka the food processor) was certainly not on my side. So. I’m going to put this advice in caps lock because I really, really don’t want you to miss it.
NEVER MAKE SCONE DOUGH IN A FOOD PROCESSOR.
While these blessed machines are awesome for chopping stuff really fine, or blending like your life depends on it, when a dough calls for gentle handling, that’s not something you trust it with.
Unlike these scones and these, where I had the time to make them by hand, this Thursday morning demanded quick movements. Enter the over-active processor that melted down the butter before I realised what had happened, leaving me with the wettest, stickiest dough I’d ever seen. It was overworked which meant inevitably tough scones. I’m not sure how, but I whacked it onto the baking tray, shaped it into something loosely resembling a circle, shut the oven, and prayed to the Baking Gods.
Obviously they exist. And they like me.
To avoid my nightmare, use either a stand mixer (lucky you), or those wonderful things called your fingertips. I shall write the recipe pretending that’s what I did.
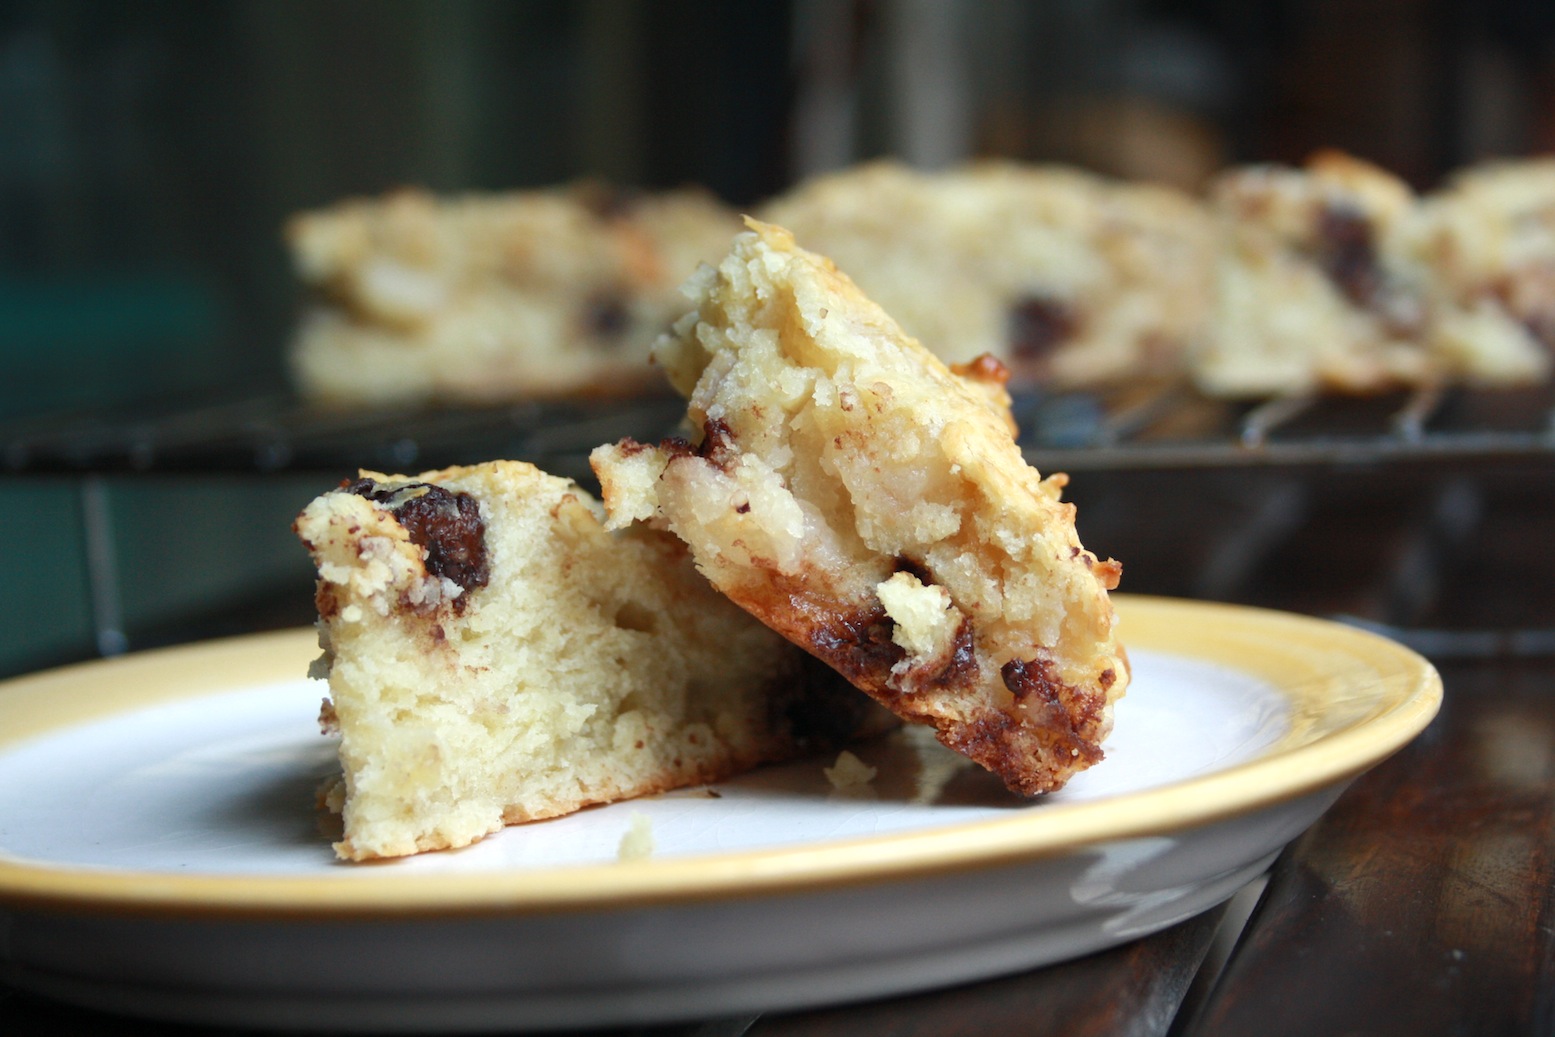
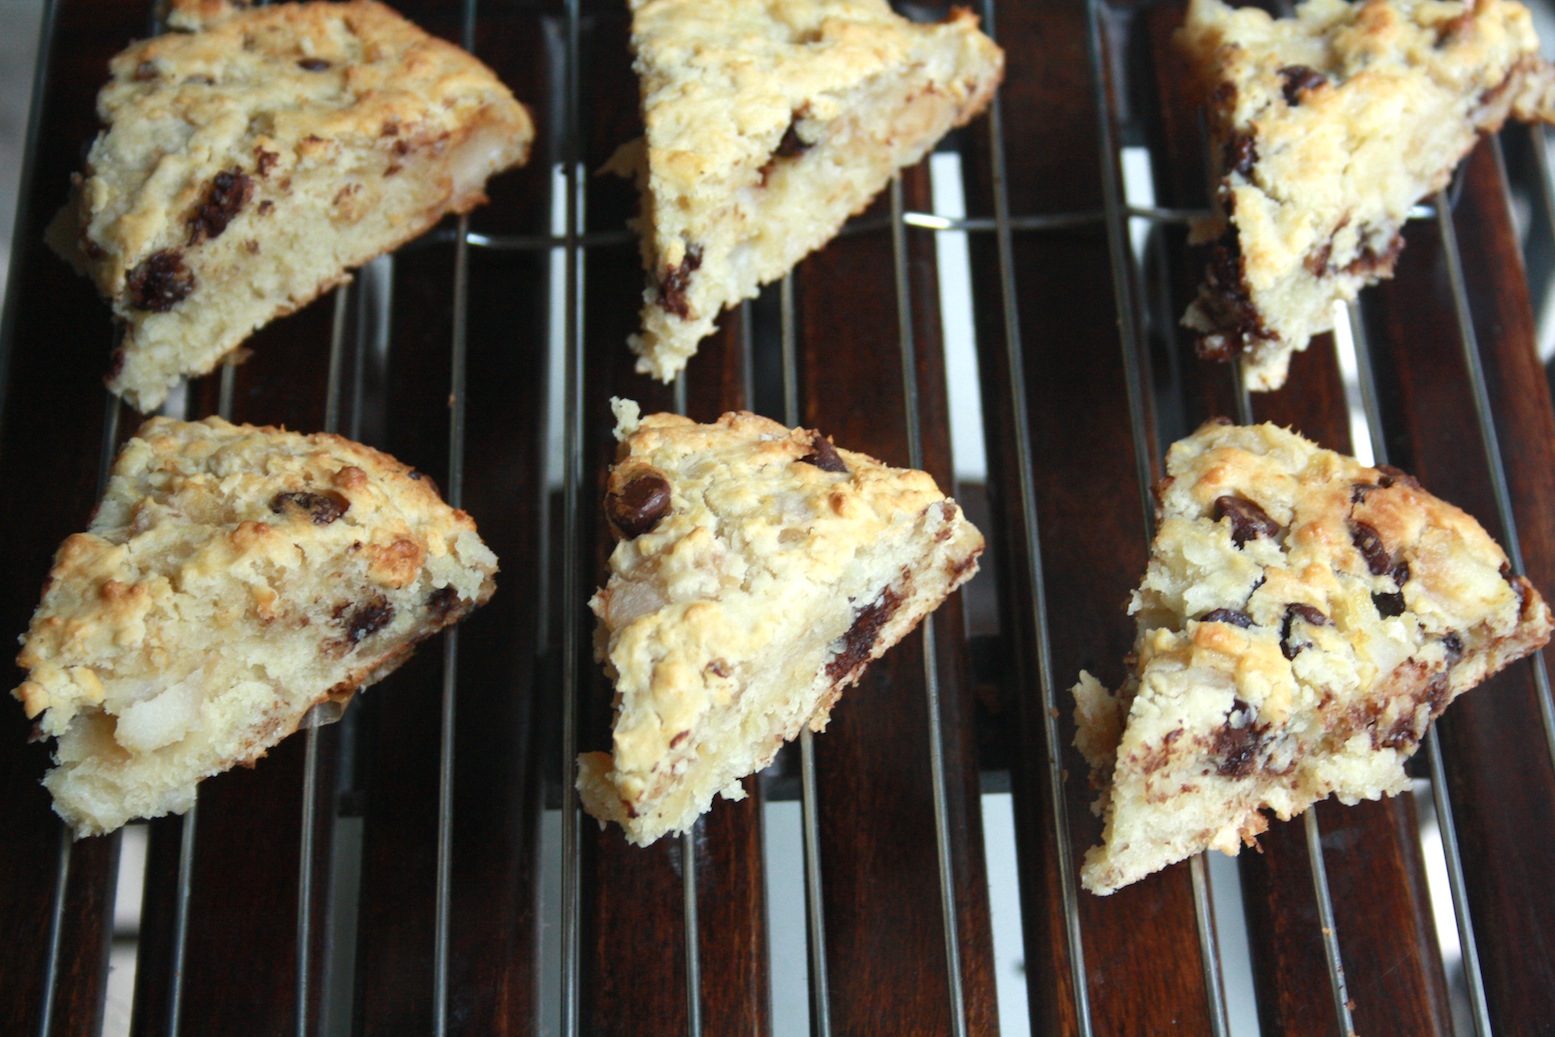
Somehow though, the scones were crispy on the outside, soft and fluffy on the inside, and the roasted pear blew my brains, seriously.
Speaking of the pear, the paper I baked it on got stuck to the baking sheet (of course it did), so I had to grease the tray before baking the scones on it. By a happy accident, it ended up in a beautifully caramelised base. So yum!
These scones go great with a cup of coffee and though they sound scary, they’re not. Make them, even if it’s a weekday 🙂 All that could go wrong, is explained above!
The recipe comes from the amazing Smitten Kitchen.
What you’ll need:
3 pears, soft but not squishy, firm but not hard (basically leave raw pears out for 2 days)
1 and 1/2 cups flour
1/4 cup caster sugar
1 and 1/2 tsp baking powder
6 tbsps or 85 gms cold butter, cut into cubes (Amul is fine, add a pinch of salt if using unsalted butter)
1/4 cup cream (Amul is fine)
1/4 cup chocolate chips (I felt chocolate overshadowed the pear a bit, so I’d leave this out the next time but its up to you)
1 egg (plus one more if you like an egg wash)
What to do:
1. Preheat the oven to 190 C. Grease a baking tray and place sheet of baking paper on it. Peel, core and dice the pear into bite-sized pieces. Arrange them in a single layer and bake for 20 to 25 minutes until they feel dry and lightly browned. Set aside to cool.
2. Mix the flour, baking powder, sugar and salt (if using) in a large bowl. Rub the butter into the flour using your fingertips till you have a mixture resembling coarse breadcrumbs.
3. Toss in the pear chunks and stir. Add the cream and egg and mix slowly till a soft dough forms. Do not overmix. Fold in the chocolate chips, if using.
4. Turn the mixture out onto a floured surface or directly onto your greased baking tray. Shape into a 6-inch round and brush with the second beaten egg mixed with 1 tsp water. I don’t like egg washes so I omitted this. Cut the disc into pieces or bake as a whole for 30 minutes, until browned on the top and a toothpick comes out with no wet dough.
Eat warm 😀
P.S. I got eight scones out of this recipe.








Pingback: Chocolate Babka
Pingback: Strawberry and Cream Scones | The Desserted Girl
Pingback: Orange Cranberry Scones | The Desserted Girl
They really are! I was pleasantly surprised 🙂 Let me know if you try them out!
Your scones look so perfect and delicious. They texture inside looks like a cake, yum and pinned!
Thanks so much Lily! I hope the cake-like texture is correct given the fiasco with the scones 😀