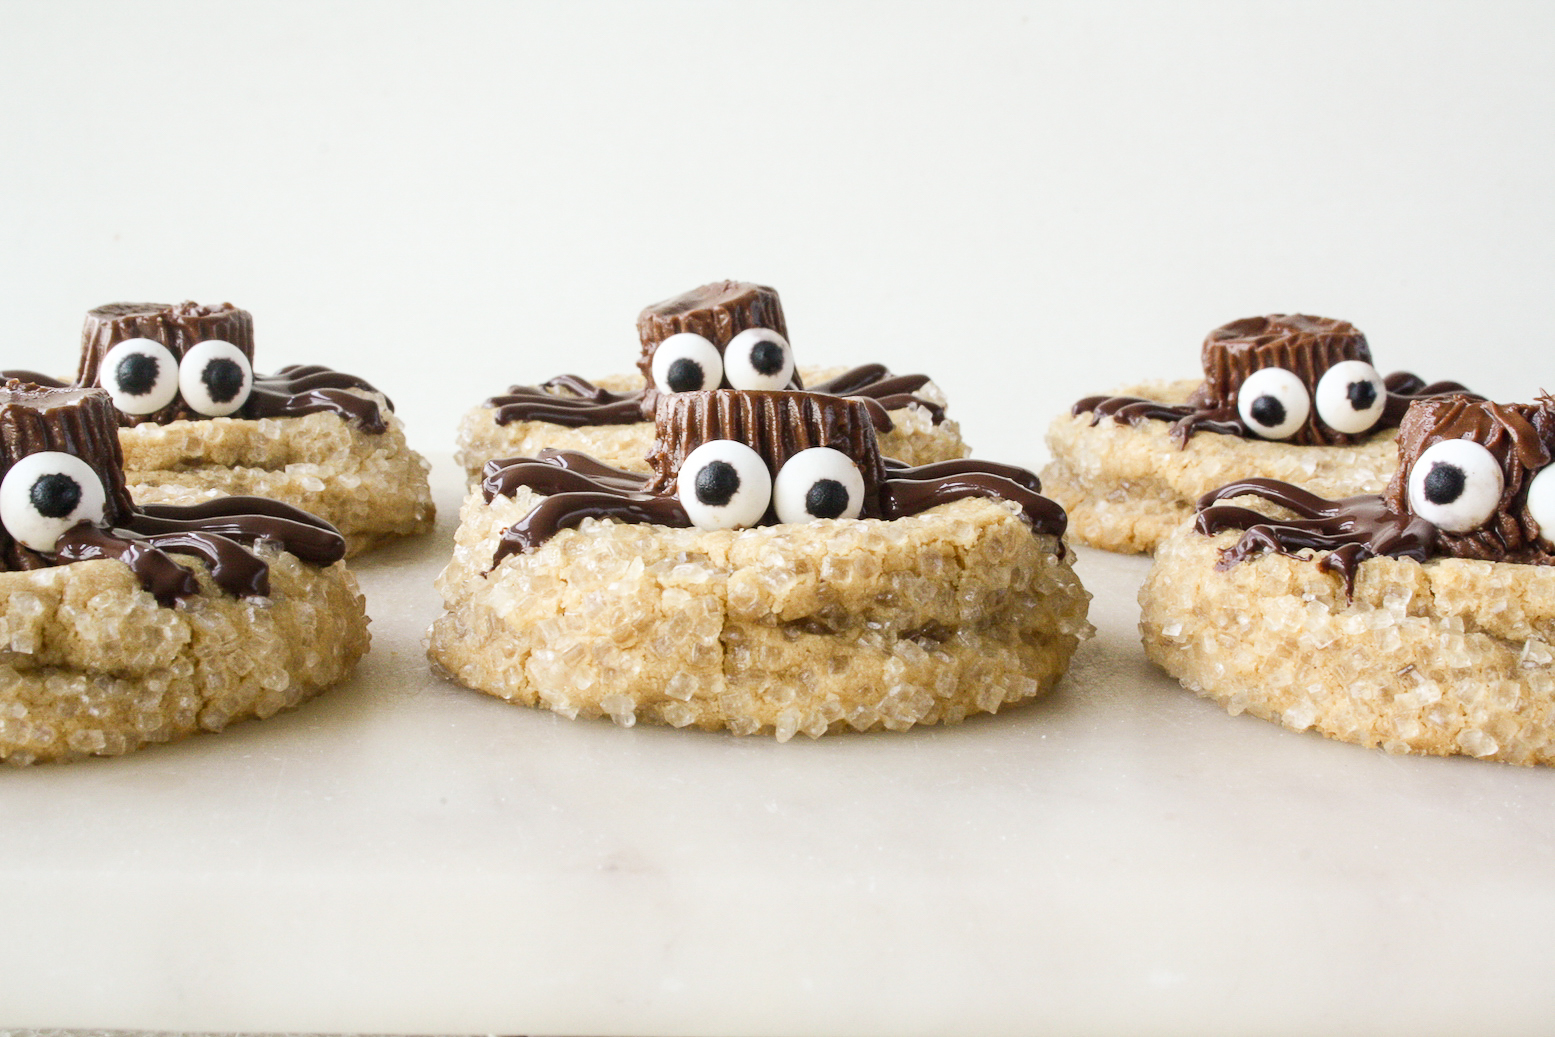
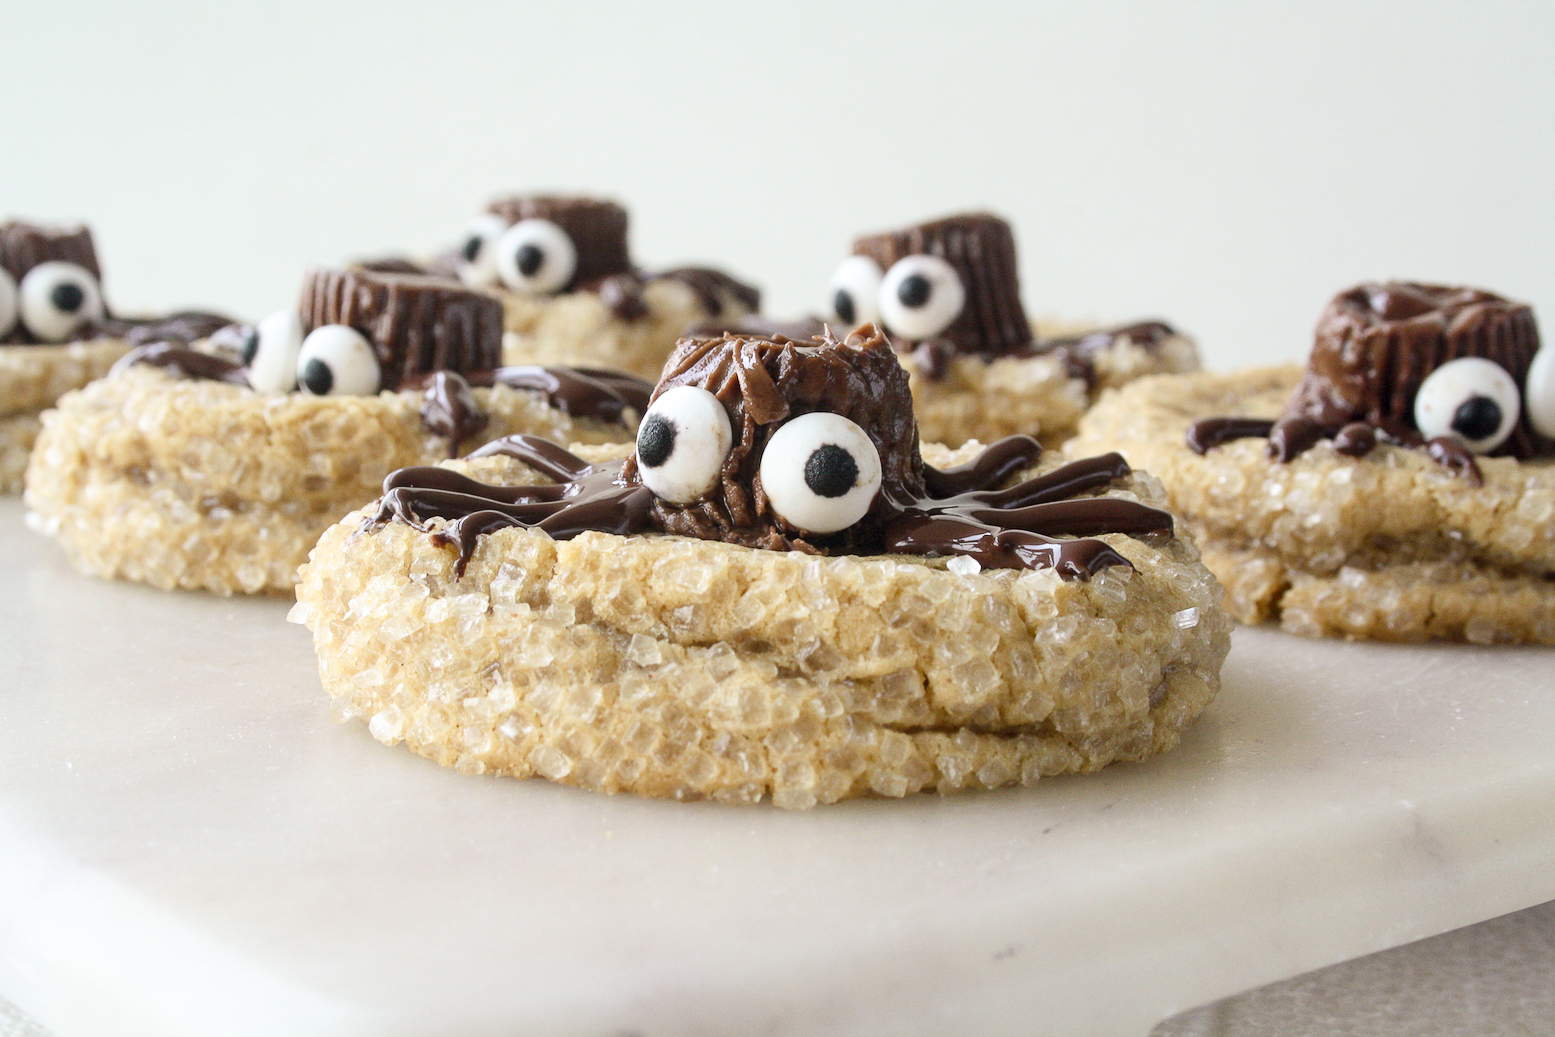
These are the FUNNEST cookies I’ve ever made! I don’t normally get into too much decorative work because once I’m done baking, I usually just want to start eating. But these cookies are just so cute, I could have made a million more of them. It helps that the cookies themselves are super soft and chewy peanut butter ones. The little ‘spider’ heads are so easy to put together and you’ll be so pleased with yourself for making them!
Let’s make some cute-not-spooky cookies for Halloween 🙂
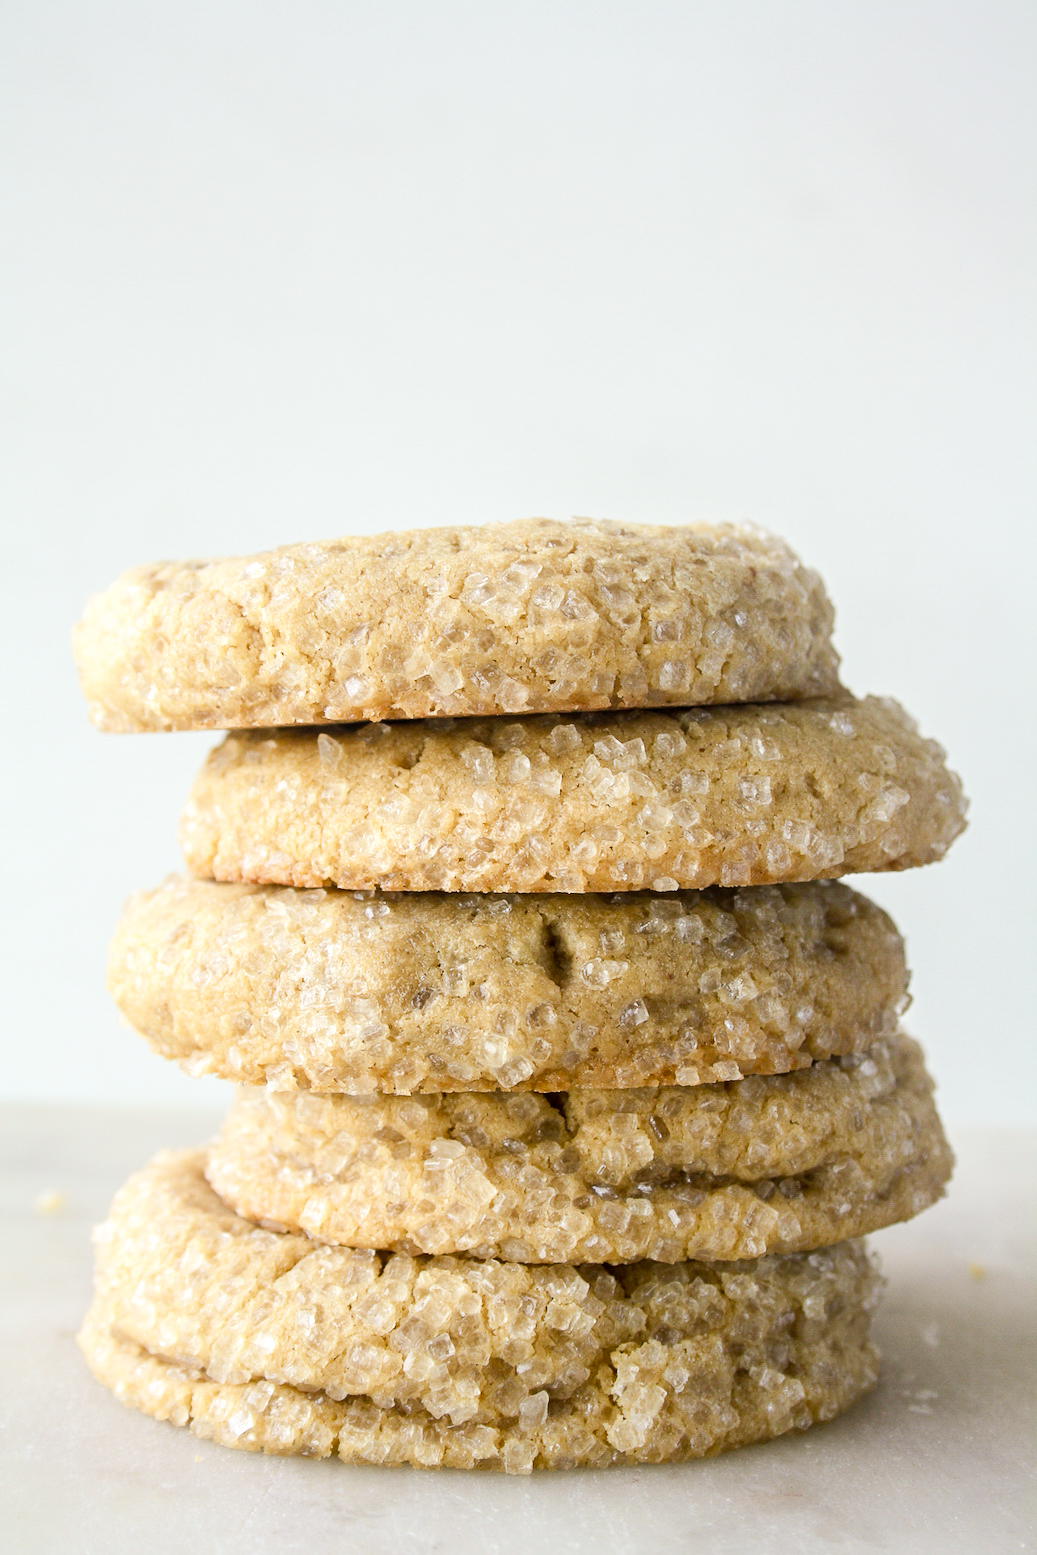
I saw this idea floating around on Pinterest for a while, using peanut butter cups and edible eyeballs to make spider heads. So simple and so effective! The cookie recipe is from Sally’s Baking Addiction, with an extra coat of granulated sugar for crunch and sparkle. They’re chewy and soft with crispier edges and they’re sooo good!
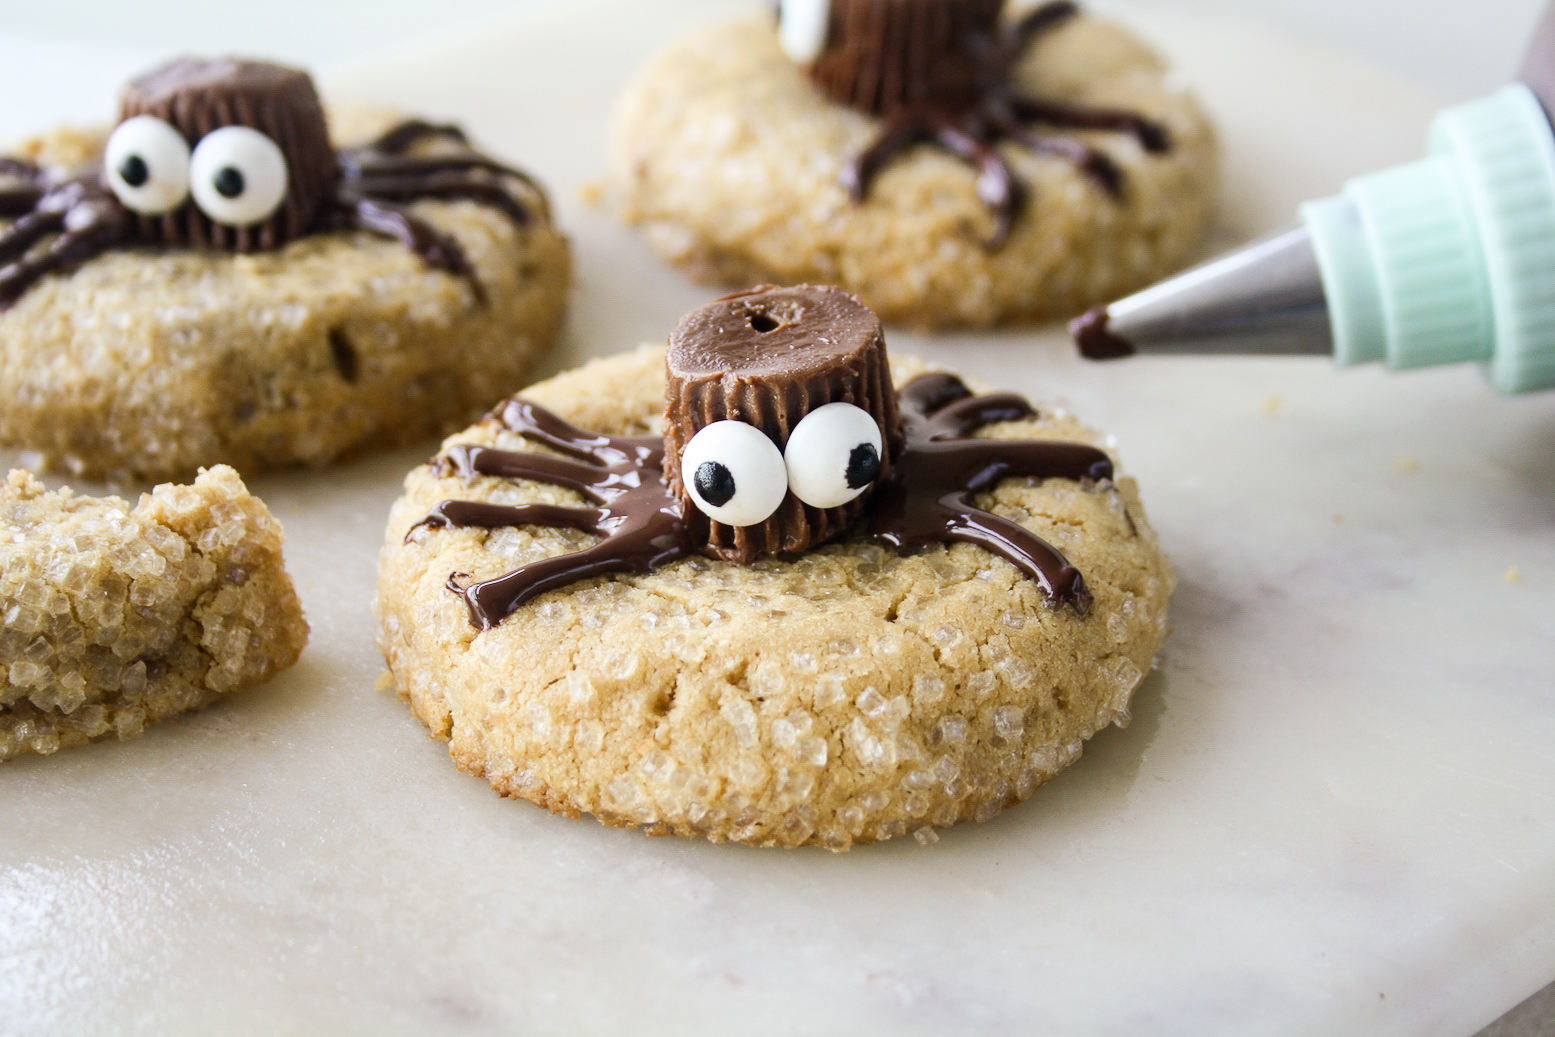
They don’t take long to make at all and if you work in a warm environment, the only thing to keep in mind is the peanut butter cups need to be very very cold, so that they stick, but don’t melt completely onto the warm cookies. The eyeballs just get stuck right onto them, and the ‘legs’ are nothing but melted chocolate. Seriously, so easy!
The recipe has lots of little details so I won’t get into them here. But these cookies are super fun to make with kids, for kids or even just as a fun Halloween thing with your friends. I promise they’re age-agnostic!
There’s plenty of peanut butter flavour which make these cookies as enjoyable to eat as they are to make. I think that’s super important, because it shouldn’t just be about the looks. Go forth, make a batch quick!
Please read the recipe notes before beginning.
Peanut Butter Spider Cookies
Ingredients
- 1 and 1/2 cups all-purpose flour
- 1/2 tsp baking soda
- 1/2 tsp baking powder
- 1/4 tsp salt, skip if using salted butter
- 1/2 cup unsalted butter, at room temperature (115 gms)
- 1/4 cup brown sugar
- 1/2 cup caster sugar
- 1 egg, at room temperature (see notes)
- 1 tsp vanilla extract
- 1/2 cup creamy peanut butter
- 1/2 cup coarse granulated sugar to roll the cookies in
- 12 mini Reese’s peanut butter cups, frozen for 20 mins
- 24 edible candy eyeballs (see notes)
- 1/3 cup melted dark chocolate or milk chocolate
Instructions
- Sift the flour, baking soda, baking powder and salt (if using) together in a large bowl. Set aside.
- In a mixing bowl, beat the butter and sugars till pale and fluffy. Add the egg and vanilla, and beat again to combine.
- Add the peanut butter and beat once again until smooth. Now slowly mix in the flour mixture from step 1 till you can no longer see any dry flour bits. Avoid over-mixing.
- The dough will be soft and sticky and needs chilling before you can shape the cookies. Cover the bowl with clingfilm and refrigerate for 1 hour.
- In the meantime, unwrap the frozen peanut butter cups. Press two eyeballs into each one, closer to the base. If needed, let the peanut butter cups soften for 5 minutes at room temperature, so that the eyeballs stick. Place the prepared ‘heads’ back in the freezer so that when you place them on the warm cookies, they will stick but not melt immediately.
- Now roll the chilled cookie dough into 15 equal sized balls. Spread the granulated sugar out in a flat plate, and roll each dough ball in it, for some extra sparkle and crunch. Place the prepared dough balls on a lightly greased baking tray (or line it with a silicone baking mat) and refrigerate for 30 minutes. This will lead to thicker cookies that support the ‘spider heads’ well.
- Preheat the oven to 175 C. Place the baking tray with the chilled dough balls in the centre rack of the oven. Bake for 12 to 15 minutes till the tops and edges are lightly browned. The cookies will continue to cool and harden once they’re out of the oven, so don’t let them bake too long.
- Let the hot cookies cool for just a couple of minutes, then place the frozen spider heads in the centre of each one. Carefully slide each cookie onto a wire rack or cooling rack, and place in the refrigerator for 10 minutes. This stops the peanut butter cups from melting too quickly on the warm cookies as well as prevents the cookies from getting soggy on the hot baking tray.
- Now pour the melted chocolate into a piping bag or bottle, fitted with a narrow round tip. Pipe four ‘legs’ on either side of the spider heads. And your cookies are ready! Eat immediately or store in the fridge in an airtight tin for up to 10 days. Happy baking and Happy Halloween!
Notes
Shop this recipe!
This post contains affiliate links.









Pingback: Chocolate Peanut Butter Cheesecake
These cookies are adorable and perfect for Halloween!
Absolutely! They’re so much fun to make too 🙂